By now you should at least be a little familiar with how the new Gutenberg editor in WordPress works.
In cased you missed it, I’ve already done two other videos describing what the new Gutenberg editor actually is, and how to use Gutenberg’s block system in the previous videos.
In this last video, I’m going to show you all about how you actually use it in your content, the kinds of things you can create, and how you can add rich media content to your posts and pages easily.
How To Use The Gutenberg Editor
In the last video, we gave you an overview of the blocks that you have available to you to create and manage content in the new version of WordPress with the Gutenberg editor. In this video, we’re going to show you the controls for how to work with the various different content blocks in Gutenberg.
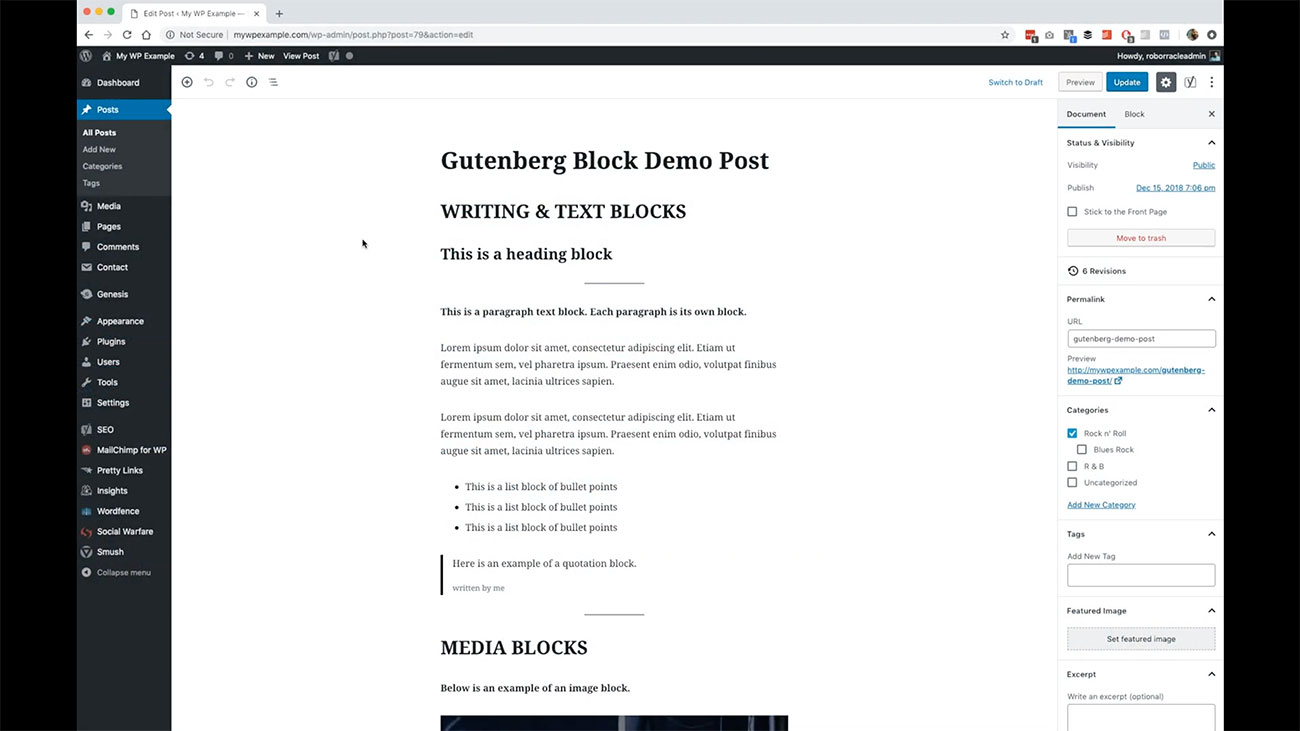 Let’s go back over to WordPress. Go back to our demo post. You will remember this from last time with various different blocks that we have already gone ahead and created. You probably noticed in the last video that there are some buttons and things that show up around these blocks.
That’s what we’re going to be talking about. In order to work with these blocks, WordPress is implemented these new buttons that’s going to help you to work with them to be able to move them and to remove them and or rearrange them.
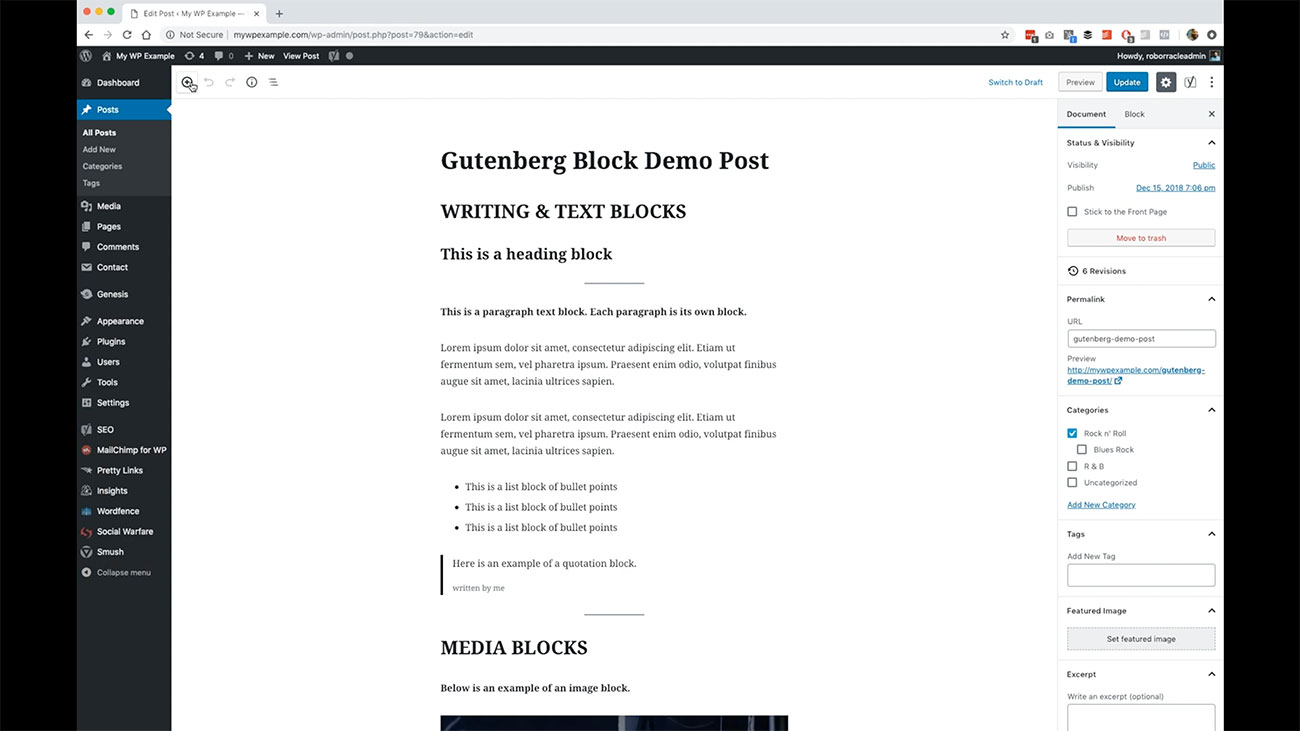 Right here at the outset, you have the ability here in this top left of your WordPress editor screen to add a block. If you click that, it’s going to give you the ability to scroll through the various different blocks that we talked about in the last video.
You can search for them if you’d like to do that or you can simply scroll to the one that you want to add in your post. That would be one way to do it. Another way to do it is once you’ve added your title, if you hit enter. It will automatically bring you to the next line where you can add a new post.
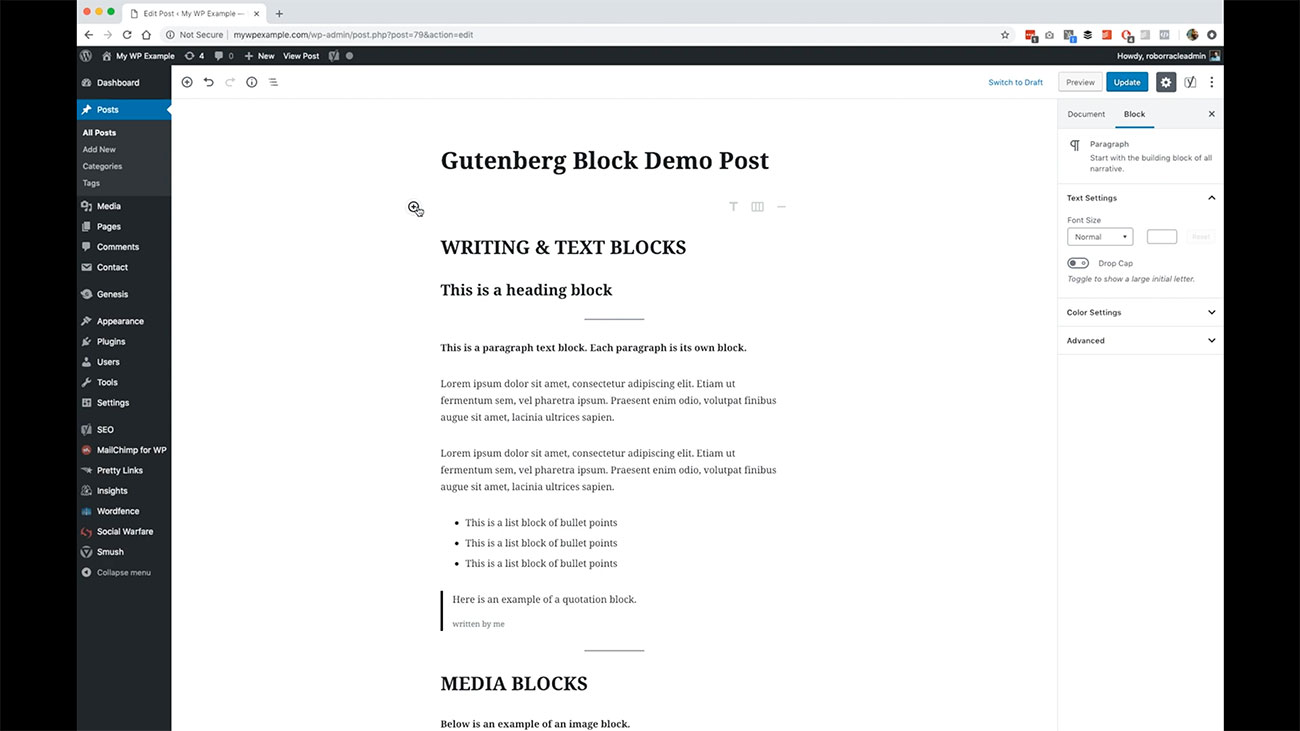 You see over here that this plus button has been displayed again so that you can once again pull up this menu of the various different blocks. You also have the ability to type forward slash if you want to do that. Then it has a smaller list of various different blocks that you can add to your post that way.
Once you’ve created a block, you have these tools to be able to move it up or down. These arrows will move them around by moving it up or down one time, or you can grab this controller here in the middle and drag it to wherever you want it to go.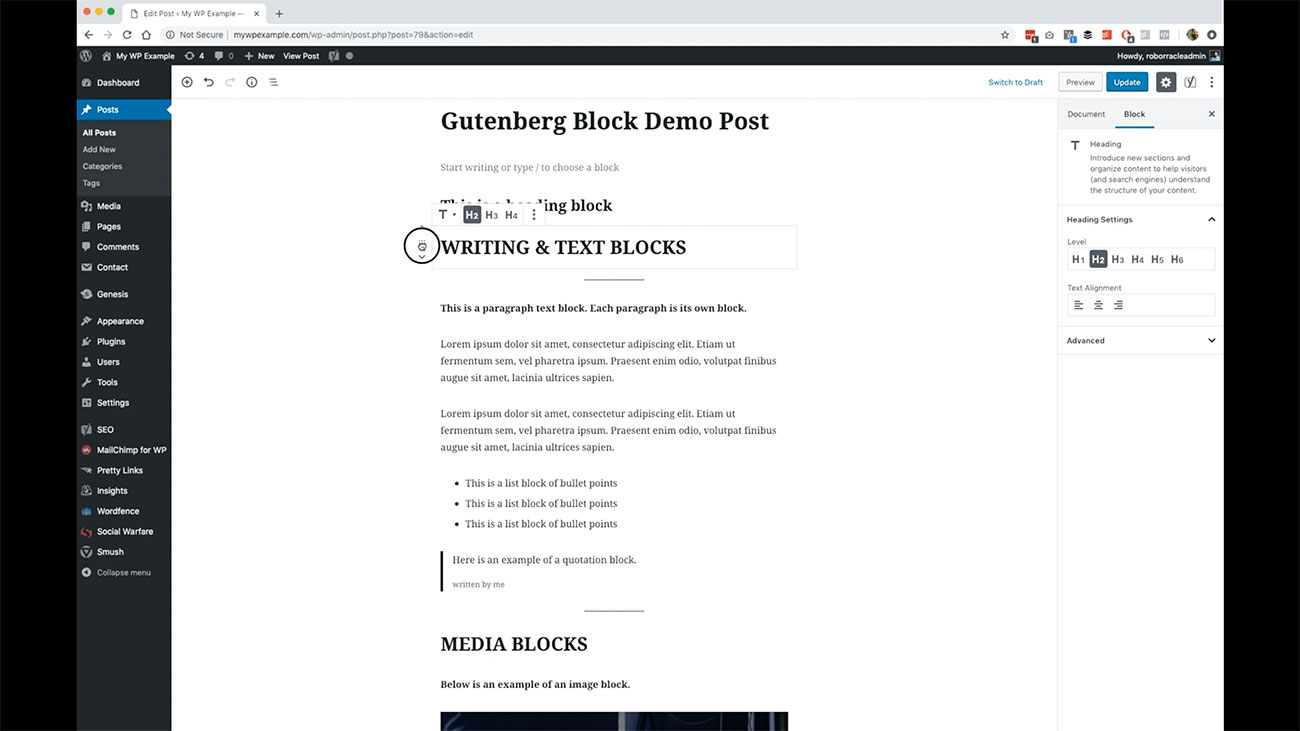
Also, blocks are going to have this control here, which gives you some additional functionality.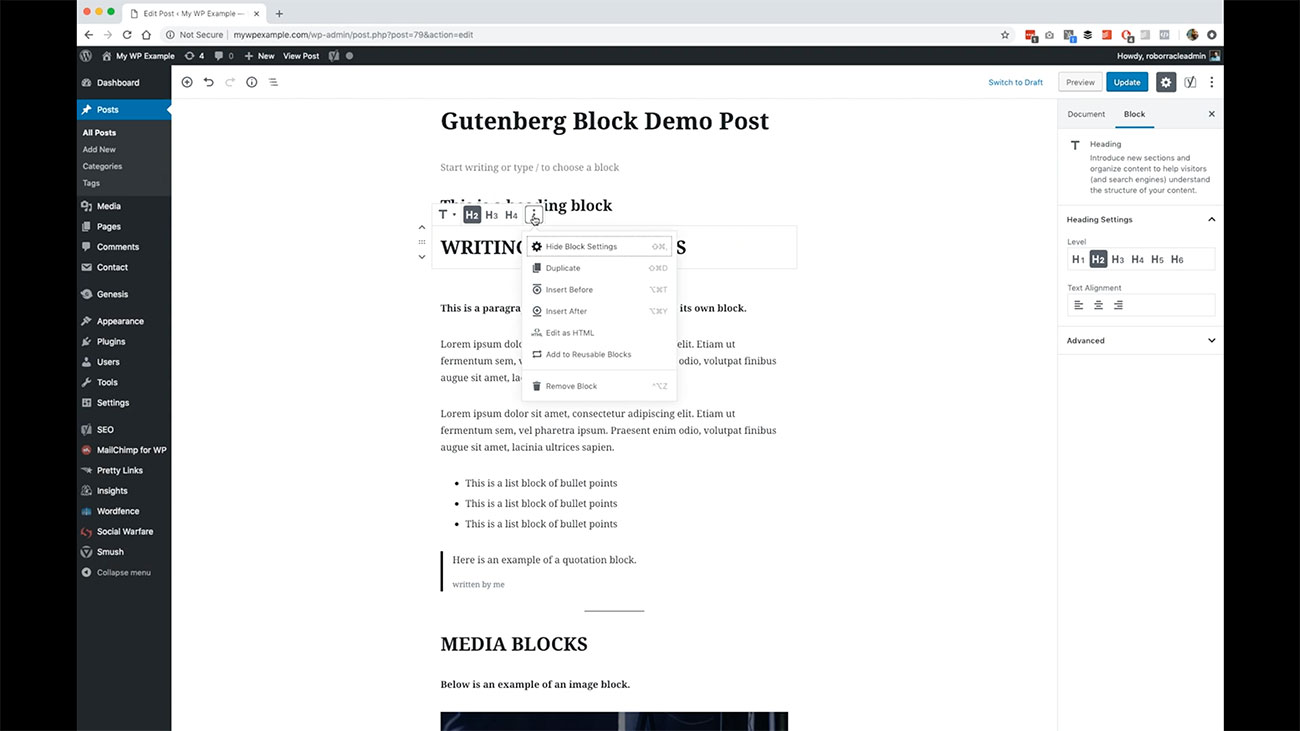 You can hide your block settings. You can duplicate a block. You can insert before or after.
You can edit it as HTML. You can add it as a reusable block or you can remove the block all together.
In addition, you can see over here that you’re going to have various different keyboard shortcuts that will make all this easier if you’re one of the keyboard shortcut people that like to not have their hands on their mouse all the time. You have that ability, too.
In addition, as you are working with various different blocks, you’ll notice as you hover over them.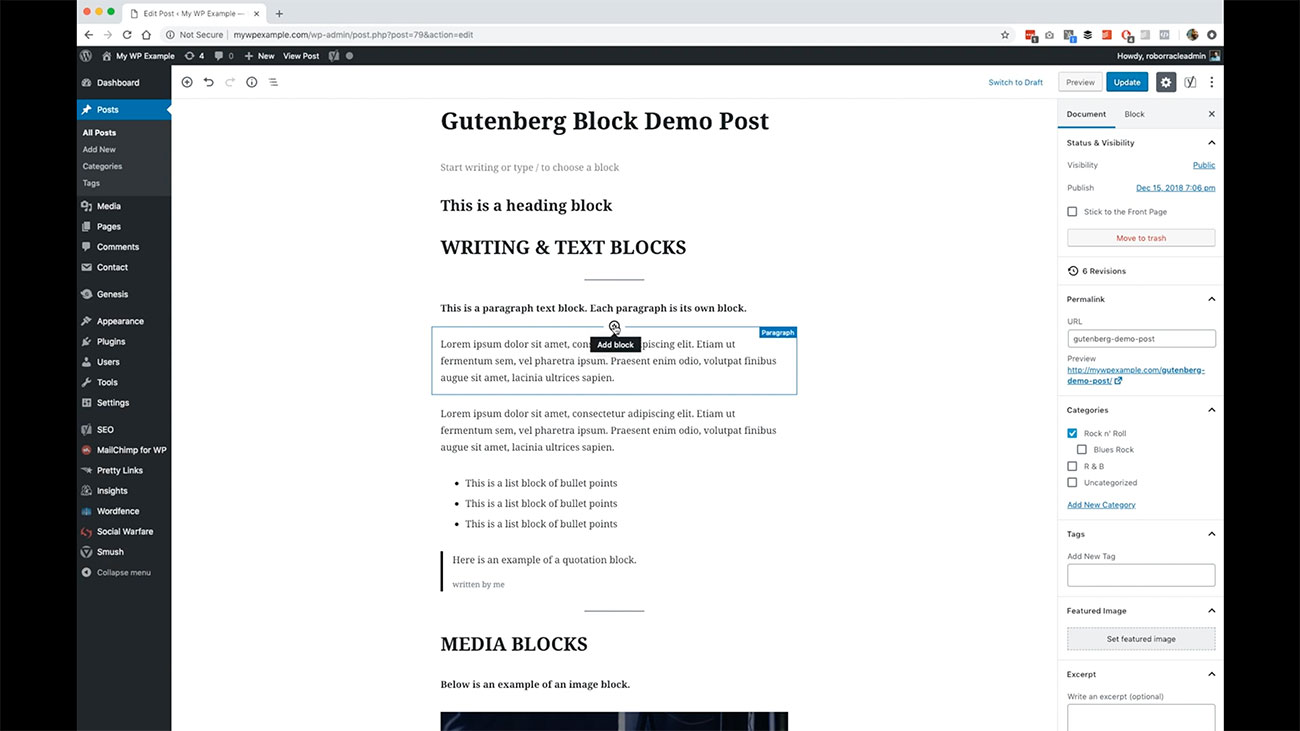 You have this ad block button that will appear when you highlight a particular section. This will give you the ability to add a block in between.
For instance, let’s say we wanted to insert another bulleted list block above this paragraph.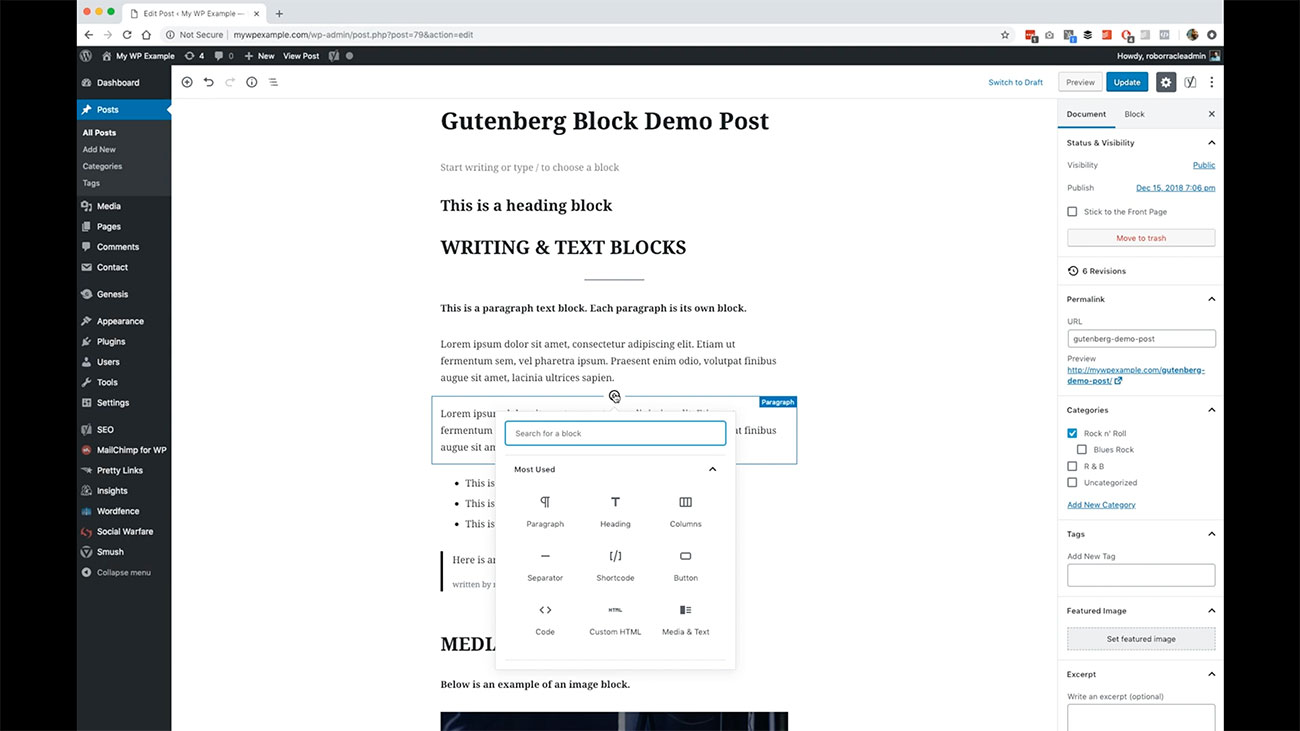 You just click plus, and then you type list to find that particular block, and then you can add your items here so on and so forth.
It adds it right there in line so you don’t have to worry about switching views between code or anything like that. It will allow you to create blocks wherever you want to create them and then easily move them around.
Also, in addition, you’ll notice that over here that there are additional blocks settings.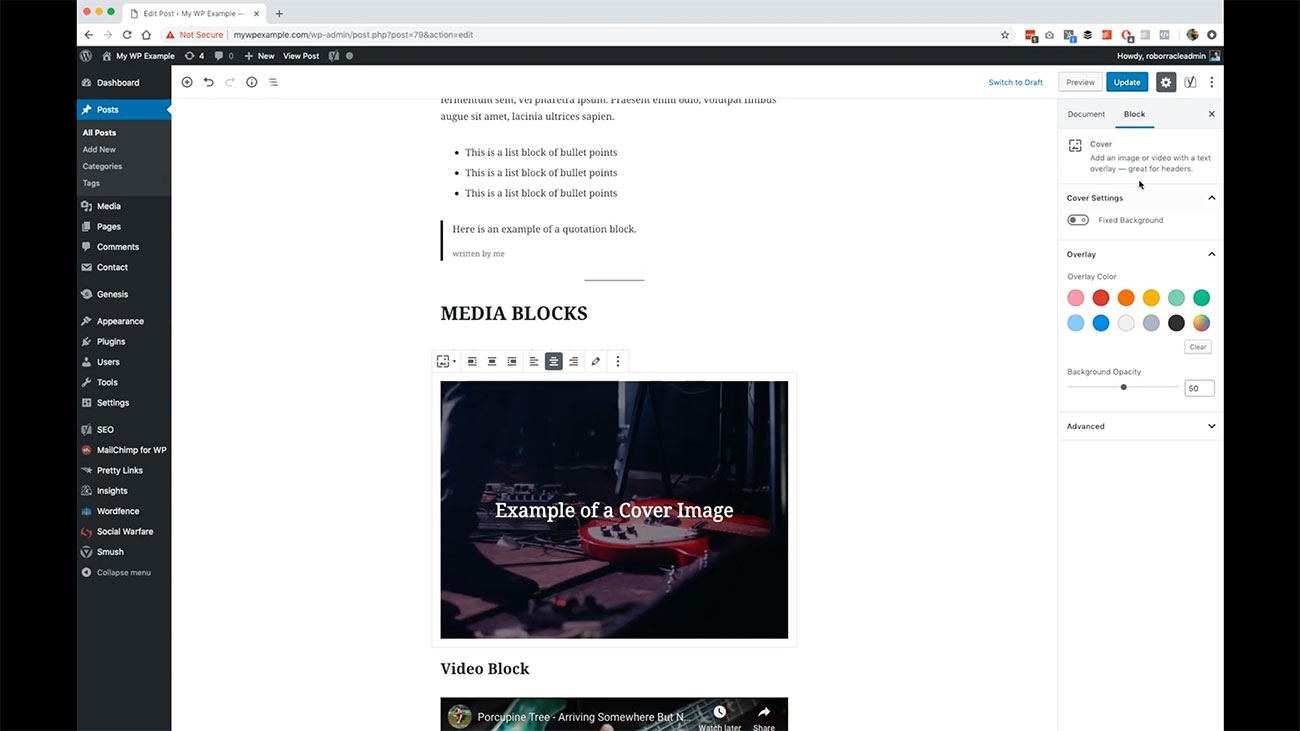 You’ll see over here is that depending on the block that you are working with or editing, you’re going to have an additional set of controls over here on this side that will give you the ability to work with that block in a more detailed manner.
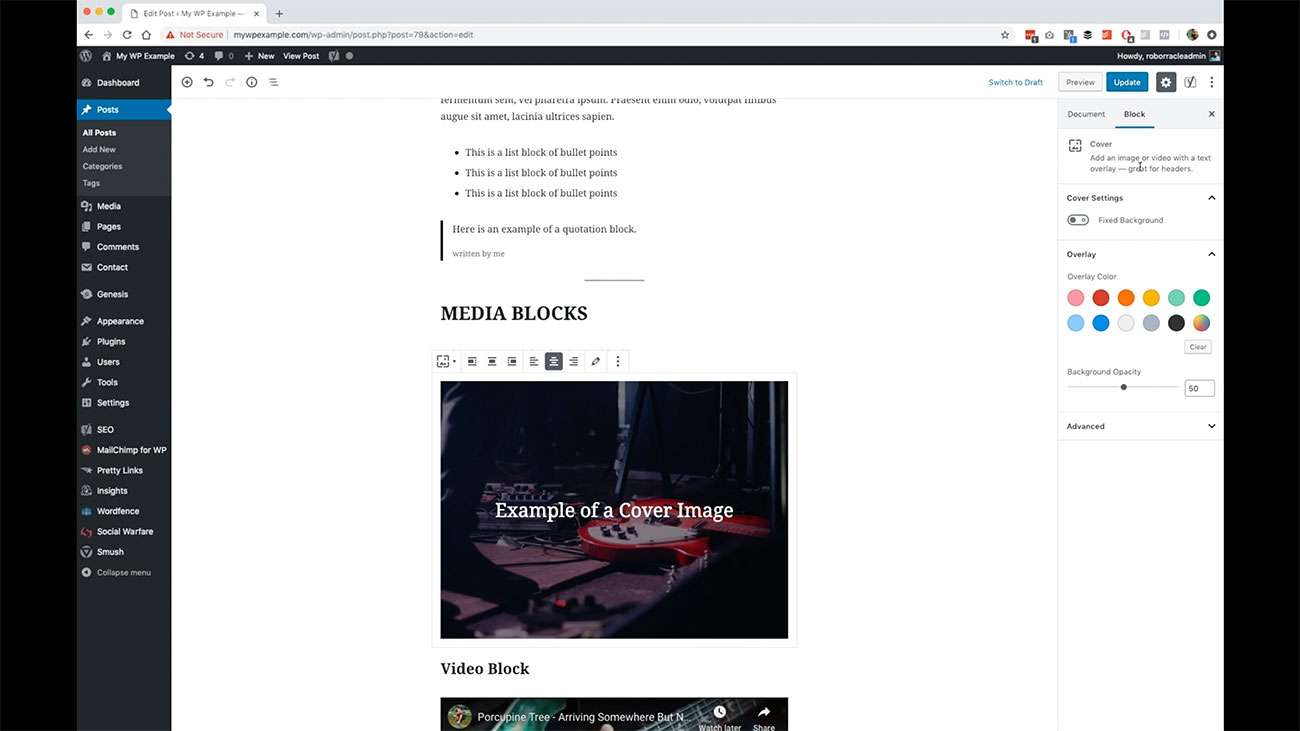
If for instance right now we’re on this cover image block. With the cover image block, you not only have these tools that are available to you up here, but you also have these tools that are available to you over here in this sidebar also.
It will vary depending on the block that you’re using. Here’s our image block. As you move through, your controls are going to change based on where you’re doing your editing.
Then this tab here, when you click on document, this is going to bring up the things that you are used to working with in the old version of the WordPress editor.
The publication tools are going to be over here.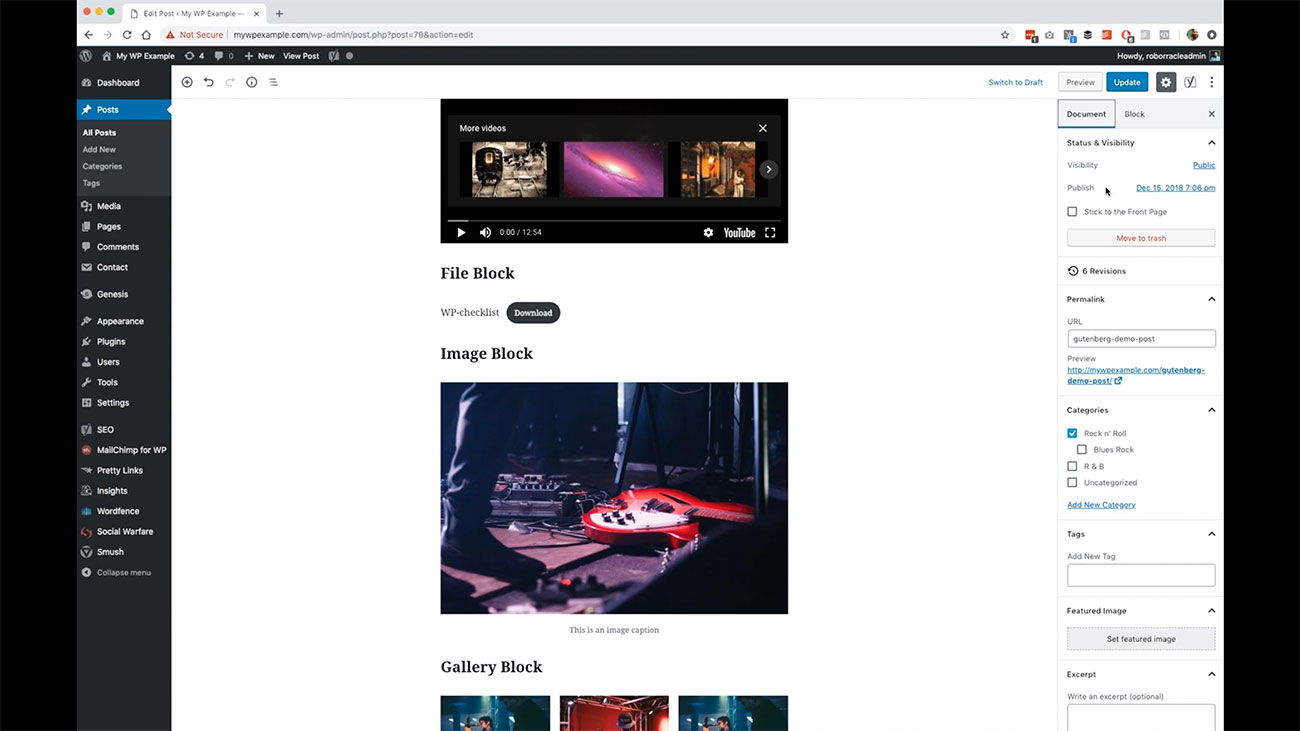 Your permanent link is going to be over here on this side now. You can edit your permalink here or you also have the ability to do that here when you are working on your title in the title field.
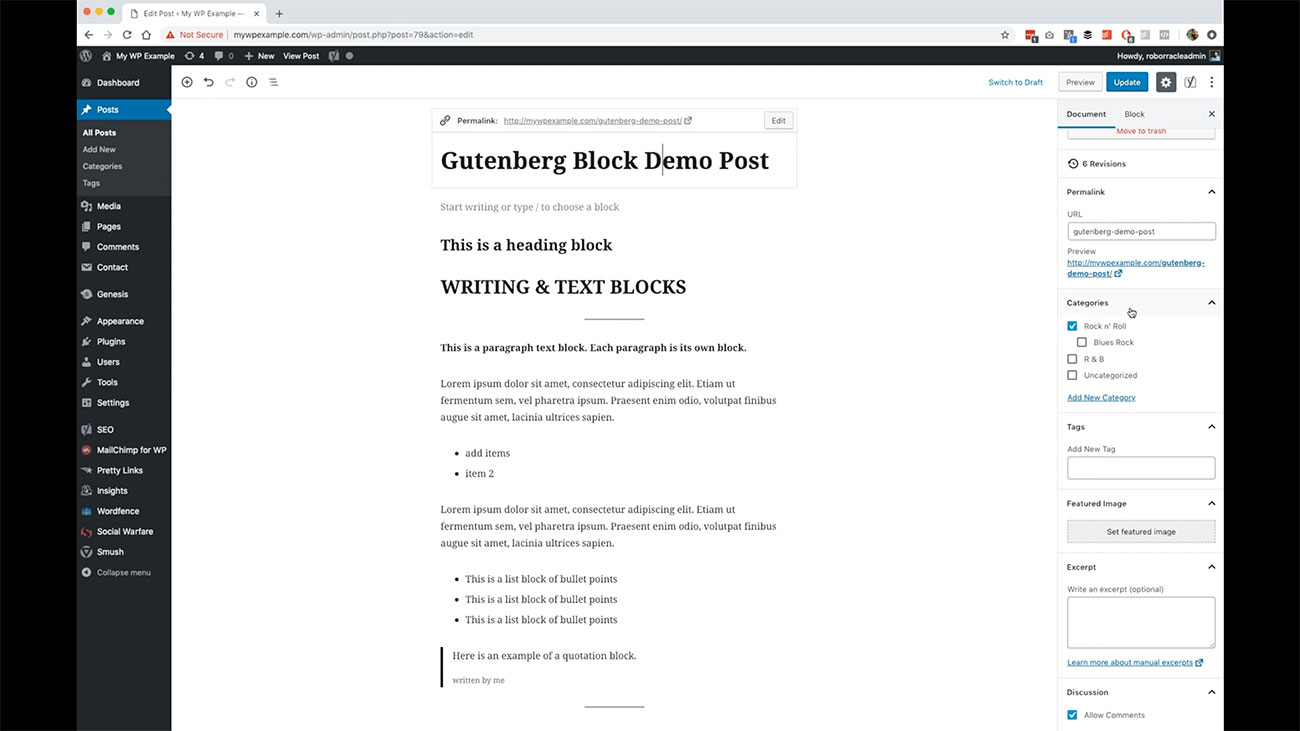 Your categories are over here. You can set your categories as well. Just like the old version of the editor, you can add new categories right from here.
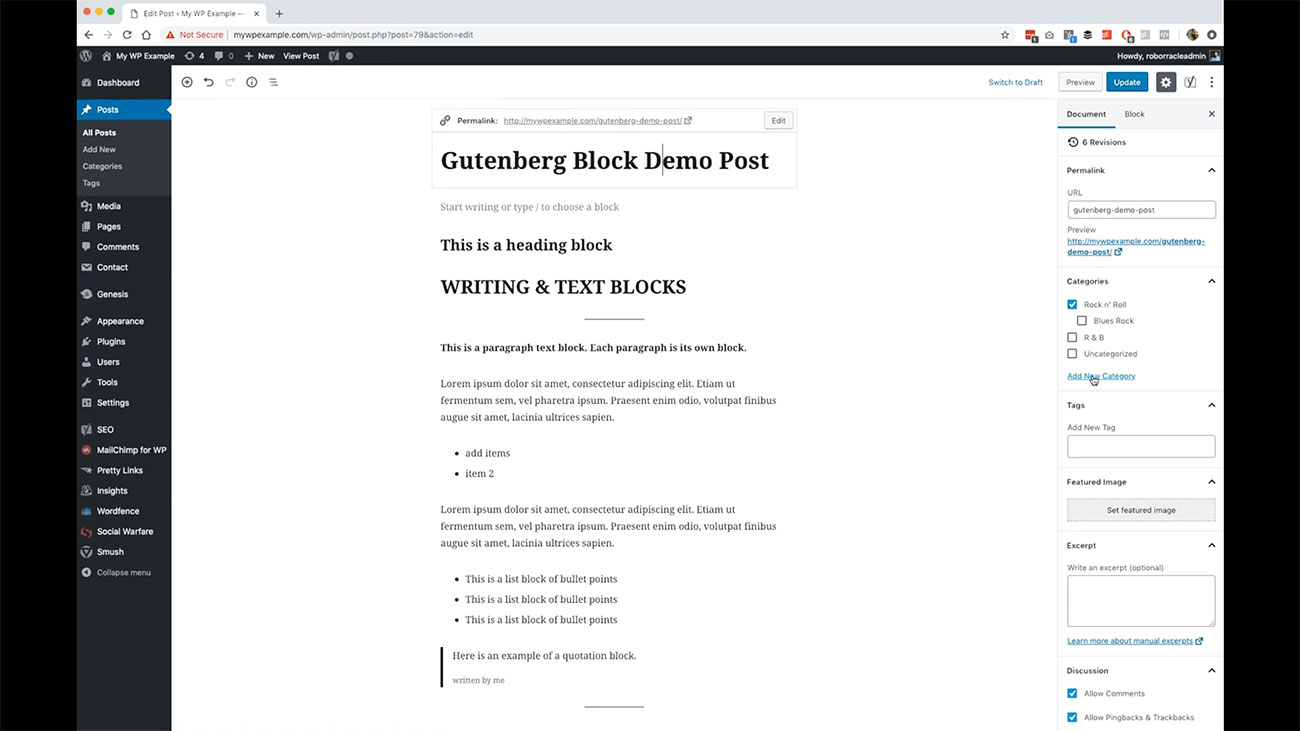 Then here is your featured image.
If you remember from the previous videos, we have the ability to set a featured image which is different than an inline image, and you’ve got that capability right here.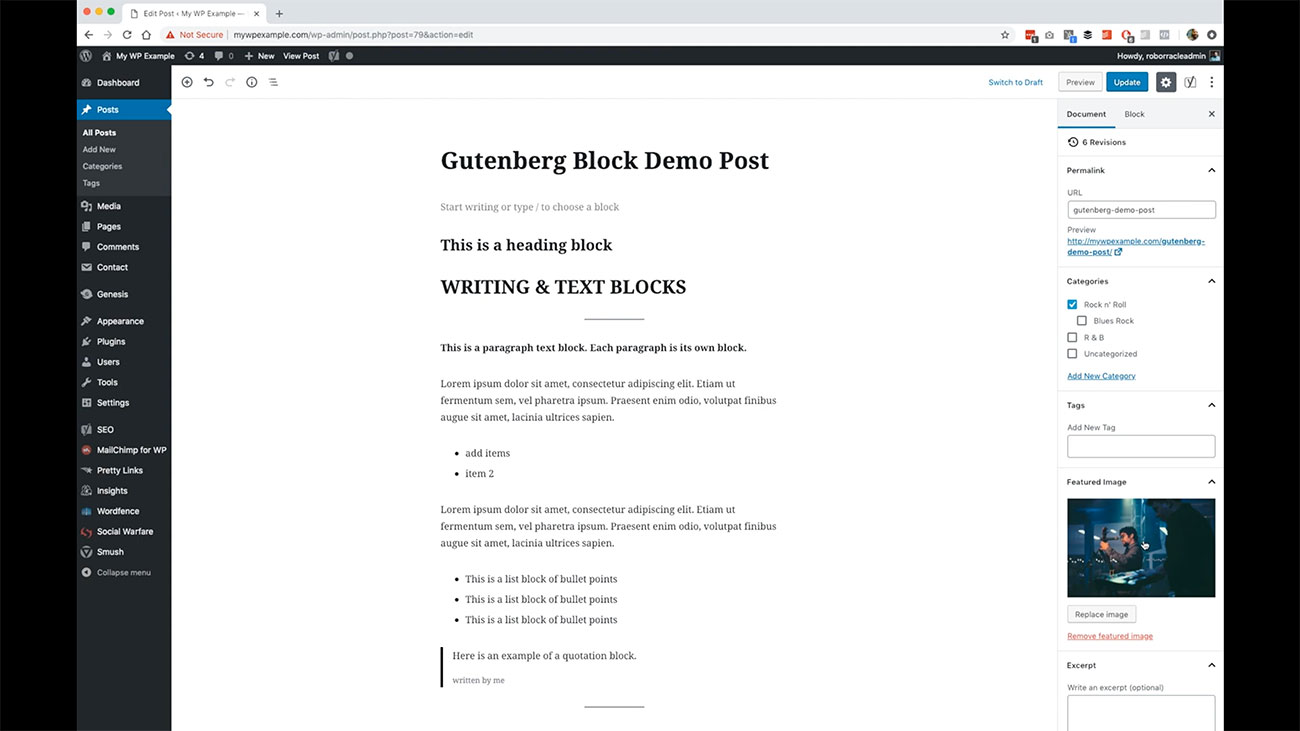 Then, depending on how your theme works, and I believe we talked about this is that you have the ability to write a short teaser to display like on the front page, if your theme uses the excerpt field, then you can create a introductory statement here that introduces your post here.
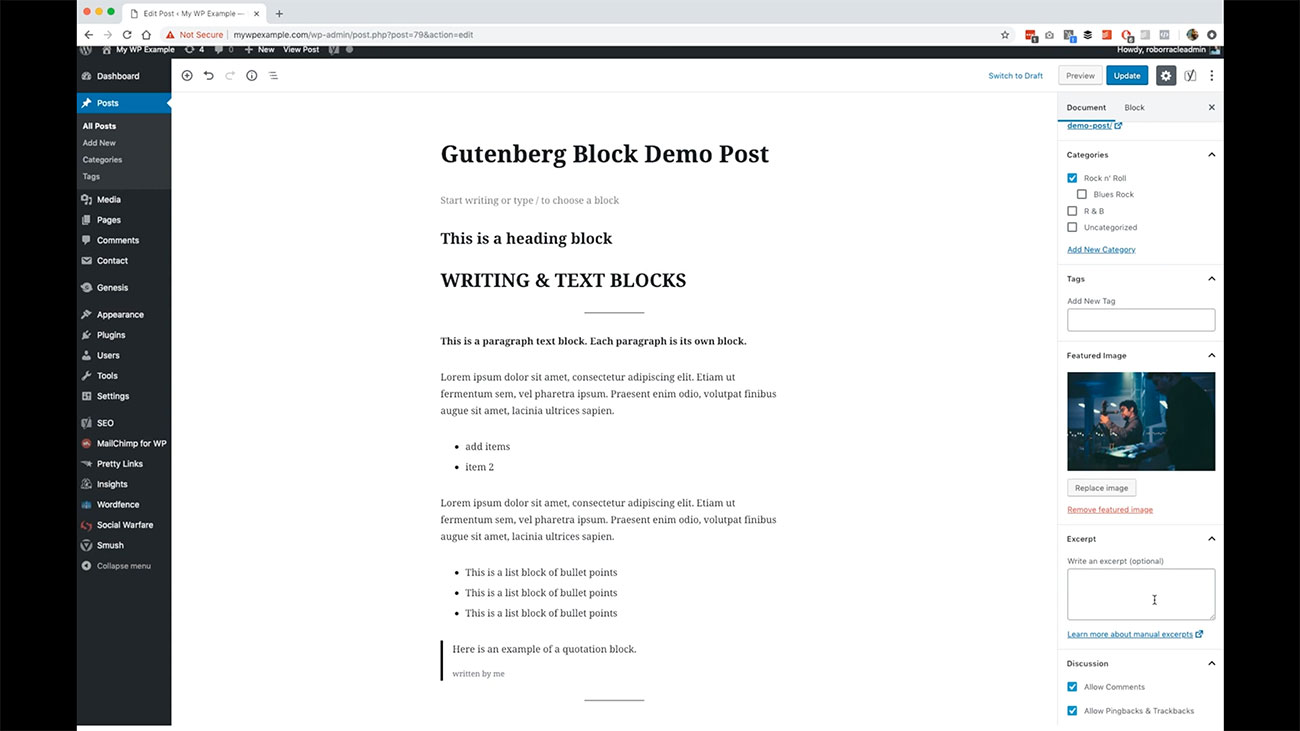
Then you have your comments settings over here. It’s very much similar to the way that you have traditionally seen these controls. It’s just the layout is a little bit different. Then with the other settings you have these are very traditional in terms of what the old WordPress editor showed you as well for things that you could set.
For instance, here are the tools for our Yoast SEO plugin.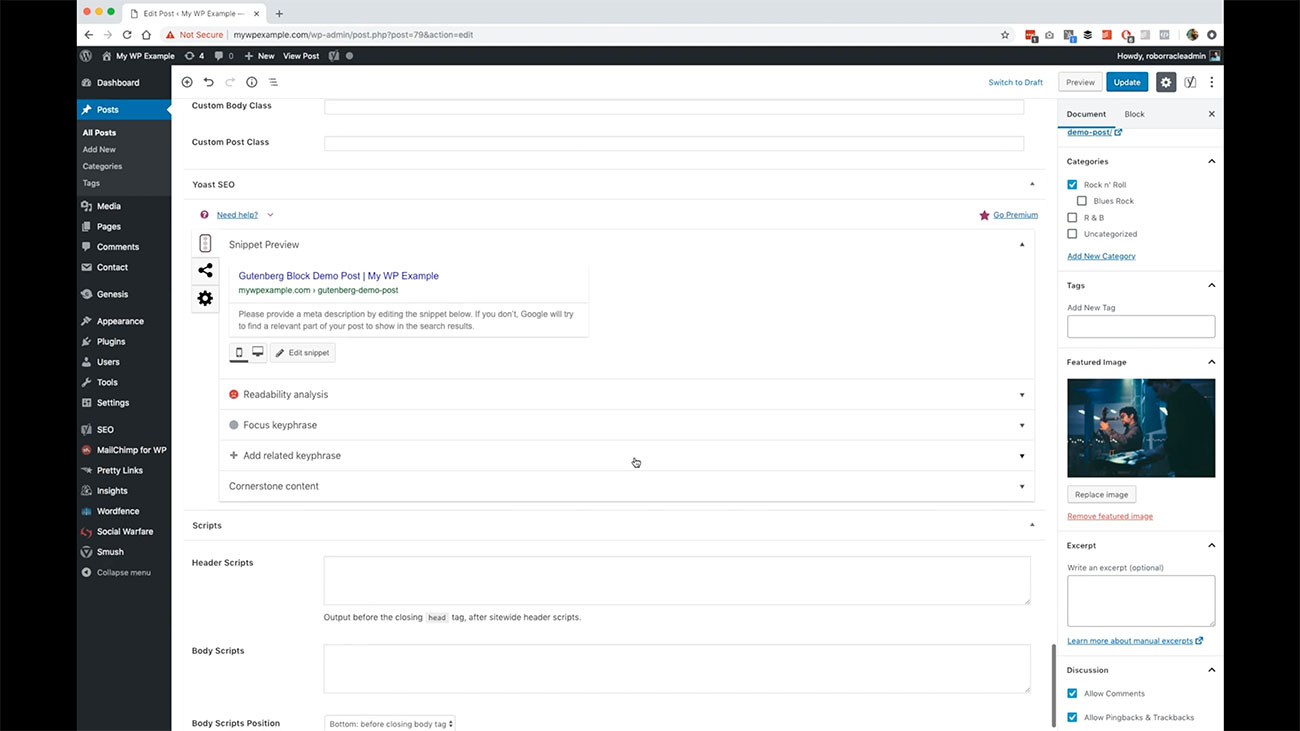 Then here are the tools for adding scripts and so on and so forth, that are native to WordPress that you would have seen in previous versions as well.
That covers the basics of how to work with these various different controls in this new Gutenberg editor.