It’s not hard to figure out how to use Gutenberg blocks.
It may seem that way at first, but figuring it out is actually pretty intuitive.
The problem is it looks daunting if you’ve not seen the new Gutenberg editor before.
And that can slow you down.
And admittedly, there are a LOT of different options for blocks for the new Gutenberg editor.
So I’m going to clarify everything here so you get used to this next-level tool for creating content with WordPress.
So in this video we cover the blocks you’ll be using most and how to use them along with how to work with the new interface to add, remove, and move these new blocks around.
How To Use Gutenberg Blocks
As I mentioned before, the Gutenberg editor introduces a new approach to content creation and editing content using this new concept called Blocks. This block concept stacks different content types together to create new and richer and enhanced versions of your posts and pages.
Your posts and pages that you create using the Gutenberg editor can be as simple as it was with the previous version of WordPress behaving very much like the old text editor, or it can be a tool that you can use to create much more complex layouts and integrate all kinds of different media into your post.
There are several different kinds of blocks that we’re going to cover but they’re broken up into four main categories, writing and text blocks, media blocks, layout blocks, and code blocks.
We’re going to go through each one section by section. Let’s go ahead and go back over to WordPress. Take a look at what we’ve got here.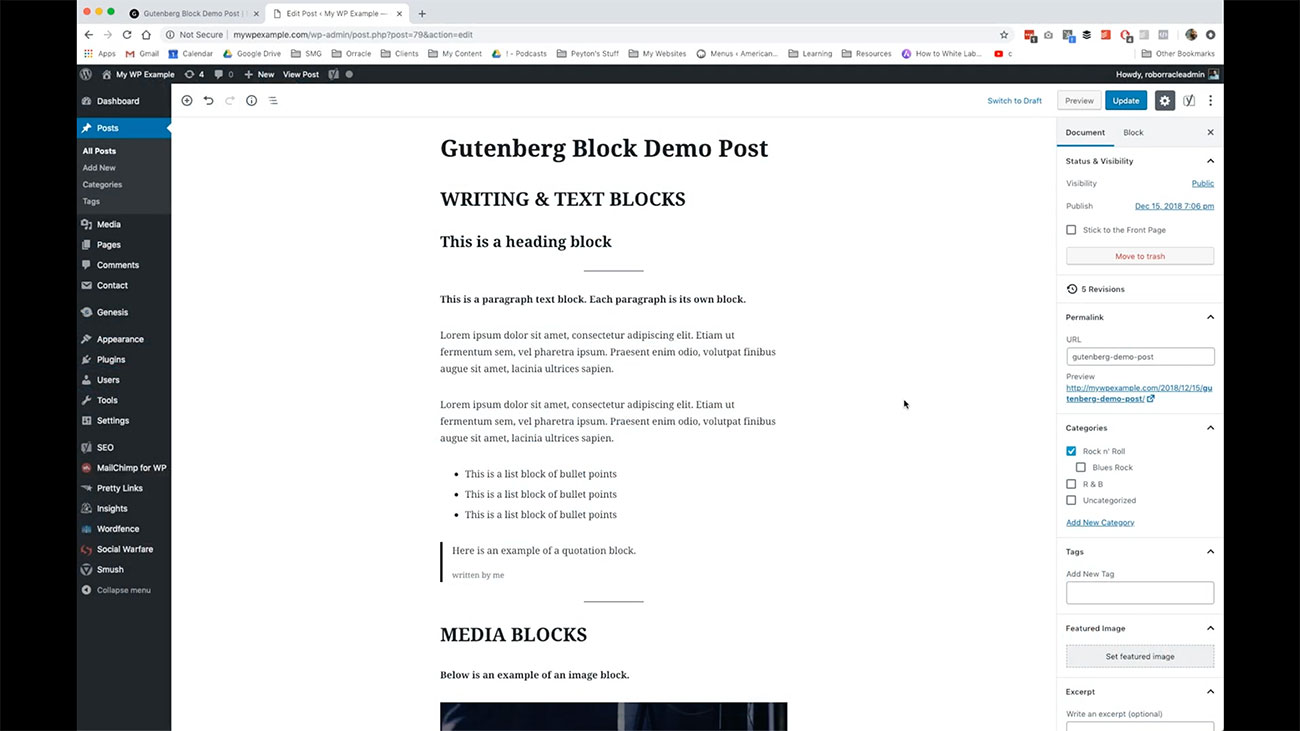 I’ve gone ahead and created this demo post that lays out each of the four categories and then the different kinds of blocks that are included in each of those categories.
So when you come into WordPress and you see this new Gutenberg editor, it’s going to look a lot different but as you get into it, you’ll see that some of the old tools that you saw in the old version of the WordPress editor or just rearranged and cleaned up in terms of their layout and how you’re going to use them in Gutenberg.
For here, we’re going to go ahead and jump into our four different categories. Here we’re gonna go ahead and start off with our writing in text blocks.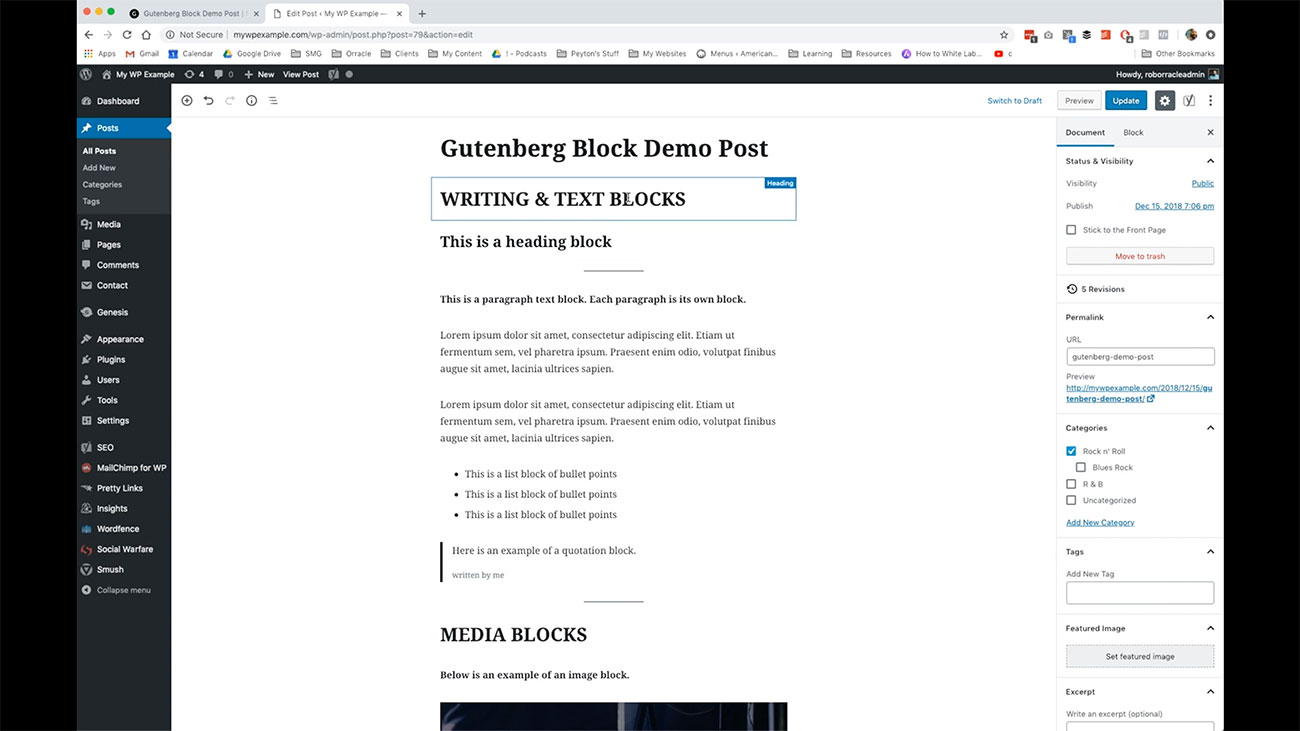
These are the blocks that you use to break up and separate into different sections that you’re content on your pages and in your post. This is a paragraph block that is got bold text in the paragraph. As you can see, I’ve got a couple different paragraphs here.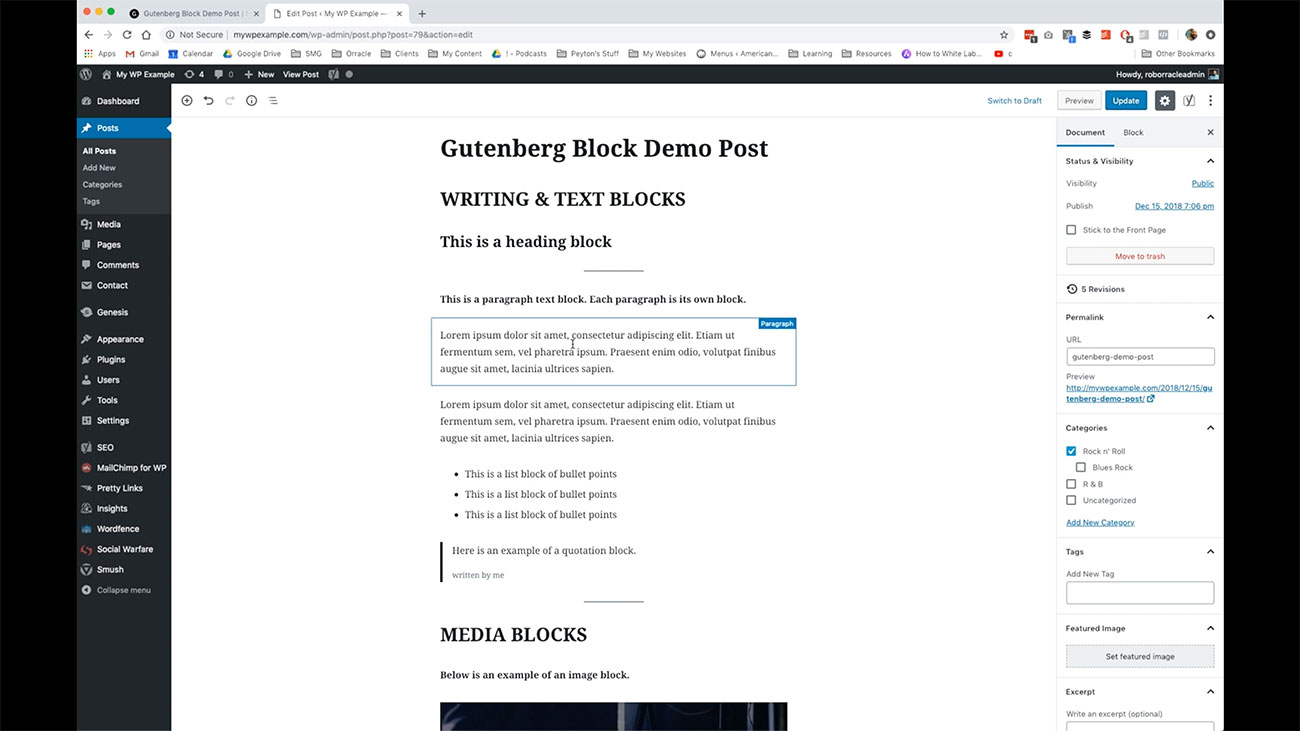
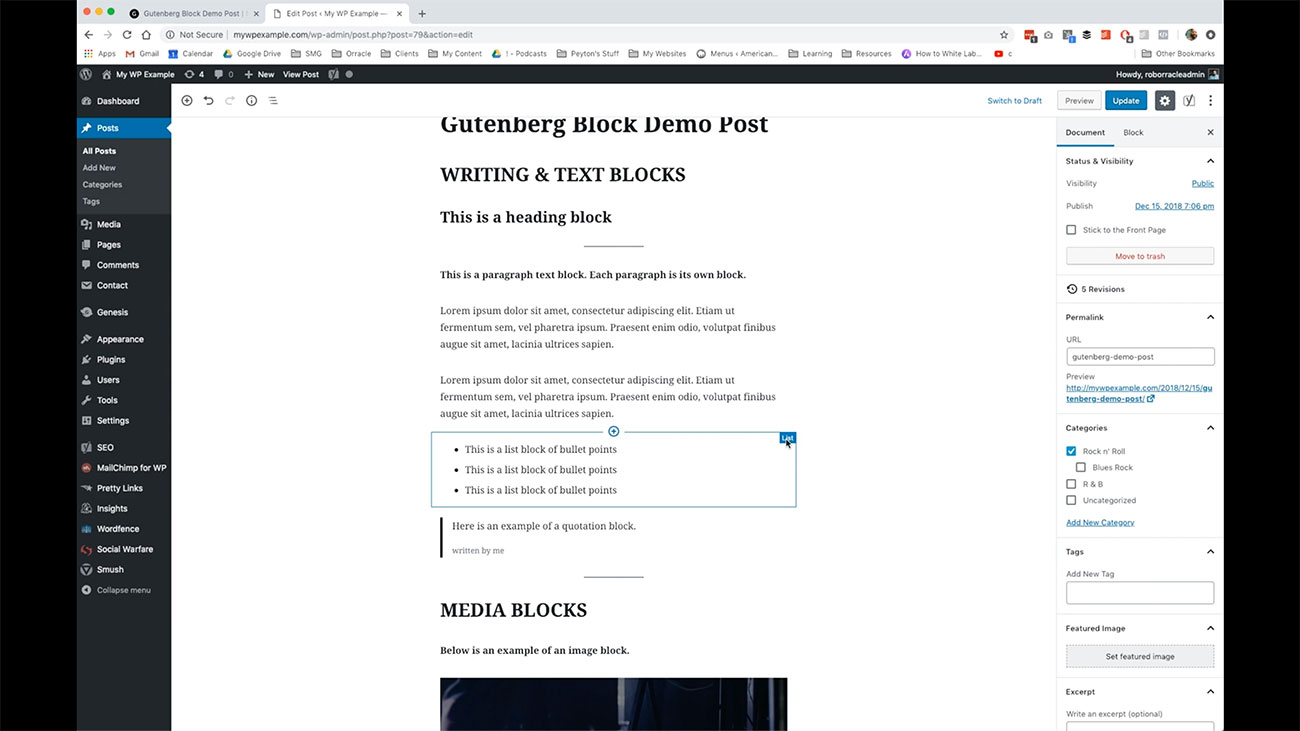
Each one of these paragraphs is its own block. This block here is a list of bullet points.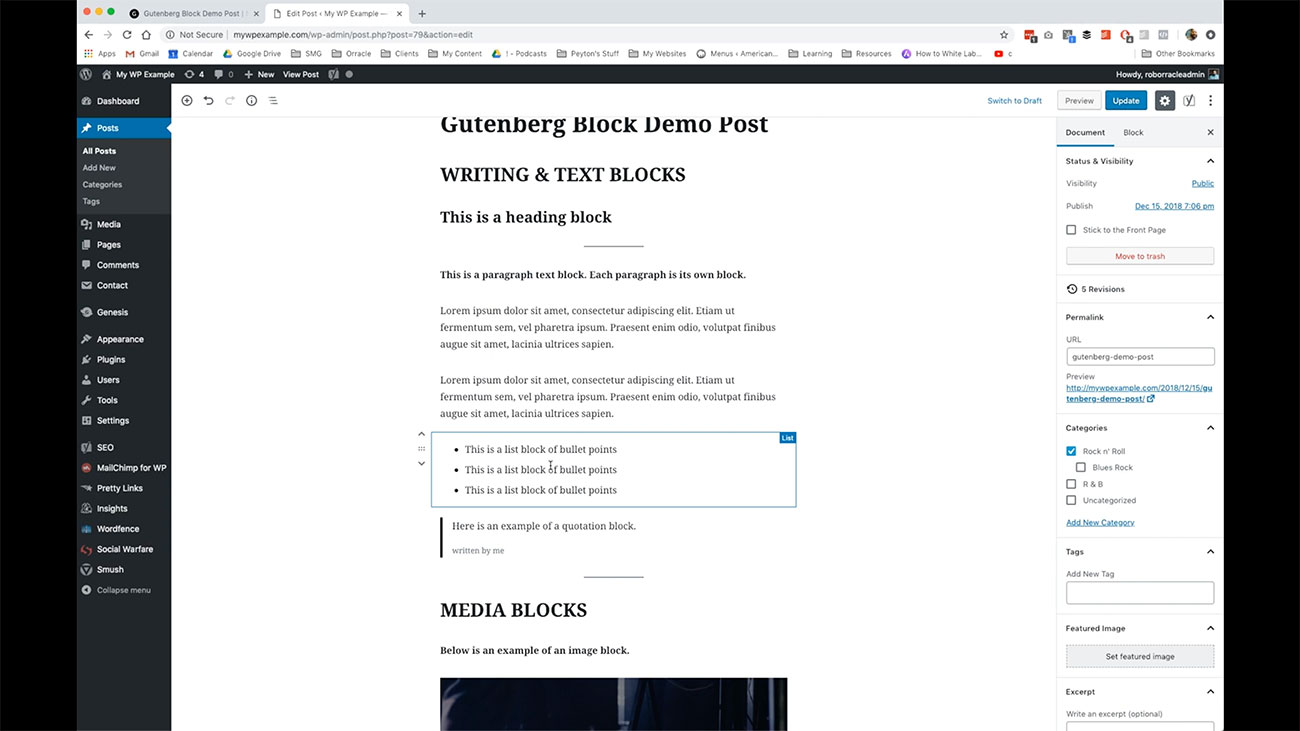 That is also a different kind of block. You can see, as you go through each one of these, they’ll tell you over here, what kind of block you’re using to create that item.
Here’s an example of a quotation post.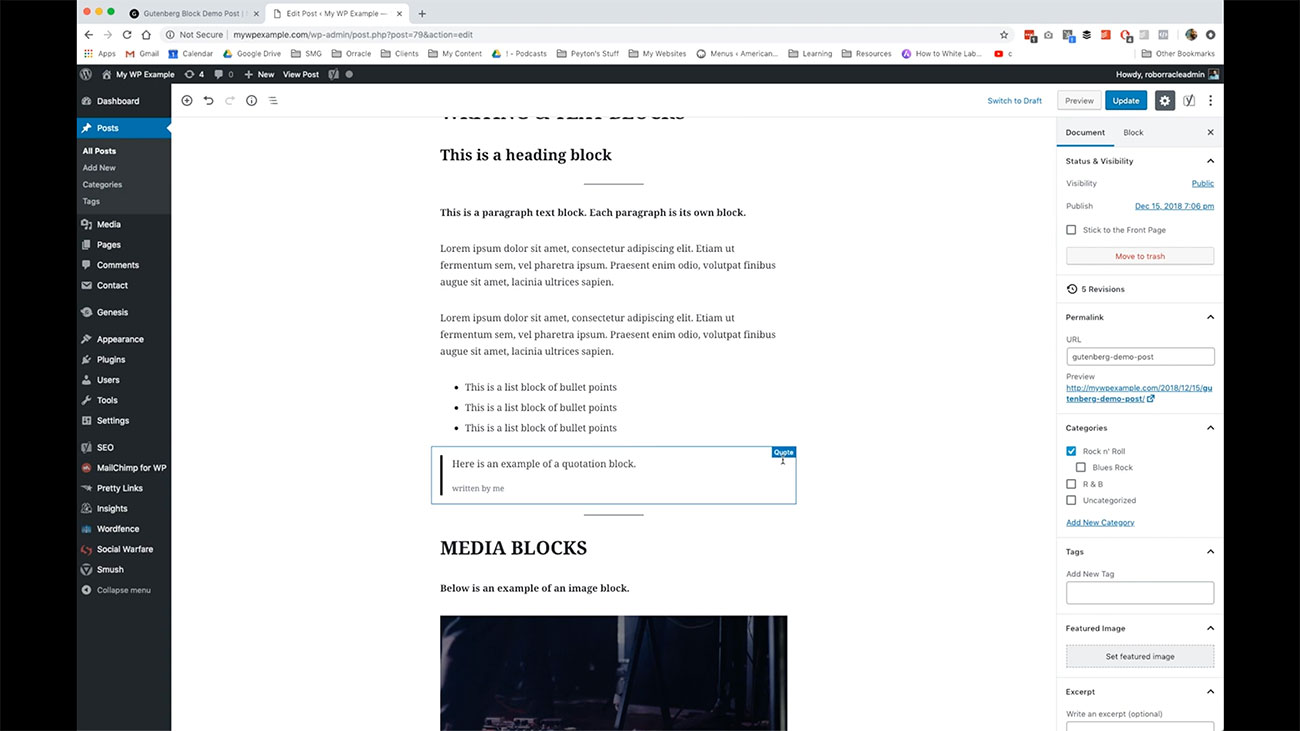 If you’re quoting somebody or something in your post, you have this ability here to use this one. Also, we’ve got media blocks so inside of media, you have a cover image, these kinds of function a little bit like a heading like we were looking at above, in the previous section where we’re breaking up things into their various sections underneath the main topic.
You can use cover images to do the same kind of thing. Here we are using a video block. This is where you can embed, or it can be a video file that you link to from an external source.
I’ve just linked here to something from YouTube, but you can upload videos directly to your WordPress site. That’s not advisable. We don’t want you adding huge files like that directly to your WordPress site.
But if you got a smaller video file that you just want to have, and have it live in your WordPress site, that would be okay. You have that ability to do that in very much the same way that you would when you are working with media. If you remember the media center video, we cover how to use those various different tools to get media onto your website.
This is going to behave the same way. 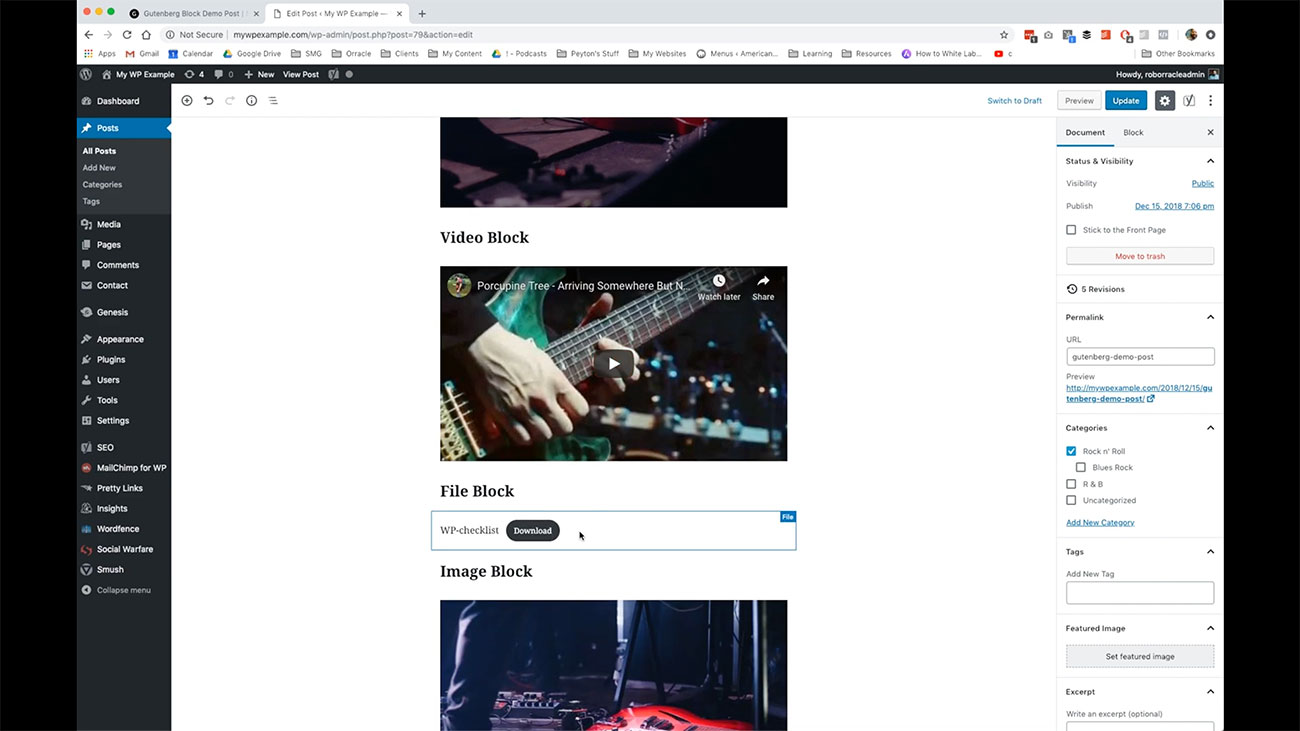 Here we have a file block so if you have a download or something like that you’re going to add to your page or your post or it’s a report or some kind of PDF or Microsoft Word document or something like that that is included in the page, you can use a file block to create that.
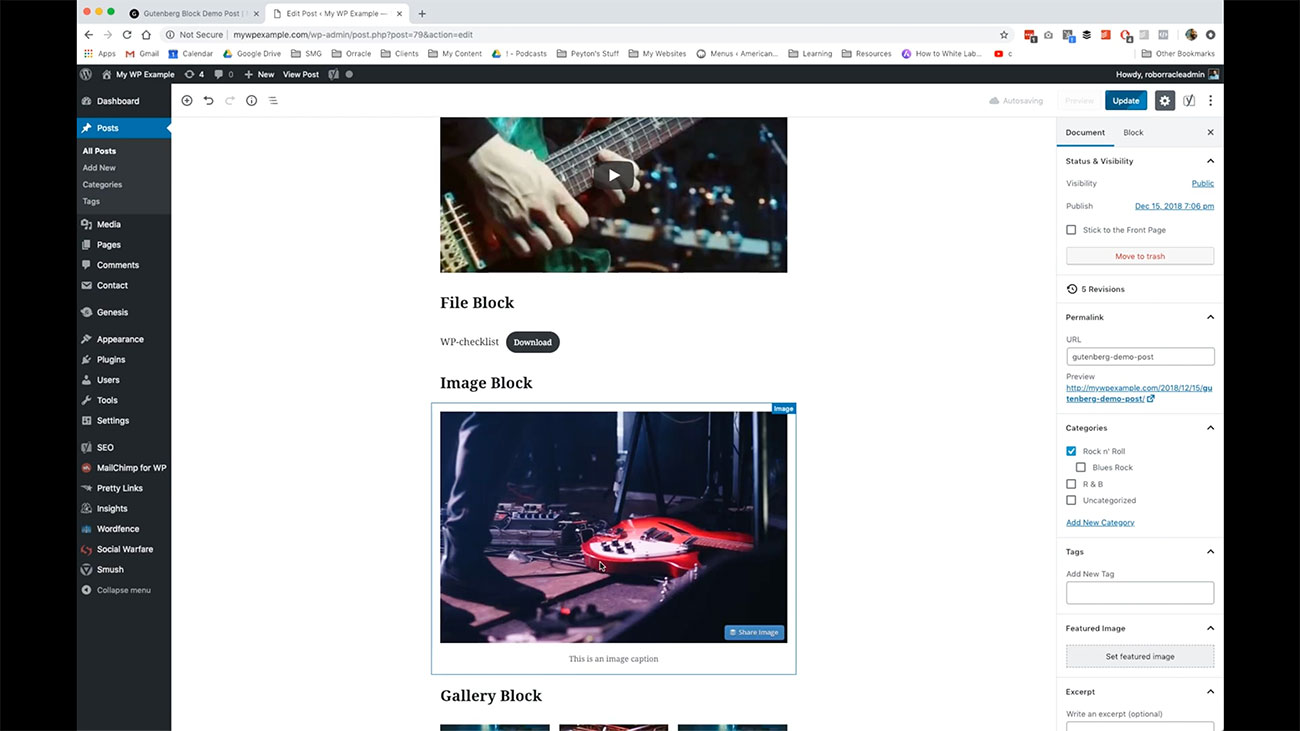 Here we have an image block, so you can enhance your media using images throughout your post. It’s a little bit different than how it worked in the old version of the WordPress editor, but the tools are essentially going to be the same for adding and working with images in your post.
You can come in here. You have the same alignment tools that you would have normally that you can caption right here, you can link it right here. Those kinds of things are available to you when you’re adding images to your post and the body of your post.
Now remember, this is also different than using the featured image which you see over here. We’ll get to that in the next video but for the purpose of adding images in line into your post using the Gutenberg block editor, this is how you would do it here.
You have also the ability to create small galleries or big galleries if you’d like. What I’ve done is taken the various different images that we’ve used at throughout the various videos that we’ve done for this particular course and created a gallery out of them.
You can see all of that here.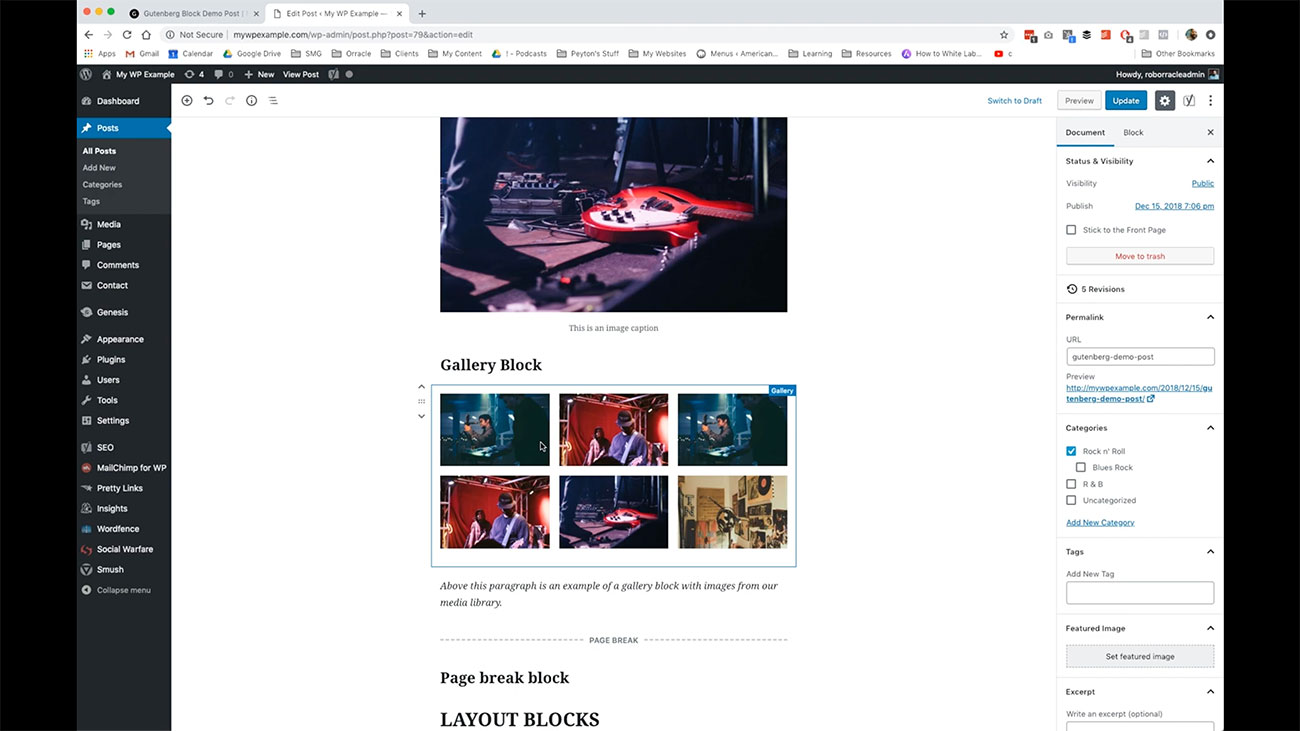 You can add, again this is all in your posts, and I’m going to show you in a few minutes what this looks like on the front-end so you can see how this works there too.
Now what we’ve got here is a page break block. What I’ve done here is to create and you’ll see it once we get to the front-end. We’re breaking up our main sections of blocks into various different page breaks.
You can add a pagination within a post or a page if that’s what you want to do. That is one of the various layout blocks that you have which is what we have for this next section.
You can create columns. If you want to create columns of text within your pages and posts, you have the ability to add up to six columns of blocks in your post, or your page using this tool. You have also a button block and this is something again, super simple to use.
All you do is add the block and then you link it to the resource that you want to have, if you can see here, I’ve just put in nothing here essentially and then you just click here to add into work with the text.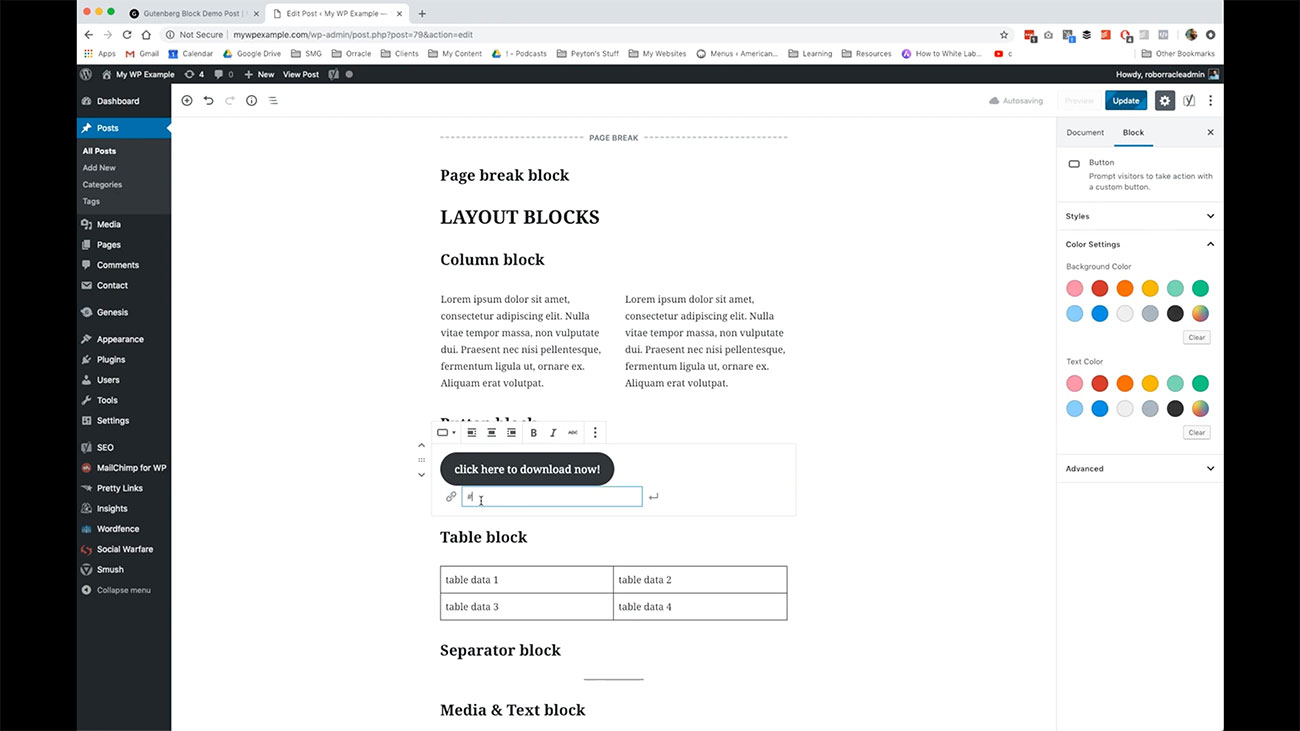
If you are going to link out to something, say for instance, we’re linking to our http://mywpexample.com. It’s all you need to do to update that.
One more of the various different kinds of layouts that we have available to us and these are layout blocks that we have available to us is this table block.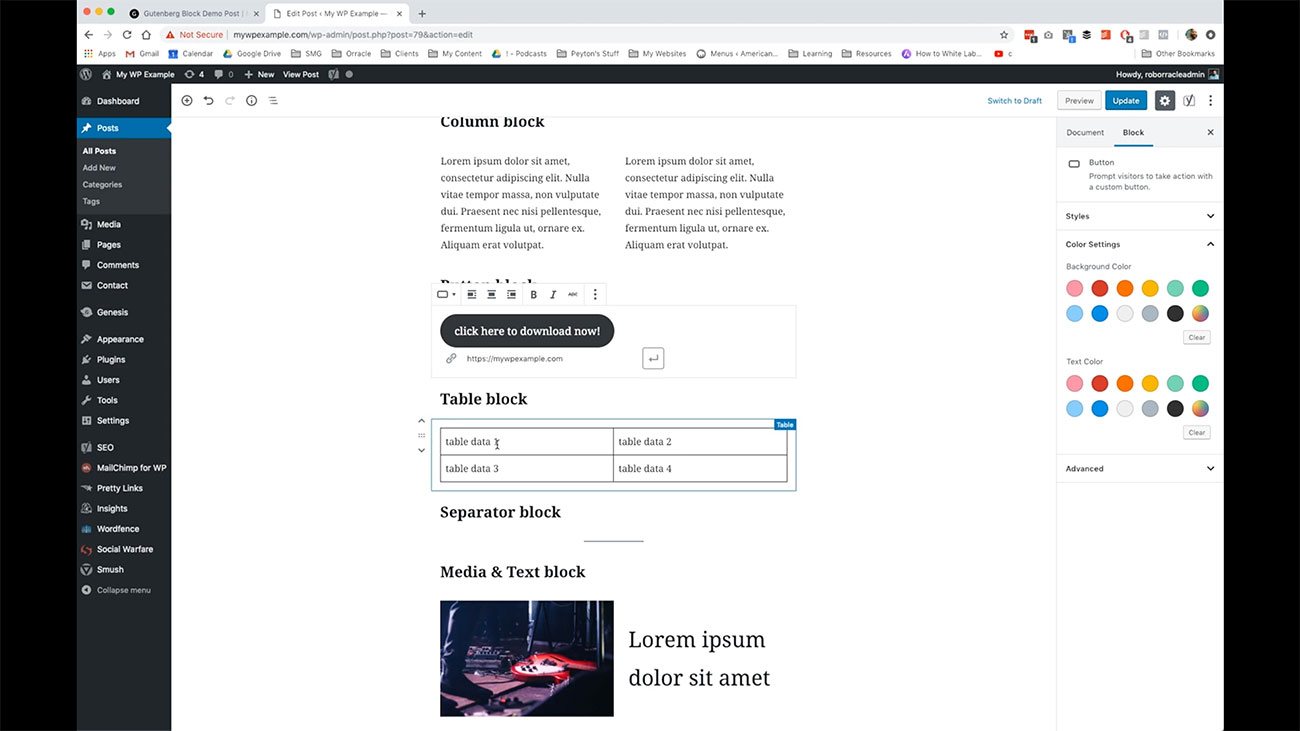 If you have table related data that you need to display, maybe its scores or maybe it’s like a list of some kind of internal phone numbers for your organization that would address that would be best represented using a table display. You have the ability to do that here.
In addition, you have this separator block, which we use to break up the flow of our content as we go from one topic to another. We have the ability to create what’s called a Median text block. What this does is gives you the ability to put an image or some kind of media item in the same block as some text here and you can link however you want to work with these things here.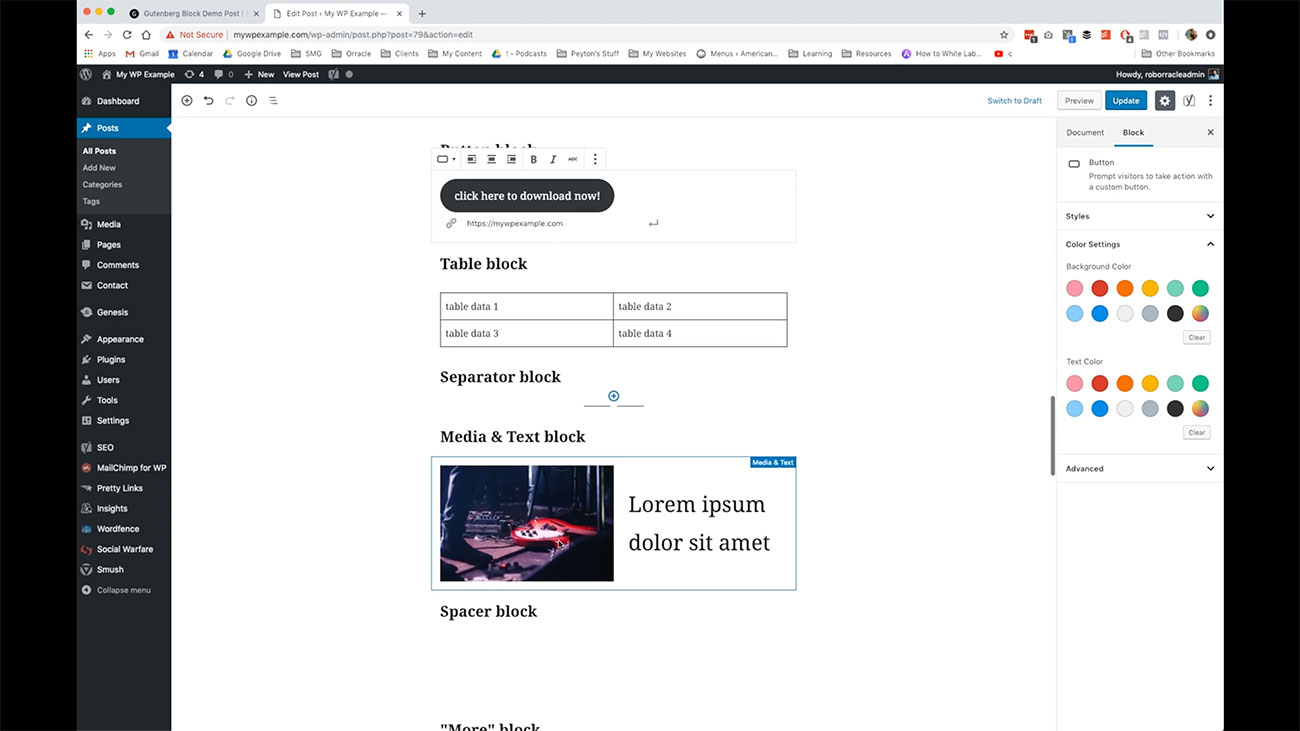
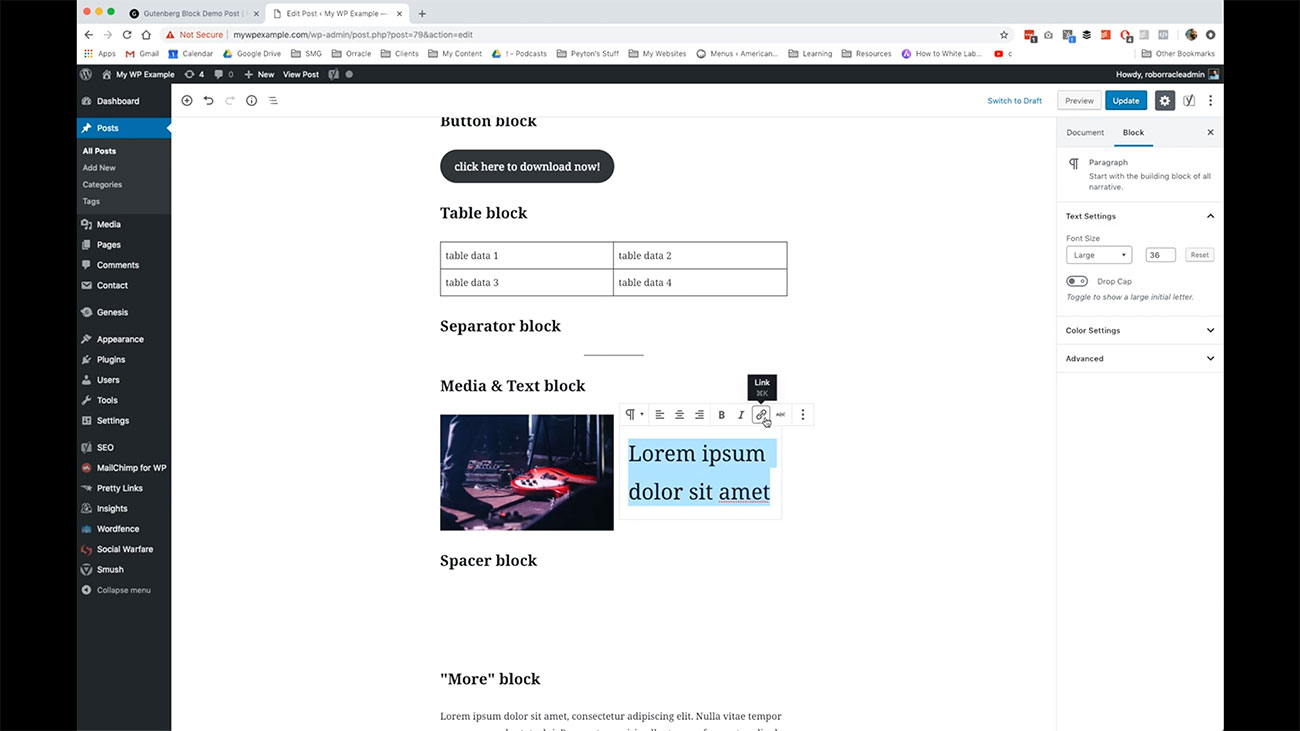 As you can see, we’ve got text over here and if we wanted to link that you’ve got the various tools over here, then you’ve got the small type of editorial tools that you would use with an image, although it’s a much more streamlined version of those tools.
Here you have a spacer block.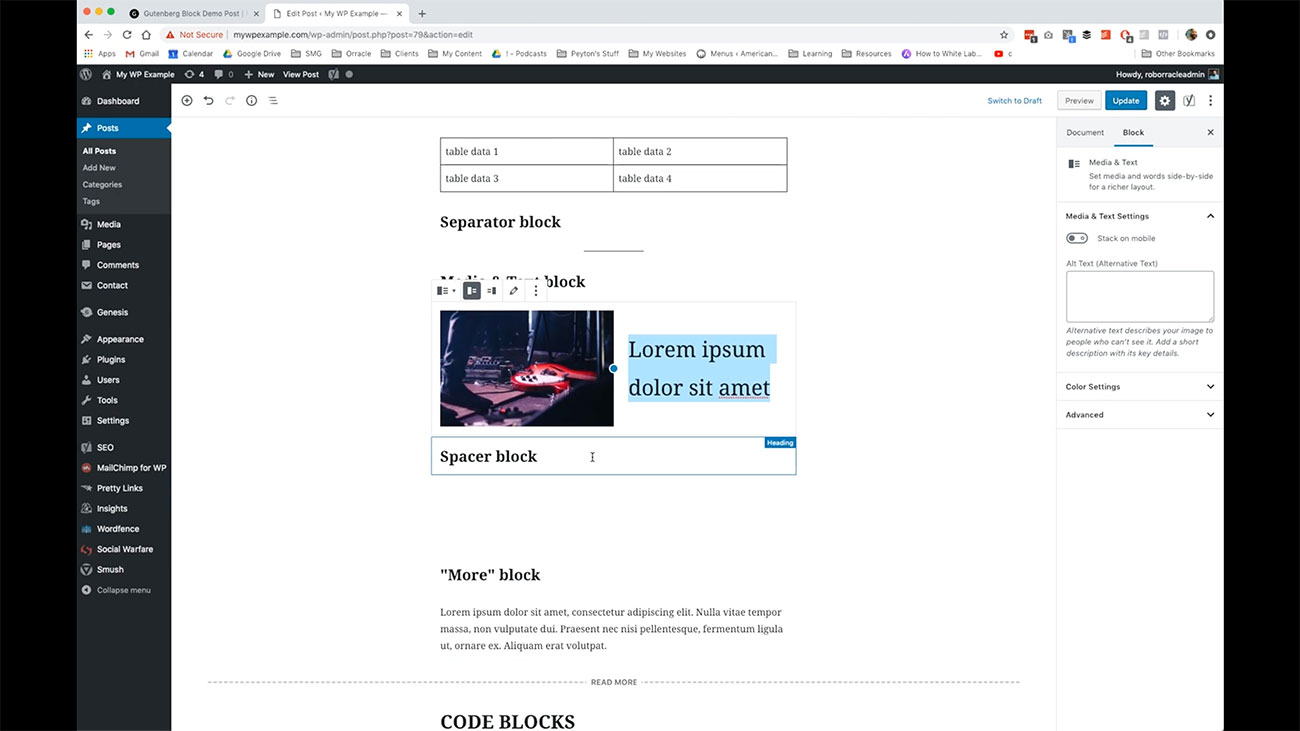 You’ll notice I just have the title here for spacer block. Then you’ve got this white space here and that’s controlled over here.
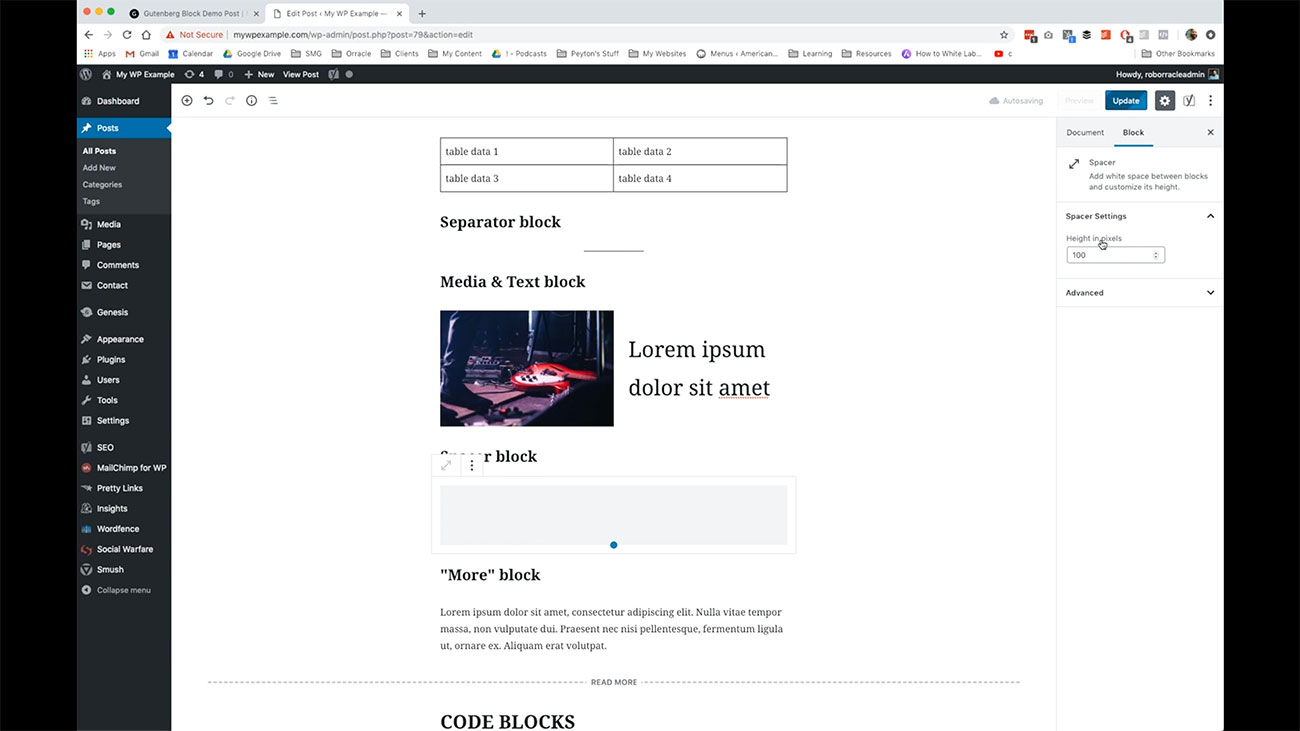
You can go through and put place spaces in your content if you want to have some additional white space in there. Then you have the ability to edit the height of those spacers that are being placed into your content.
You’ve got to read “more” block. What this does is puts what’s called a teaser break into your post. What that will do is add that teaser break and then you’ll be able to come through and you can edit this if you want to, say read more. Let’s do about code blocks.
Now we’re going through and talking about some of the code blocks and depending on your level of comfort with this kind of thing, you may or may not need this. Sometimes they are plugins that ask you to insert a small piece of code, whether it’s HTML, or maybe it’s a short code, or maybe it is a script or something like that.
These code blocks give you the ability to do all of those things. The first of the code blocks we’re going to look at as a custom HTML block. Maybe you’re a little bit old school and you like to work with HTML directly. You can add a custom HTML block to be able to do that into your post.
Sometimes there are plugins that ask you to add a short code to your page or post in order to display the various different tools that come with those different plugins. If you remember back, when we were talking about plugins, our Contact Form plugin asked us to use a short code to place forums on our page and I’ve gone ahead and placed our Contact Form here using that short code.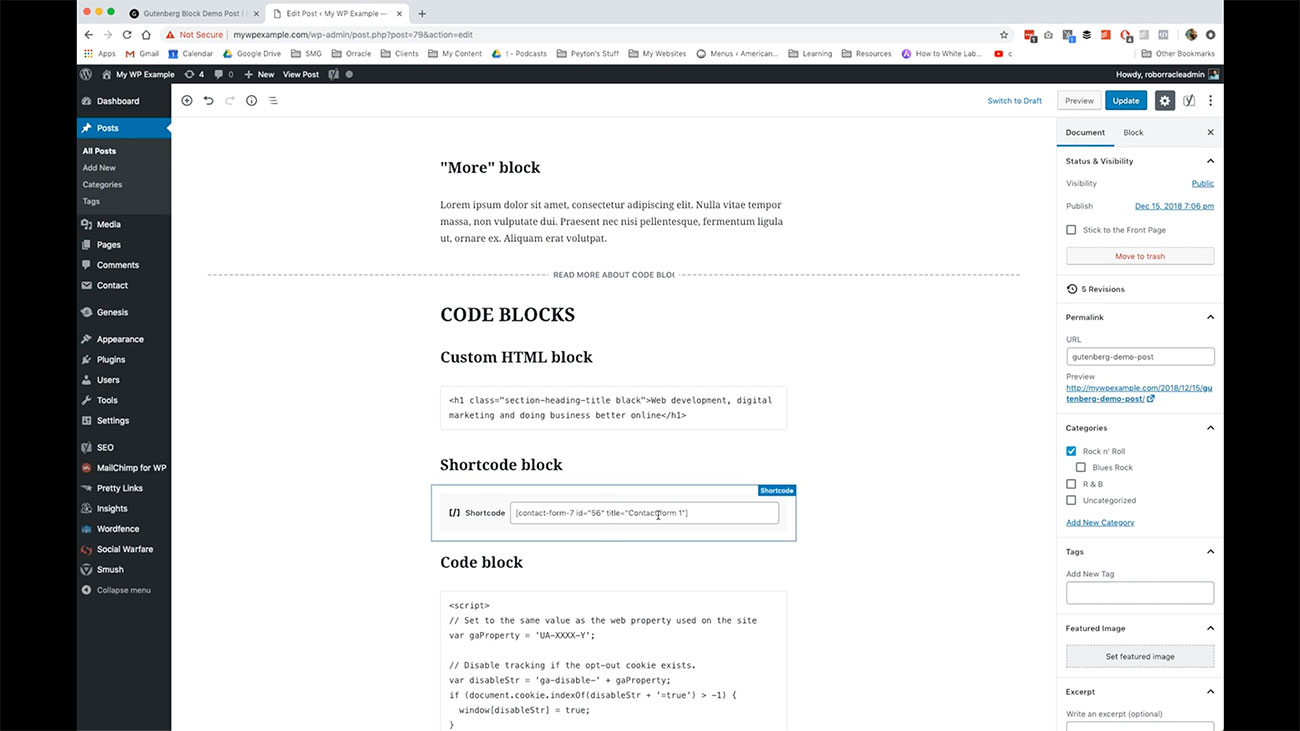
Now the next couple blocks that you have available to you here are code formatting blocks.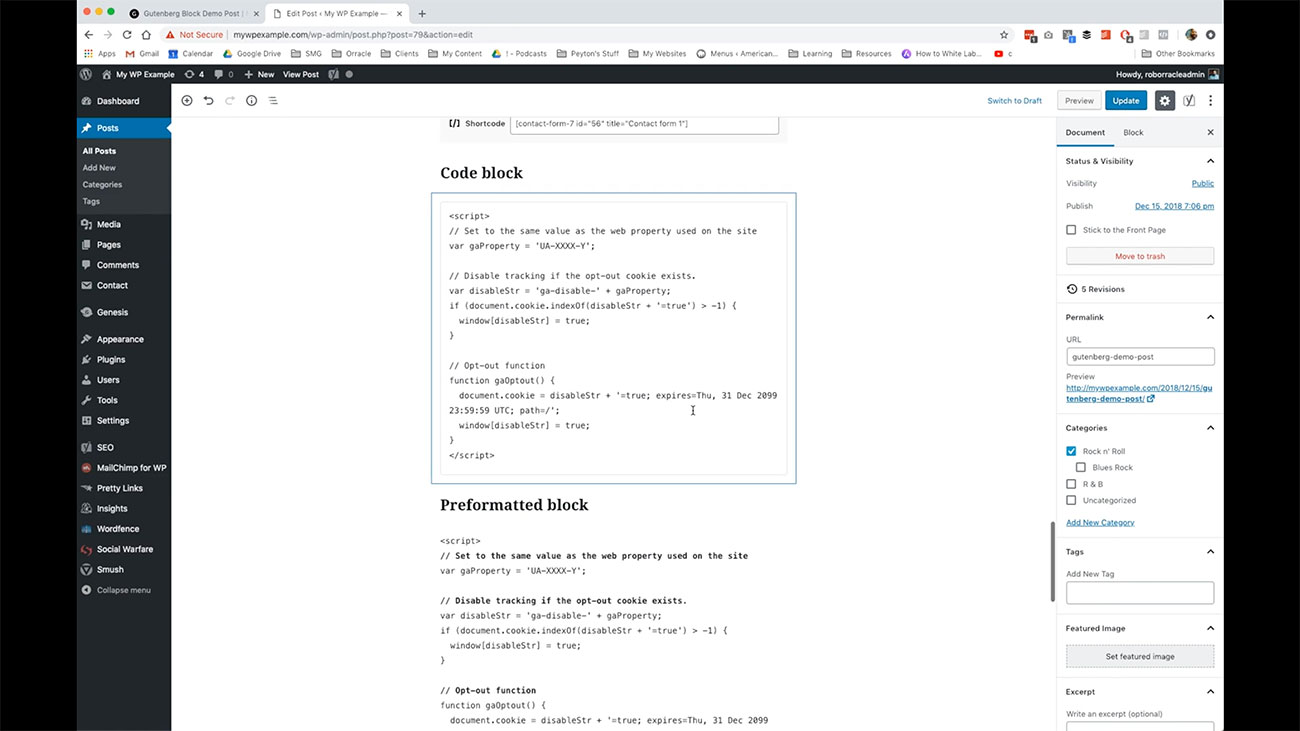 You may not ever need to use this unless you want to display code for whatever reason on your website. But if you want to do that the code block in the pre formatted block are going to be able to do that for you.
The code block really just it gives you the ability to display basic code and its original layout on your site. Then the pre formatted block will give you the ability to display code with a couple additional controls for you.
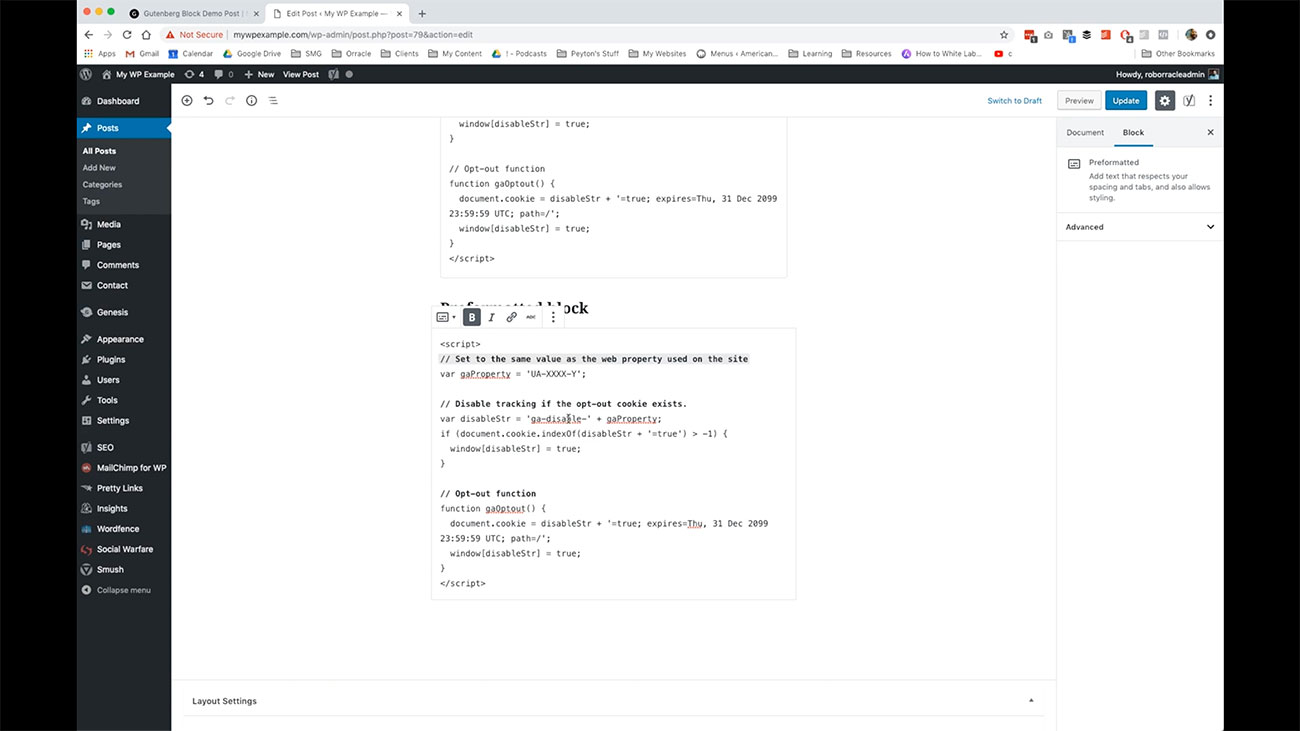 As you can see, I’ve created these comments here in this code as bolded text but if I wanted to link this through to something, I could do that here if I’m just trying to instruct on how to remove one thing and add another than I could potentially strike through.
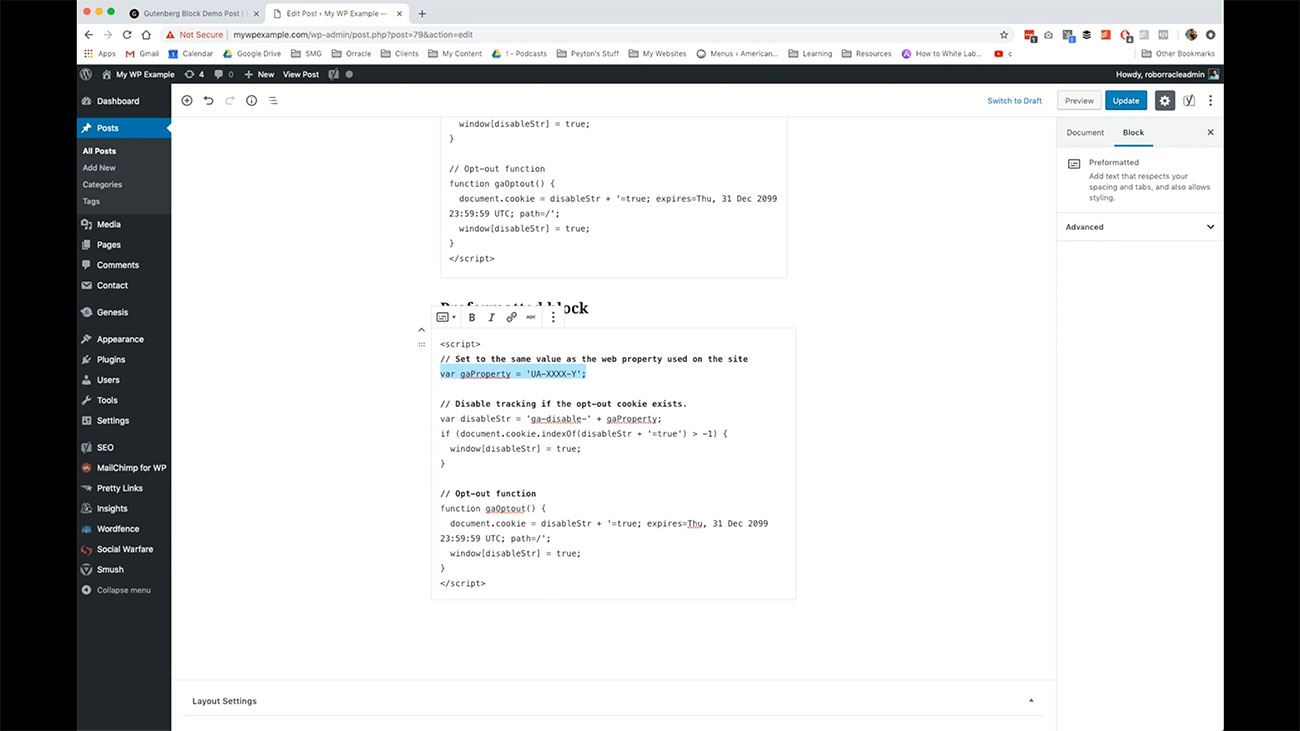 For instance, say we’re just going to change this variable here, and we wanted to strike through that. That’s all you need to do with that.
That’s what it looks like from the WordPress editor side. Let’s go ahead and look at these various different blocks on the front-end of our website.
Here is what we’ve got in terms of the front-end of our website. We can see the writing and text blocks are here.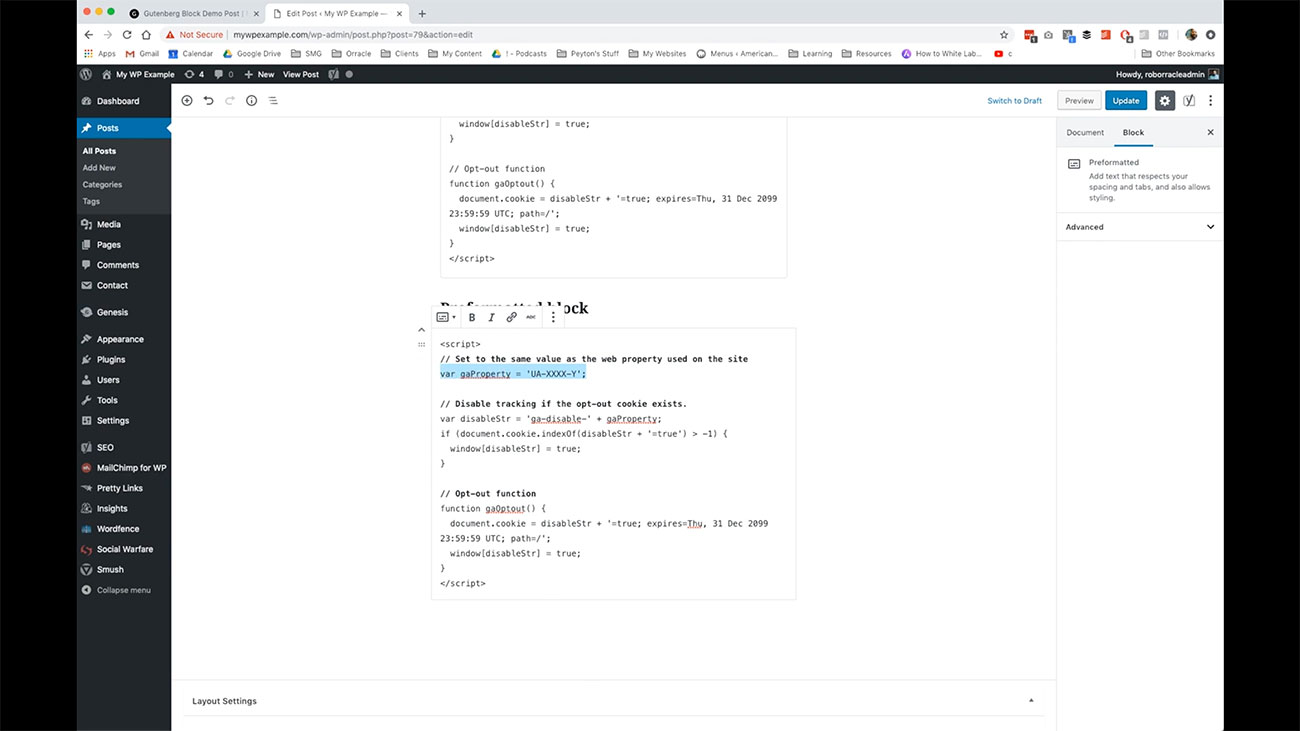 We’ve got a separator block here, as you can see, paragraph blocks here, our bullet point blocks here, our quotation block and so on and so forth as we go through.
All of this formatting is done for you by WordPress now with this new editor. 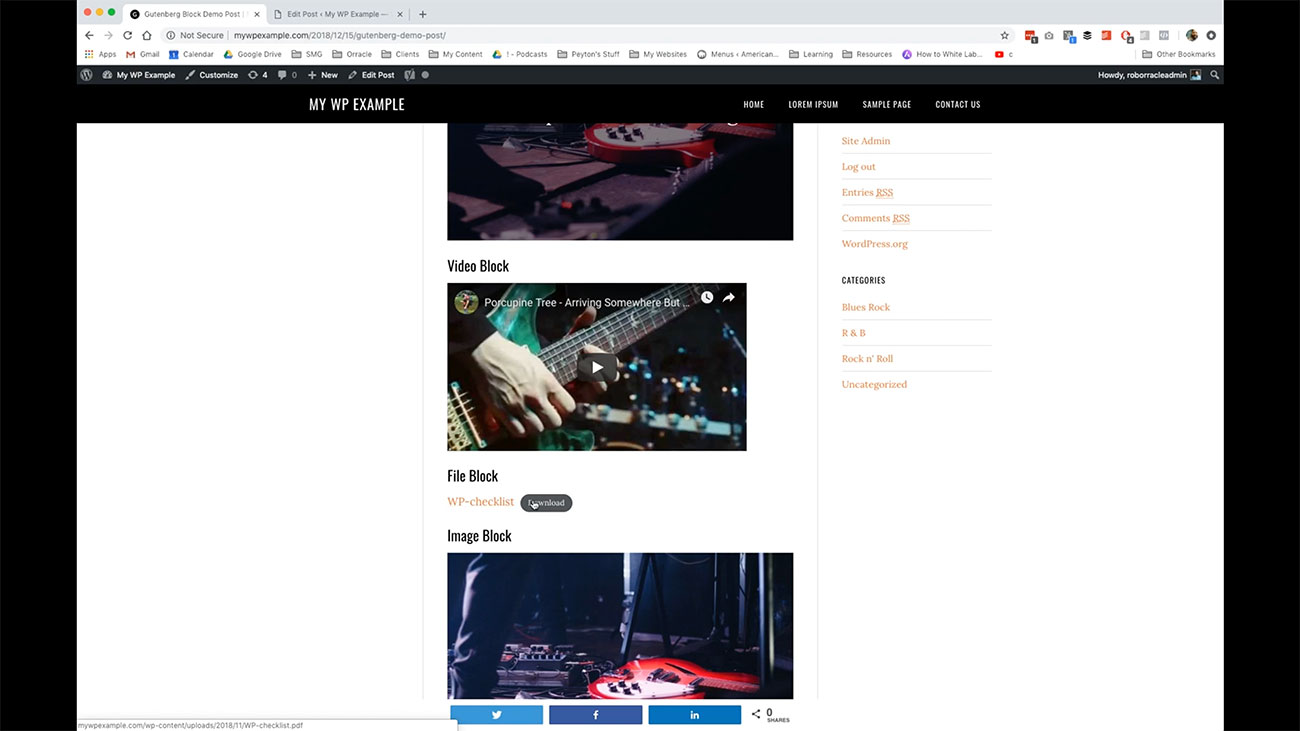 Here is for instance, our file block where we can download PDFs and so on and so forth. Our video block here, our image block, our gallery block and how that’s rendered here on the front-end.
Then if you remember, we had the page break block that we use, and that gives us this little piece right down here.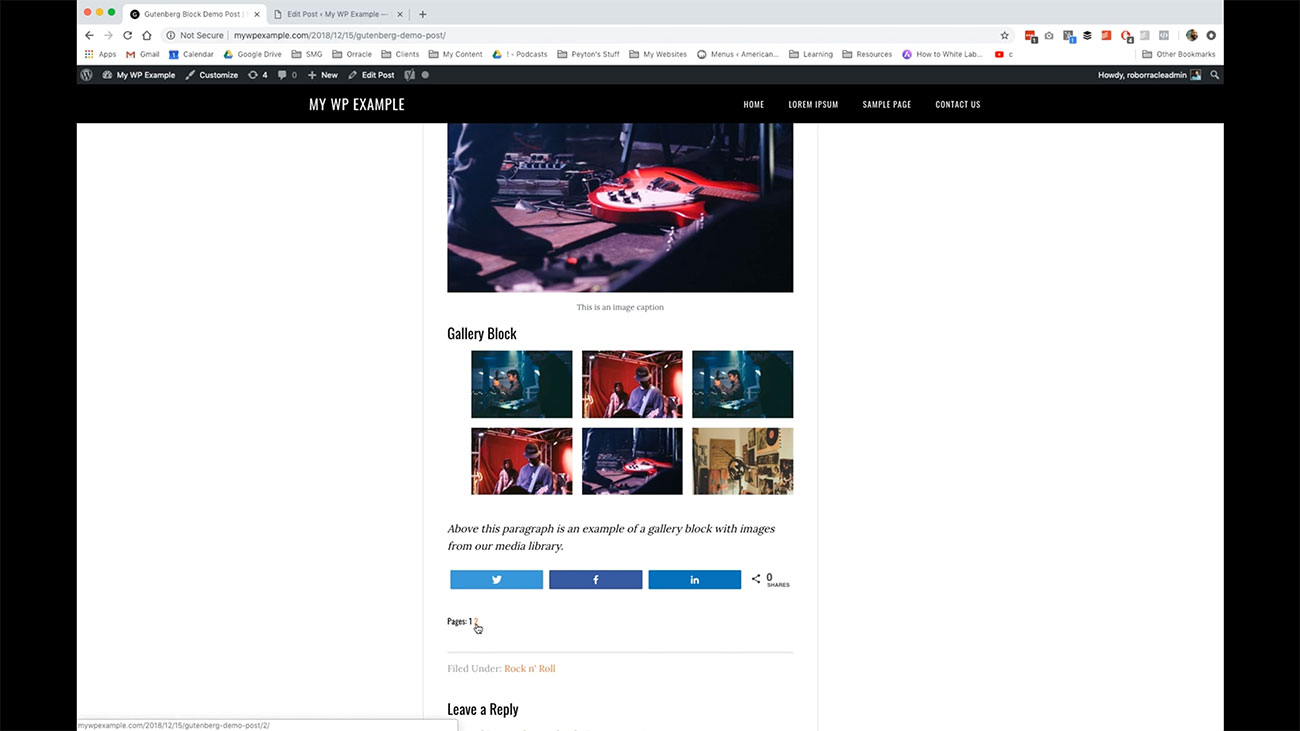 We go ahead and click through on that and it brings us to the second page of this particular post.
Here we’ve got the title for the page break blocks.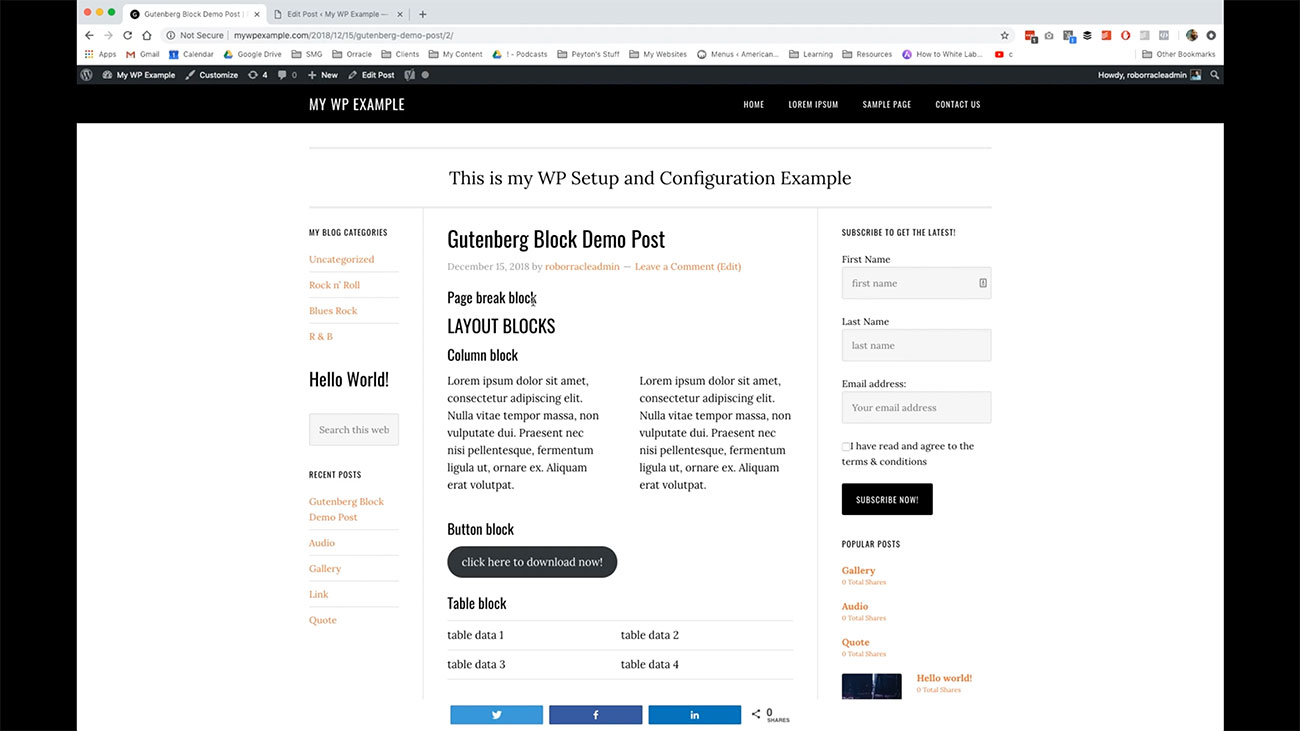 Now we’re going into the rest of the layout blocks. Here’s how columns look. Again, depending on how your theme is laid out and is going to work, you may or may not want to use too many. I mean, if I added another block here, three would look really cramped. Think about that too when you’re working with these layout blocks.
Here is our button block that we created to create a downloadable resource or a button that links to some other kind of resource.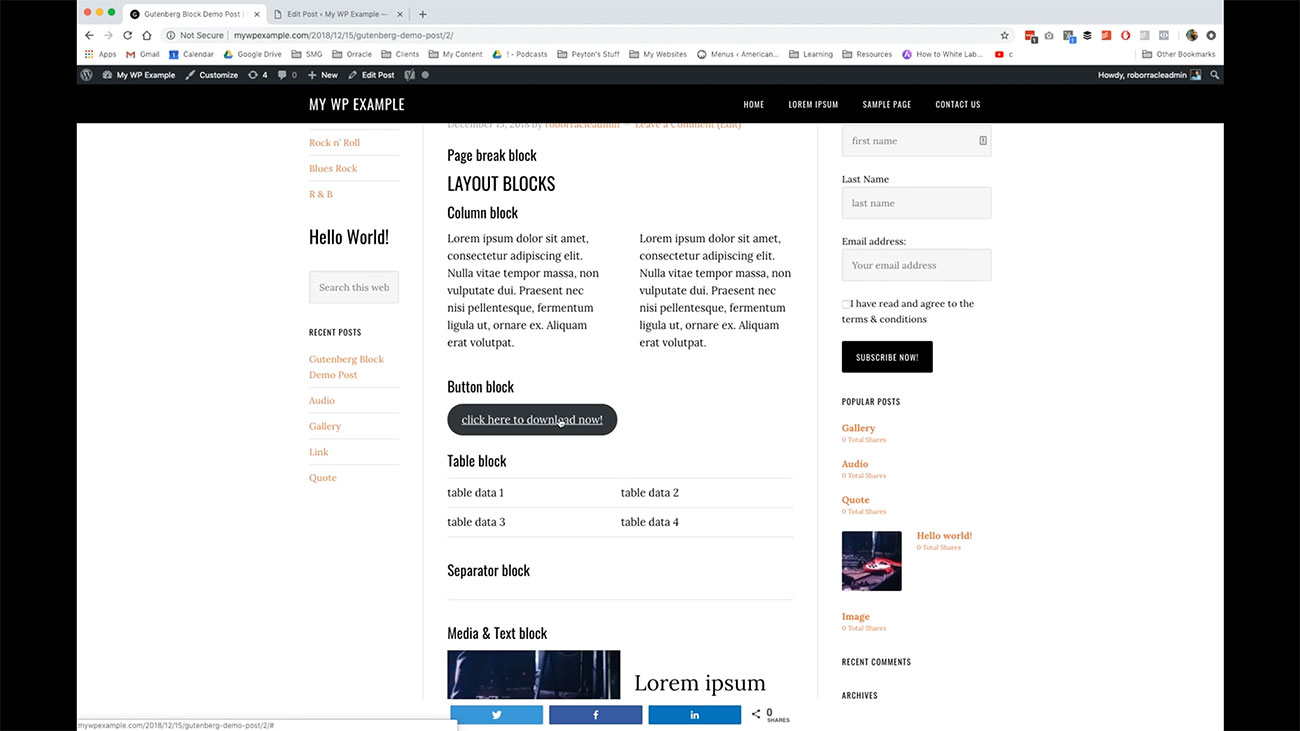 Here’s our table block and how that’s displayed.
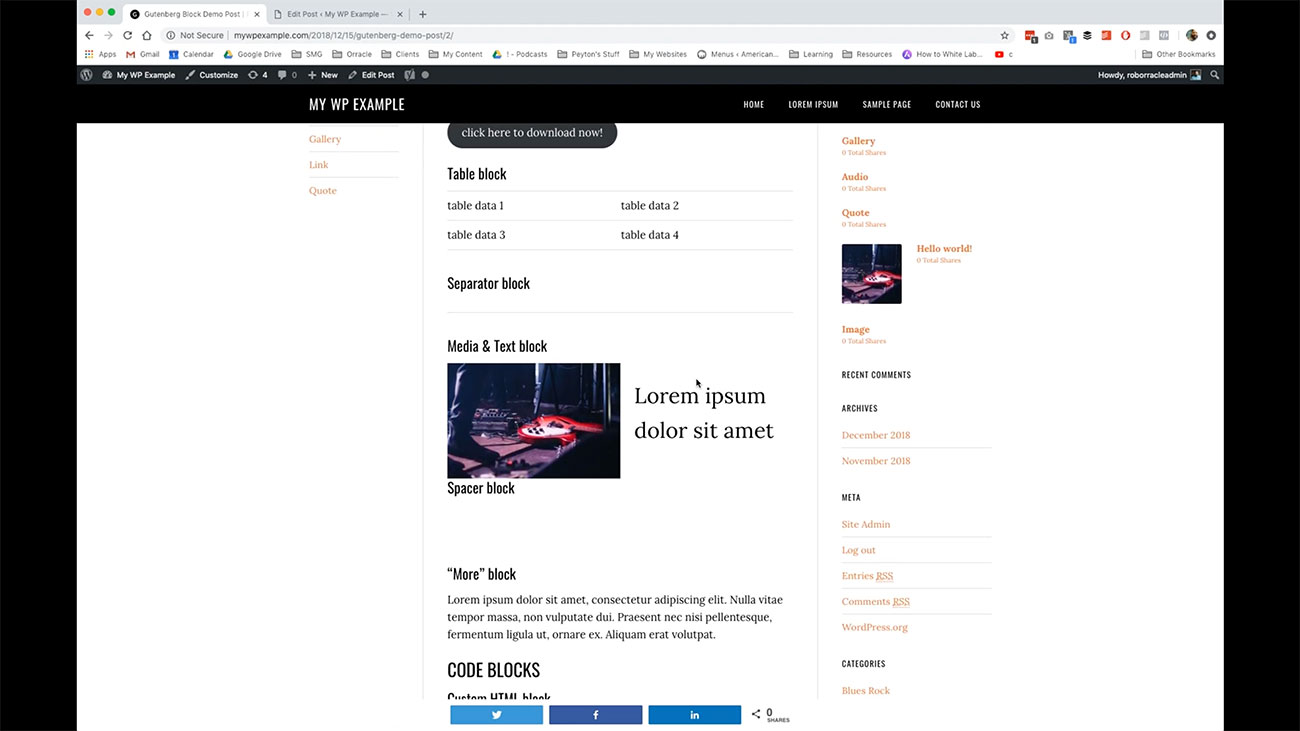 Then here’s our media and text block. Here’s our separator block that has the empty space here.
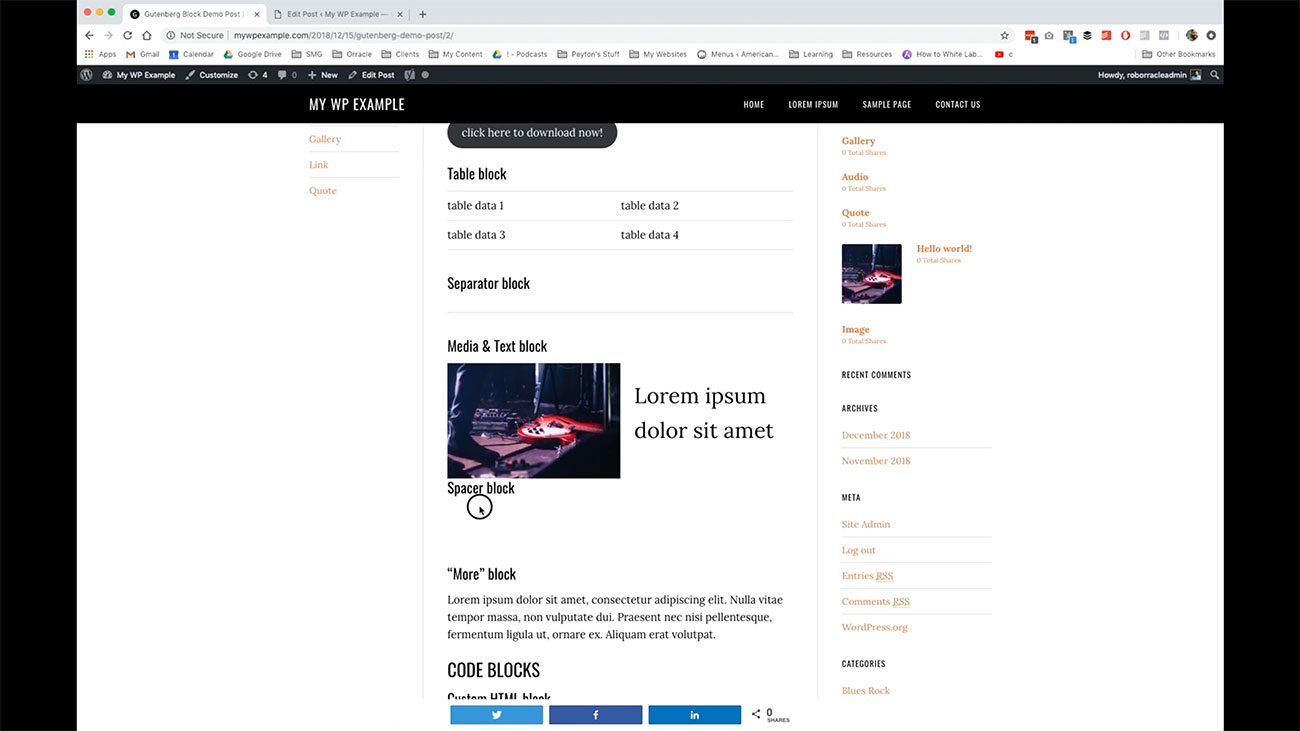
Down here, we’ve got our more block and our code blocks. Here’s our short code block here that is displaying our form that we talked about from Contact Form 7. Then finally, we have the code blocks.
I hope that you enjoy working with this new editor. I think that in the long run once people get used to it, this is going to be a great asset to WordPress and its future versions.
As I mentioned before, if you if this is all too much for you, if it’s overwhelming to think about all these different kinds of blocks, Gutenberg can behave very much like your previous version of the editor that was included in previous versions of WordPress.
We’re going to talk a little bit about that in the next video. Or if you just want to completely throw it out and go back to the classic editor, you can do that by adding the classic editor plug in through your dashboard.