Looking for some help on how to set up your theme in WordPress?
One of the biggest things I obsessed over when I was getting started was how my new site was going to look.
I’ve always been obsessed with design and aesthetics, so I immediately gravitated to figuring out how to make my new website look as amazing as I could make it look!
The hard part was I didn’t know enough about coding and I didn’t know where to even begin to figure out how to make it look the way I wanted it to look.
I admit – I got really stuck.
I wasted a ton of time spinning my wheels trying to figure it all out.
The good thing that came out of that was I really dug deep and taught myself how to code front-end stuff to make my site look the way I wanted and it changed the trajectory of my career and life; I ended up turning my passion for learning web design in to a completely new career in web design & development.
Here’s the thing though: most of you are not going to want to go to that length to make your site look great.
And fortunately for you, getting a beautiful, well-designed site up and running is easier than it’s ever been.
It doesn’t have to be expensive.
It doesn’t have to take a bunch of time.
In this video, I’m teaching you exactly what you need to do to get a WordPress theme installed on your new self-hosted site, how to use its various components and features, and how to make your new site look amazing!
You will be able to get your new site looking amazing in no time at all!
How To Set Up Your Theme In WordPress
Welcome to The Theming Module where we are going to be working on getting your theme and installed and configured for your new self hosted WordPress site. Just a couple quick notes though, before we jump in. Our demo is going to use a theme by StudioPress.
You may have chosen something else for your theme and that’s totally okay. We’re just going to use this StudioPress theme as a demonstration so you can see how the various tools that you have available to you in WordPress work as far as theming is concerned.
If it looks different than what you’re doing with yourself hosted WordPress site and your theme, that’s fine. Don’t worry about it. A lot of these things are going to look very similar depending on the kind of theme that you’re using. The reason we’re doing this is we just want to help you to understand the functionality, the features, and those things that you have available to you.
Also, because I don’t want you to get bogged down into worrying too much about your theme. Think about it this way, when you get started with your new self hosted WordPress site and you’re looking for themes. Find something that you like that you can just take and run with.
The reason I say that is I’ve seen it happen way too many times that people get started with their new self hosted WordPress site. They get way too buried in the details of trying to figure out how to make things look different.
They want to change colors. They want to change fonts. They want to do different things with their theme.
It really takes away from the whole idea of getting started with your WordPress site. Because correct me if I’m wrong, but the idea of having your own website is you’ve got a story to tell. You’ve got content that you want to create.
You have a business that you want to get online, or whatever your purpose is, for your WordPress site, you have a reason for doing this. So if you get stuck in, buried in the weeds with trying to tweak themes and colors and layouts and stuff like that, you’re taking away from what your original purpose is, which is to get your site up and running an online.
When you’re doing your theme research, make sure you spend the time to find something that you like that once you get it installed and configured, you can take it and run with it. Then work within the theme framework to do the things you need to do like getting your name added and all those things that we’re going to talk about in this video.
Maybe it’s adding a logo or those kinds of things. Then you let the theme do its job and take care of all of the display in design for you. And you focus in on working on your content and getting things going that way.
That’s a wise way to approach this. It’s going to help you enjoy the process of getting started with your website a lot more. With that being said, let’s go ahead and jump in this.
Using a WordPress Theme
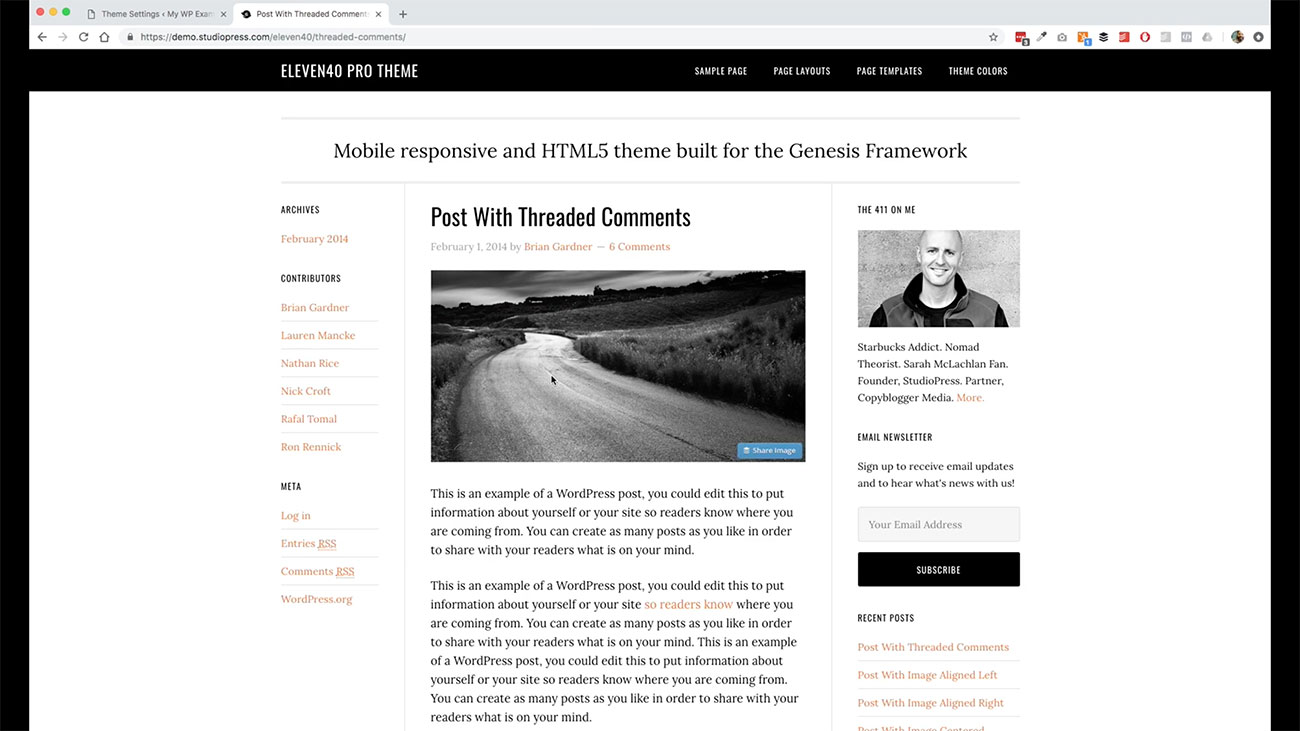
The theme that we’re going to be using for our project here is this eleven40 Pro Theme by StudioPress that’s built on top of the Genesis Framework. What happens a lot in WordPress theming is that there is a concept called “Building a Theme” on top of a framework and your display theme is what’s called a child theme.
We’ve got two pieces that we need to install for our new self hosted WordPress site. One is going to be our base framework theme. Then the other is going to be the child theme and this is the case in a lot of instances for themes that you will find online.
Some themes are not going to be child themes and require framework and that’s fine, too. It just depends on the approach of the designer and developer who created it.
If you buy a premium theme, a lot of times there will be a framework that serves as a base building block, and then a child theme that sits on top of that. When you’re looking for themes, and you see that there are two pieces to your theme or more, because there are plugins and those kinds of things that may come up depending on your theme again, but that’s going to be the reason why.
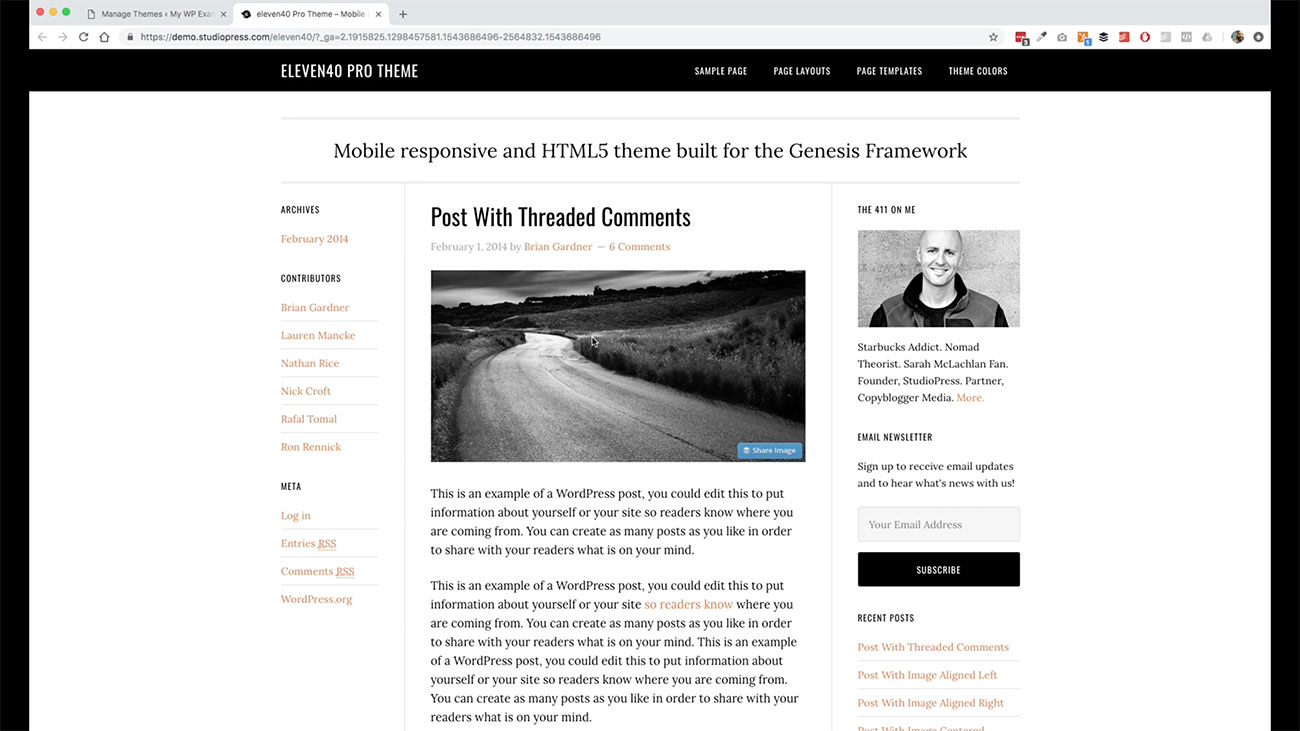 This is a basic theme. It’s a really well-designed theme. It’s a good theme to get started with, especially if you’re going to be doing a blog, which is what we’re doing in our project here.
The principles will apply regardless of what kind of site that you’re creating though so whether it’s a business site for your brick and mortar business, or you’re doing a portfolio, or you’re doing a blog of some kind.
The principles behind the WordPress theming system are going to be consistent, regardless of what kind of site that you’re going to create. Let’s go ahead and start working on getting ours installed.
Installing a WordPress Theme
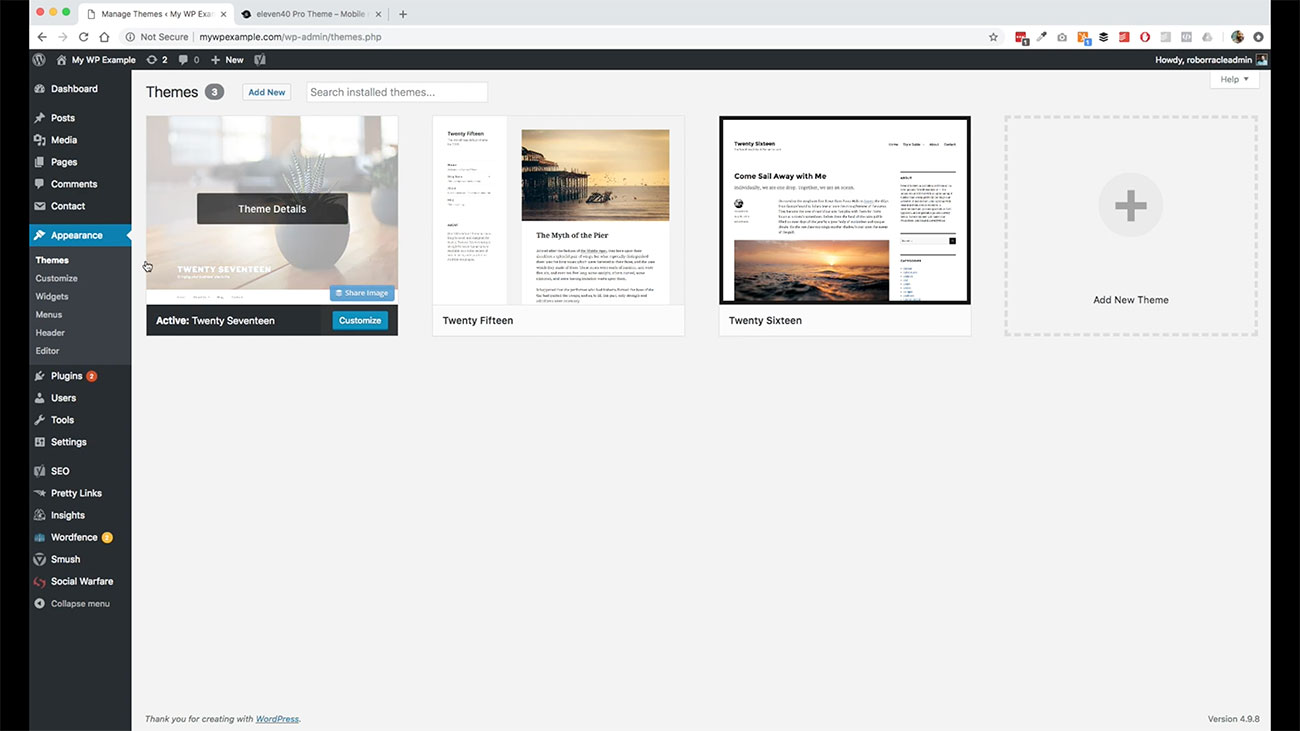 This is the one that we’re going to install. We’re going to come over here, if you notice over here in the sidebar for our admin. I am at appearance and then themes.
This is where we’re going to go ahead and install our new theme. We can click Add New up here.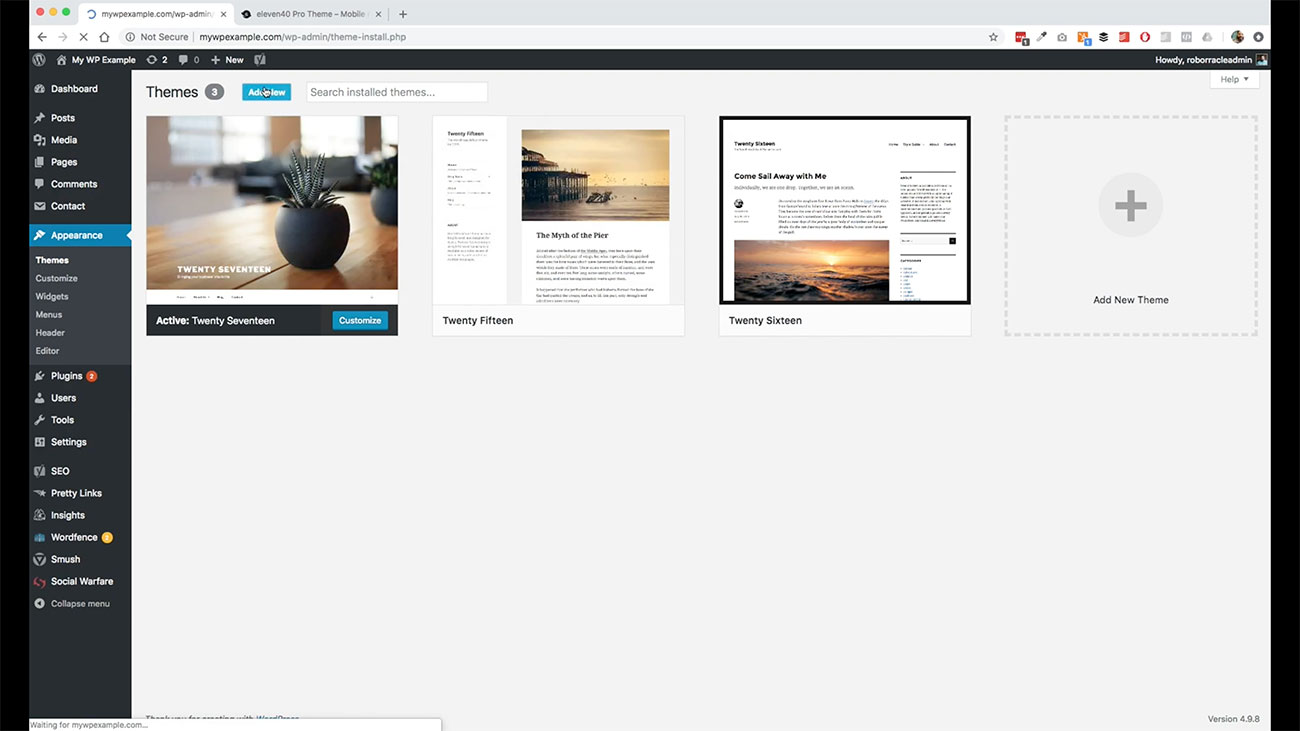 If you’re looking for themes that are available, just through the regular WordPress community that is free that you can use.
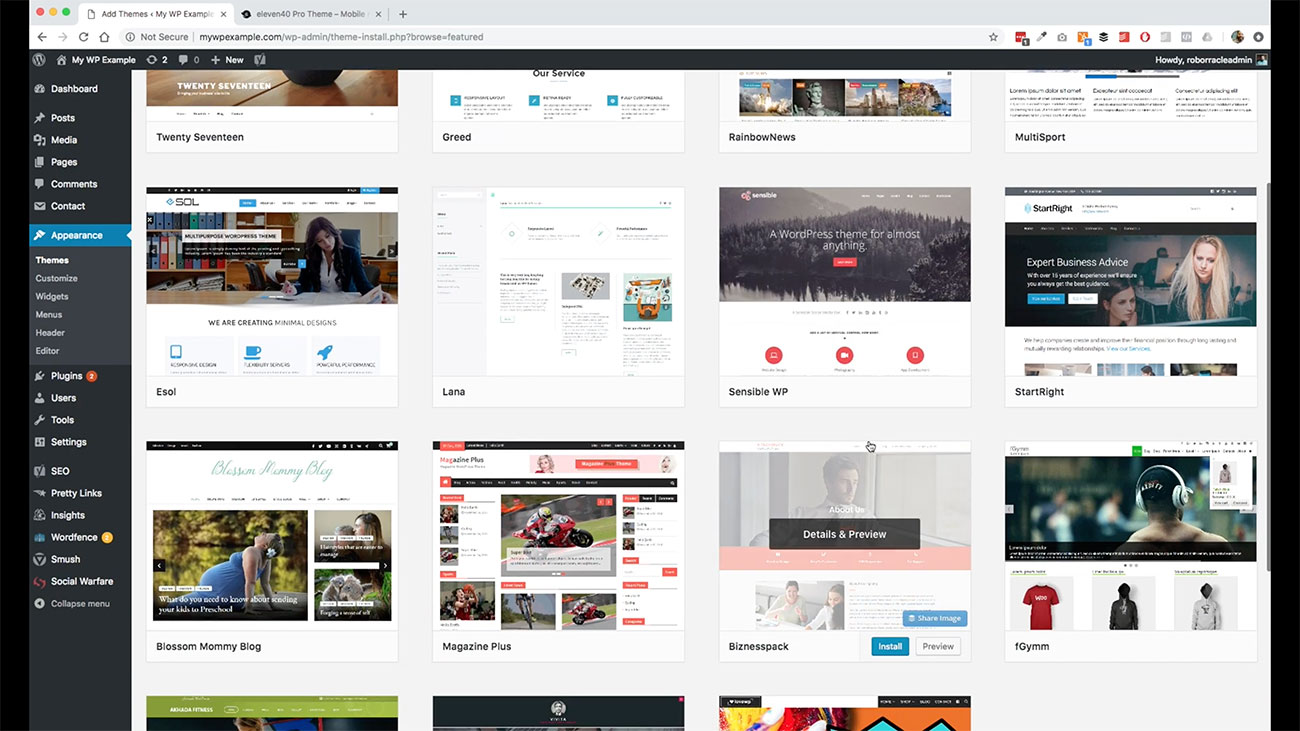 You have some here that you can choose from, but we’re going to be uploading our third party theme that we’ve already gotten from Genesis. Let’s click on Upload. Then I have a folder here that is got my theme contents in it.
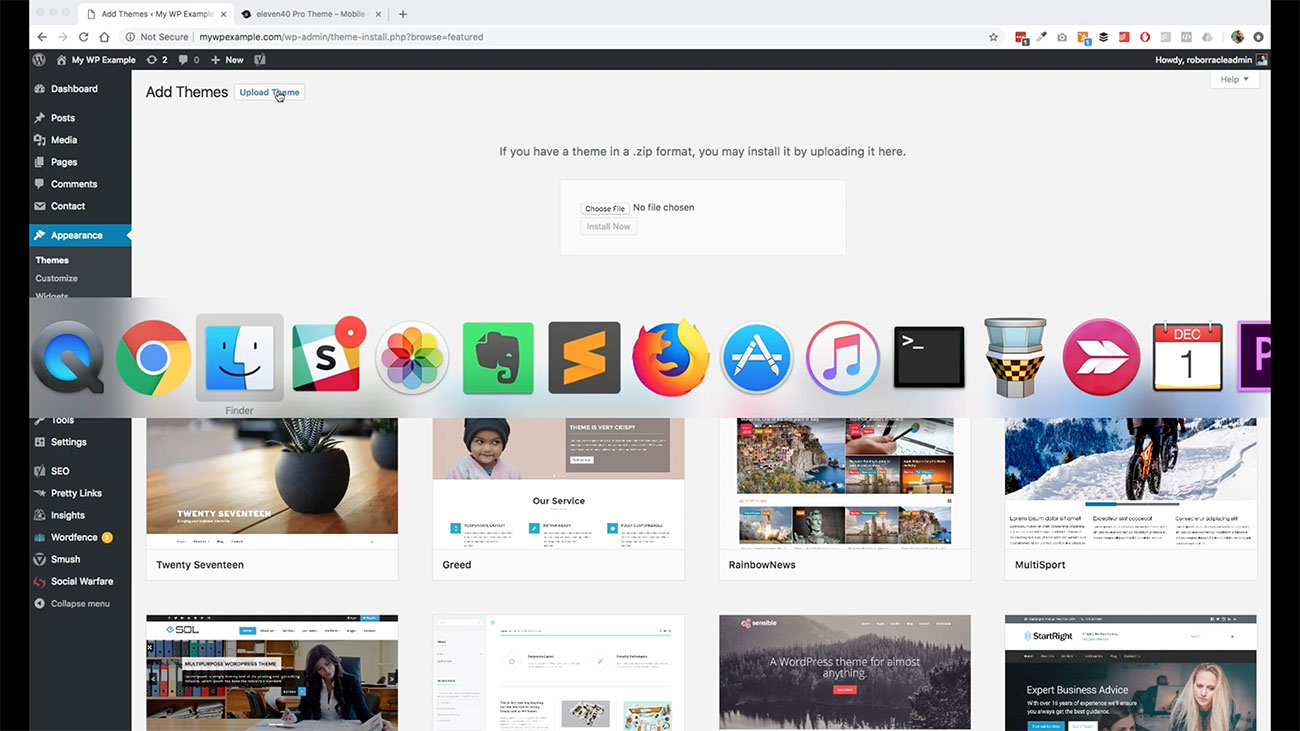
First, we’re going to go ahead and get our framework installed, which is this Genesis folder, right here. We’re just going to take this. Drag this over here. Click Install Now.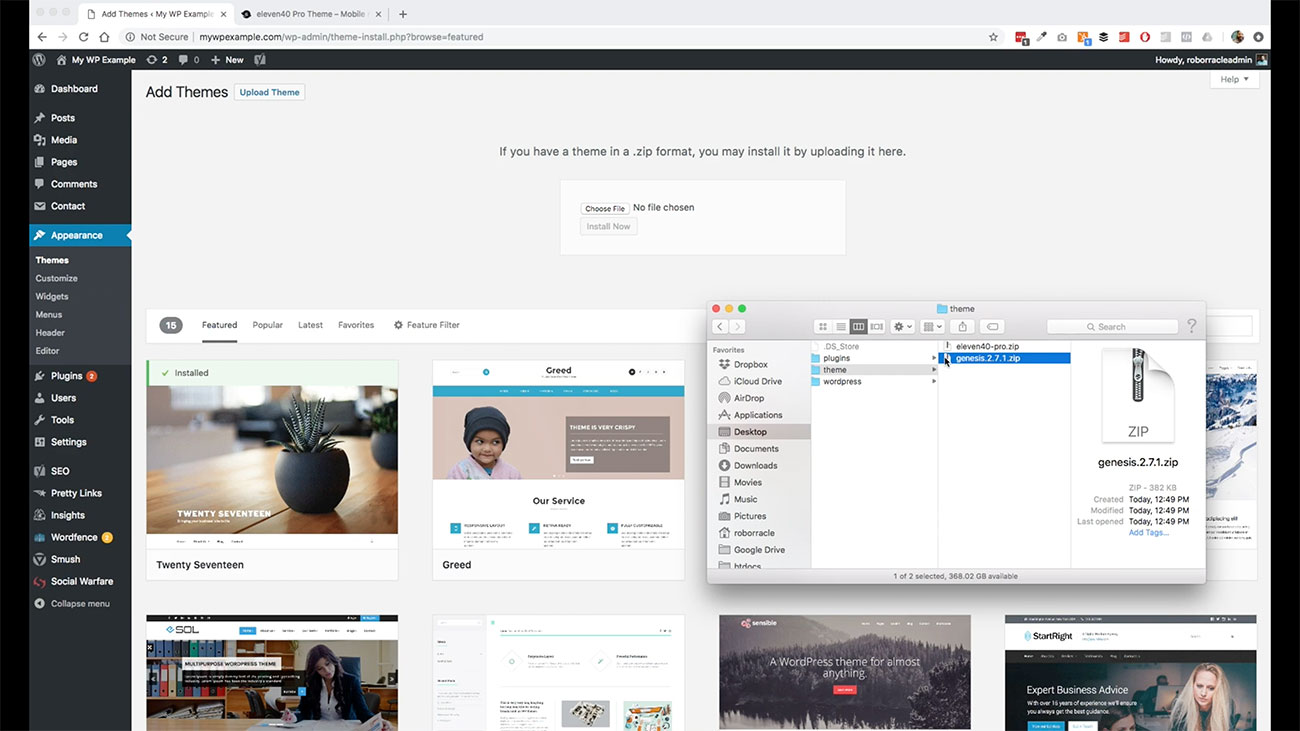
It will take care of getting that installed. We don’t need to activate this per se, because this is just the base framework. We’re going to go back over here to return to the themes page.
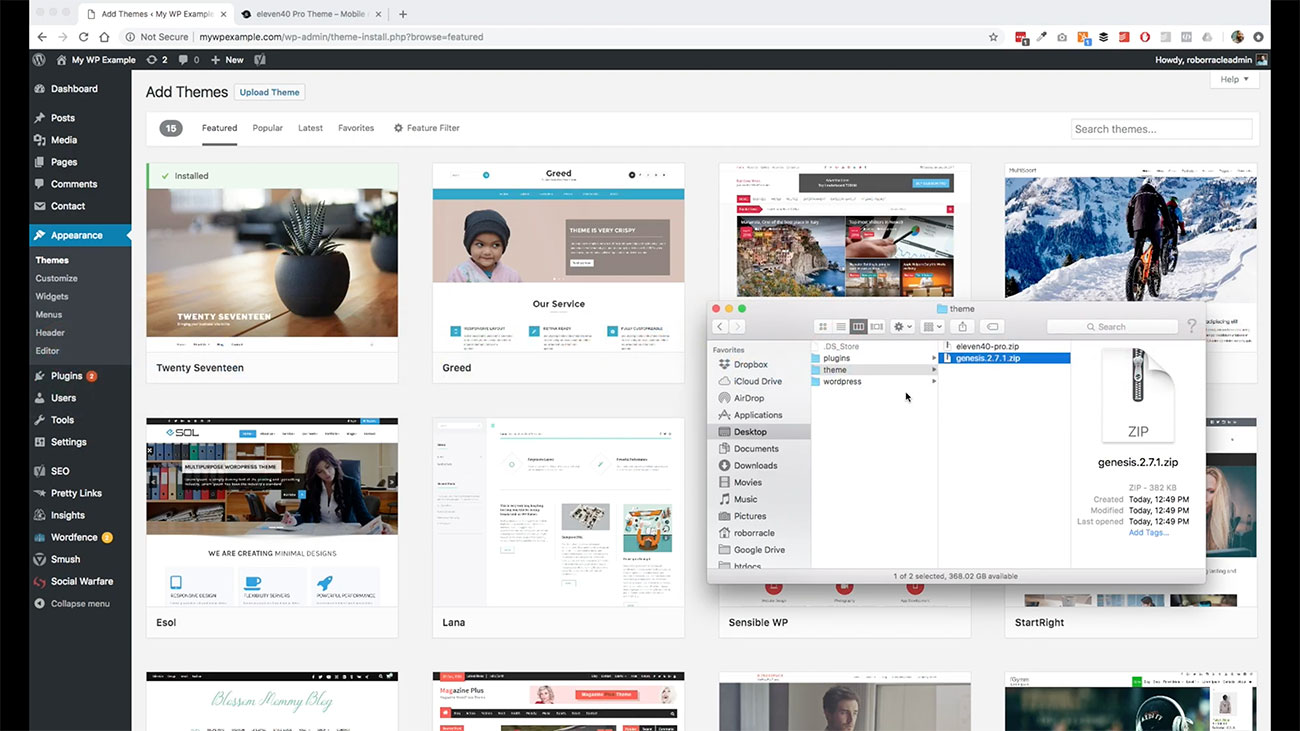 One more time, we’re going to click Add New. Then we are going to go back over here and get our child theme here. Actually, let’s click on Upload themes.
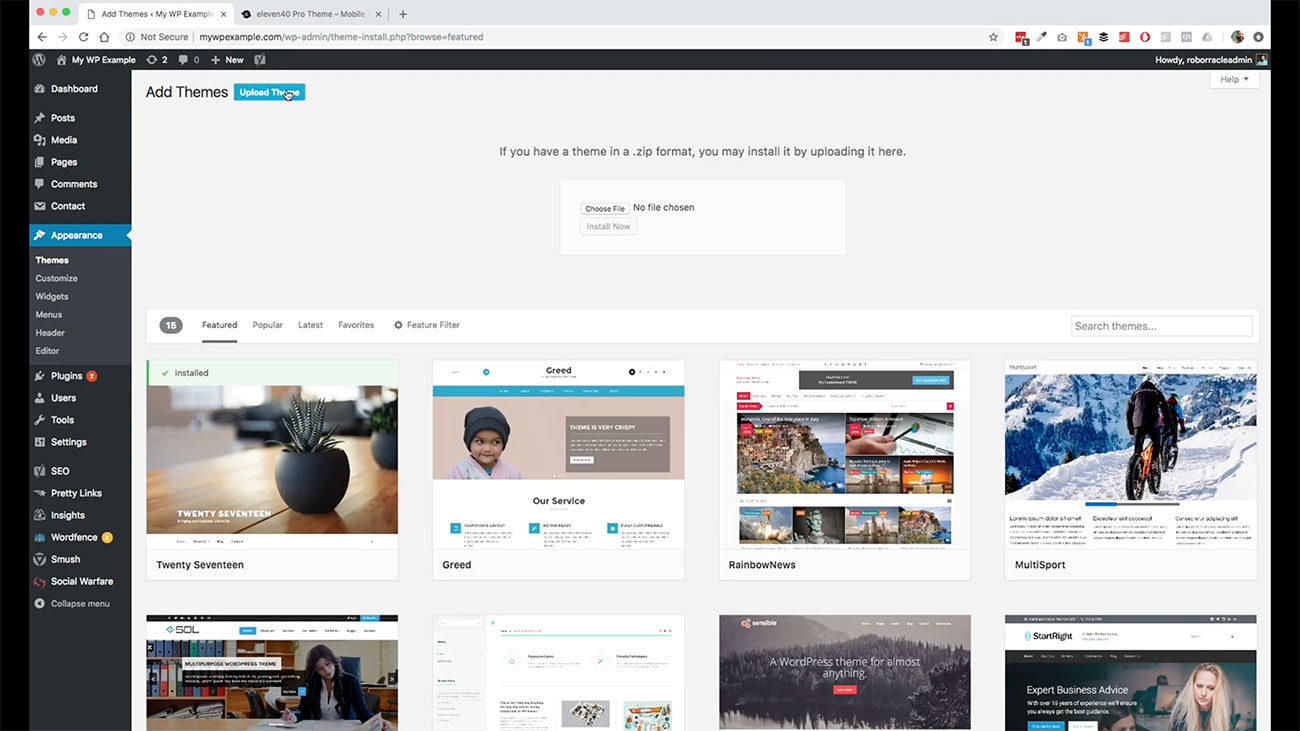 We need to do that first and go ahead and drag this in just like we did with the other one and then click Install Now. Now we’re good.
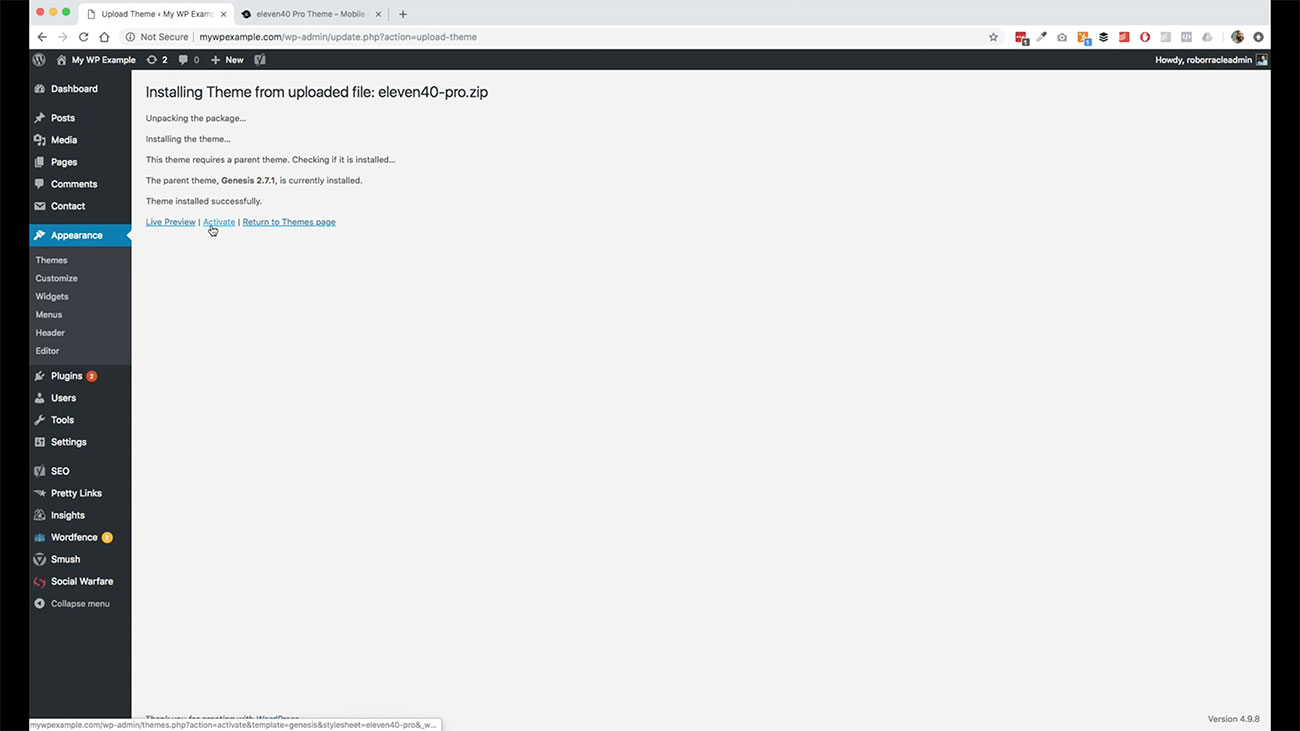
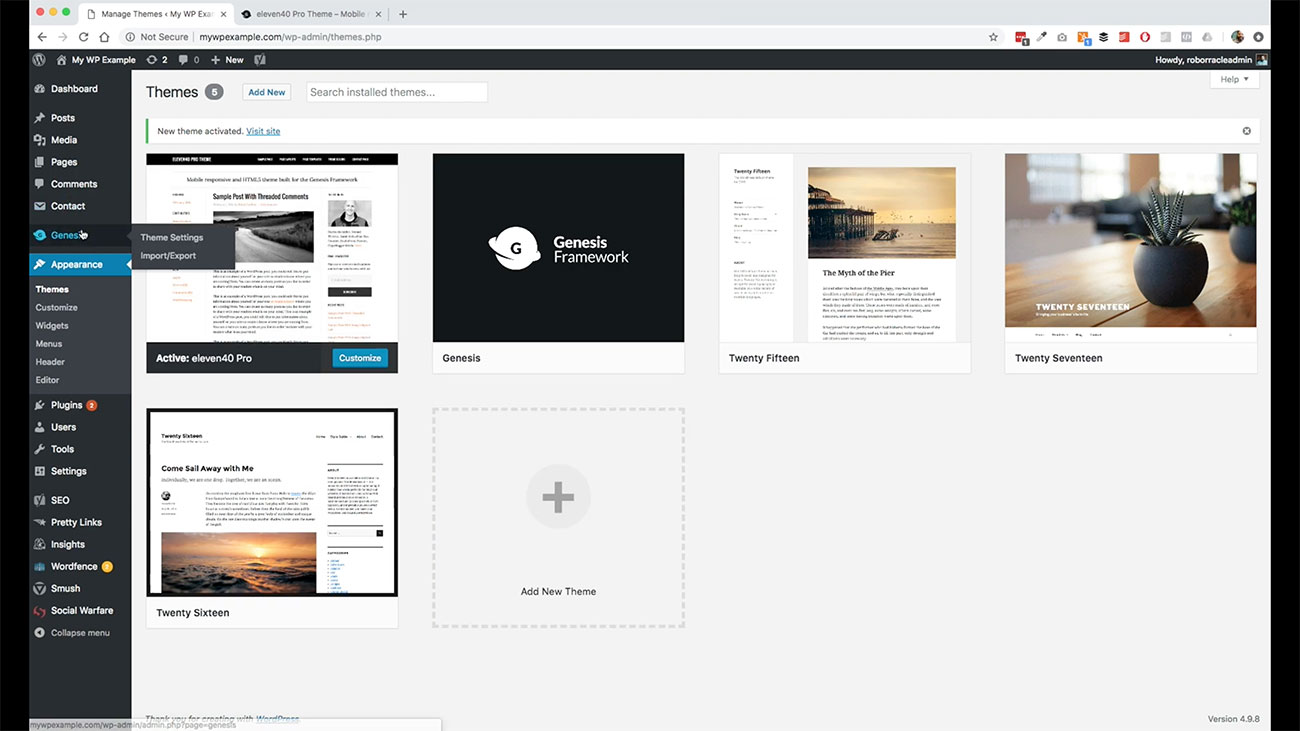 We can go ahead and activate this. Now our theme is in place. You’ll notice over here, now we’ve got a new item in our administration menu over here, where we can work with some of the theme settings.
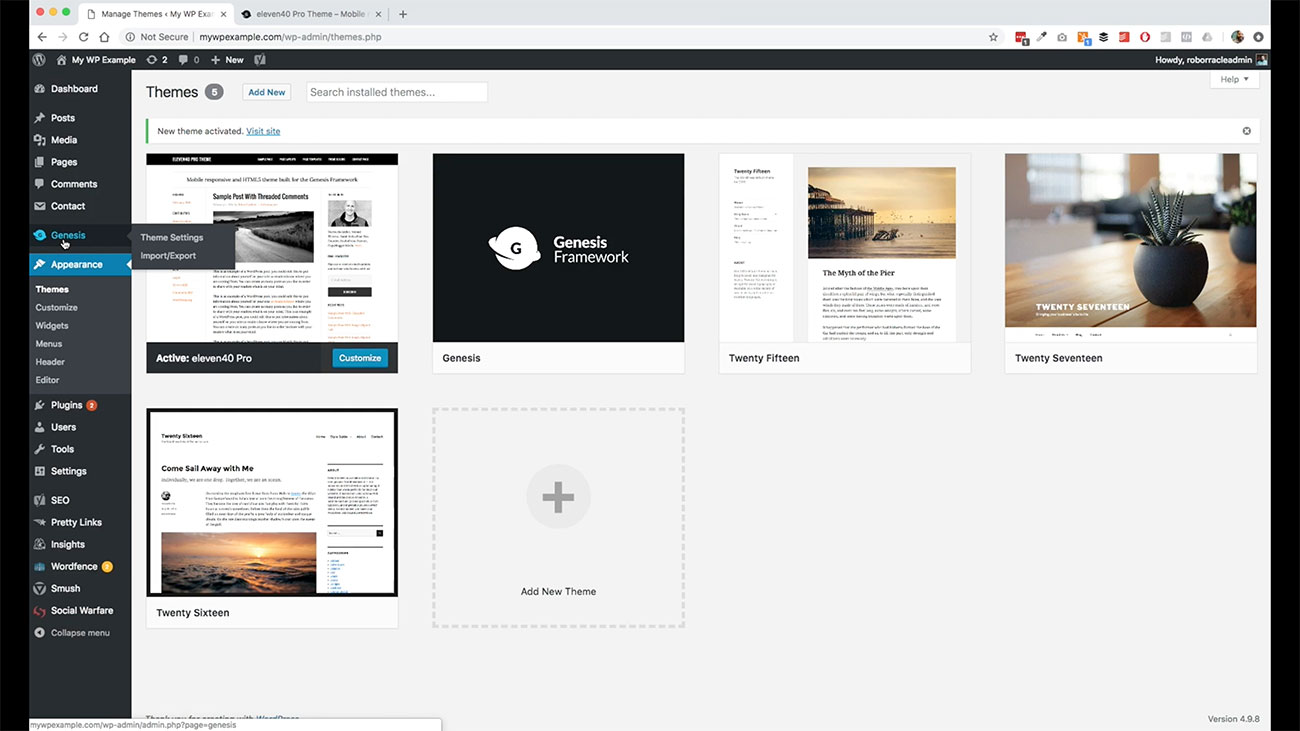
Again, this is going to depend on the theme that you use, but you can take a look and see some of these things here.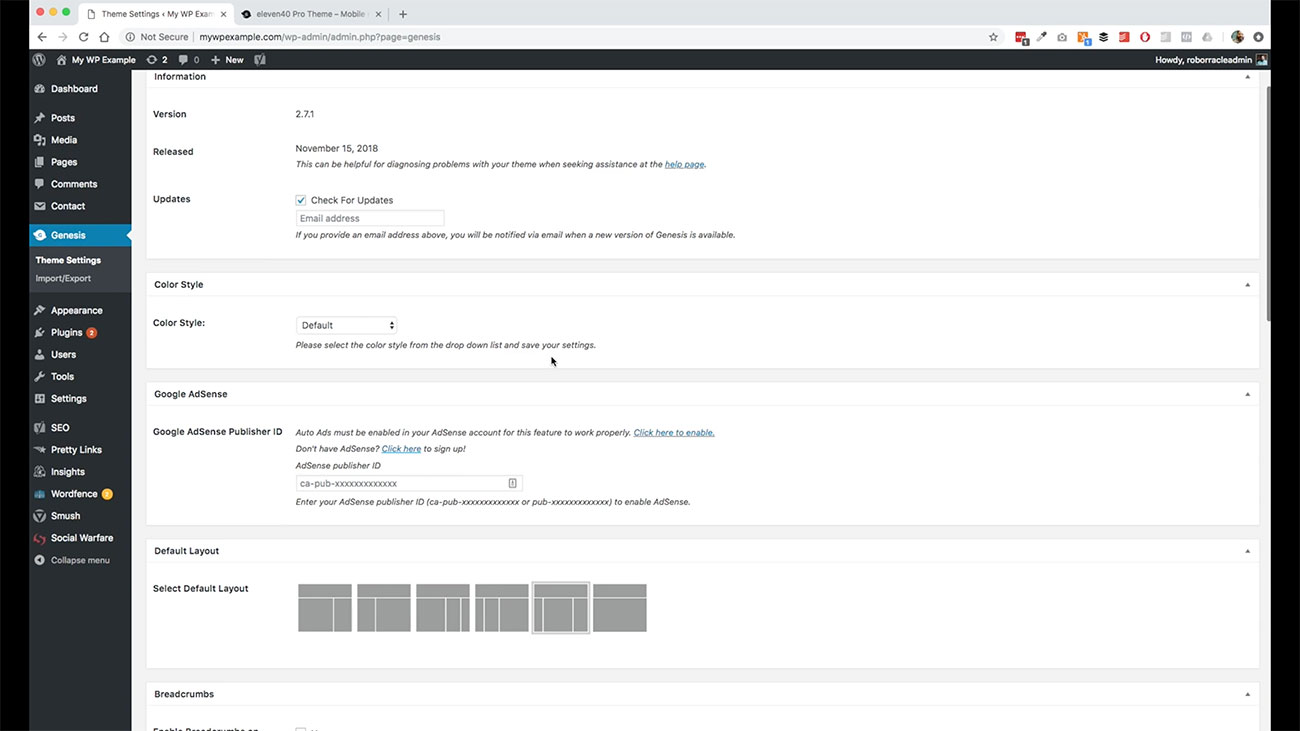 A lot of things are going to have some base features that you can add. You can add your publisher ID for your Google Adsense account, or those kinds of things, maybe for your Google Analytics or whatnot. You can add those here if you have a Google Adsense account, those kinds of things.
We can enable Breadcrumbs using this theme. This is a good thing that you want to keep in mind for purposes of search engine optimization. Breadcrumbs is just like a site menu that helps users see how they’re making progress through your site.
 You will see them on your page. Let’s see if this one’s got them enabled yet. Let’s go ahead and click this and go into the individual post.
It doesn’t look like this one is using Breadcrumbs, but it would usually be a trail that would be somewhere up here that would show you home, and then post and stuff like.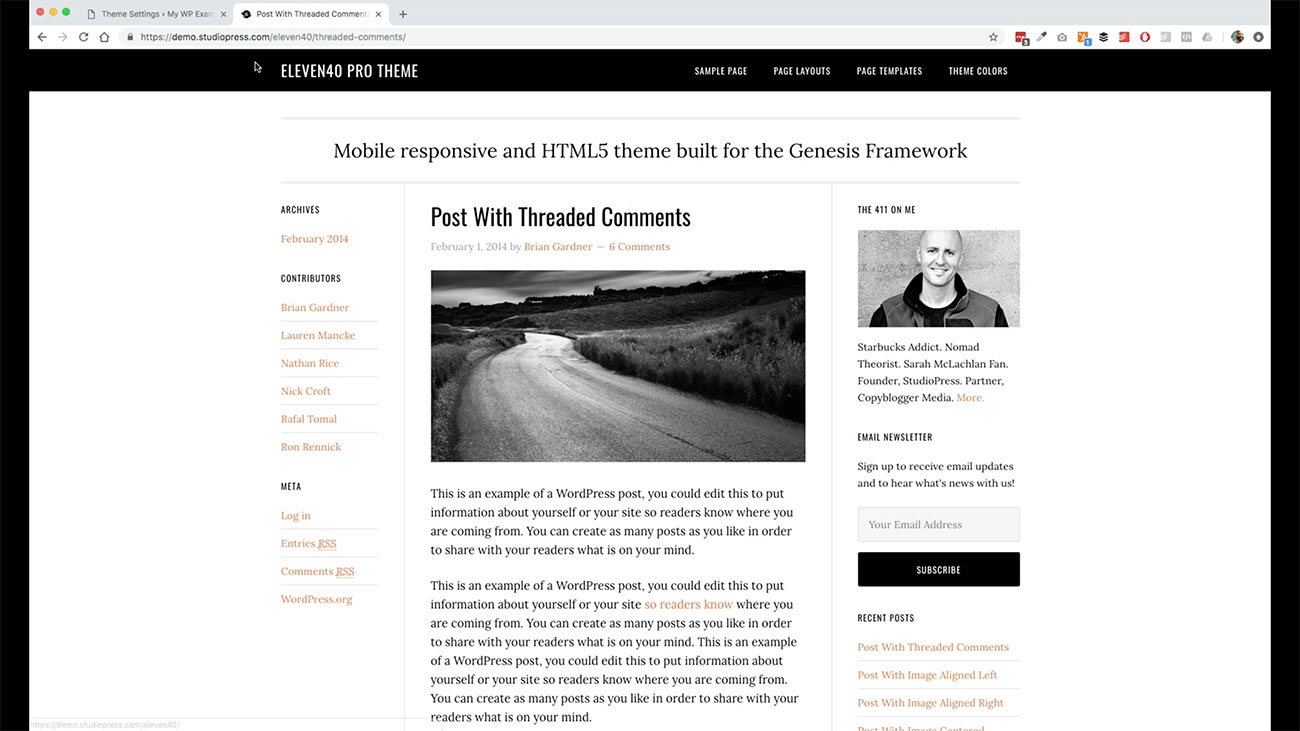 It doesn’t look like this one is using it at the moment, but that’s fine. Let’s go back over here.
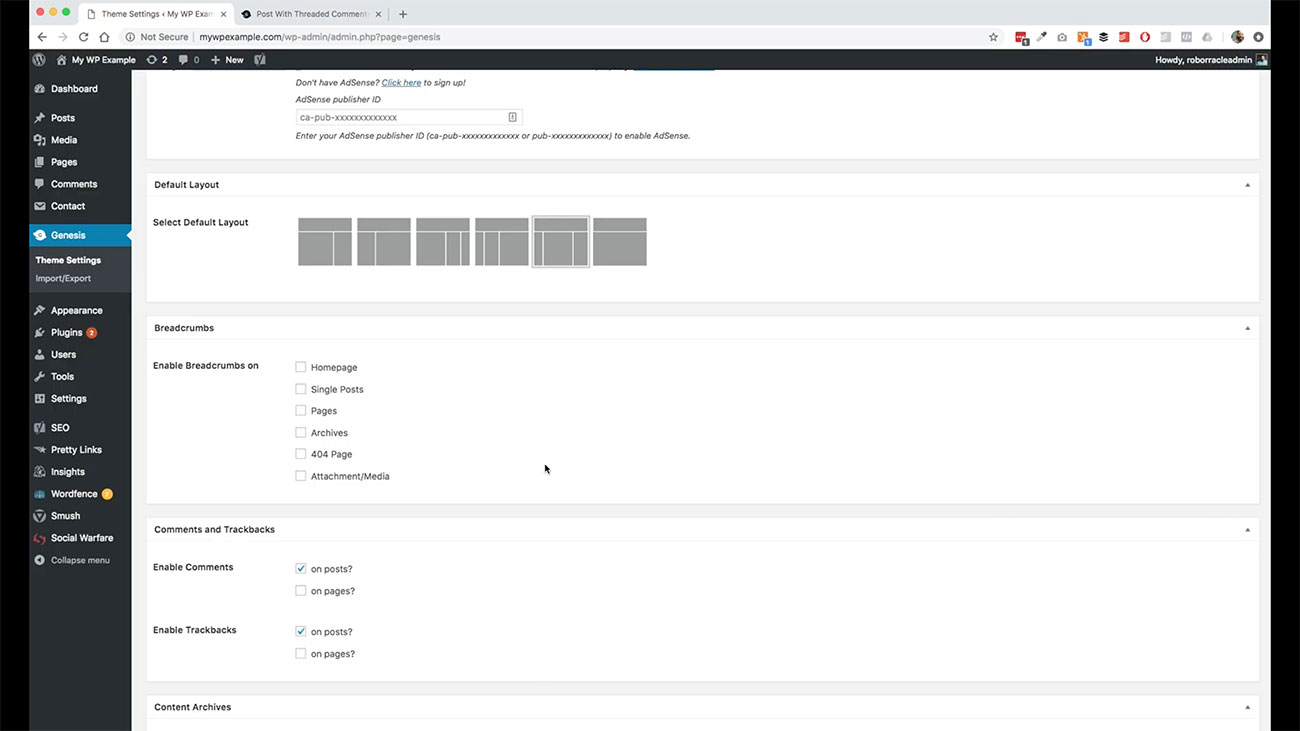
You can choose these themes or these items to enable or disable as you like to your desires. There’s nothing really huge here, most of the time the default settings are going to be good for what we’re trying to do.
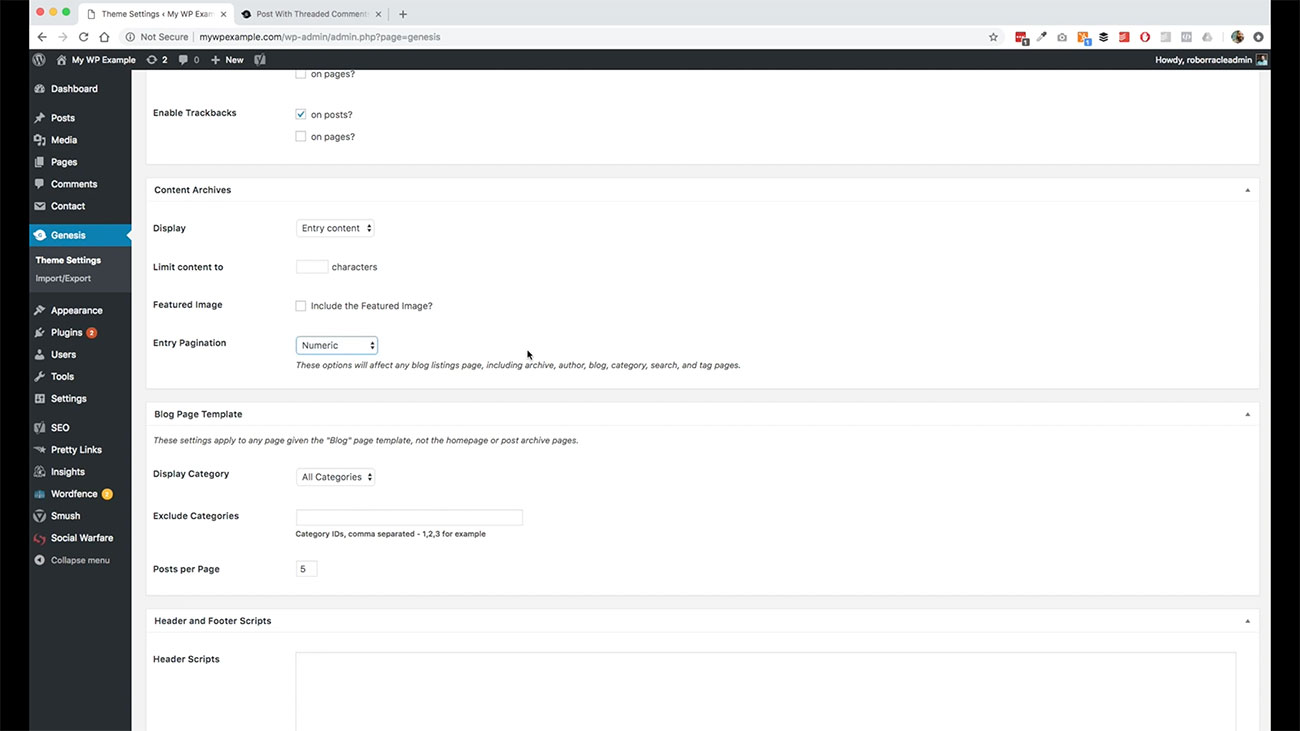 This controls how the pagination works. The pagination is going to be this item. Let’s go back to the homepage.
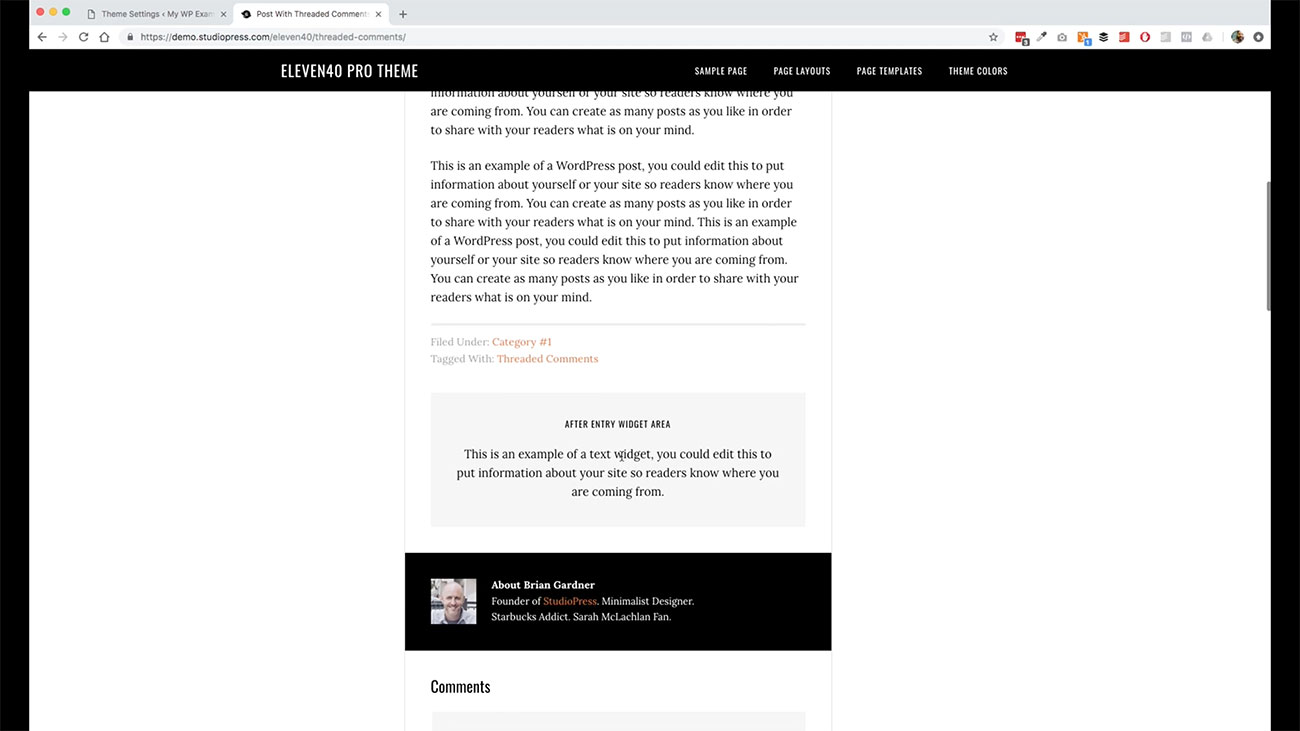
Pagination is going to be this feature down here and right here.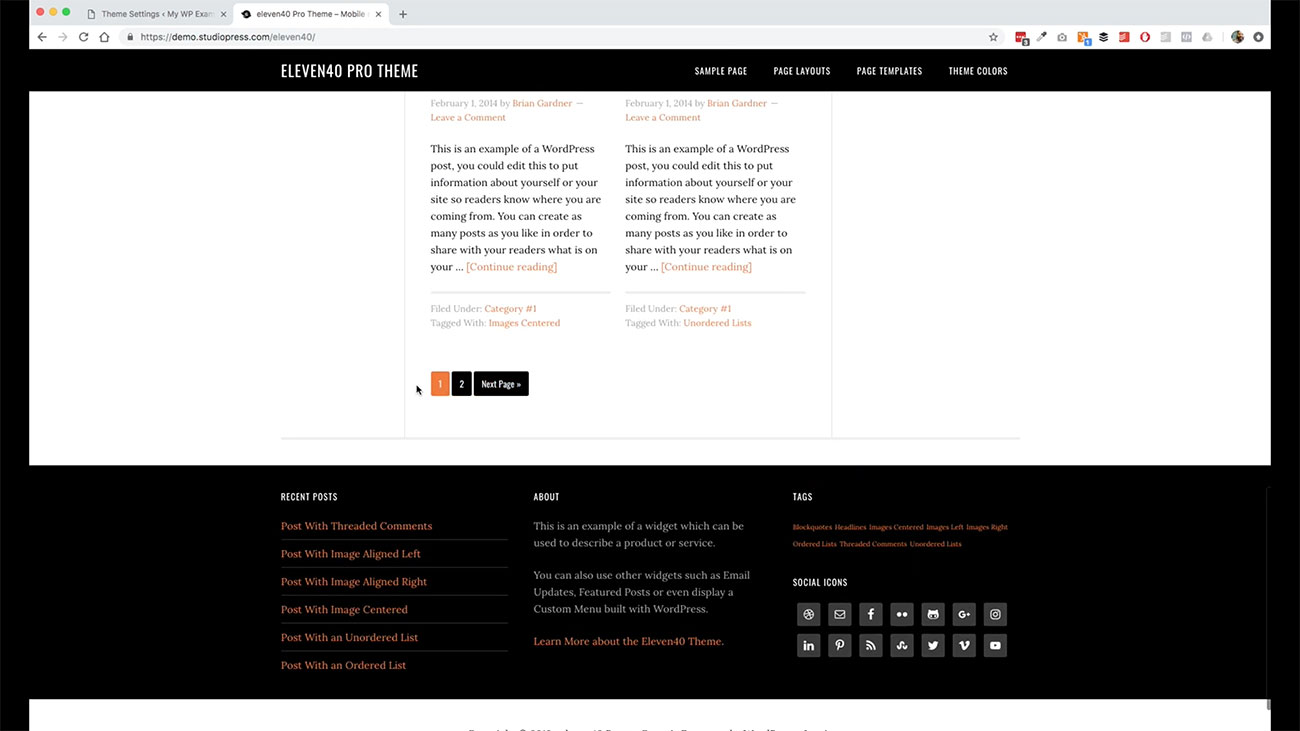 You can go to the next. Do we want to have next previous so on and so forth. That’s what that part is.
Then you have the ability to control various features. I don’t want to get to in the weeds on this particular theme, but when you’re looking at your theme, you will have a variety of settings that are available to you that you’ll want to take a look at to make sure you’ve got set so that it matches what you’re trying to do with your website.
Installing the Tracking Code
This is a nice feature in Genesis themes where you have this ability to add footer and header scripts. The reason you may want to do this is if you have a tracking code that you need to install into your website, Genesis in StudioPress actually makes that much easier for you.
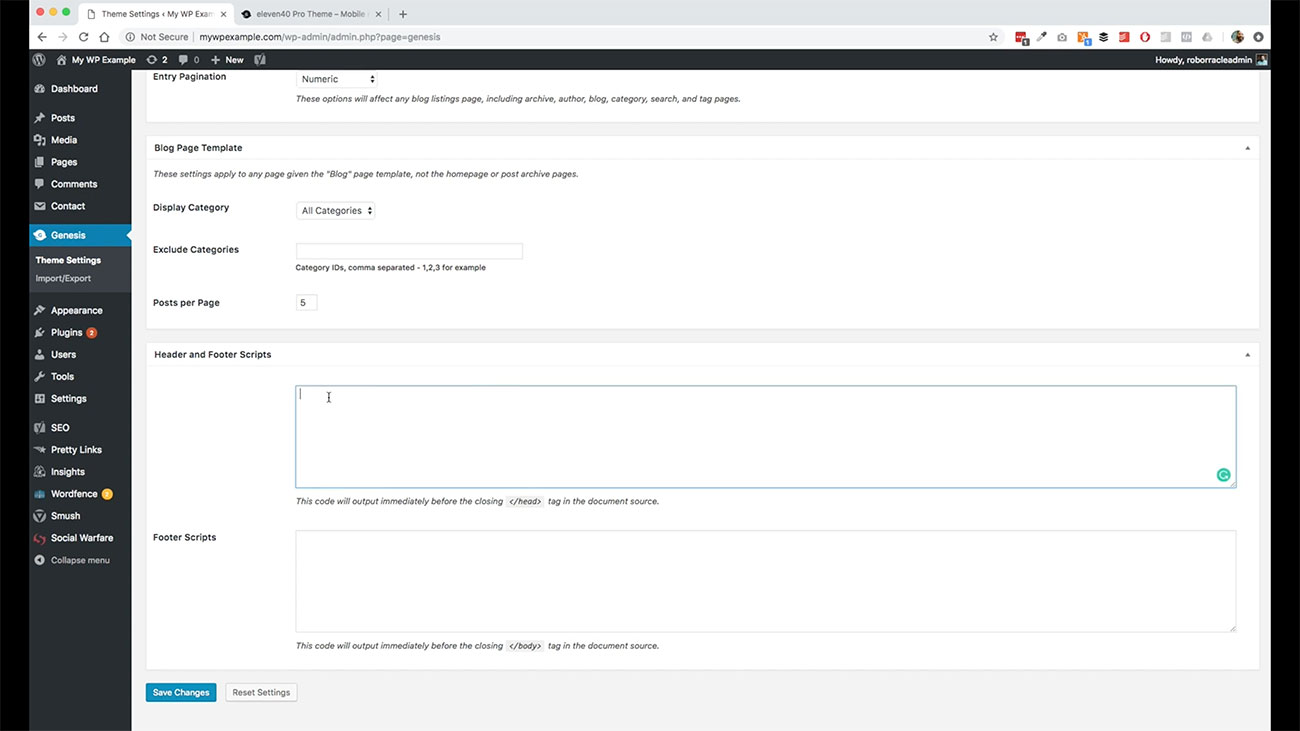 You just take your tracking code and install it here. A tracking code would be something like tracking code for Google Analytics, or a Facebook Pixel or any other kind of platform that is requiring, or would be requiring some kind of tracking script that you want to use.
You have the ability to add it either to the header or to the footer. Usually when you get the script from the provider, it’ll tell you where they want you to place it. Sometimes they’ll want you to put it in the header. Sometimes they’ll want you to put it in the footer.
The reason for that is how they want it to load with the page as it comes up in a user’s browser. Those are a couple things to keep out. If you have a Google Analytics tracking code, this is where you would put that as an example. That is that.
Let’s go back over here. We’re going to go back to appearance. We’re going to go to widgets this time.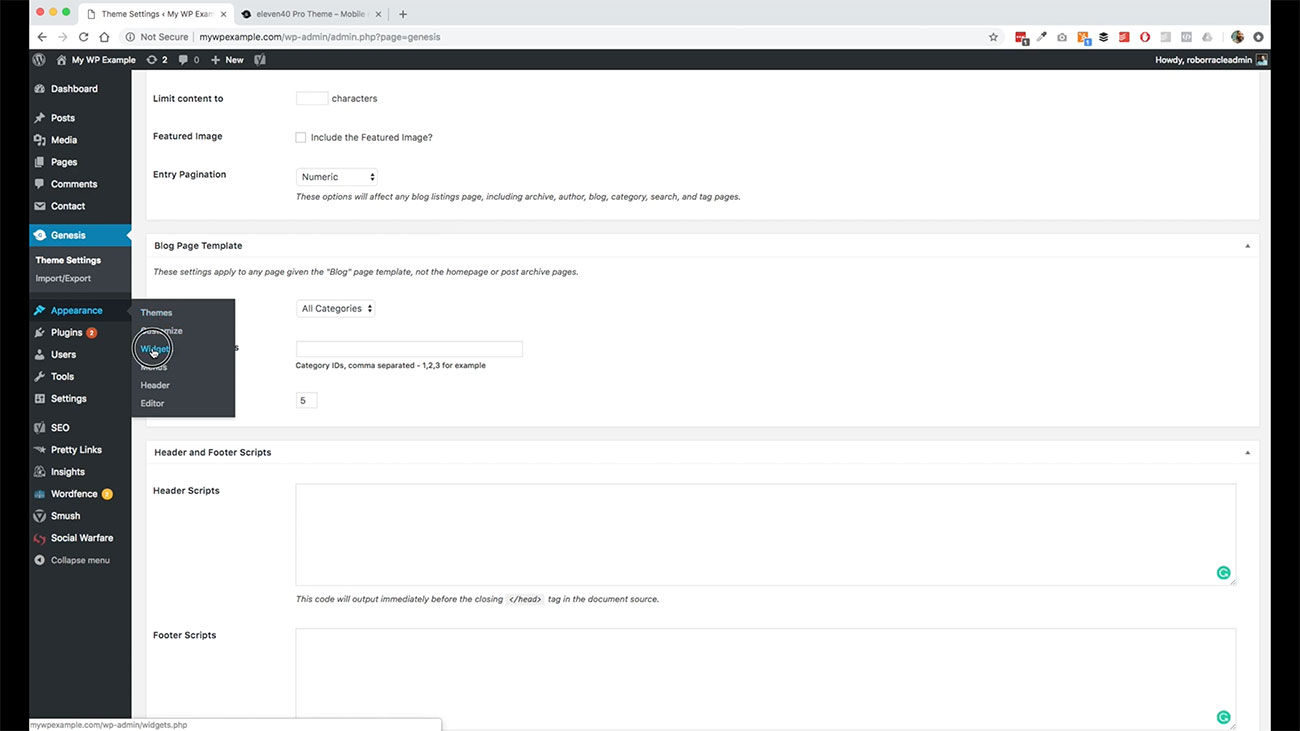
We have some additional features that are going to be available to us in our theme that we don’t have now. Let’s take a look real quick to see. This is just really raw.
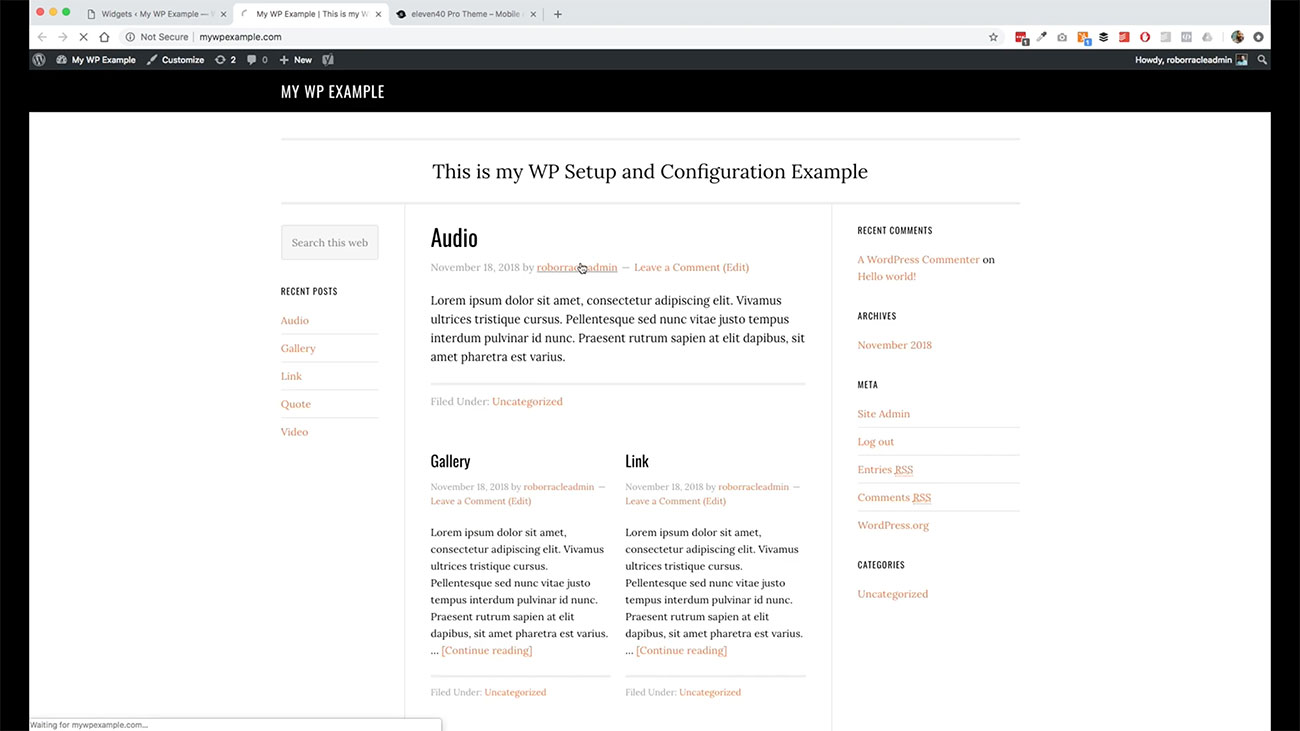
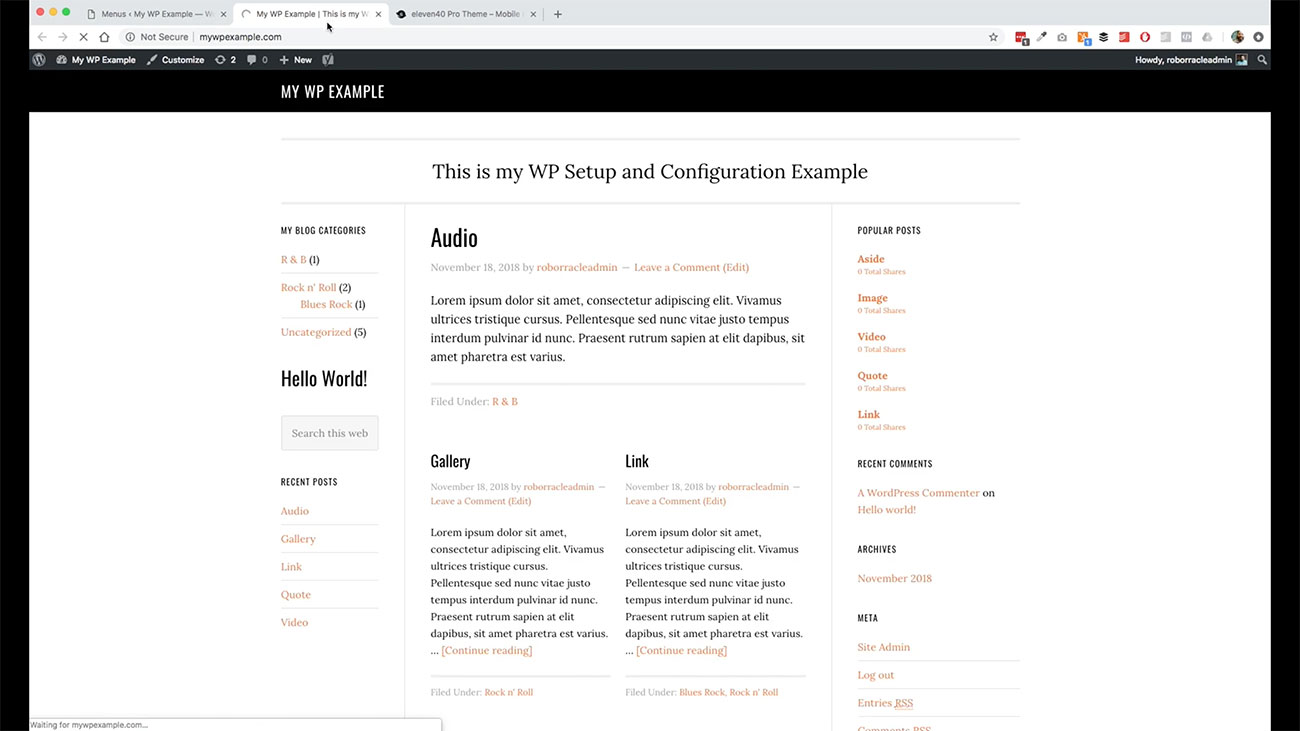
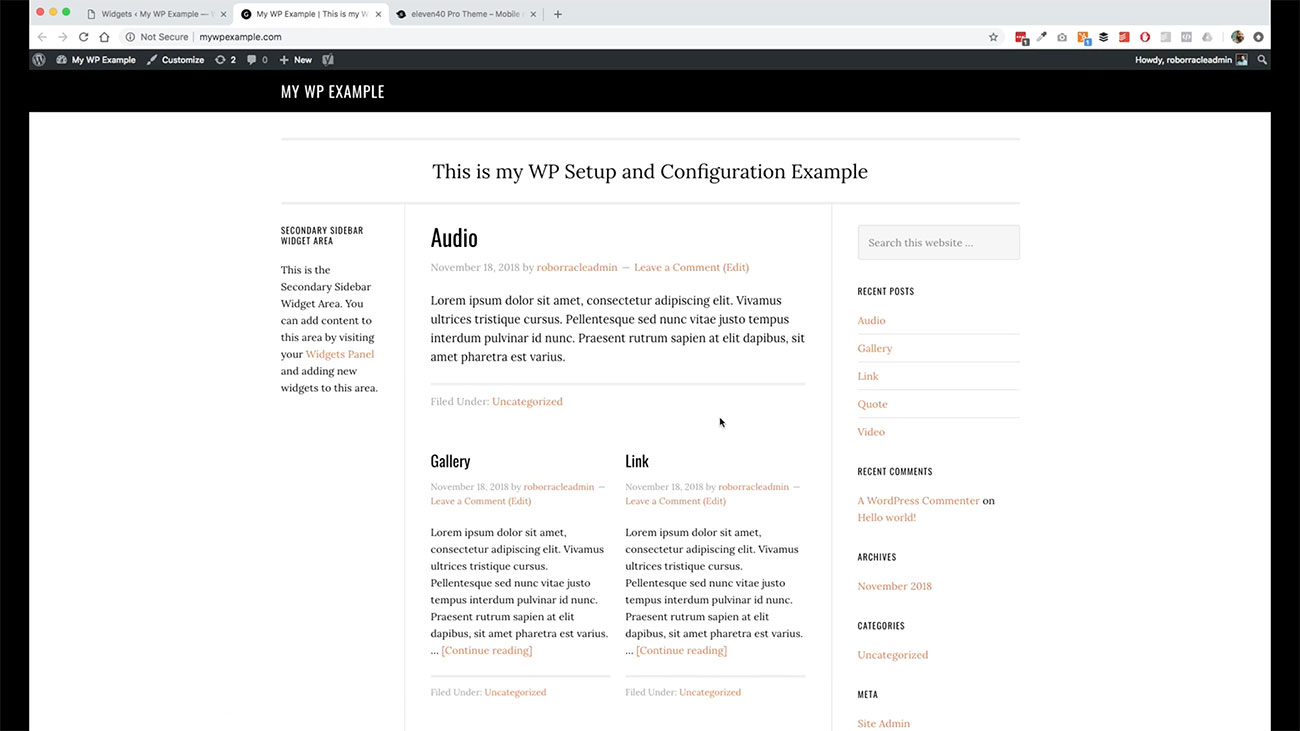 This is our basic theme that is just set up. You can see there are some basics that are in place here. These are the demo posts that we created right now.
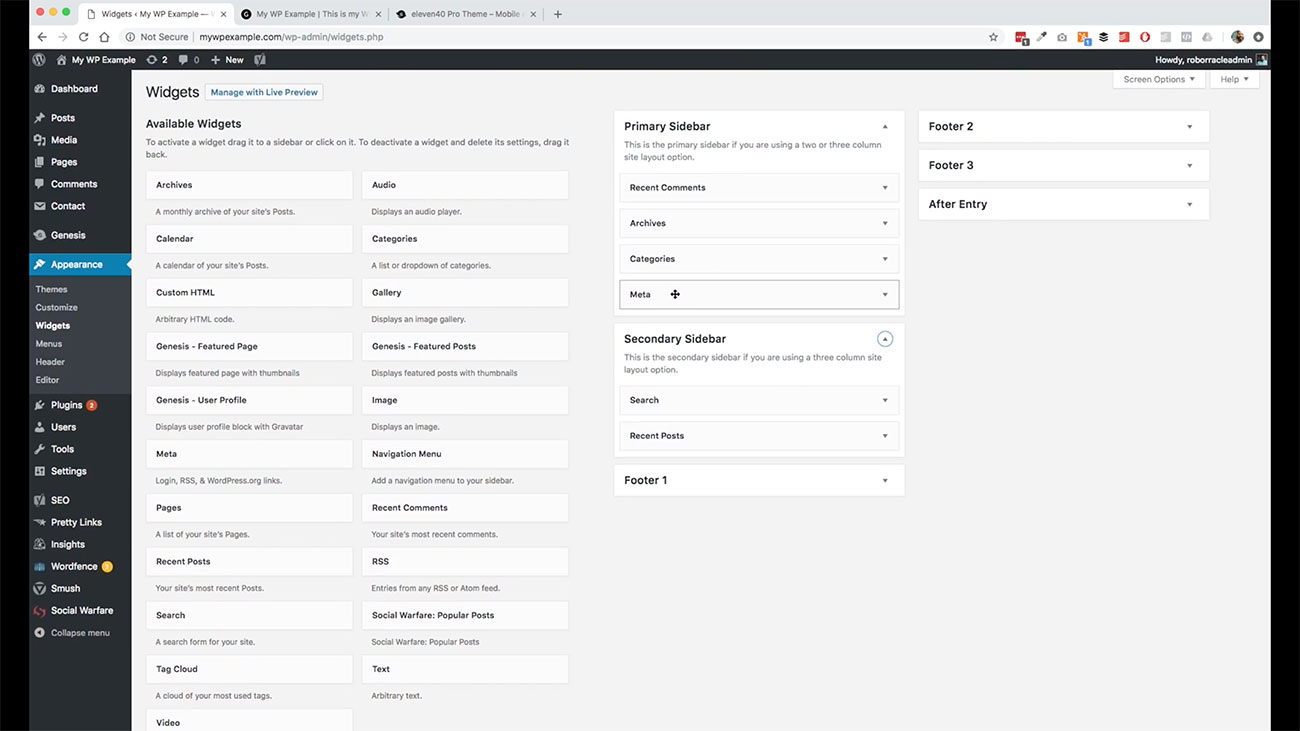
We don’t have any links or any menus. We’ll talk about that in a few minutes. You can see.  We have some basic default in place for the various different items here. This here, this primary sidebar, and our widgets menu correspond to what you see over here.
So recent post, comments, archives, categories, meta info, and whatnot. We go back over here and look at our primary sidebar. We have recent posts, recent comments, archives, categories, meta so on and so forth.
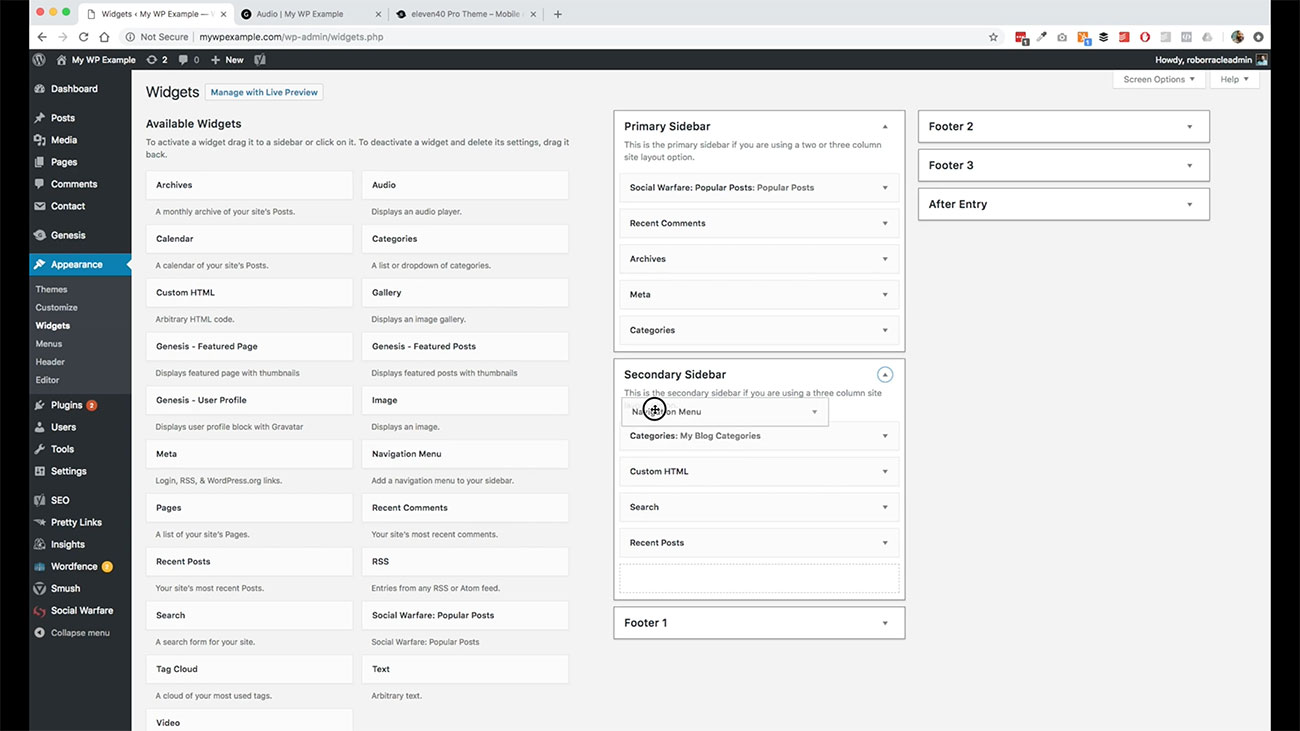
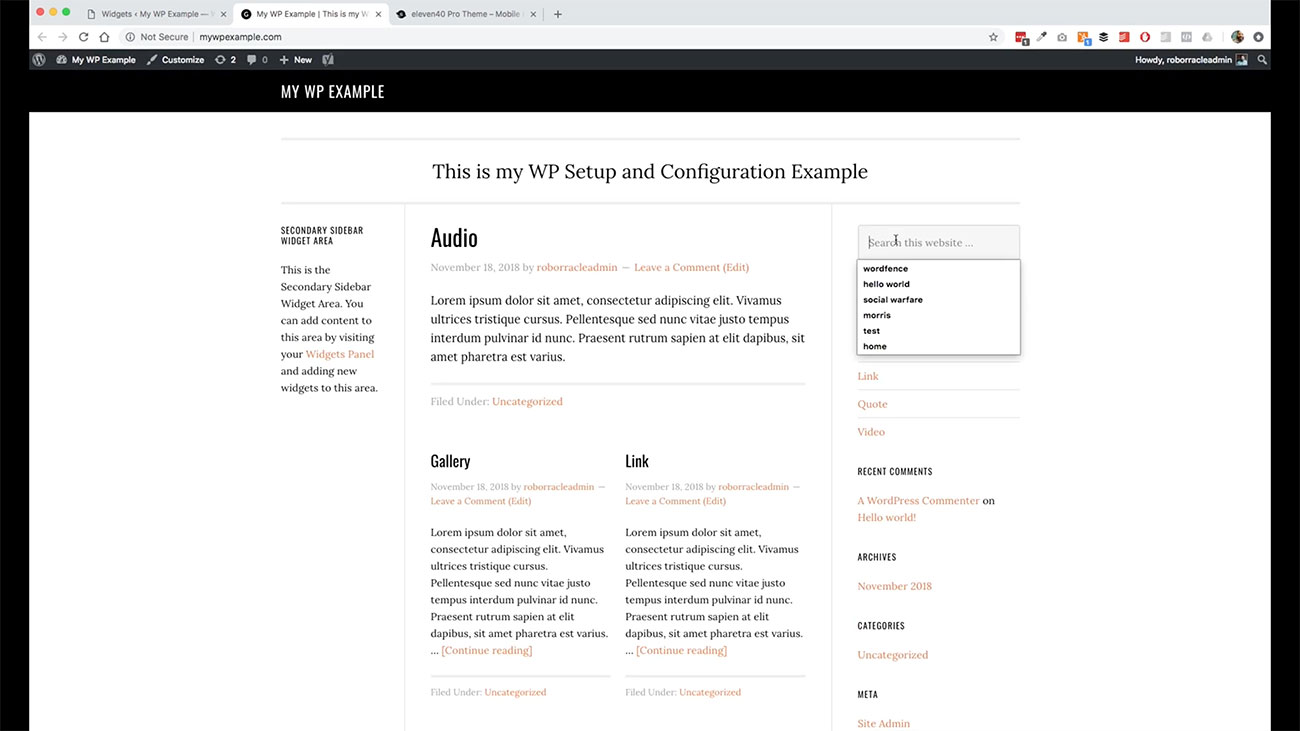 The search widget, which I forgot to mention, which is over here, too which is this piece that’s where that particular works. Now there’s also you have available in this theme, a secondary sidebar. If we go back and locate our demo, what would be that secondary sidebar would be the stuff that you’re seeing over here.
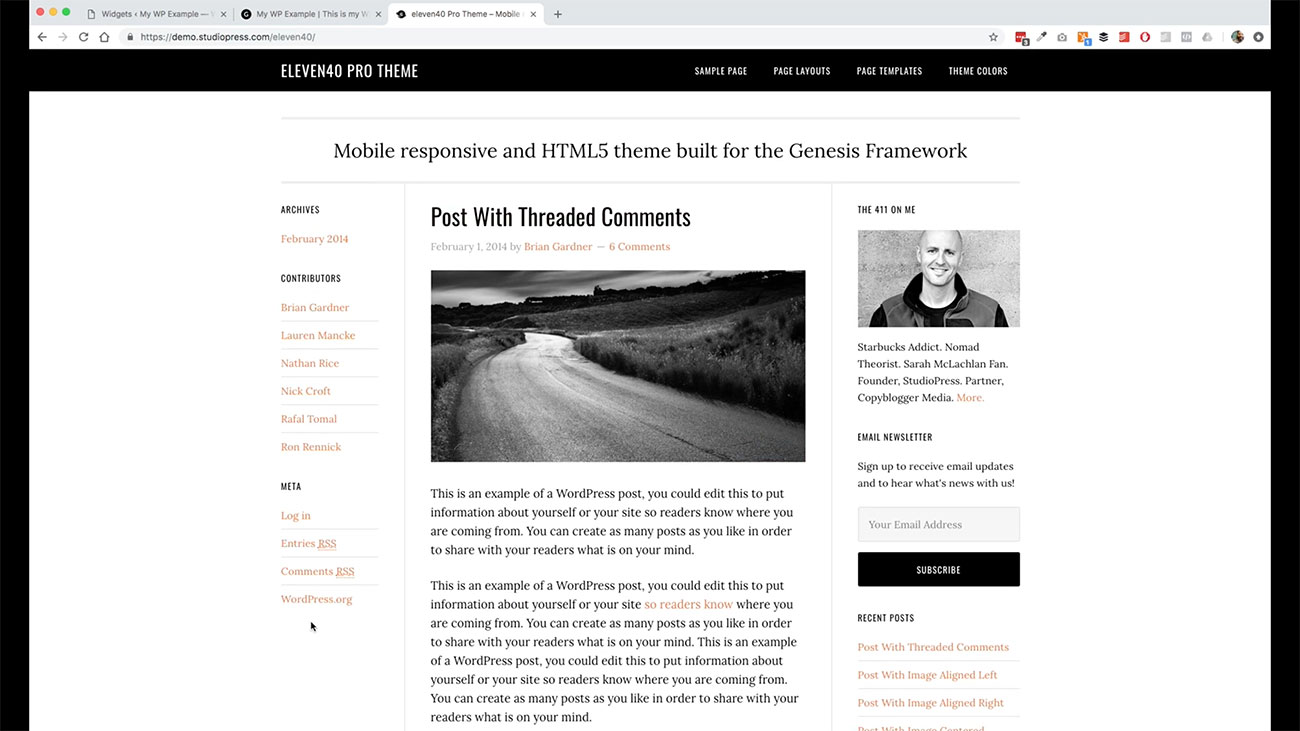
Let’s move some stuff around and see what we’re looking at. Let’s move our search bar over and maybe our recent post and go ahead and put that over in the secondary sidebar.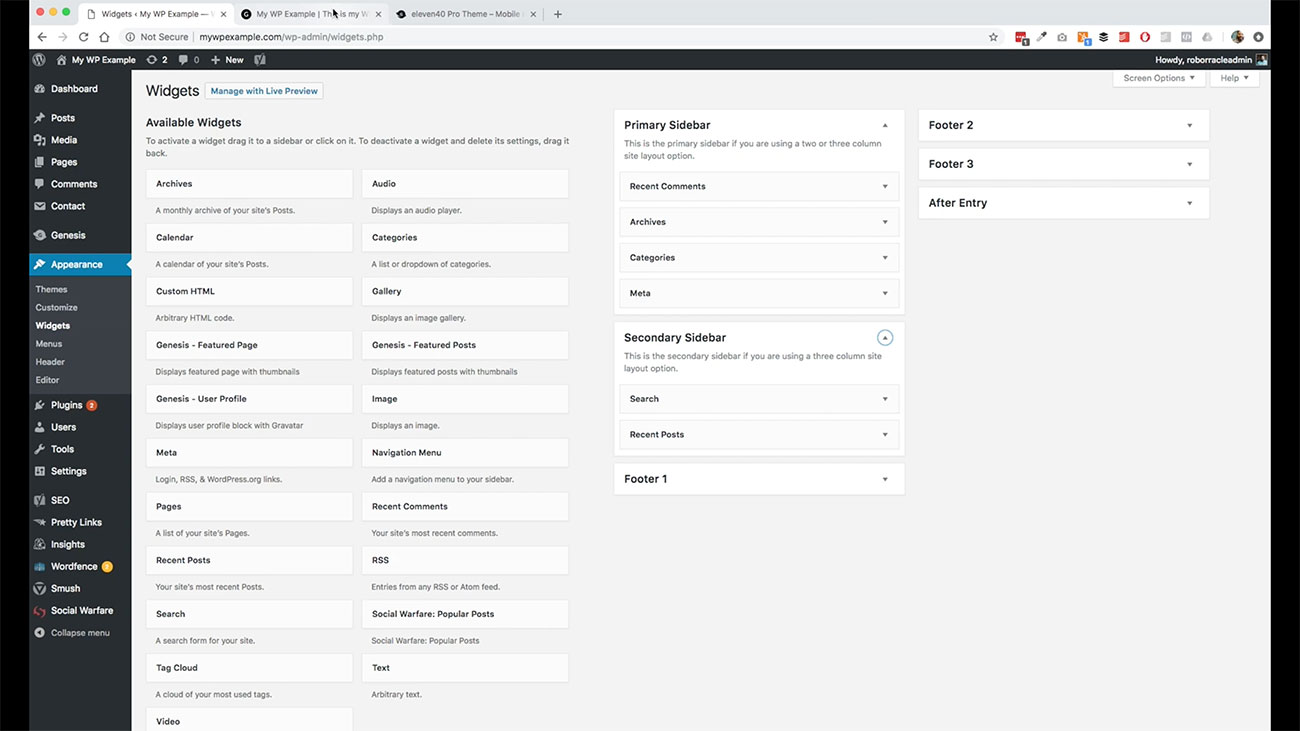 What WordPress will do, as soon as you move it, it’s automatically going to save for you.
 There’s not going to be a save option here for you when you move these things between sidebars. It’s automatically done for you as you move them around. There’s nothing over here that we need to save at the moment.
 Then we will come over here and refresh our page. Now our search box is over here on the secondary and our recent posts, like we just moved it.
  Again, a lot of times, folks want to get set up exactly as the demo is created and Genesis will provide you instructions on how to do that.
Other times, folks want to customize how these things are laid out. We’ve got our basic stuff in place here though. We’ve got the basics for our posts, so on and so forth.
Adding Widgets In Your WordPress Theme
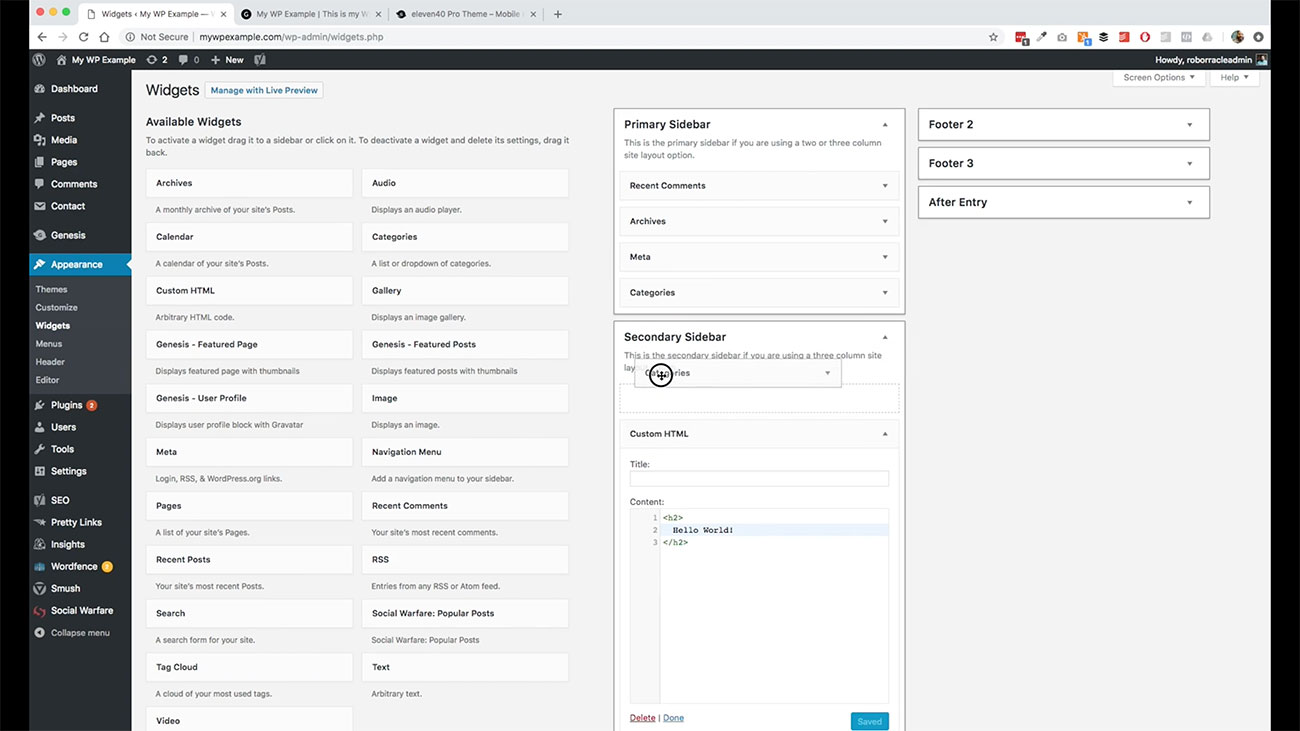
We’re pretty much good to go. Let’s go back over here and look a little bit more about what’s going on.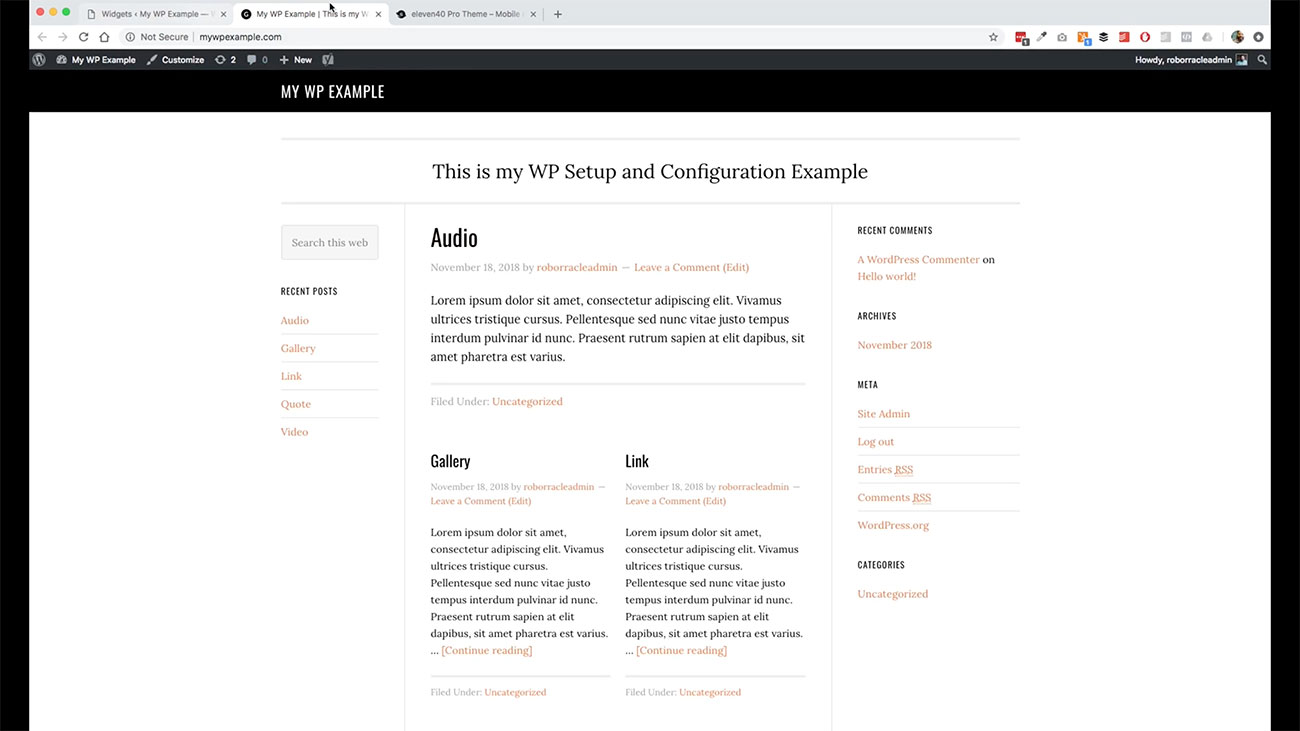 We have the ability to add widgets, and these widgets are only ever going to be displayed in the regions that you have available to you here and these options over here.
Some themes will contain some regions that are only displayed on your homepage. It’d be like homepage one. Then it requires you to use a specific kind of widget in that area and it’ll all be labeled out. So primary sidebar, secondary sidebar, in this one, we’ve got three different footer areas.
If we go back over to our demo, you can see we’ve got these three different columns available to us in this theme.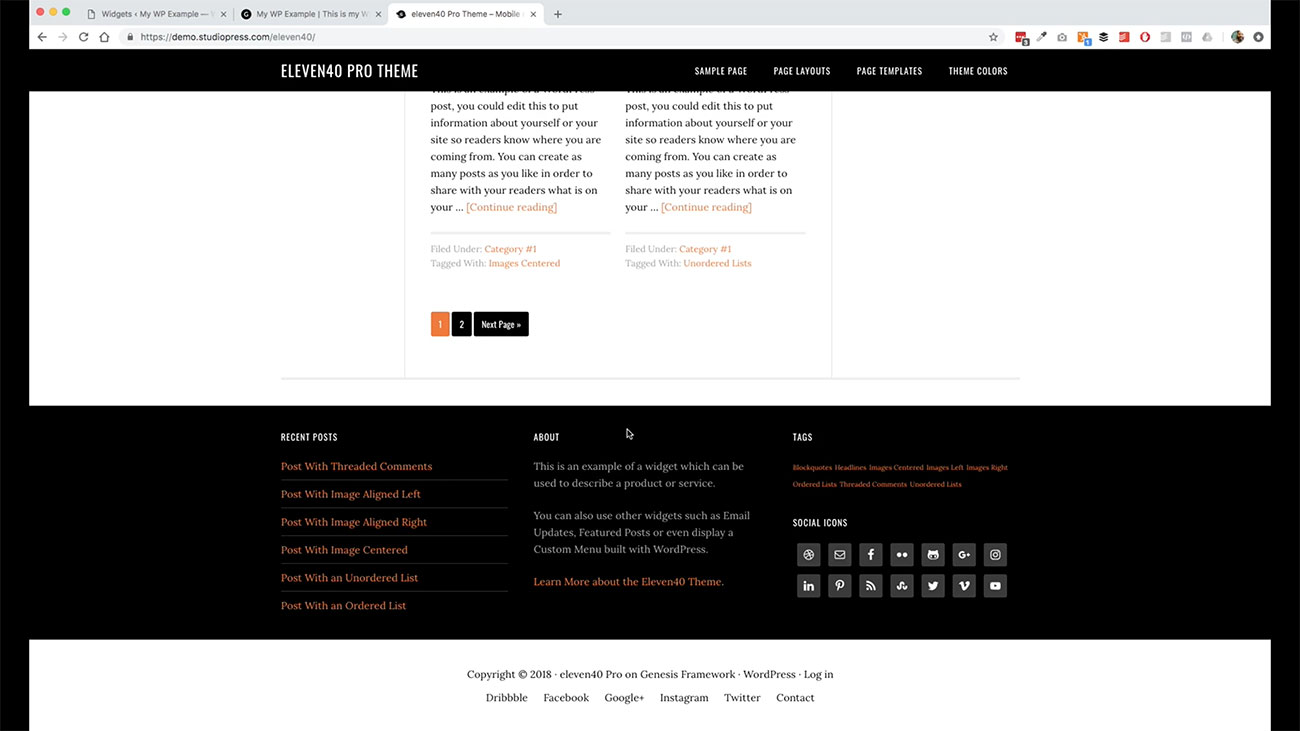 Some of the more complex themes will have additional widget areas. You would see homepage hero section one or homepage secondary section, so on and so forth.
Then you will be able to use various different widgets in those areas. We can use whatever we want to do. For instance, say we want to add a custom title to our secondary sidebar.
Adding a Custom Title
We’re just going to create something very basic, h2 text. We’re just going to say, “Hello, world!” We’re using a custom HTML widget.
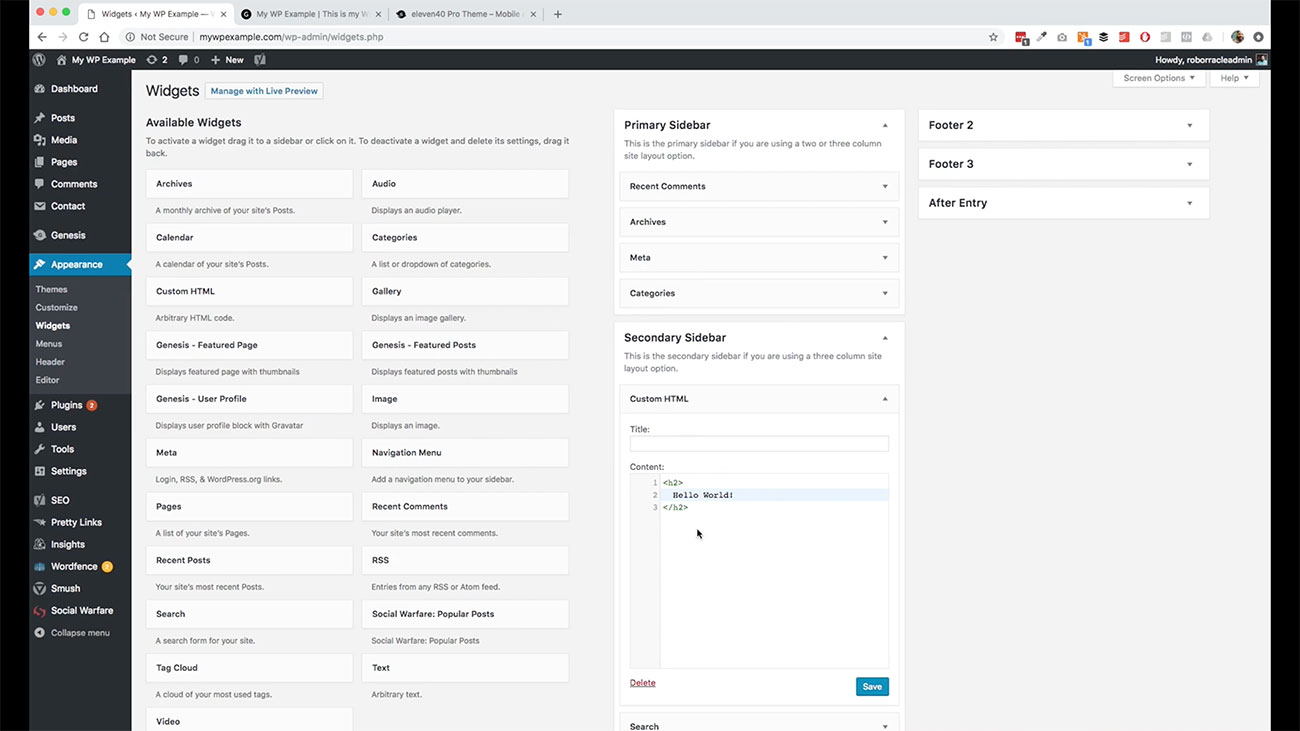 We just dragged it from over here, dropped it in. We hit Save. This is one of those instances where we do need to save.
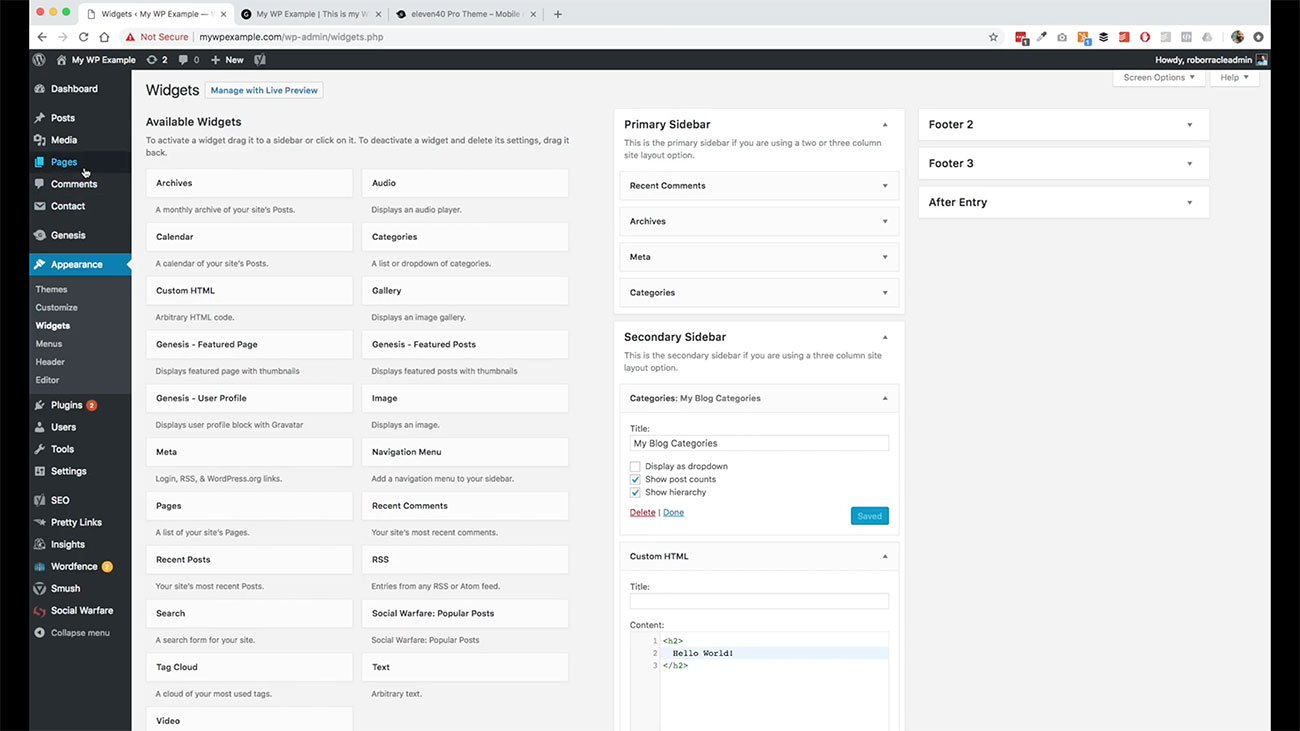
 Go back over here. Here is our custom widget and then lots of other different options. If we’ve got an audio player that we want to display, if we want to display our list of categories.
 Let’s go ahead and add that to the secondary sidebar. We can see that we’ve got him if we want to create a title, “My Blog Categories.” It can be displayed as a drop down menu, and we’re not going to do that.
We can show our post counts. And if there are sub-categories, we could click that. Let’s just save that.
Now come back over, take a look. Now we have my blog. We’ve only got uncategorized post. It’s only going to show if the categories that have posts.
 If we come over here, go back to our Posts Page. Let’s change one of the categories here.
 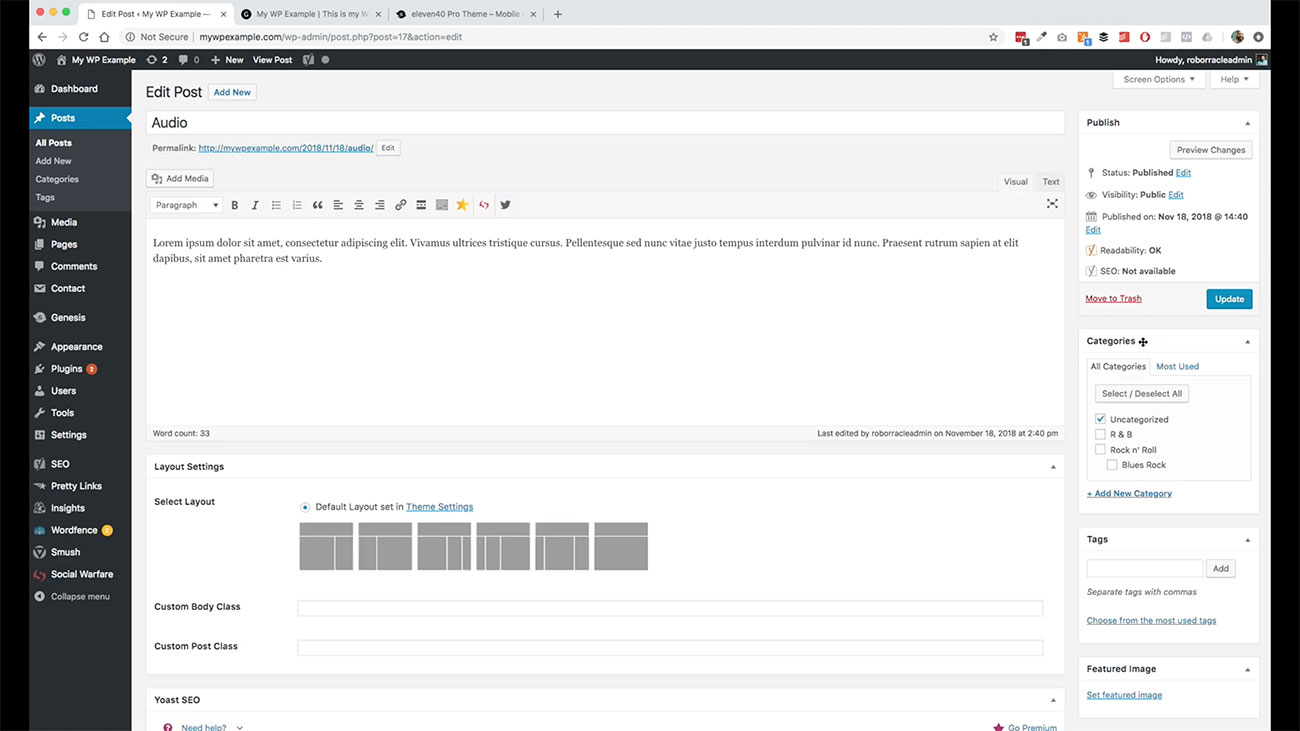 Over here in our categories, we’re going to use R & B. We’re going to update that post.
Then we’ll come back to post again, and edit this one.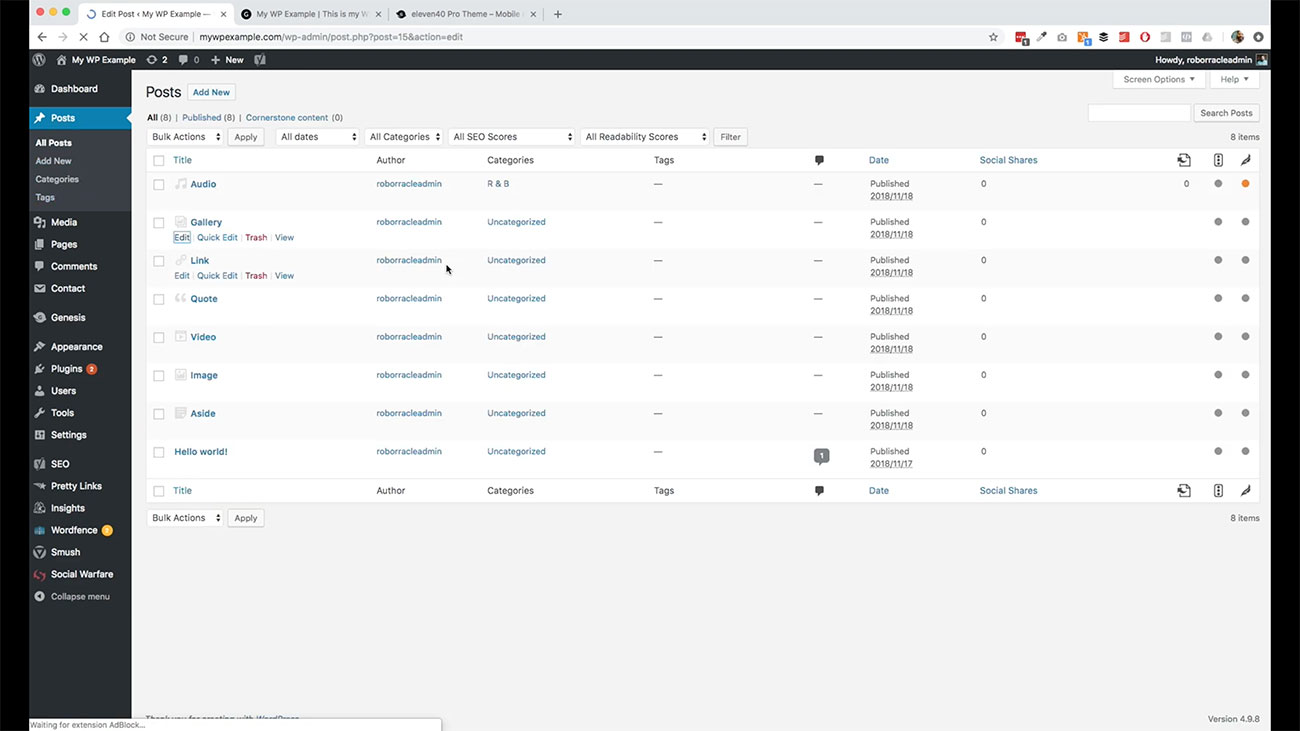 We’re going to change this one to Rock n’ Roll. Then what we’ll do is we will also set one for our subcategory.
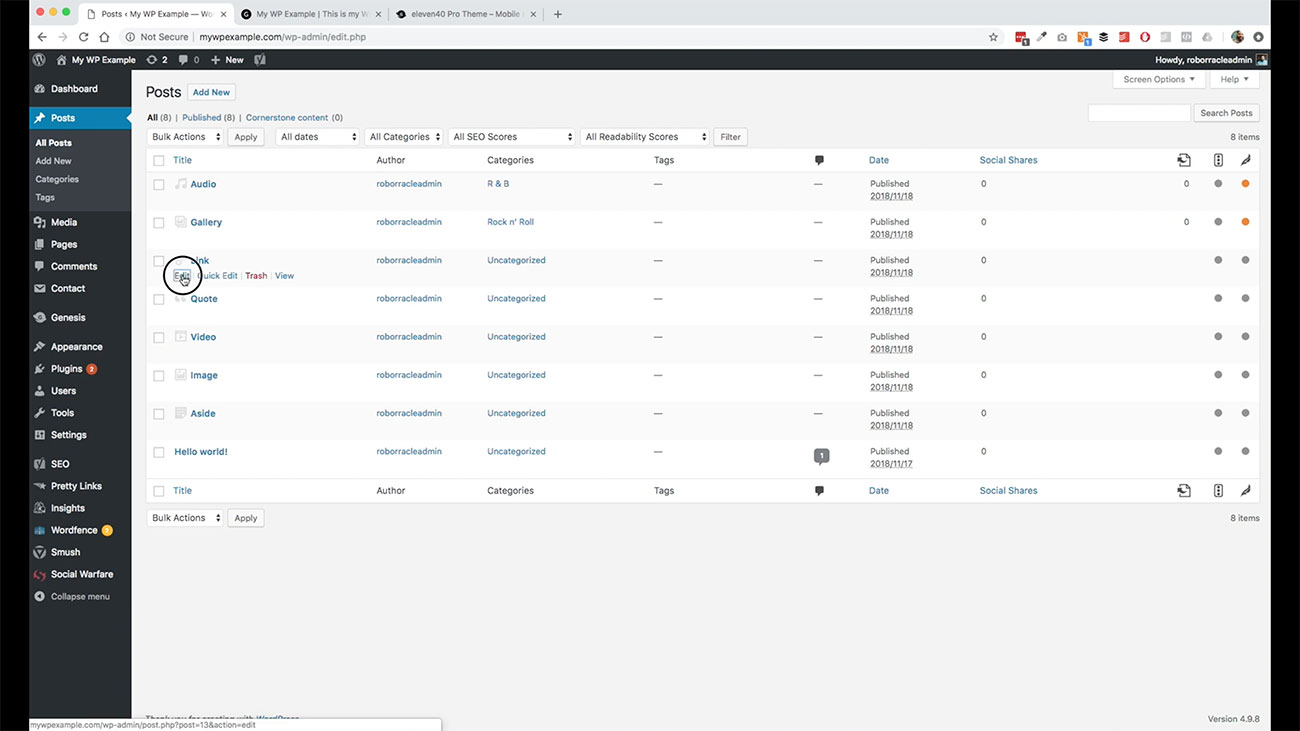
Our link post, we’re going to go ahead and change that.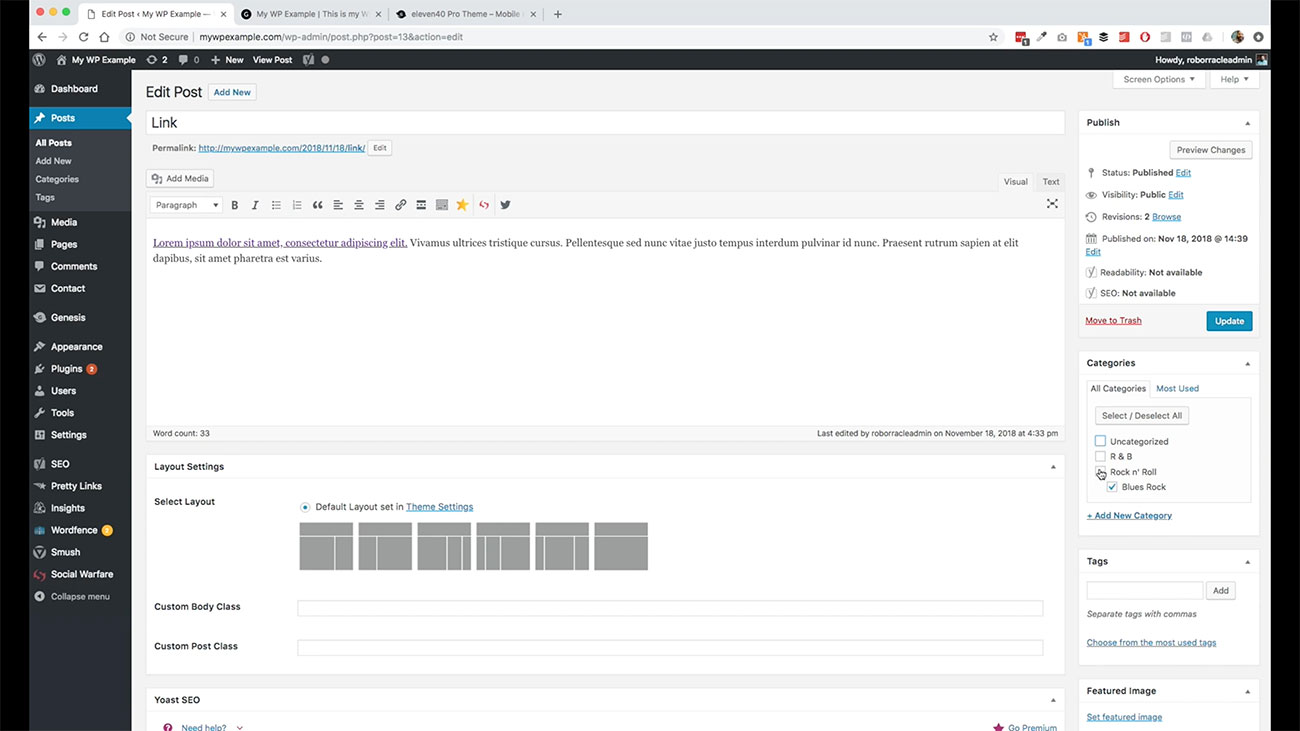 Now we come back over to our site. You can see we’ve got, one in R & B, two in rock and roll, one in blues and the rest of them.
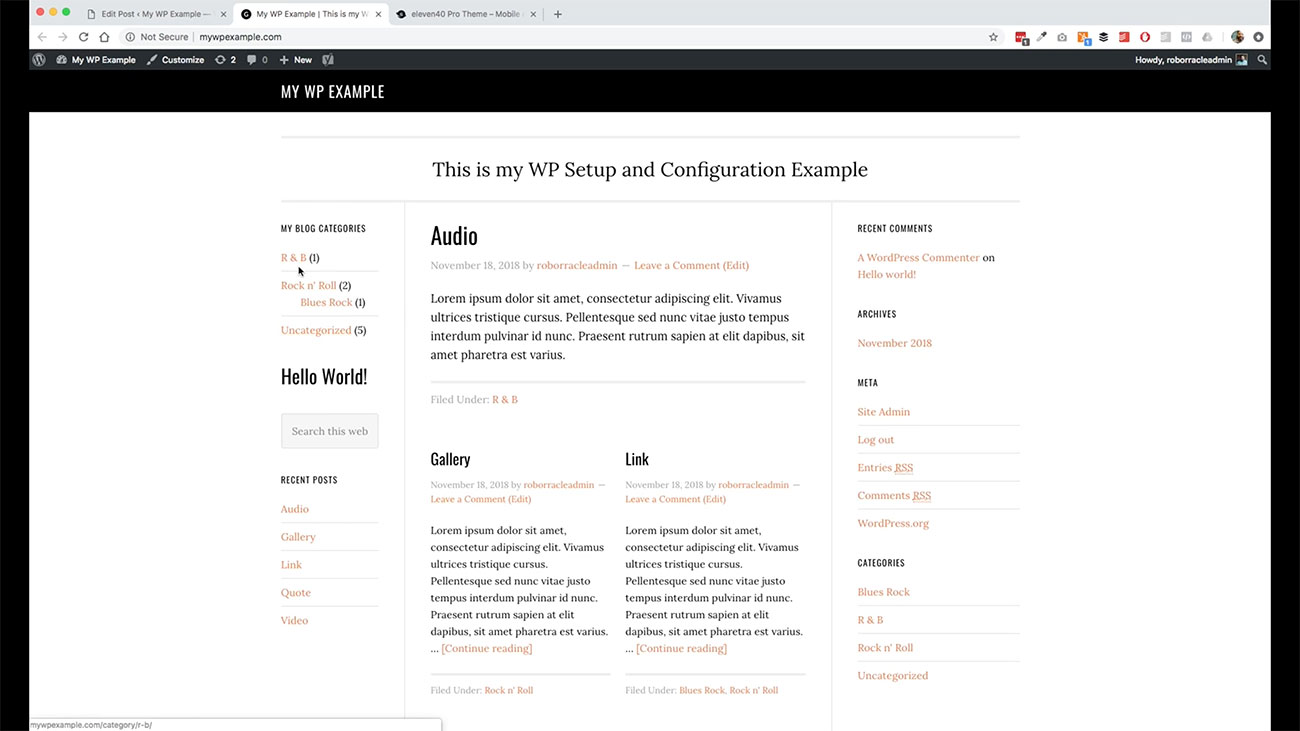
It will show them based on what they contain. If there are categories that don’t contain anything, it’s not going to show you those categories over there.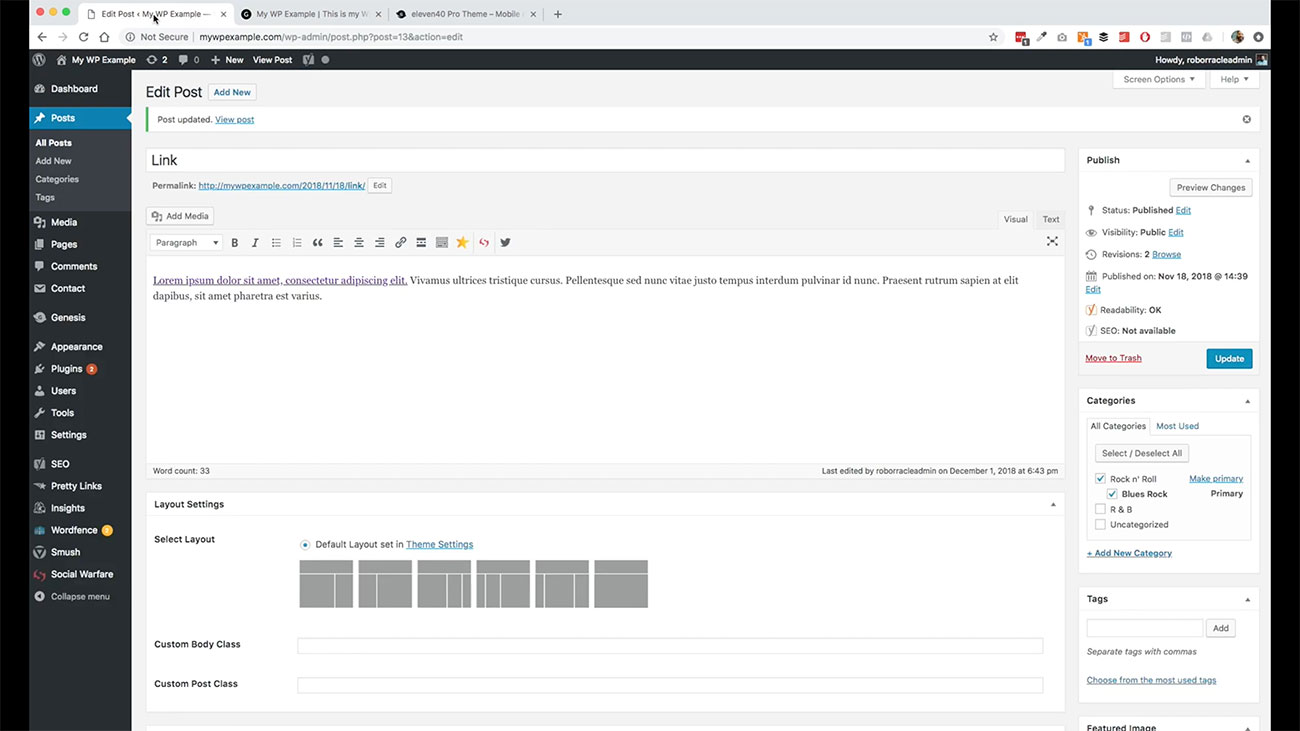 Let’s go back over to our parents and go back to widgets.
You can for instance, if we want to add. Let’s see, what can we add here, like social warfare popular post. Let’s go ahead and put this one in our primary. We’re going to put it up at the very top. It gives us a variety of settings here.
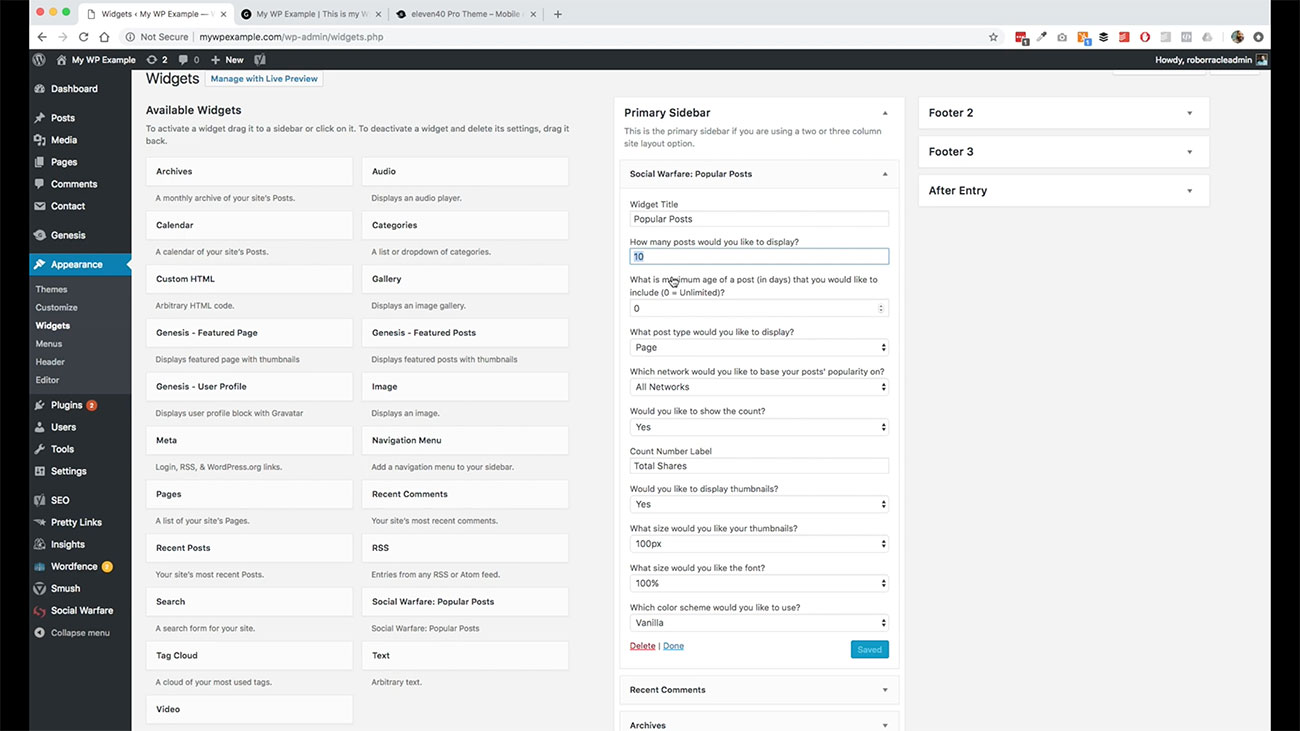
Let’s trim that down. We don’t want to clutter our sidebars too much. We’re only going to add five.
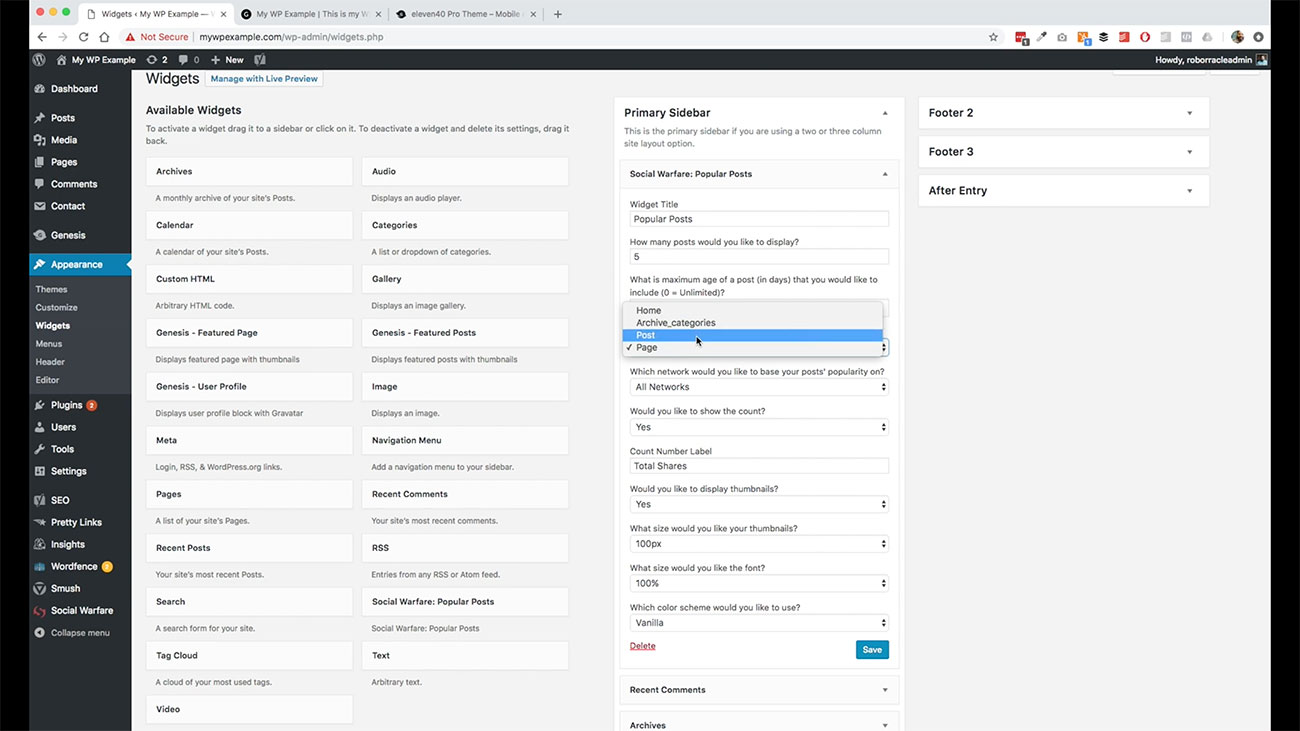 What post type would you like to display? This, we’re going to use post, because remember, our two primary content types in WordPress are going to be post and pages. We’re going to just stick with post.
If we wanted to, we could use our archive categories. For now, we’re just going to leave that to post. We’ll just leave this if we wanted to dial that in.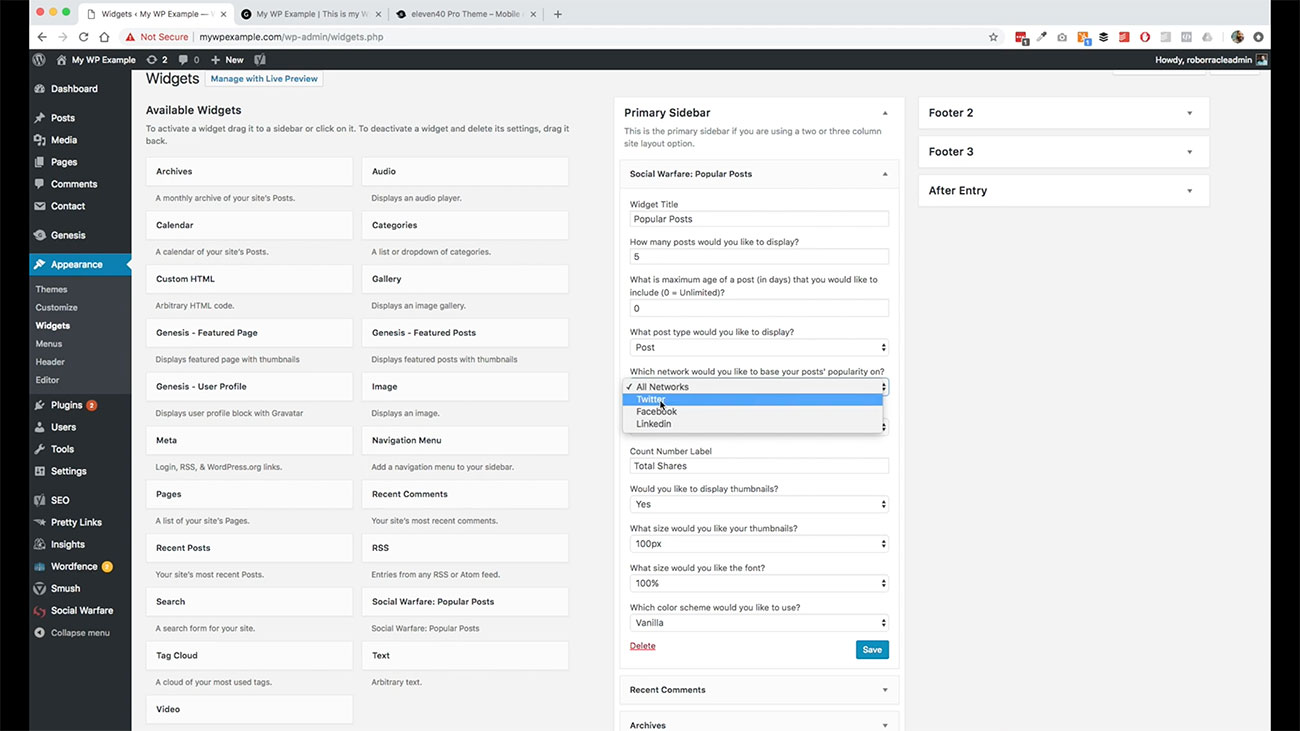
This is going to be a popular post by the number of shares that are associated with it using the plugin. Let’s see what we get over here. Come back and you see that we you’ve got five total posts, and then it shows it based on our total share.
It’s a kind of a little bit different way to approach doing popular posts as far as your blog is concerned. This is based on the number of total shares that are associated with it.
Let’s see what other options that we want to use here.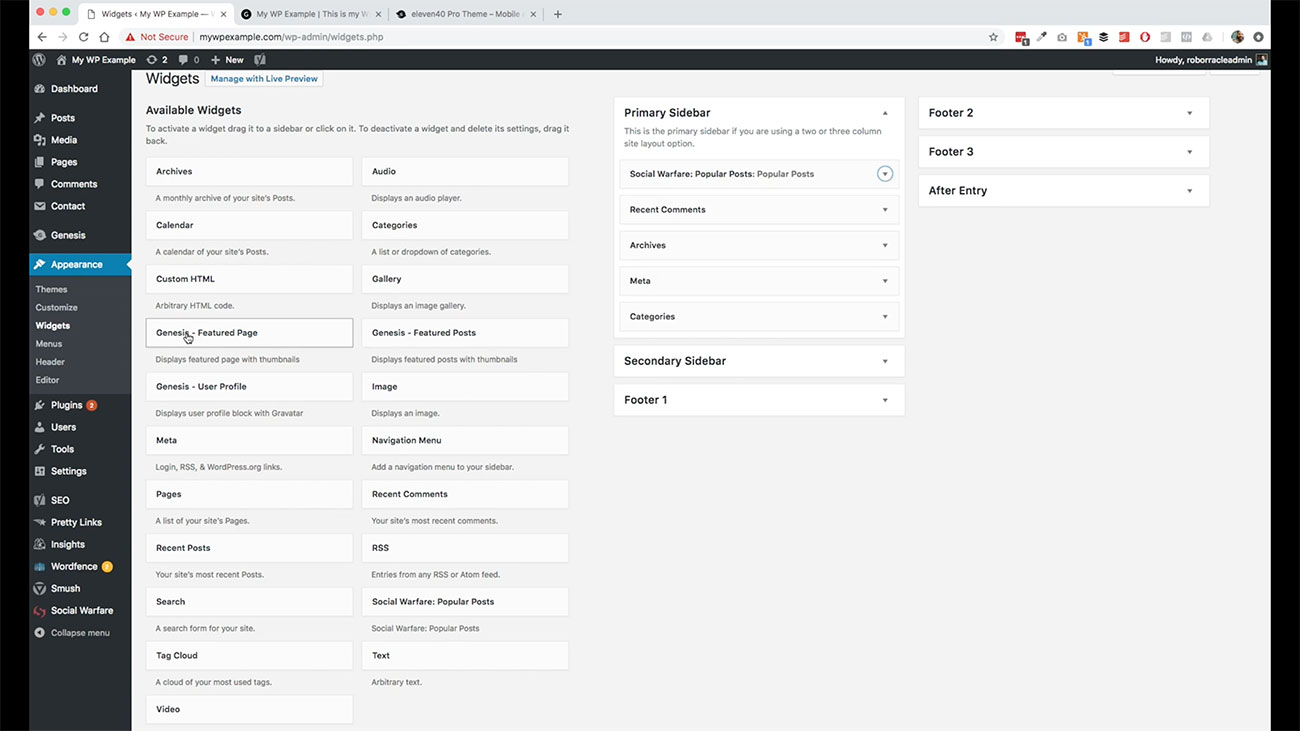 We could use a Genesis featured image if we wanted to display a profile featured posts.
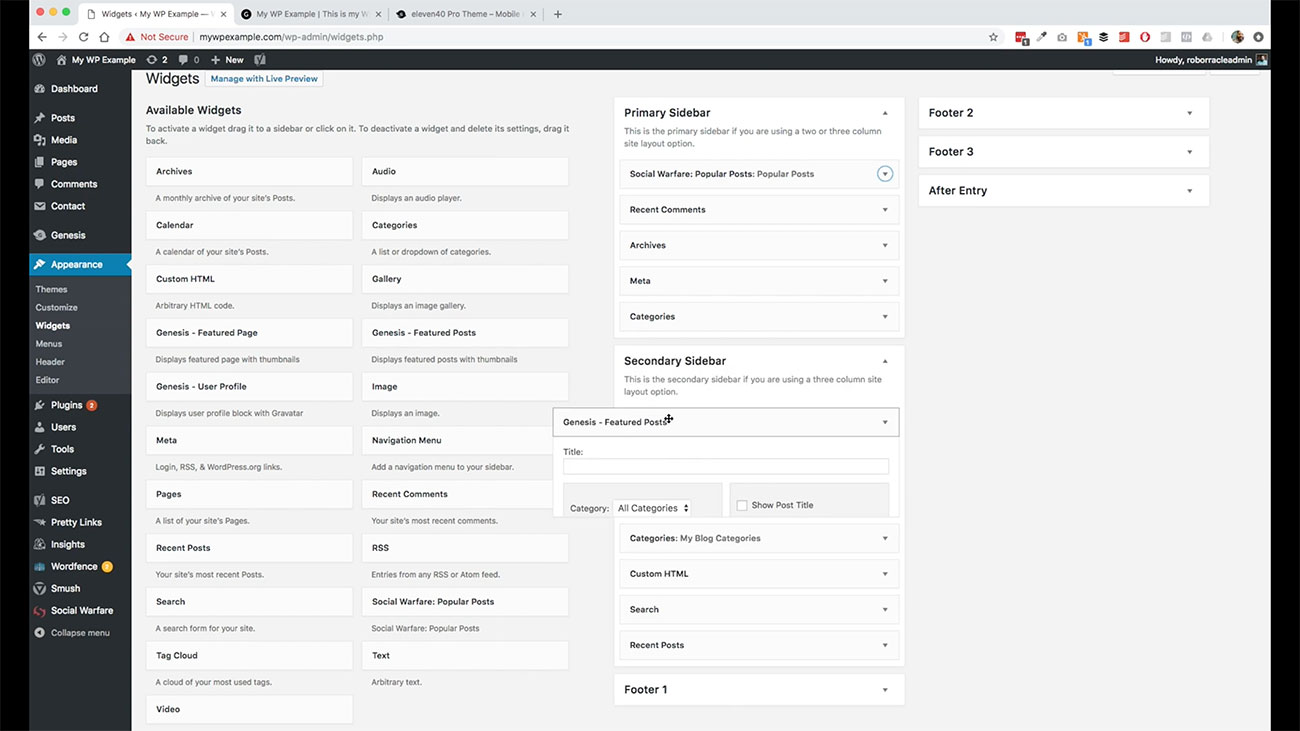 Let’s go ahead and add this to our secondary sidebar. We’re going to show over here. We can do the same thing.
We’re going to show five posts. We’re not going to use any offsets. We’re going to use all of our categories. We’re going to order it by the date it was published in descending order.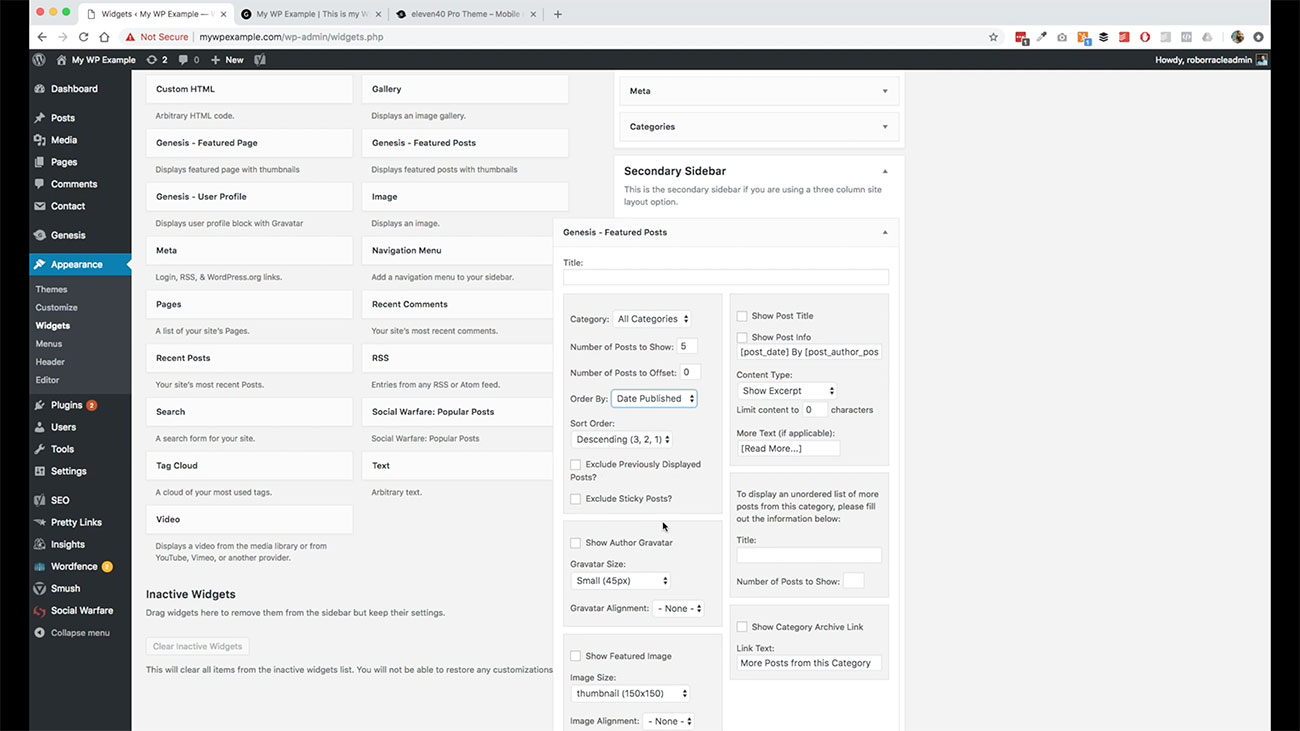
You have the option to show the avatar from WordPress or featured image. We don’t have any featured images. We’re going to leave that off.
 As you can see, there are lots of options here for you to experiment to get it to display the way you want it to display. As you can see, with this theme, there are lots of options that you have to customize your blog the way you want it to be. You don’t have to worry about changing out all of the colors and stuff like that.
 As you can see, we’ve got over here, we don’t have enough info. Let’s go back. We want to show the post title.
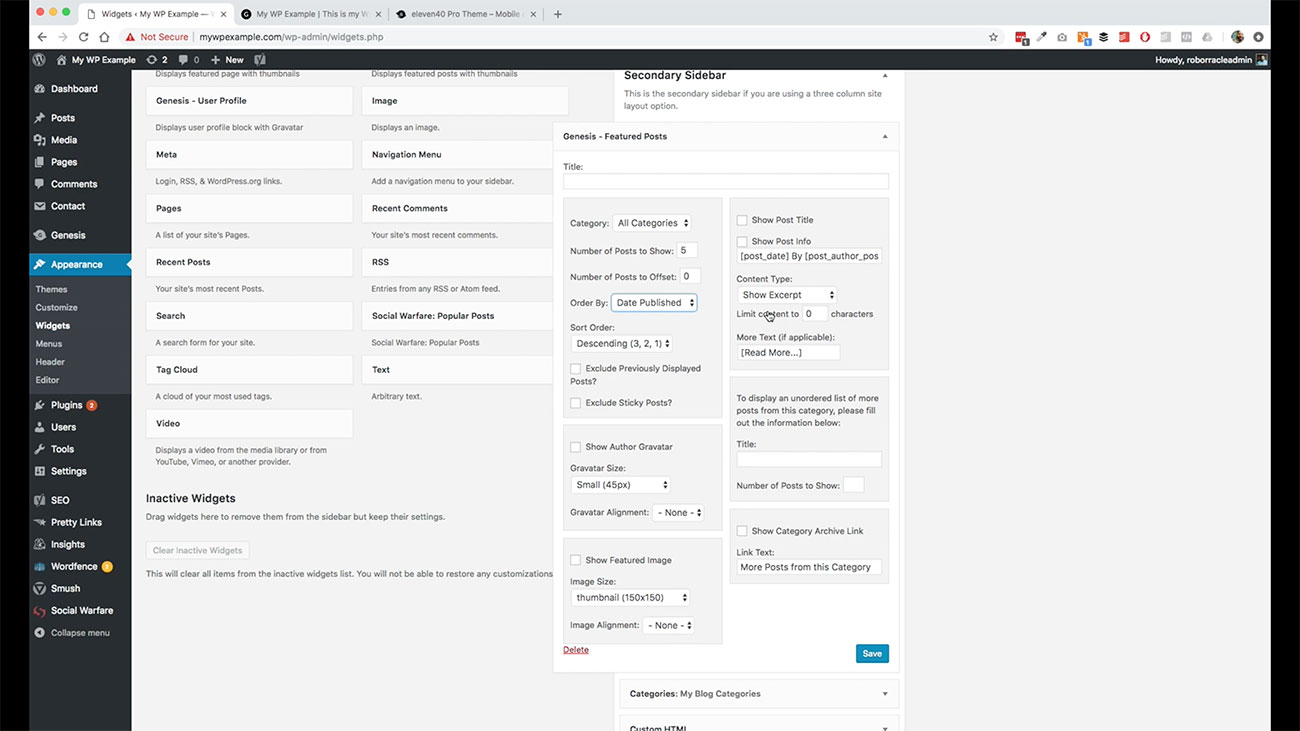
We want to show the content. We want to limit the content to the first 100 characters.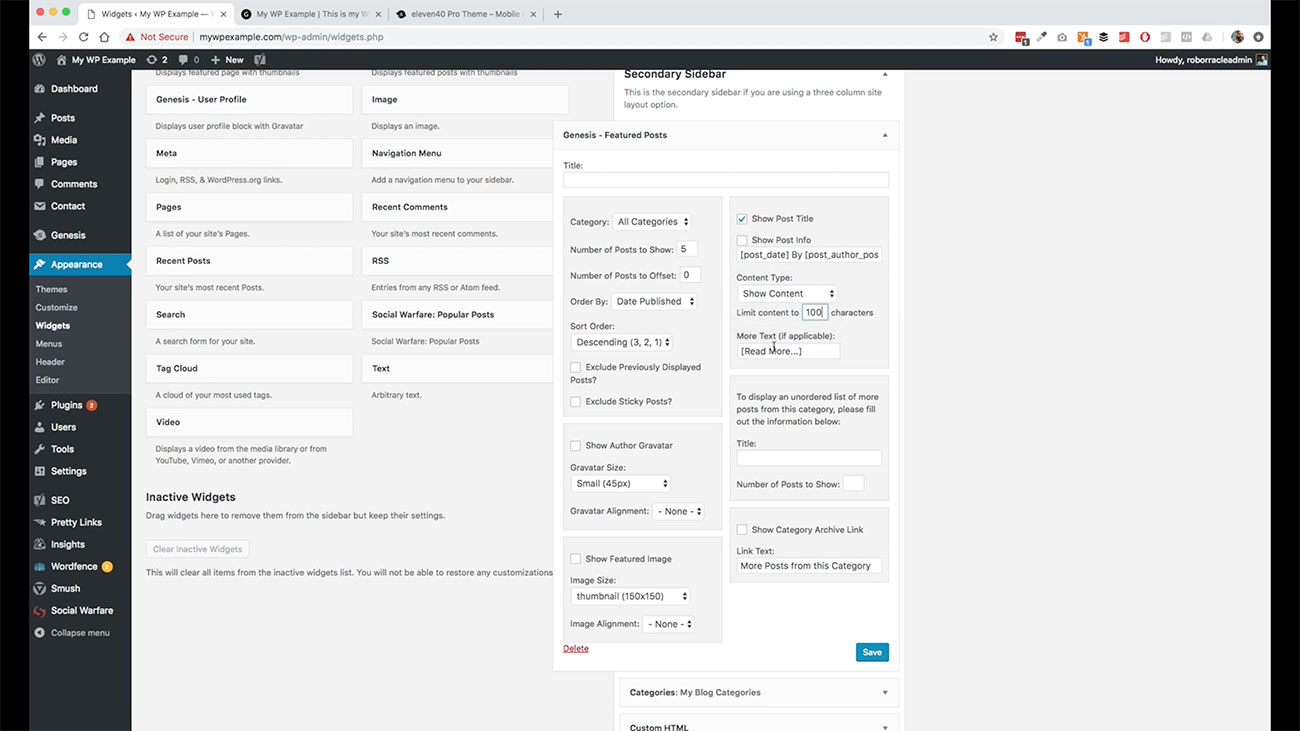 Then we’re going to leave this here as a link, because what this is going to do is link us out to our post.
Let’s show this one more time. Now we’ve got the first hundred or so on that. Here are popular posts.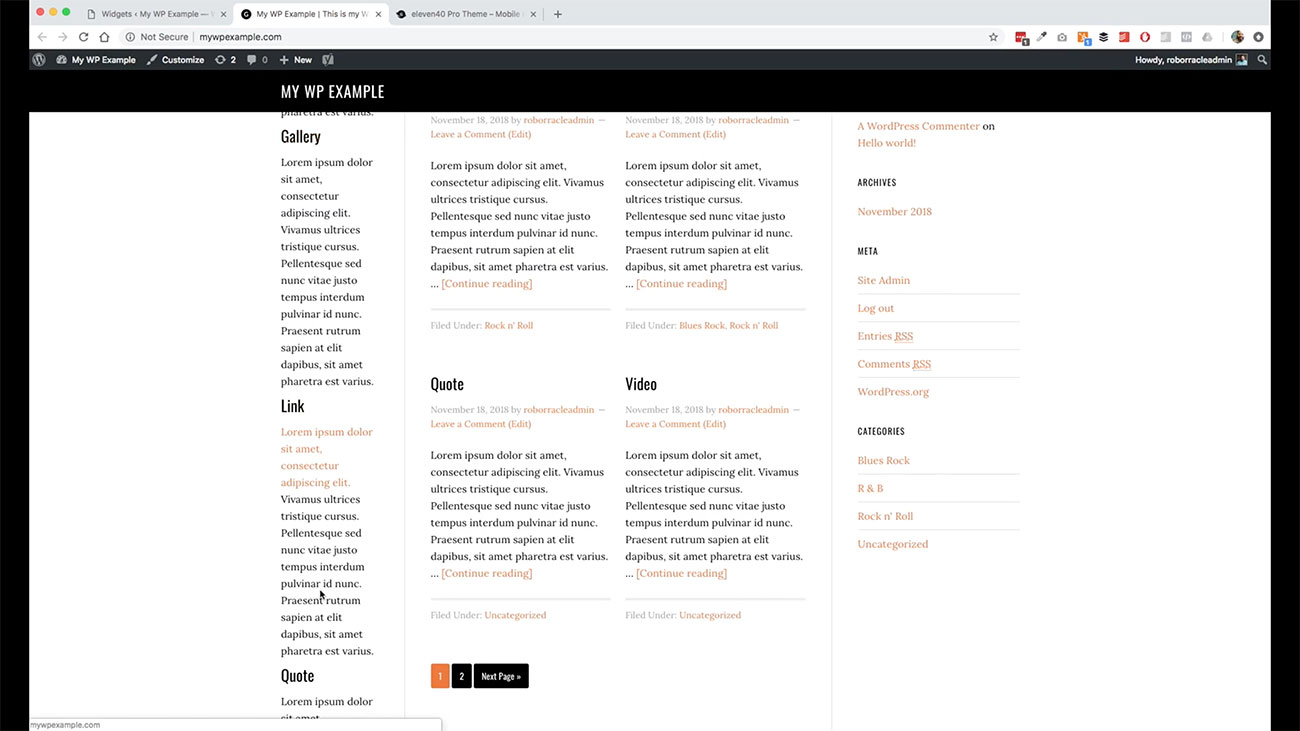
There’s a lot more that you can do with that, if you so desire. You may want to trim that down to fit your particular use case scenario.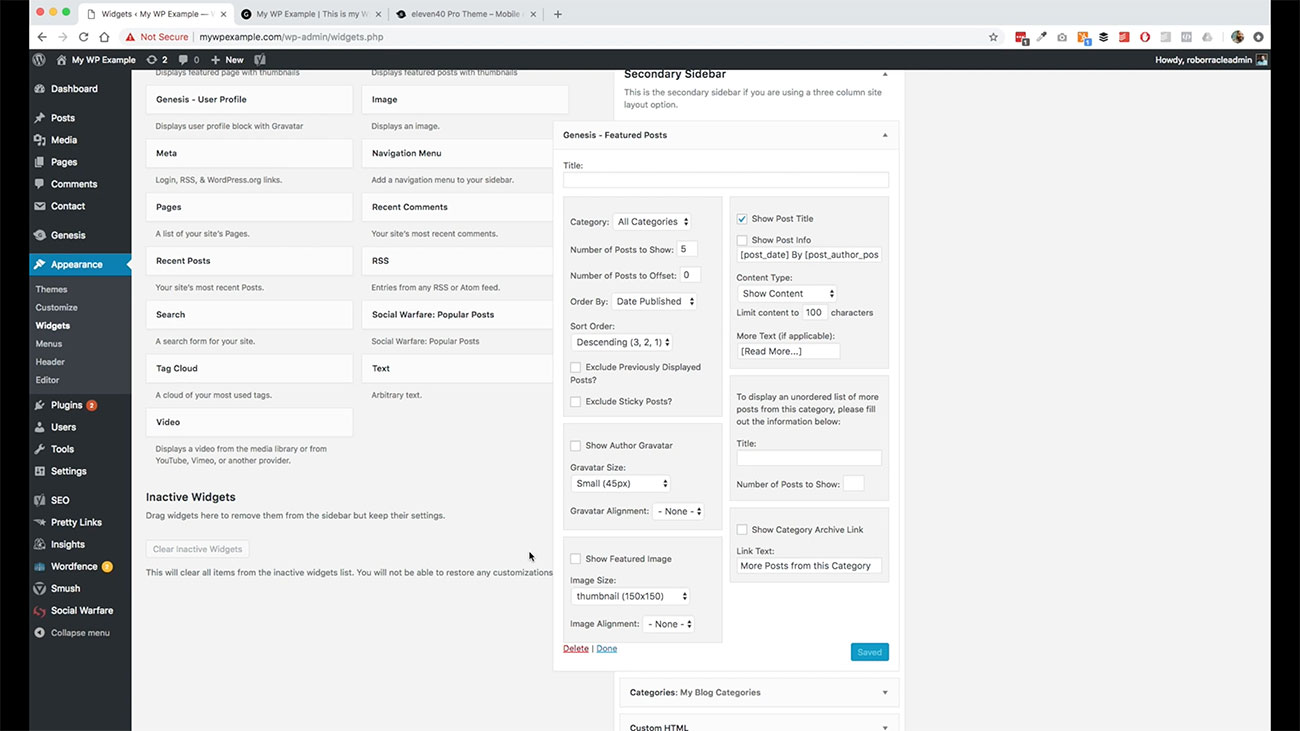 Again, we’re just demonstrating what is possible through our widget area.
When you’re done with a widget, so say for instance, we were only going to show our featured posts for a specific amount of time. We do it maybe once a month or whatever, and we don’t want to delete it. But we still want to keep it so you can bring it down here just by dragging and dropping and add it to the inactive widgets area.
Basically what that’s going to do is keep all of your settings in that particular widget, but it removes it from the display. 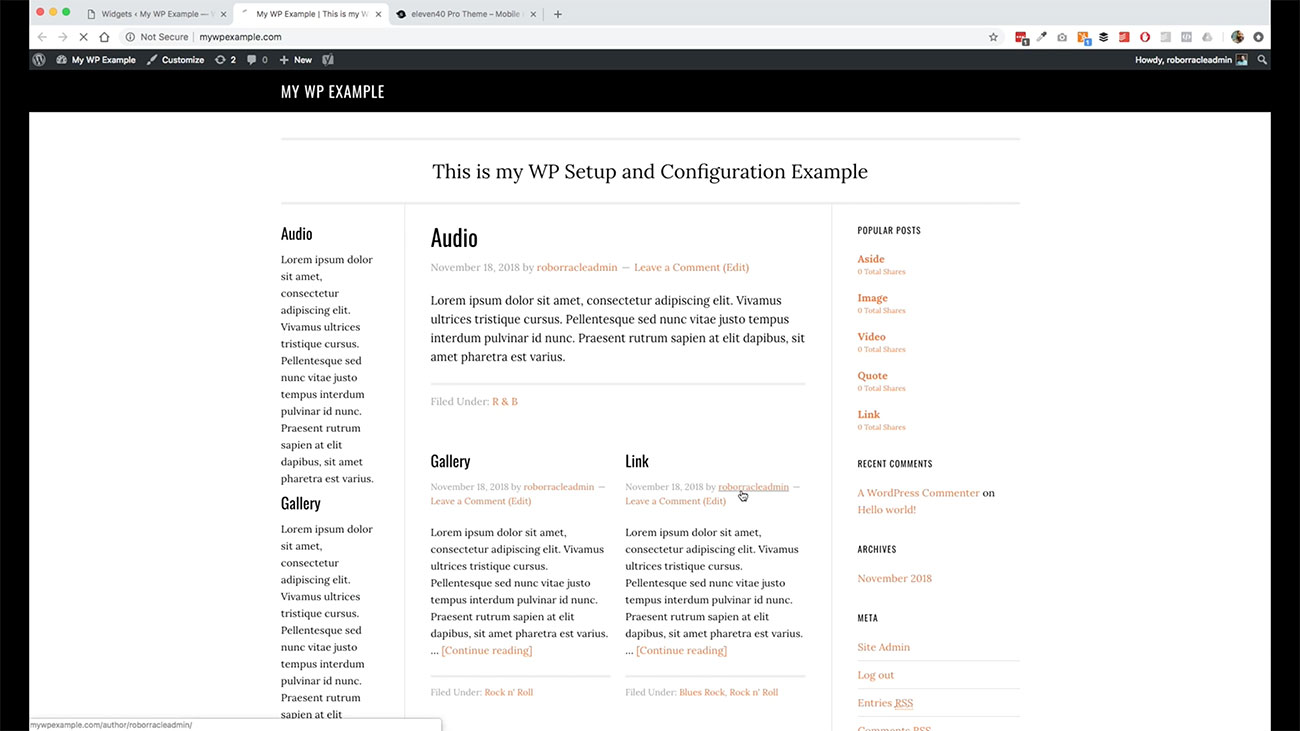 If we come back over here and refresh our page, now that that widget is no longer being displayed, but we still got it over here if want to move it around and add it.
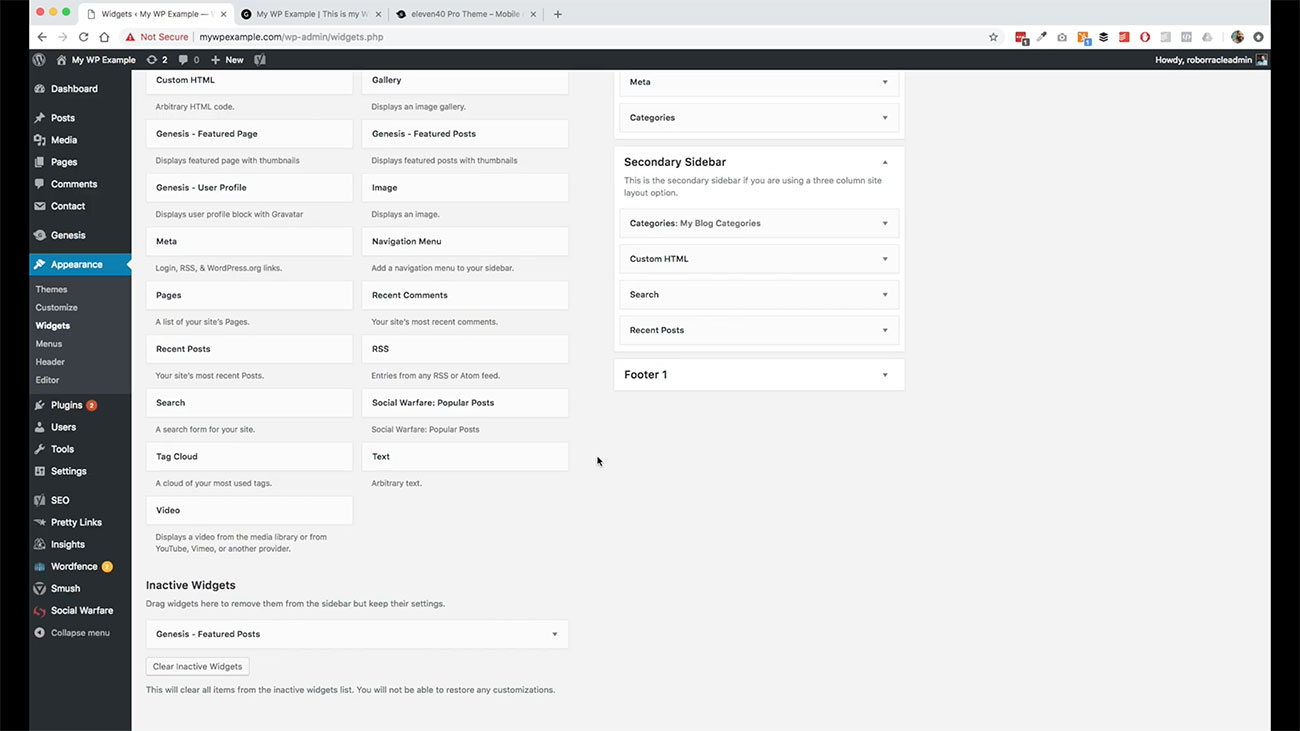 Let’s go ahead and move down to menus next.
Creating Menus
Your menus and how they’re displayed are going to be dictated by your theme. 
 We’re going to go ahead and create a new menu. We are going to call it “primary menu”.
Go ahead and get this. We are going to take two of our page, actually, let’s just take these three. We can take them all. Let’s go home, contact.
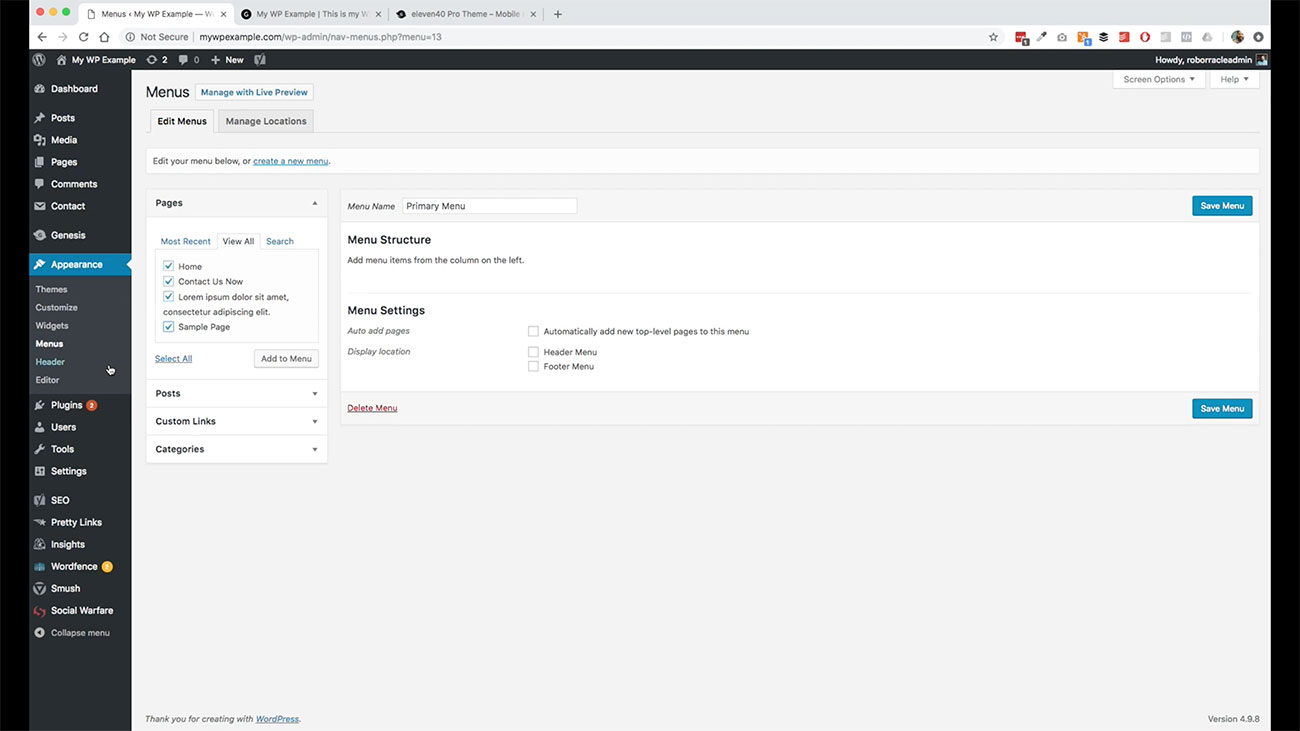 This is all of the pages that we’ve gotten. We just click this button down here.
 We can select the pages that we want to display in our menu over here and then click Add to Menu and it adds it over here.
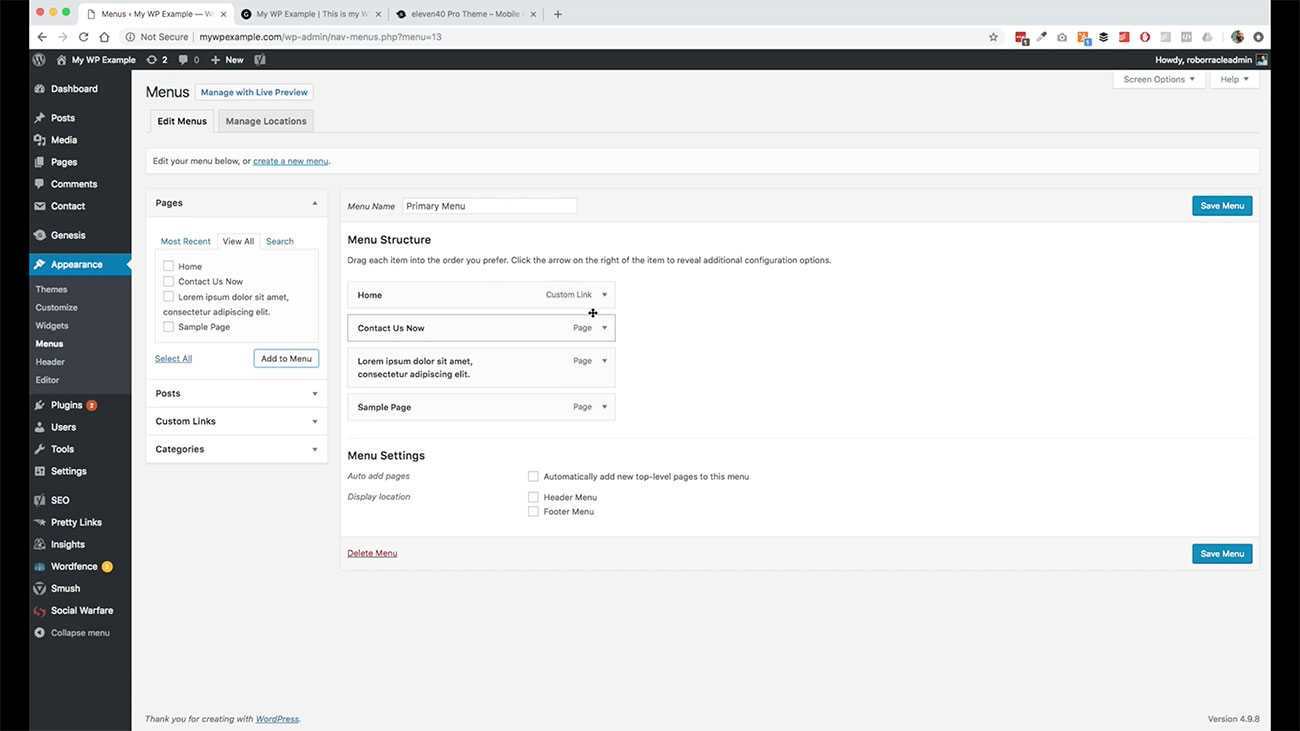
What we do is now we can edit each one of the so I don’t want this to say Contact us now. I just wanted to say Contact Us. The link remains the same, but the title is going to change, then we have the ability here to move it down.
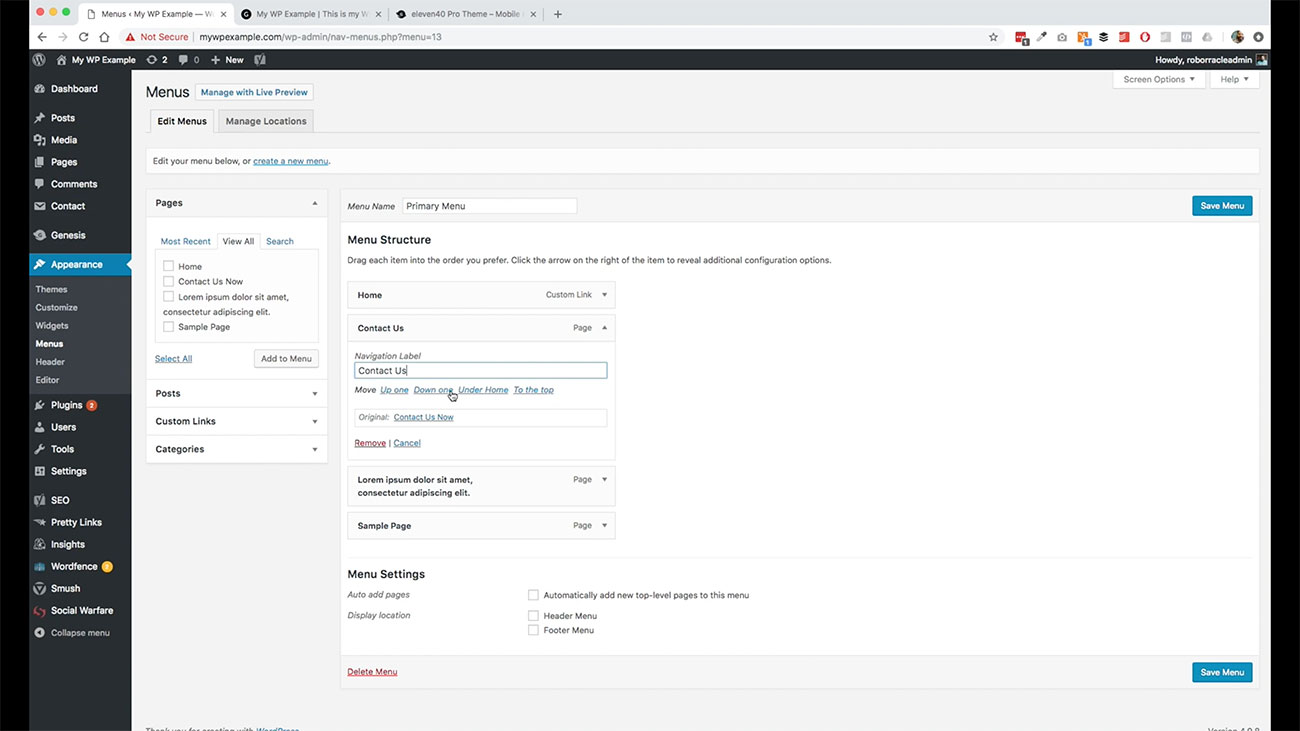
I actually like to keep my contact usually as the last item in my menu. I’m going to move that all the way down. Now it’s the last one.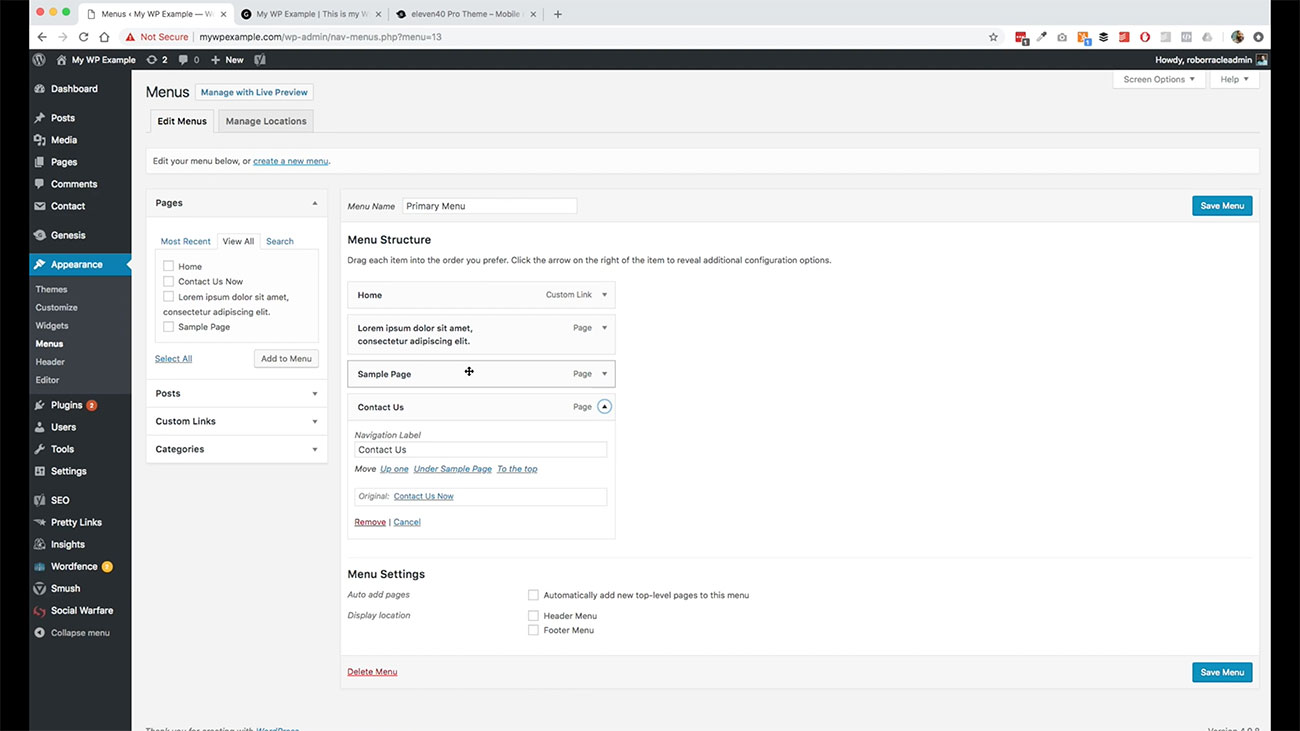
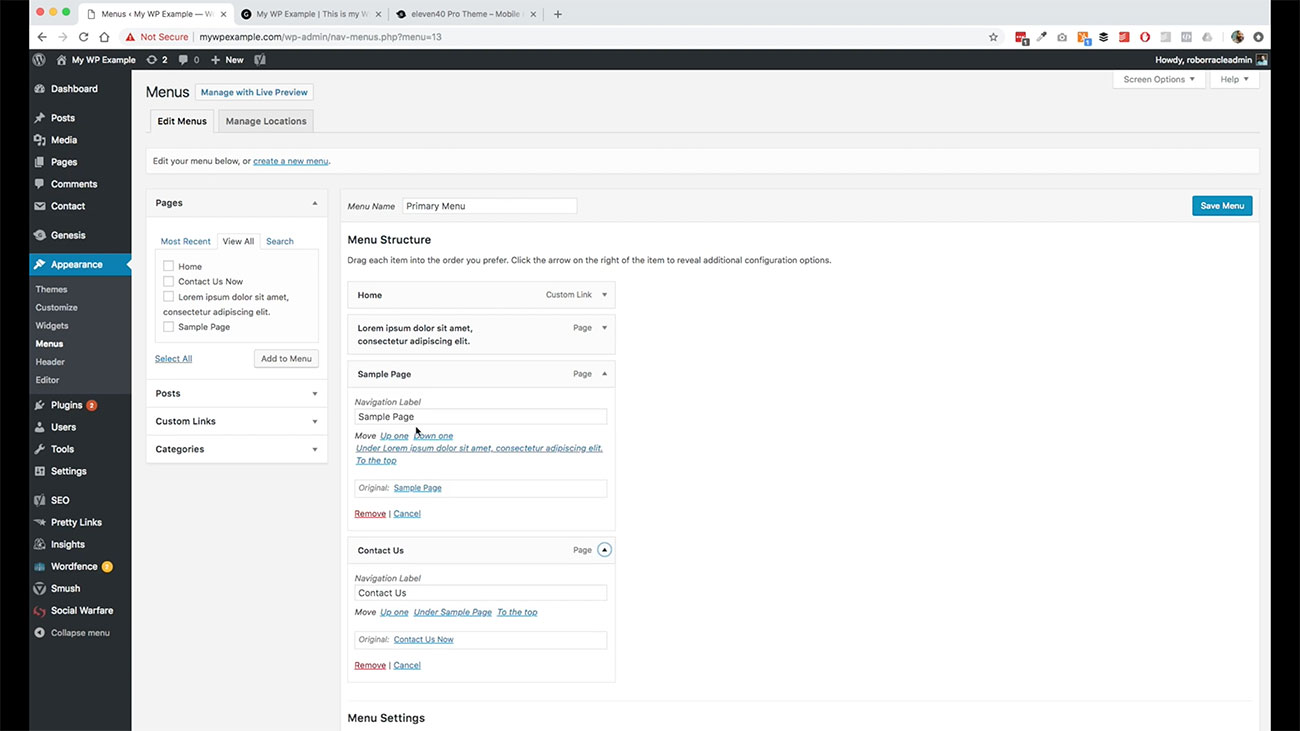 Then we’re just going to call this one sample page. That’s fine. We’ll leave that as it is.
This one, this title is way too long. We’re going to trim this down here, and leave that as that.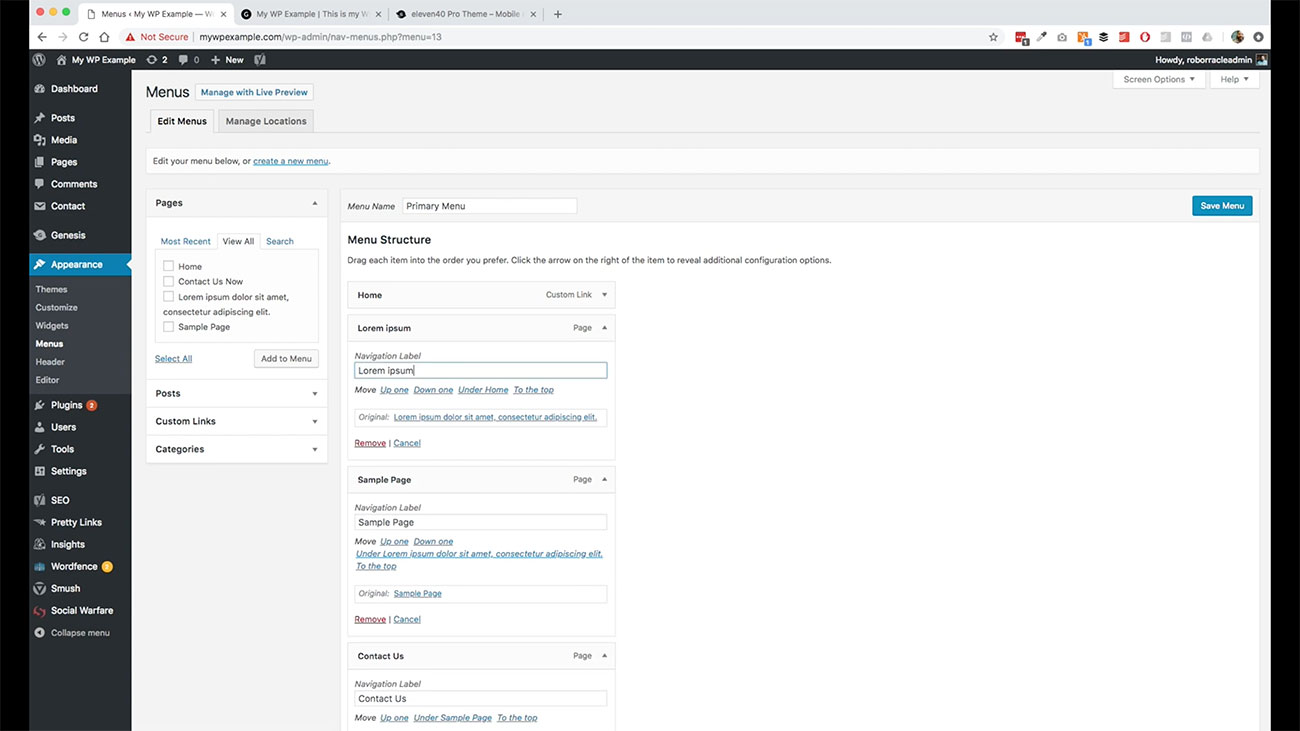
Now that we’ve got our menu configure the way that we want, we click on Save Menu over here.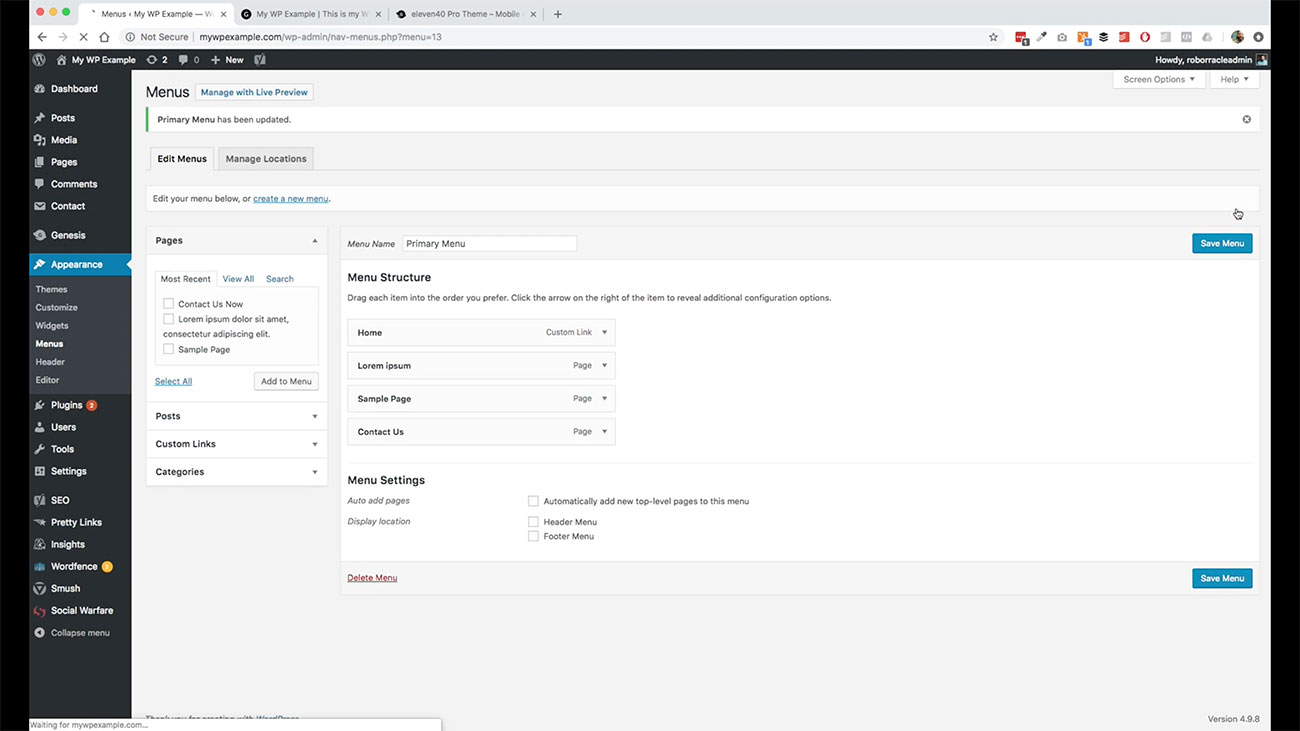 You always will need to make sure that you save your menu because it doesn’t work like it does in plugins or widgets where you move things around, and it automatically saves for you.
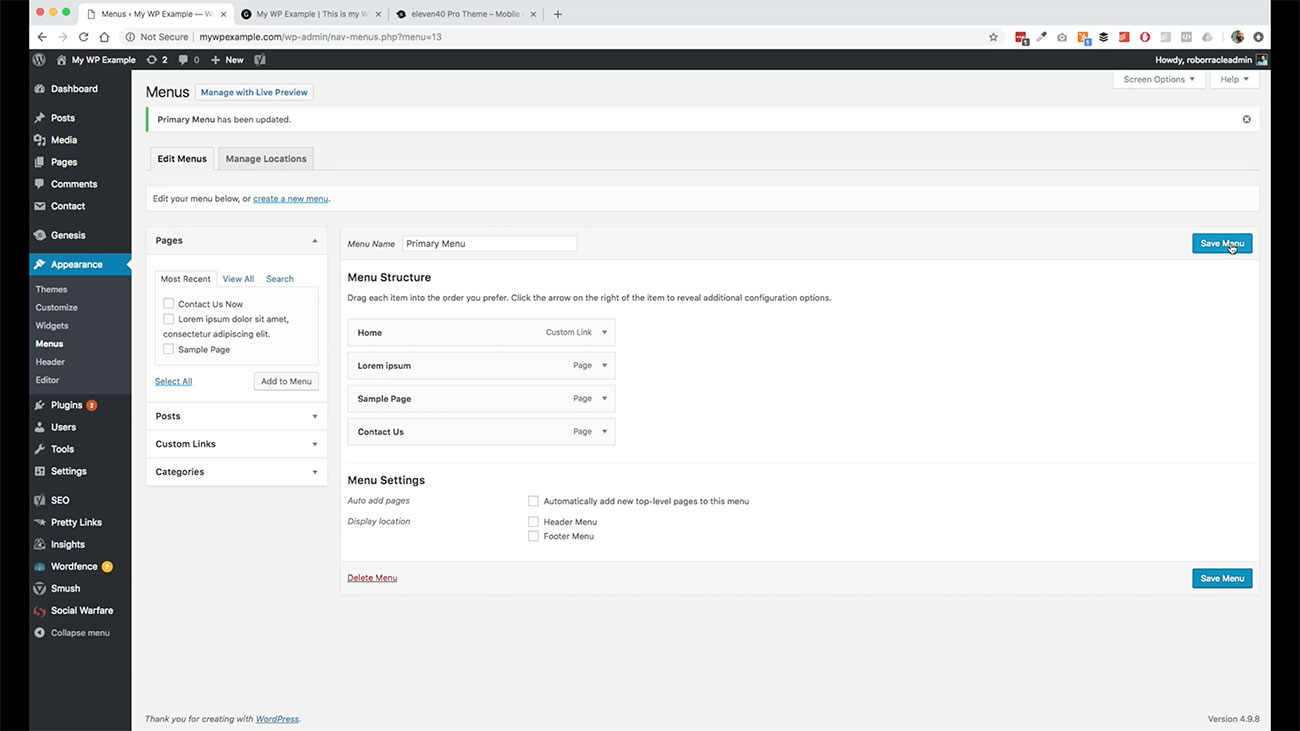 Once you have these things set the way that you want, then you need to click on Save Menu over here, so that you can make sure it’s saved. Otherwise, you’ll lose everything that you did.
Now that we’ve got our menu created, this is our primary menu.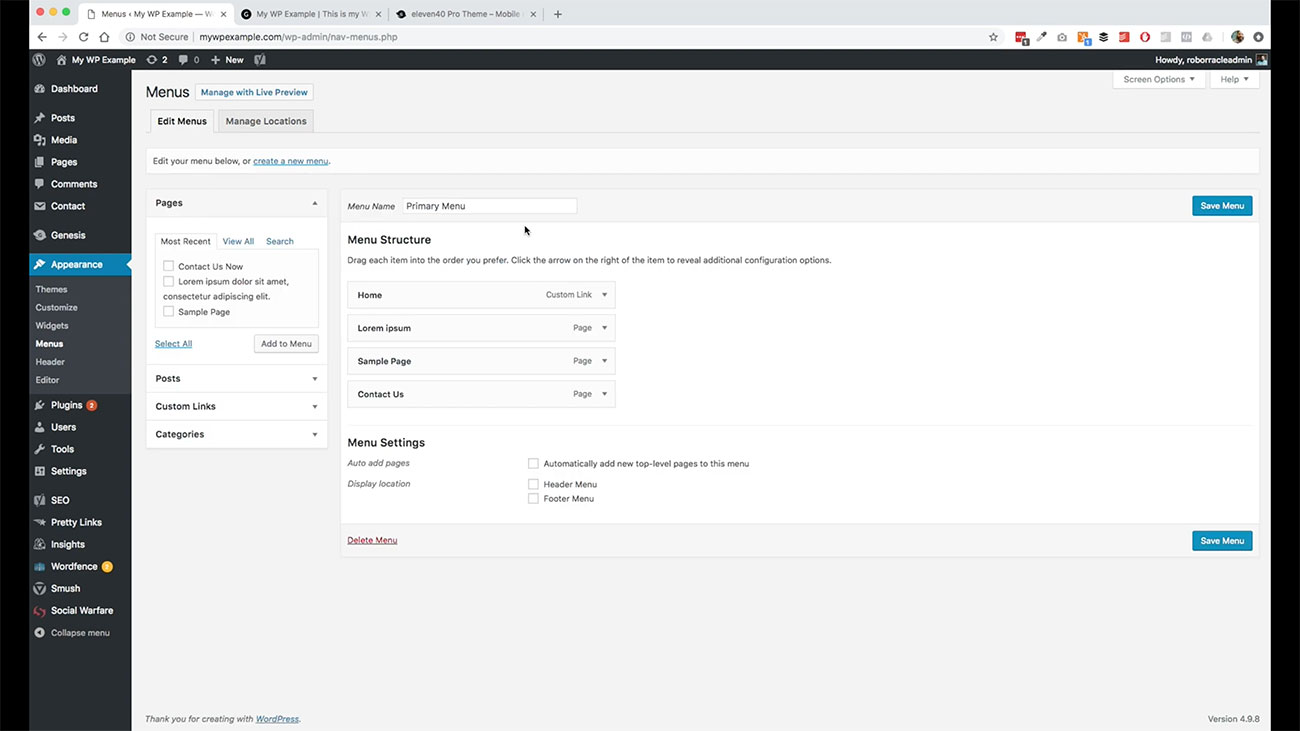 Now we need to assign it to a place where it needs to be displayed. You will have these kinds of options and most themes.
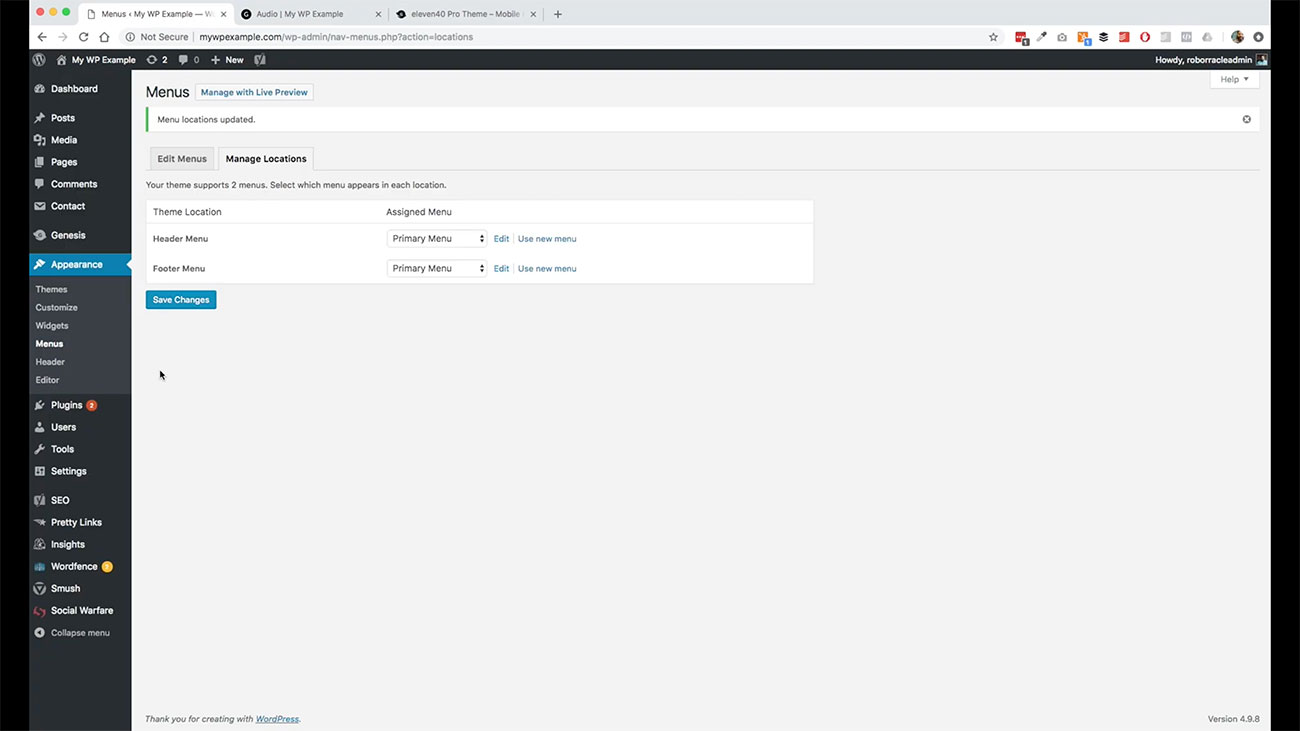
Assigning Menus
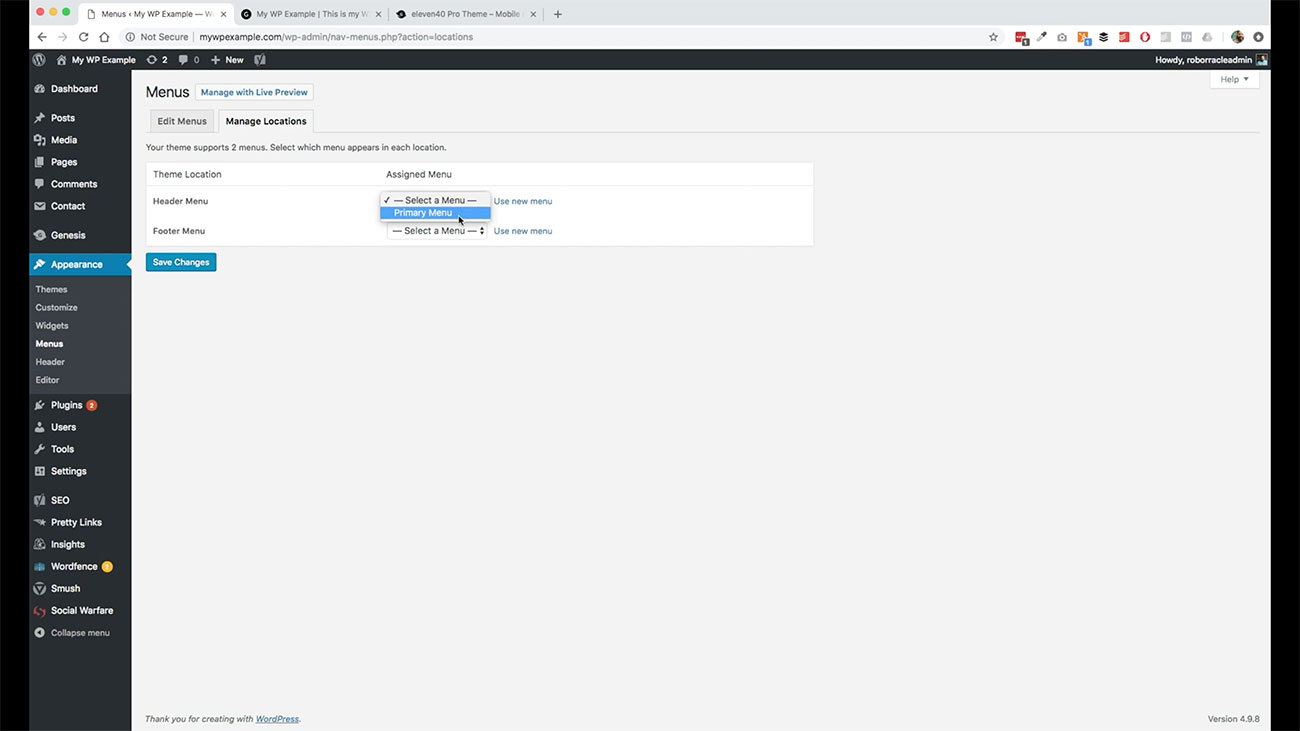 Let’s go ahead and click this as our primary menu. We’re going to use this in both places for now. We’ll go ahead.
We’ve set it for our header menu. We’ve set it for our footer menu. Let’s go ahead and click on Save Changes.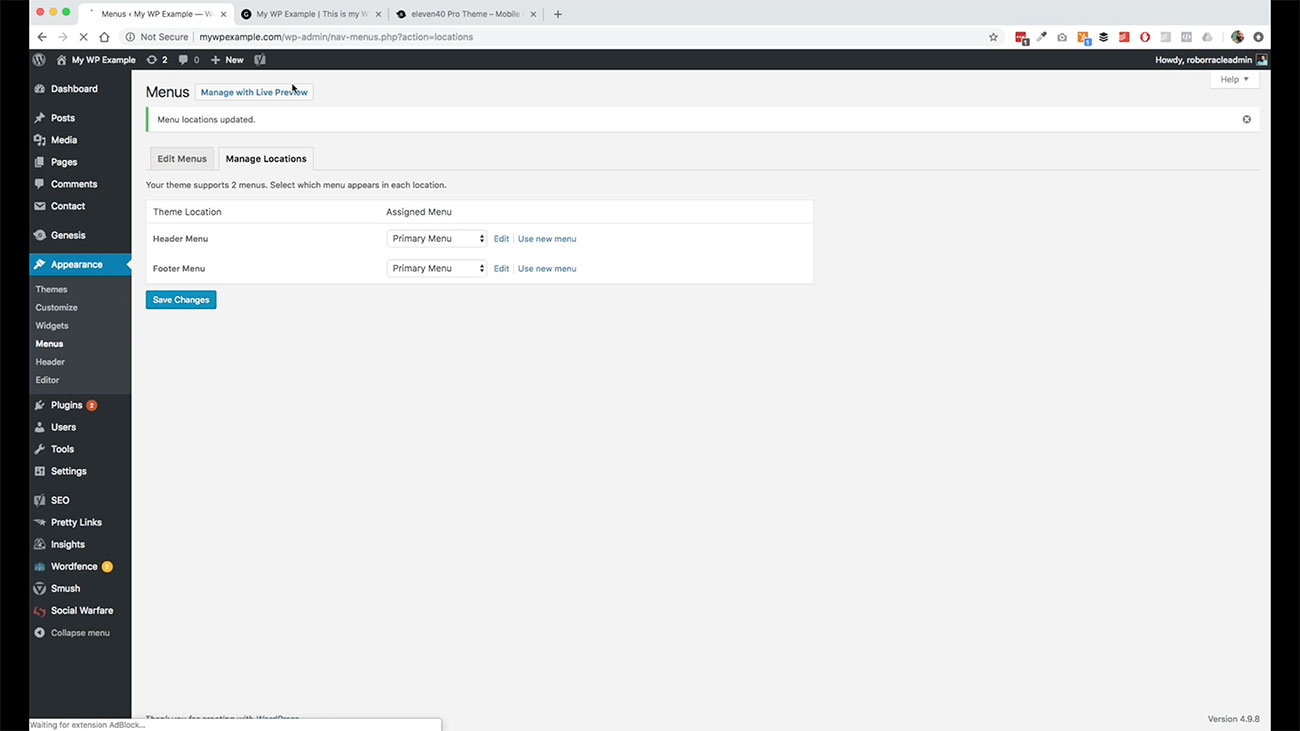
 Then go back and take a look over here. Now we’ve got our menu set here. As you can see, we can click through to any of these pages now from this main menu so that is set there.
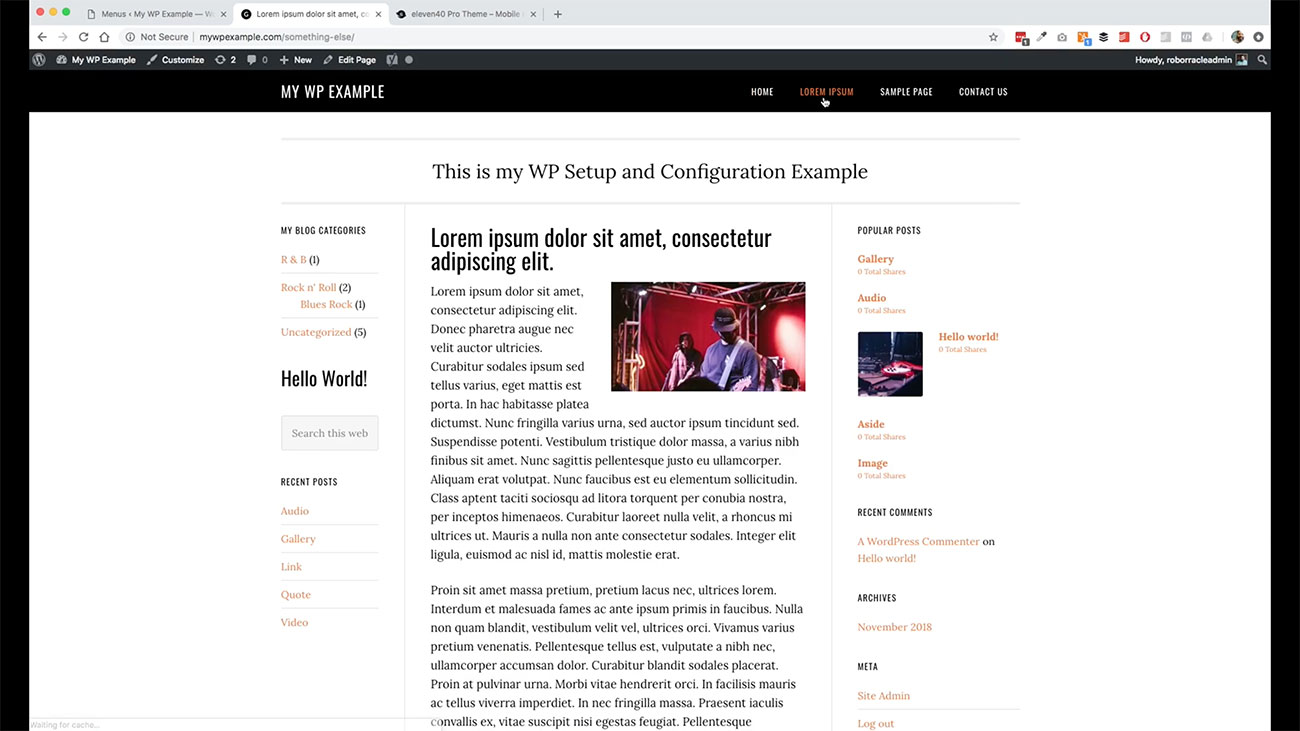
Then we can come here, and it’s also set down here.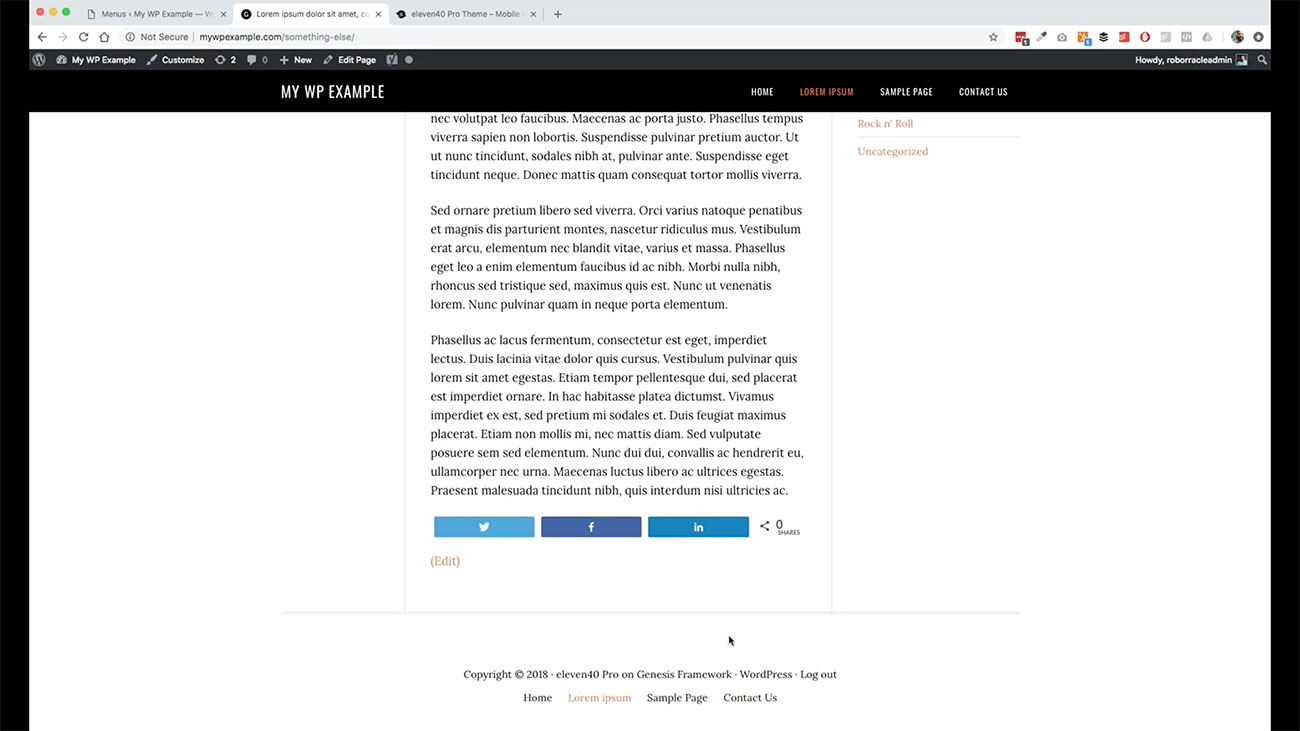 Now one thing too you’ll notice, remember when we were doing our plugins tutorial, and we talked about the social sharing tool.
 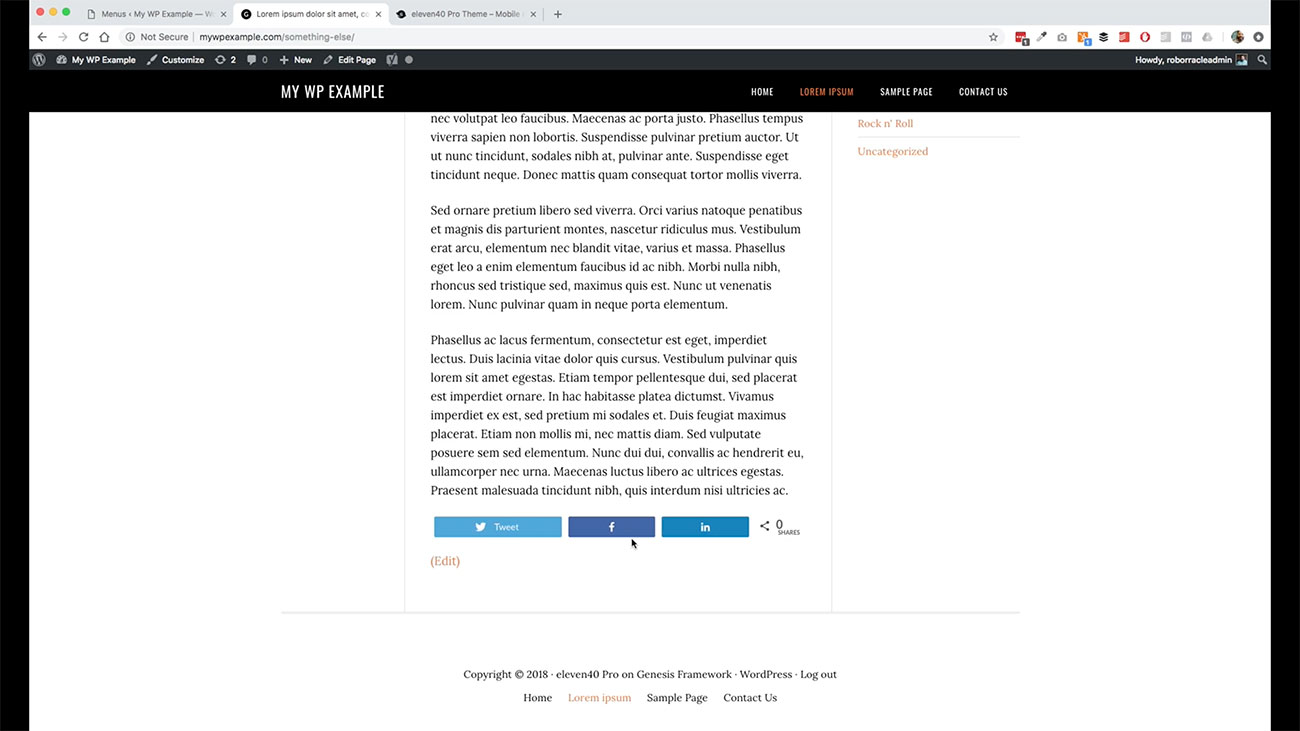 You can see this here is appended to the page as well as post. We can come over here and click on that.
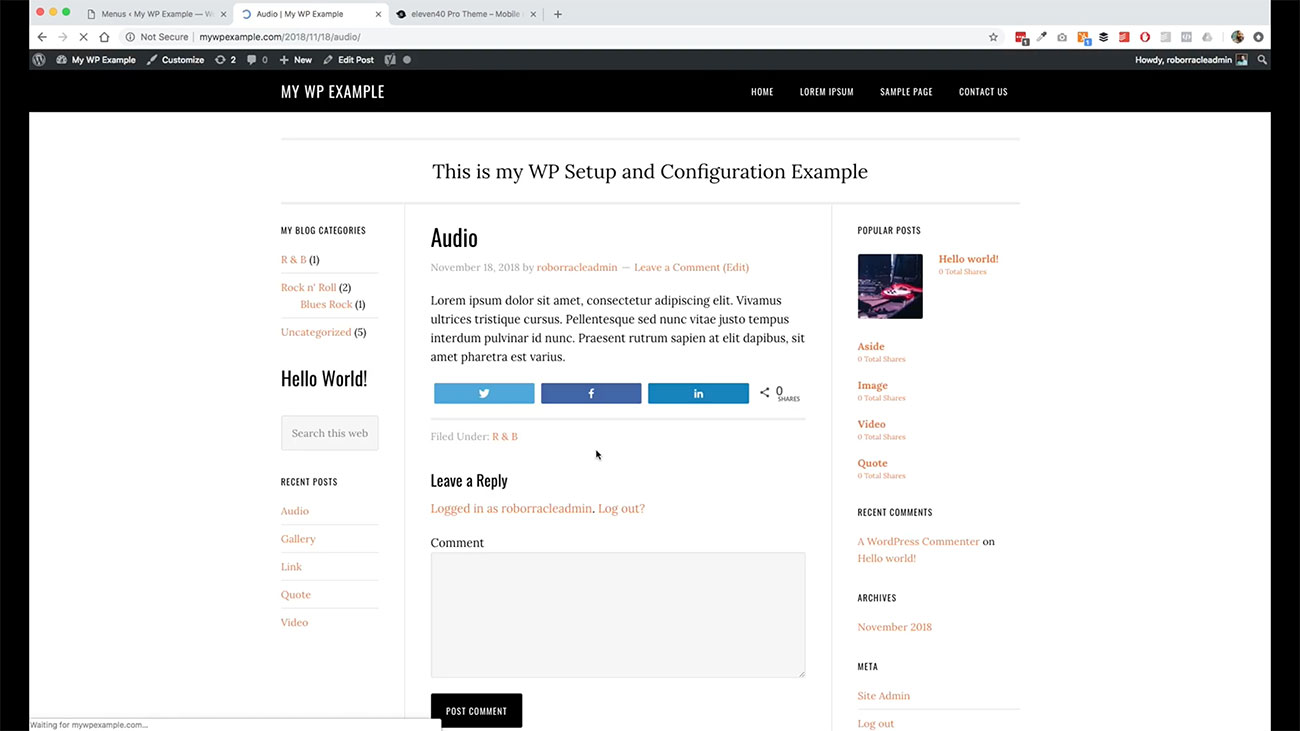
And here it is on our posts as well. Let’s go back. I want to change things up.
 Let’s go back over to our menu. We’re going to create another menu, because I want to show my categories as a menu. Let’s create a new one.
Creating another Menu
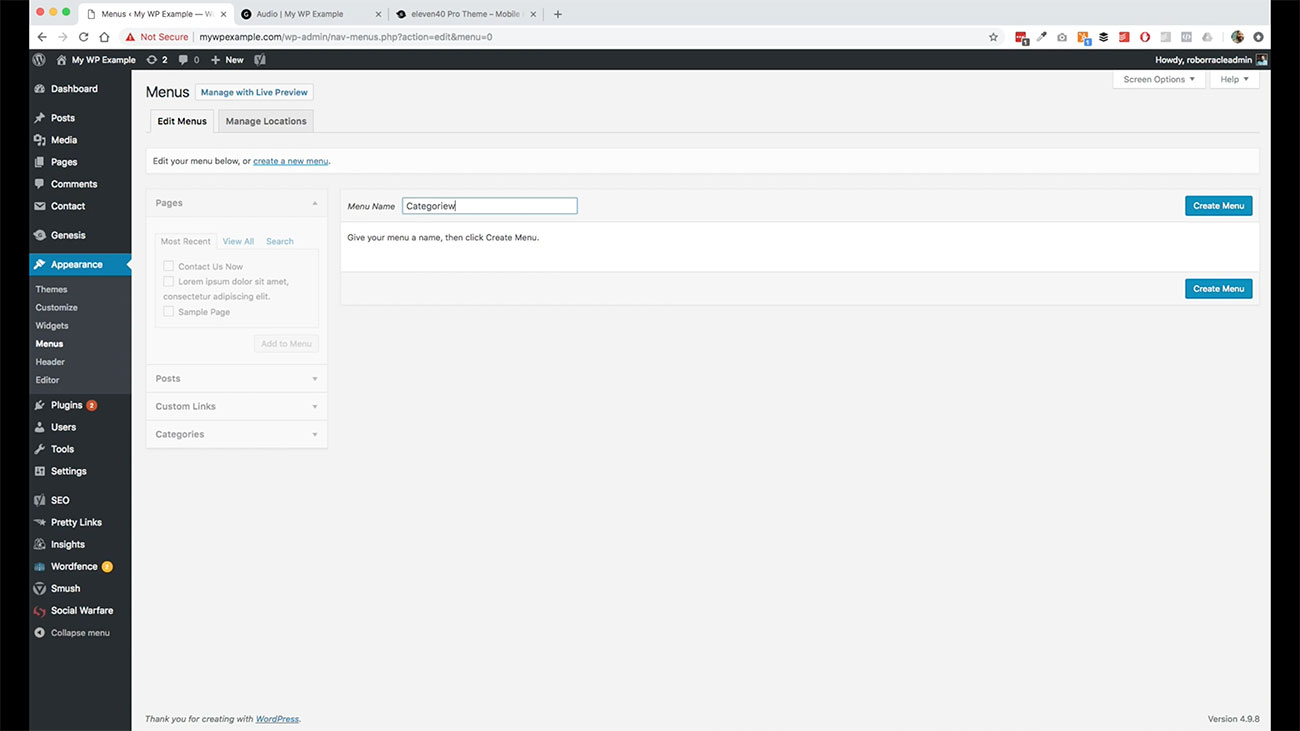 We’re going to call these “categories”. Go ahead and create that. Then we’re going to come over here and select all of our categories.
We’re going to leave these titled as they are. Go ahead and hit Save Menu on that.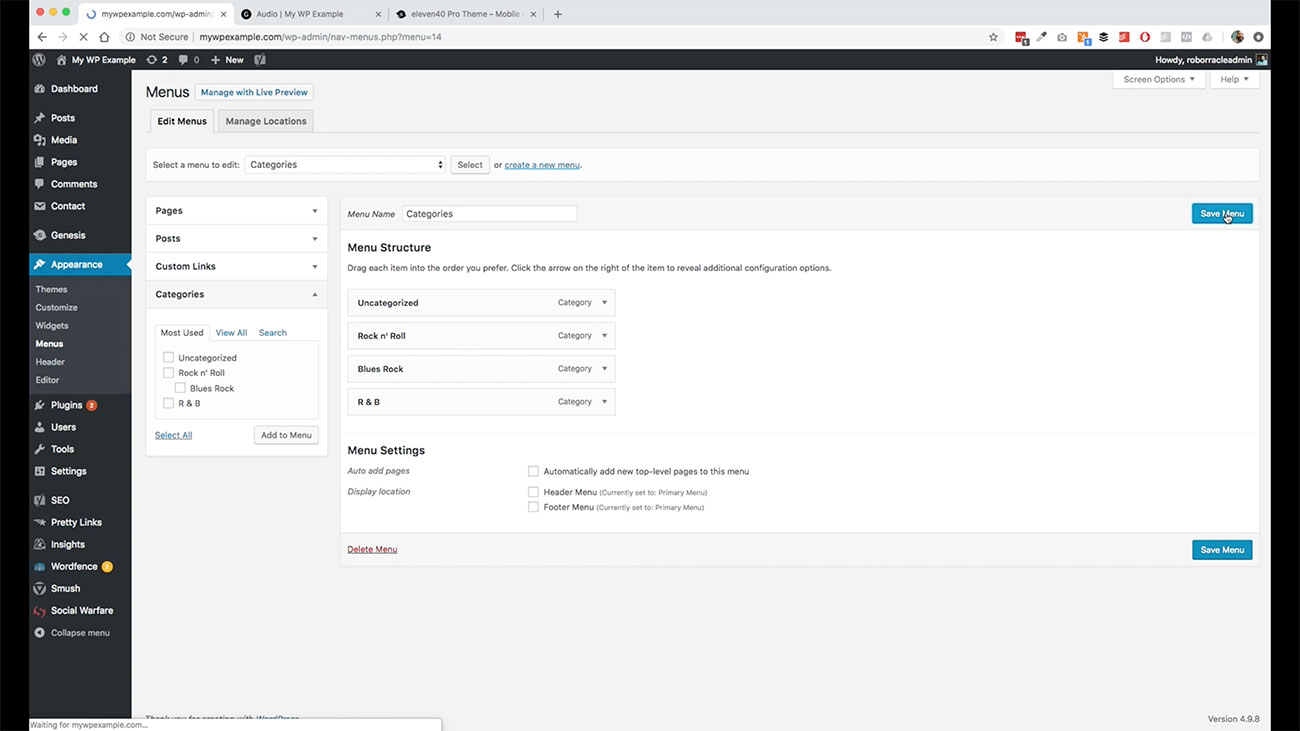 We’re not going to put this in any specific location for now, but what I want to do is come back over here.
I want to add it to my sidebar. What we’re going to do is find the navigation menu that we can add to the sidebar. Let’s put this in our secondary sidebar.
 We will go ahead and grab this. Add that. We’re going to leave it without a title.
Now it gives us the option for the two menus that we’ve selected.  We’re going to go ahead and set the categories as our selection there. We’ve saved that come over here.
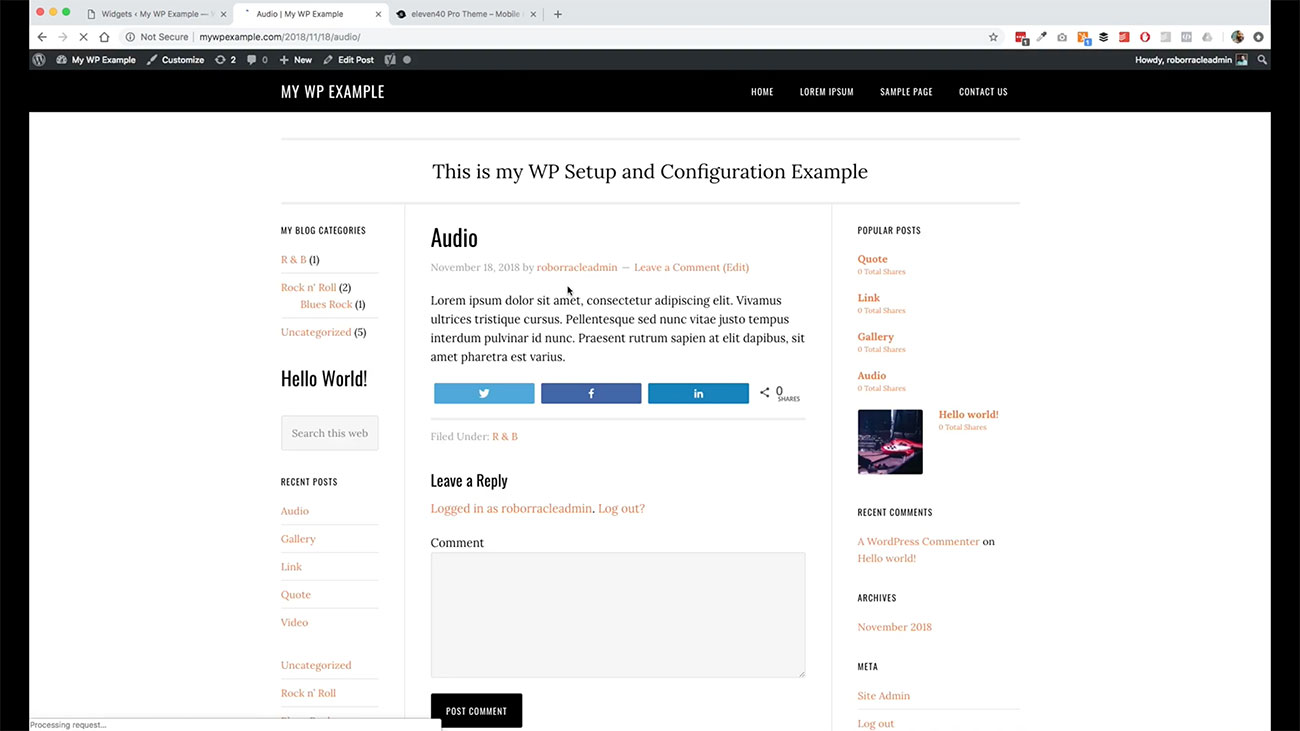
Here’s my menu. It’s a little confusing, because we used it as a widget before. As you can see, we’ve added this as a sidebar menu.
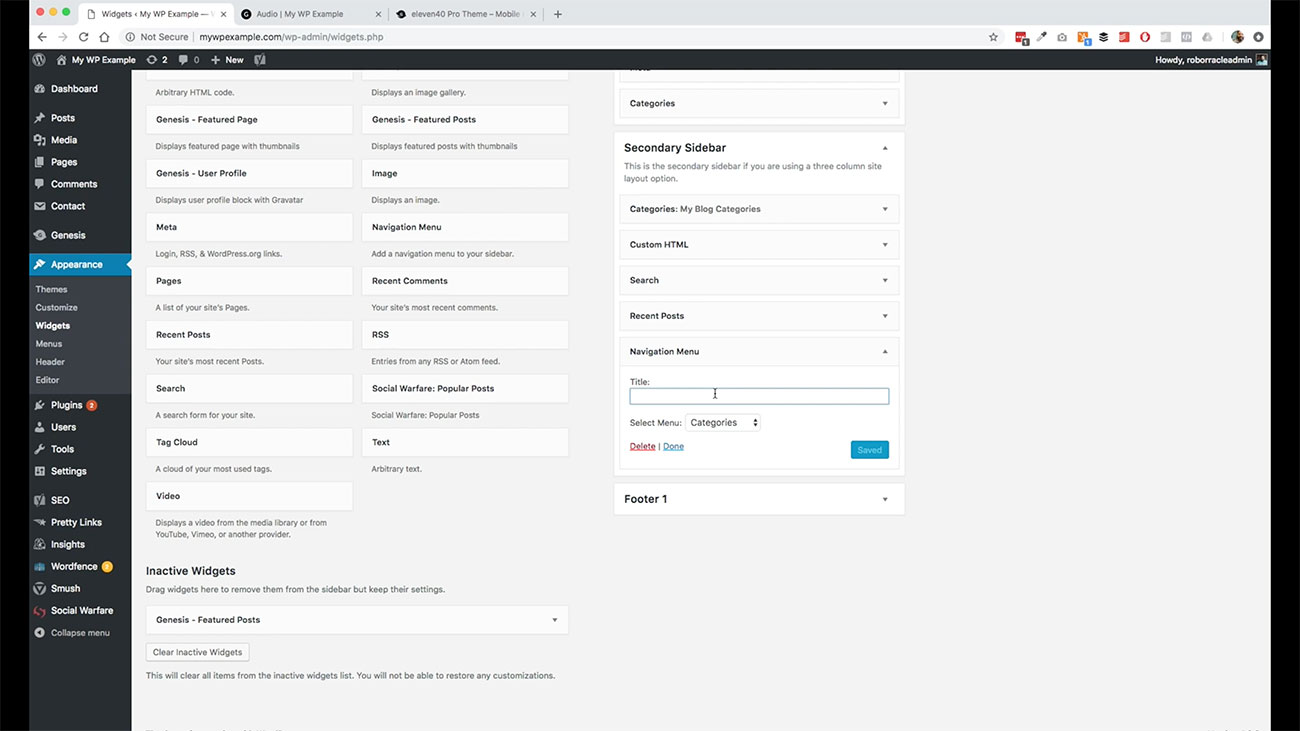 Let’s go ahead and just go back and add a title to that. Call this, “My Blog Categories.” Save it.
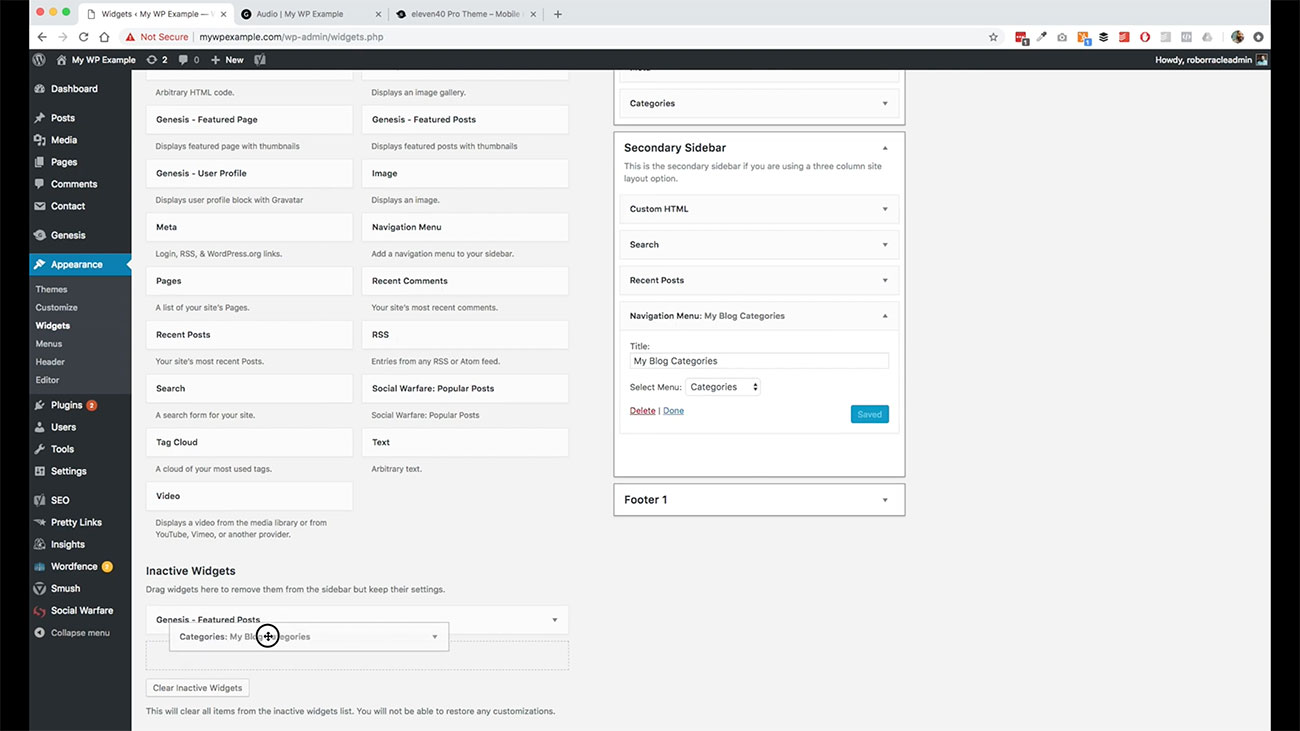 Since we already had that, let’s go ahead and remove this down to our inactive widget so we don’t confuse ourselves and move it to the top just by dragging it up there. Now we’ll come back and refresh our page.
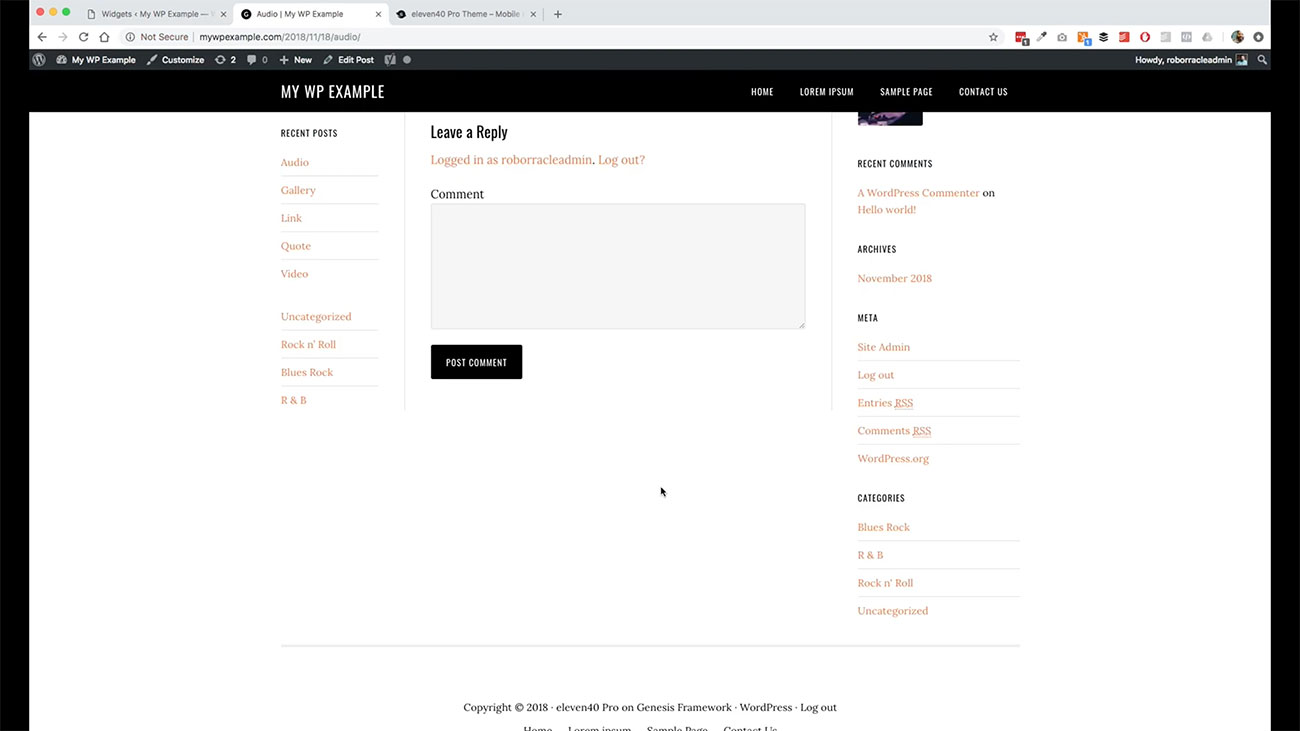
Here we have my blog categories with our four menus there.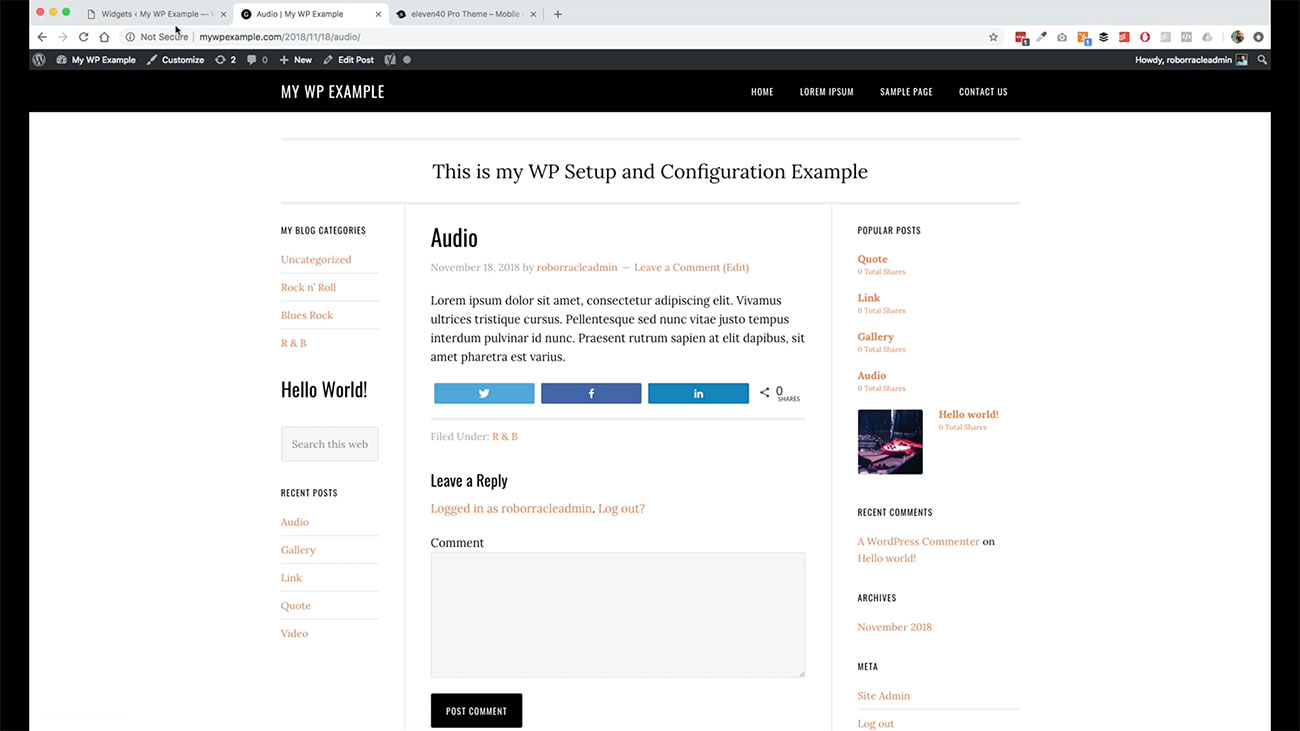 Then again, we can do the same thing. Say, for instance, over here, let’s go back to menus.
Creating a Footer Menu
We want to create a separate menu for our footer. Let’s go ahead and create one more. We’re going to call this, “My Footer Menu.”
This is usually the place for your privacy policy, your terms and conditions. Those things that you need to do for compliance reasons with the GDPR, stuff that came out a few months ago. This is usually where you would link all that stuff up.
For instance, let’s just go ahead and let’s go into pages real quick.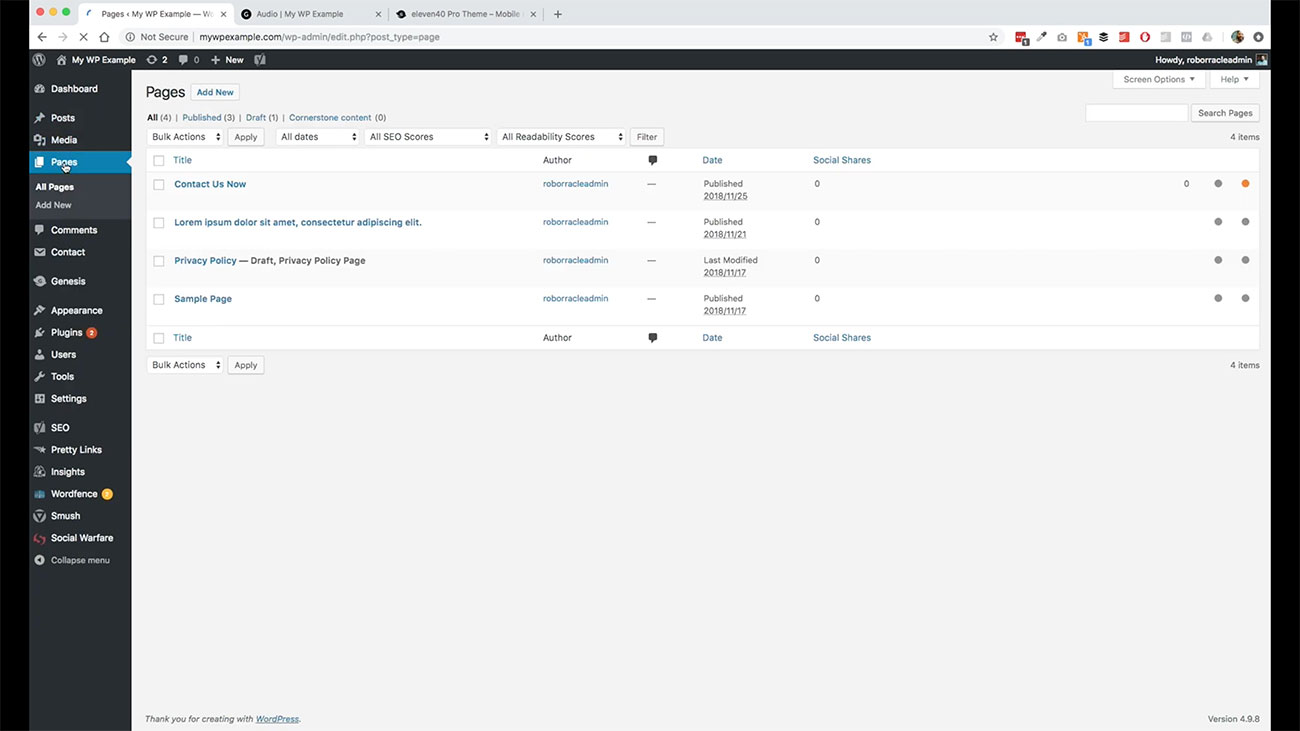 We’ve created that so we’re good. We’ve got a privacy policy that’s already set by WordPress as default.
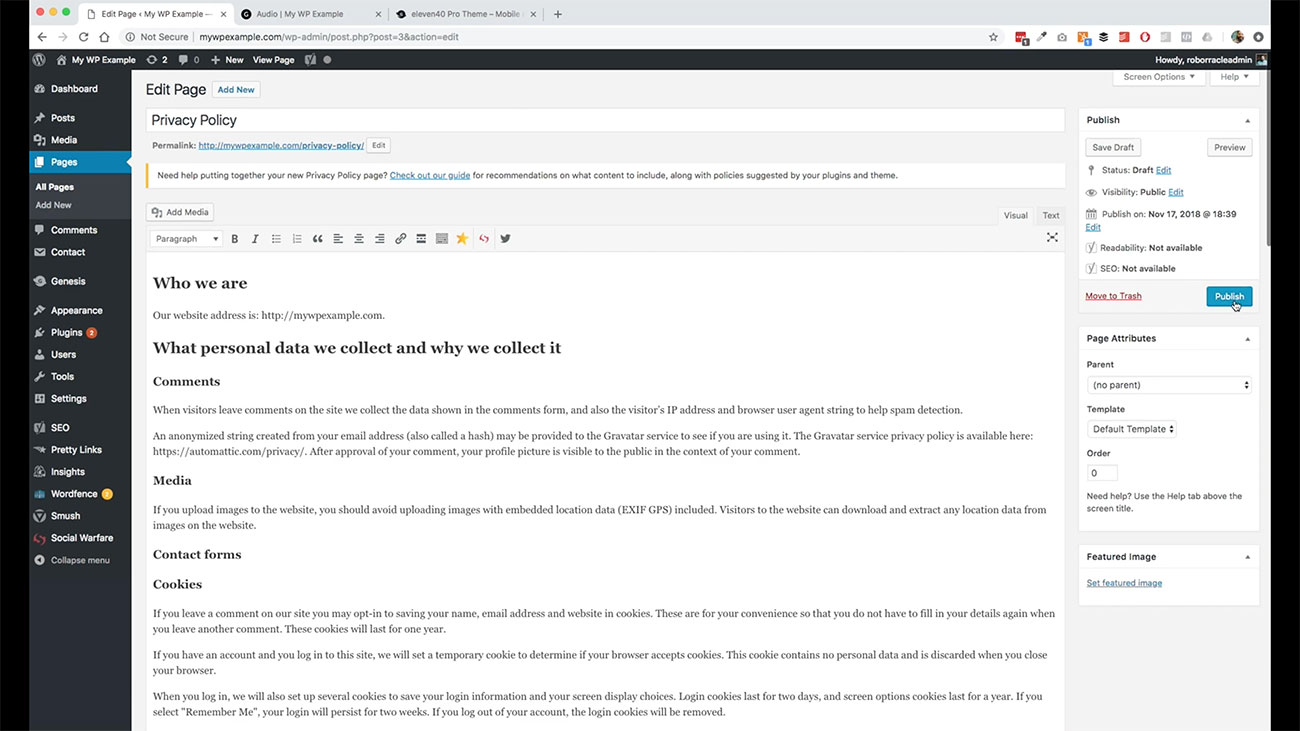 Let’s go ahead and get that published. This is just a super basic policy that ships with WordPress. Now that we’ve got that published, let’s go back over to our menus.
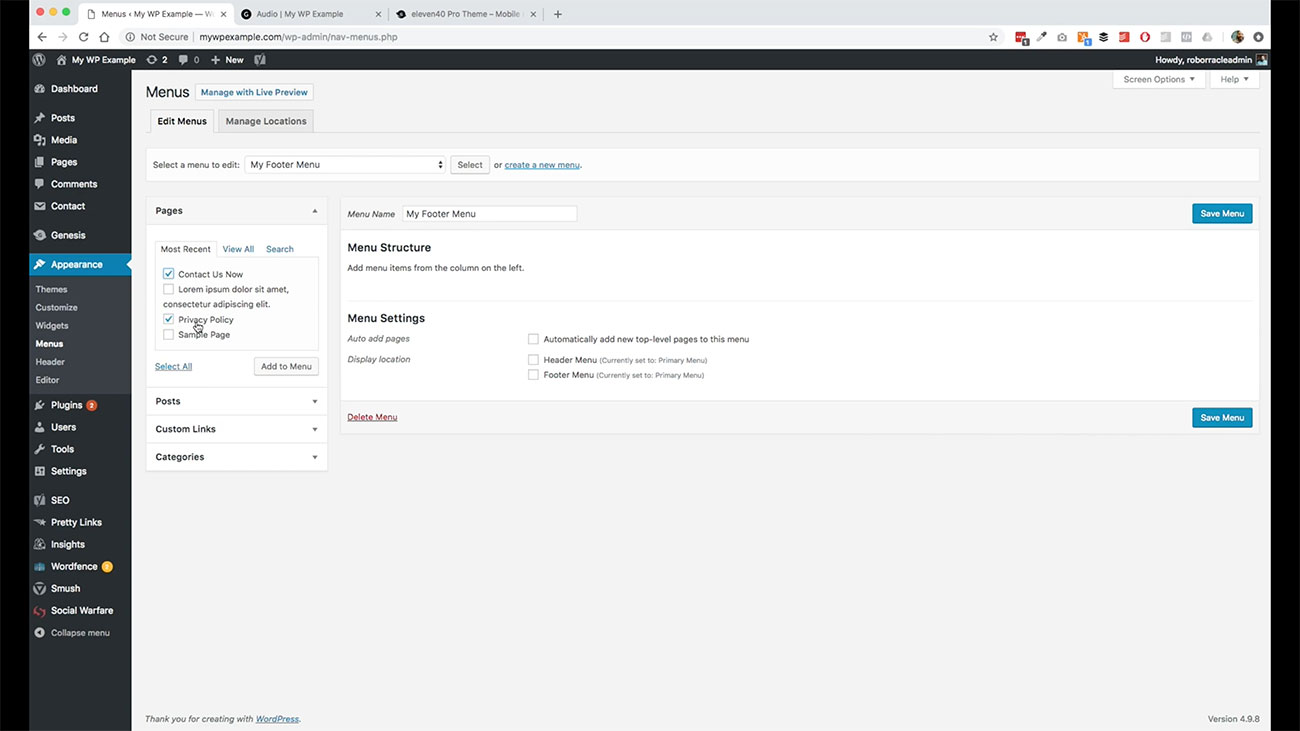 We have this one now available to us. Let’s go ahead and add that to my footer menu because you see this is the menu that we’ve got selected. Once again, don’t want to have that long text there.
We’re just going to trim that down a little bit. Now we’re going to go ahead and save that menu. Now go back over to manage locations.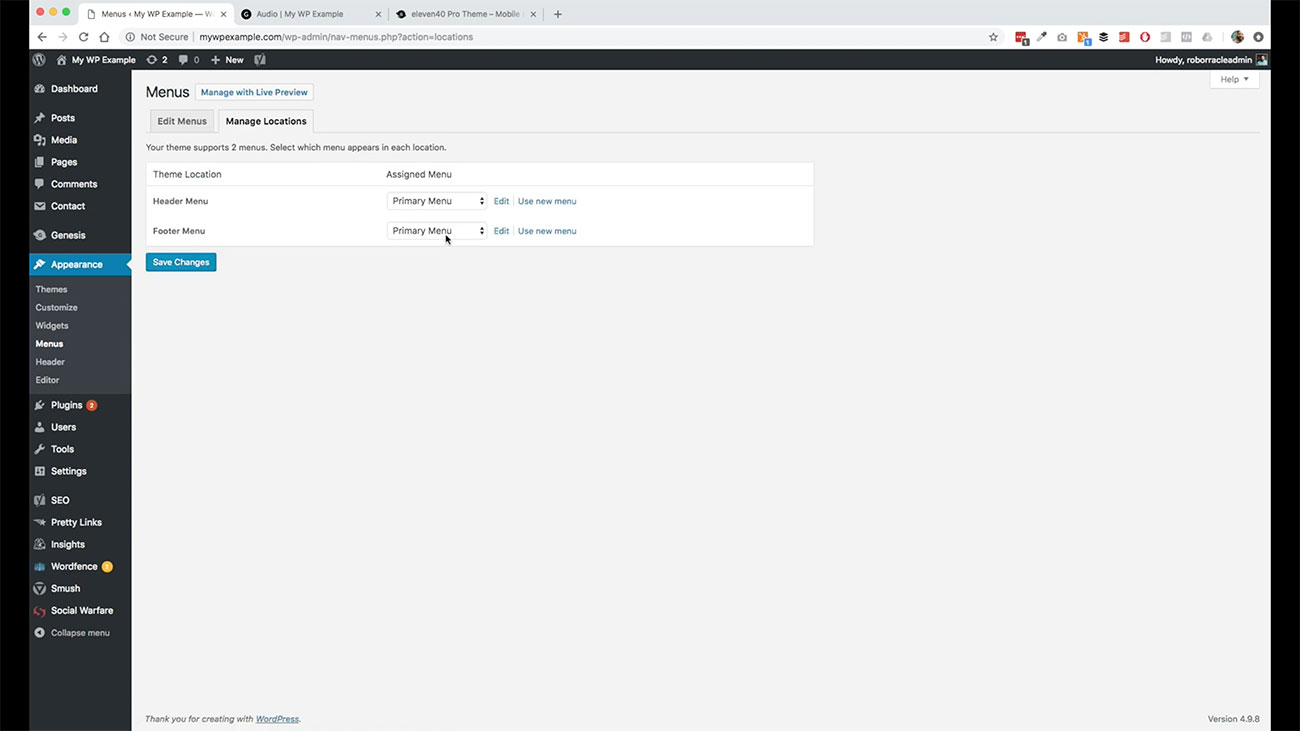
Then we are going to select My Footer Menu.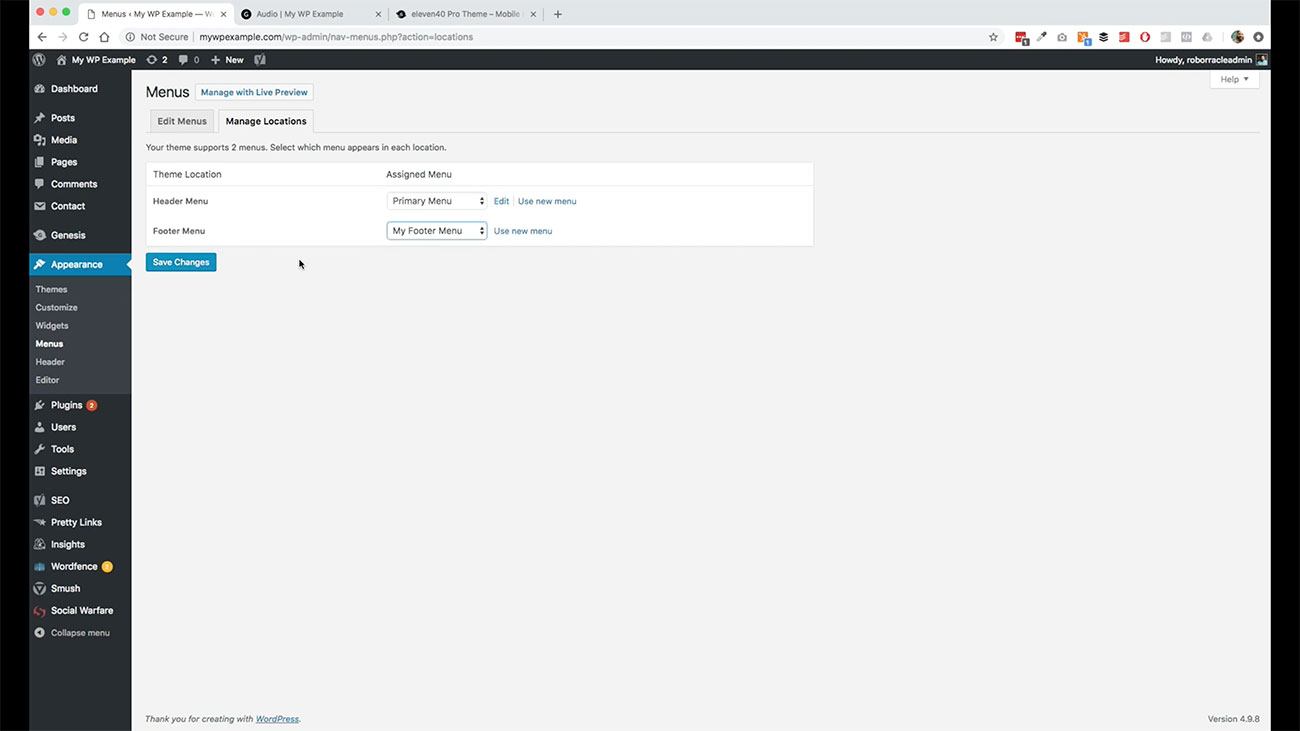 This is going to switch out the menu that’s in the footer. Go ahead and save that. Come back over here. Refresh that page.
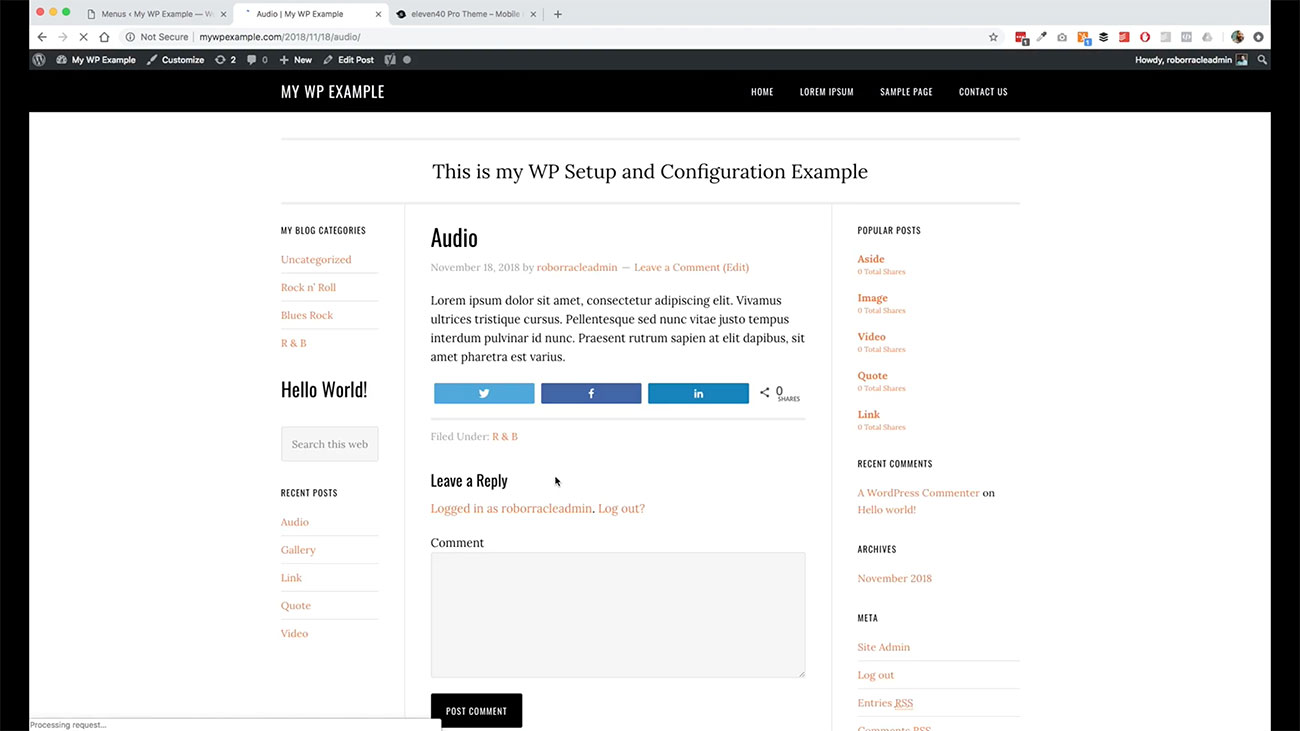
Now, we’ve got contact us and privacy policy down here.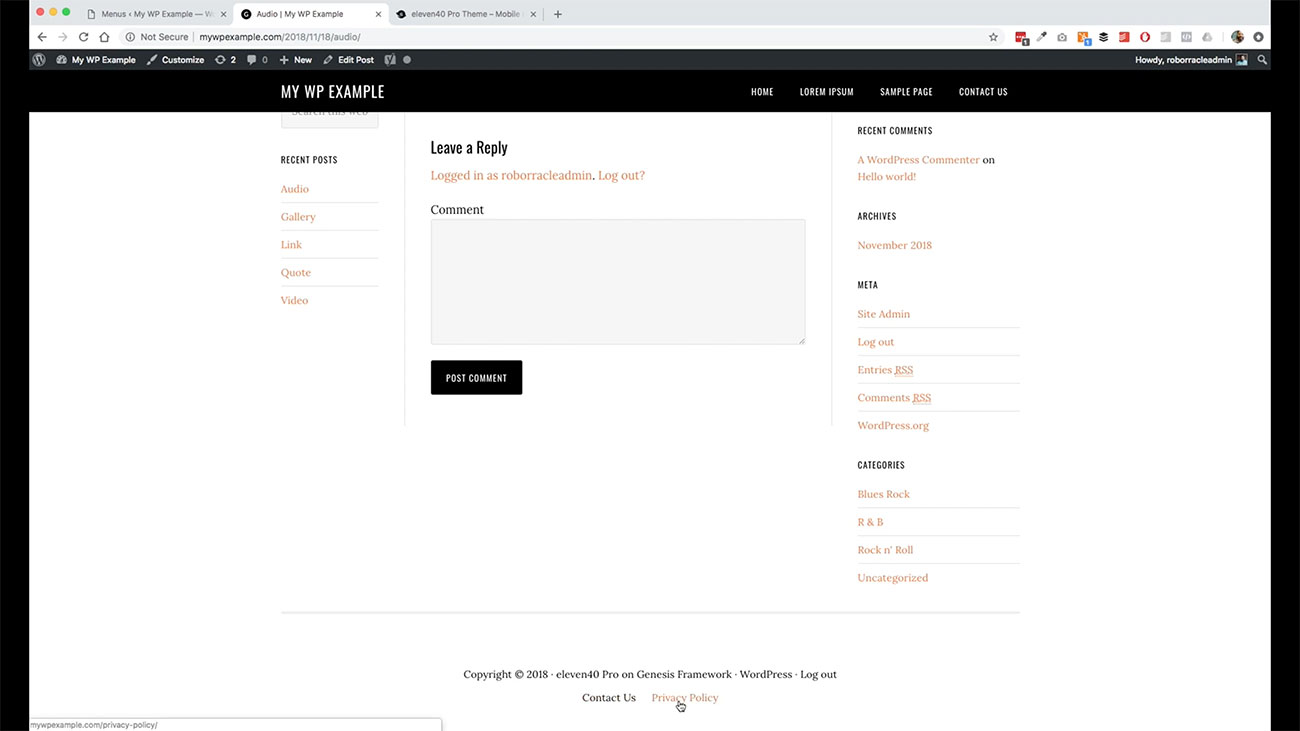 It’s super simple to work with in terms of what you can do there with widgets and menus with your new self hosted WordPress site.
The WordPress Customizer
 One other thing that I want to show you here is this WordPress customizer that is now part of WordPress. You will have a variety of features available to you again, based on your theme that you can use to customize your WordPress site.
This is a super simple basic WordPress theme, but depending on the one that you’re using, you will have a variety of options to you available to you in the sidebar. 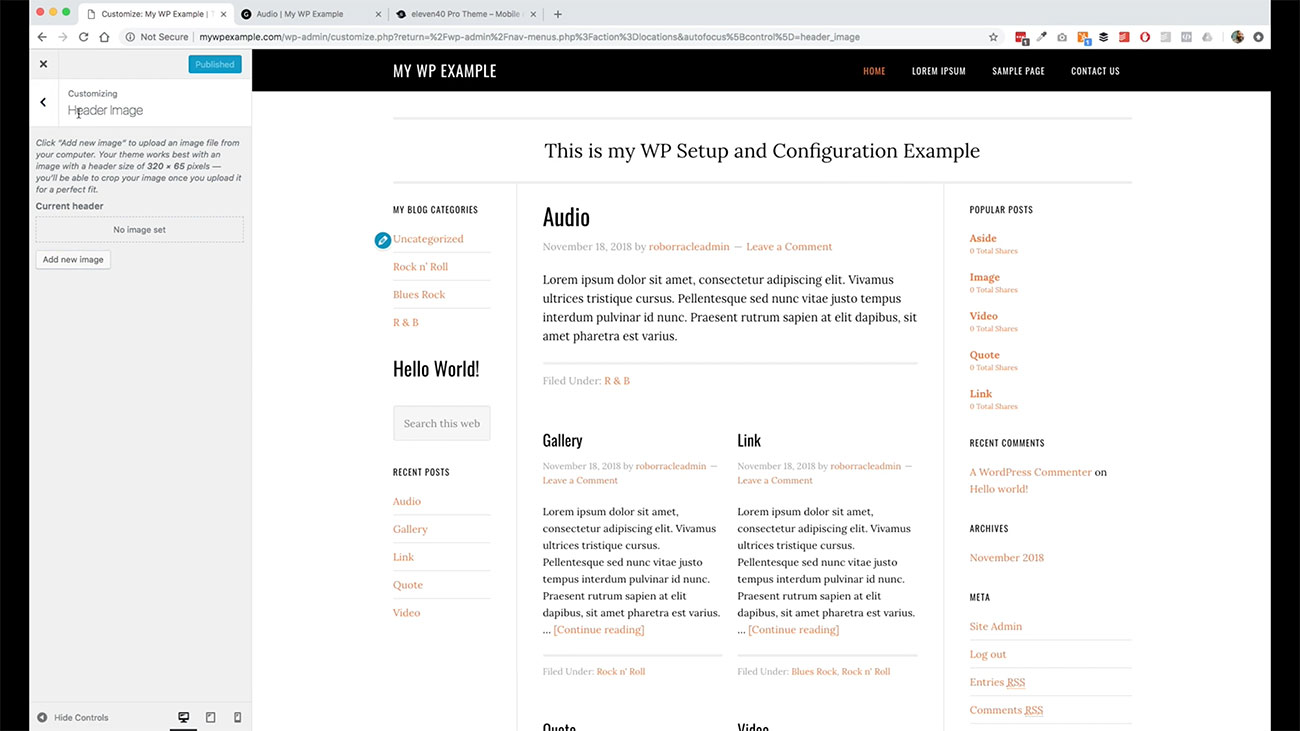 For instance, in this one, this would be adding in a customized header image, which you would do for like a logo file or something like that, and it tells you the dimensions of what you would want to add there.
If you wanted to test it out, you could drag and drop in an image here. It’ll show over here. If you like it, you can go ahead and publish it from here, which is the same thing.
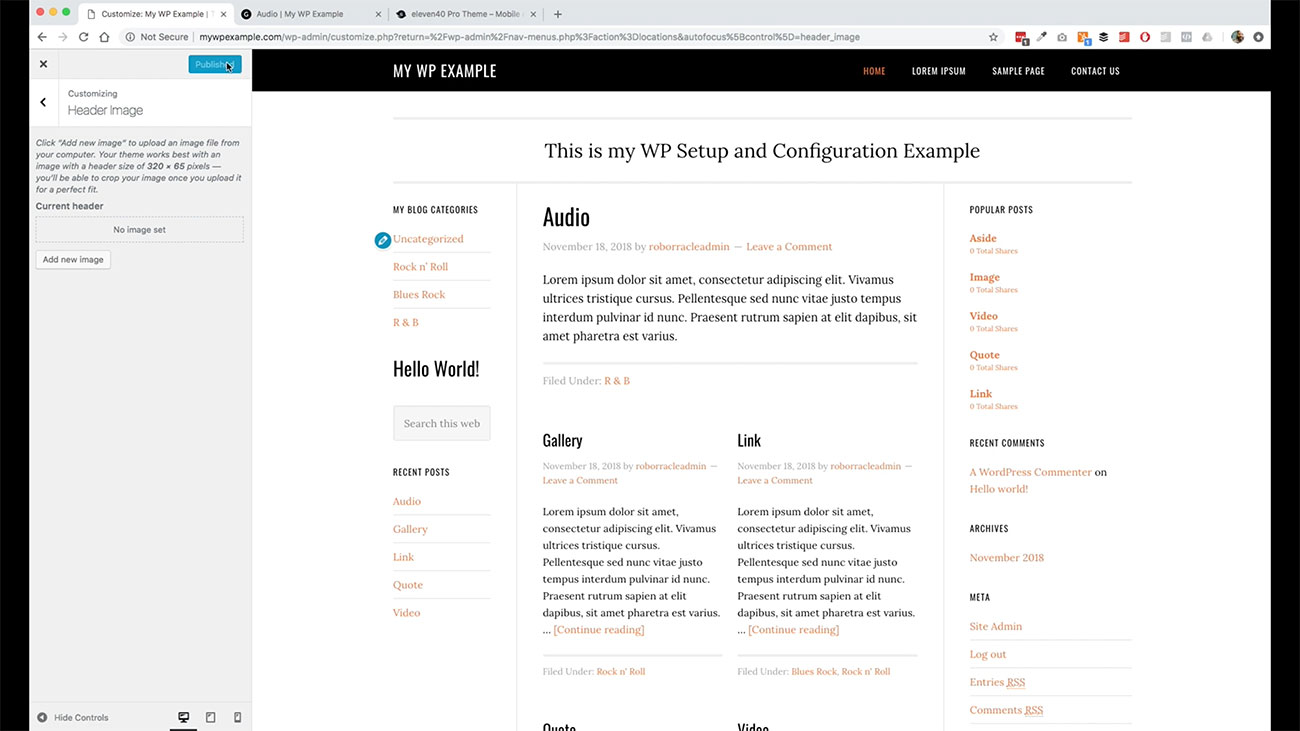
It performs a similar function as it does when you’re saving the settings in a widget. Then when you’re done, you can just go ahead and click out of it and it’ll bring you back out.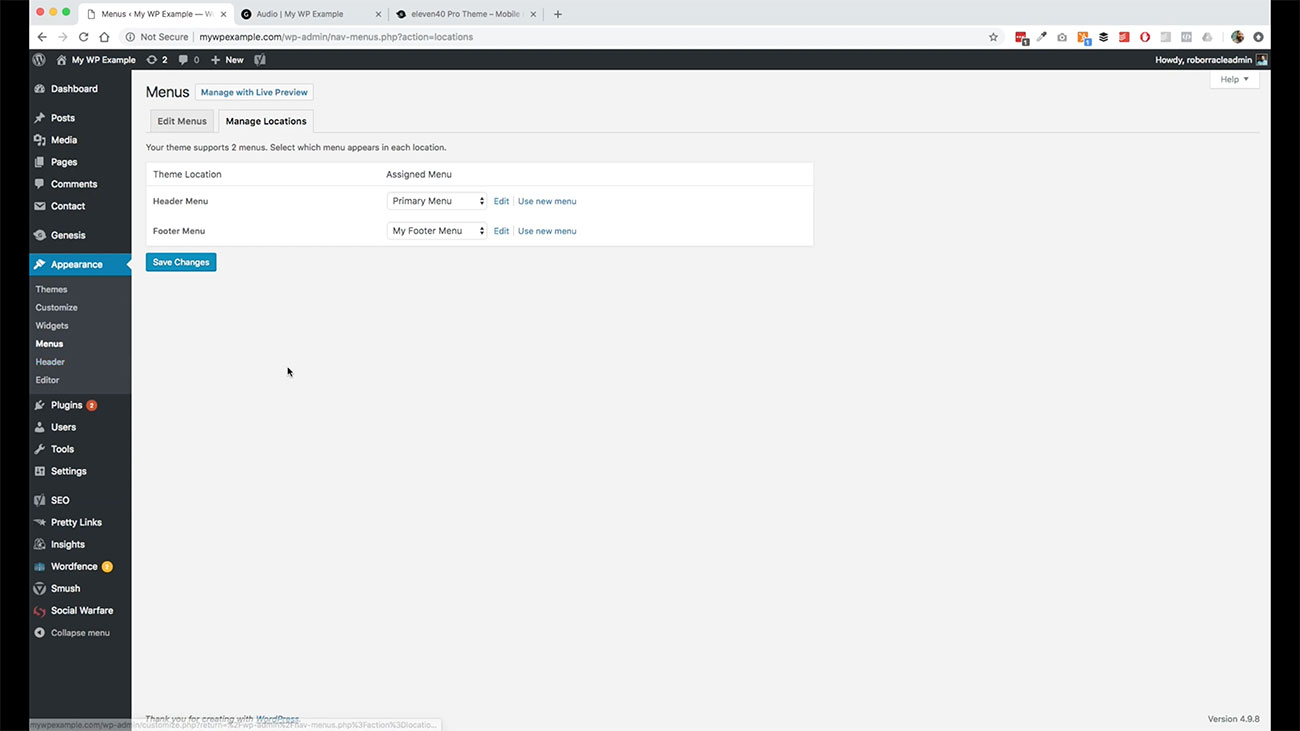 That is one option that you’ll have available to you and almost all WordPress themes now as well.
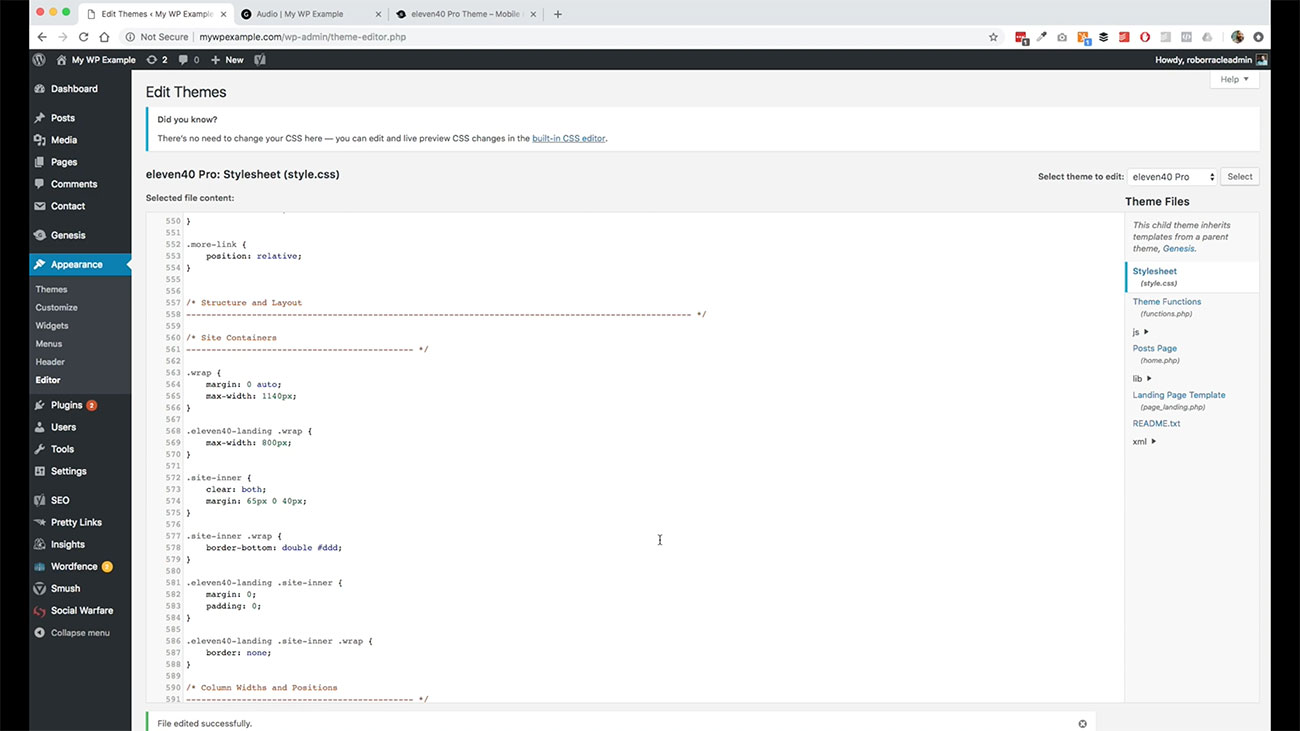
The Editor
The final thing to show you here in terms of or your theming is this editor.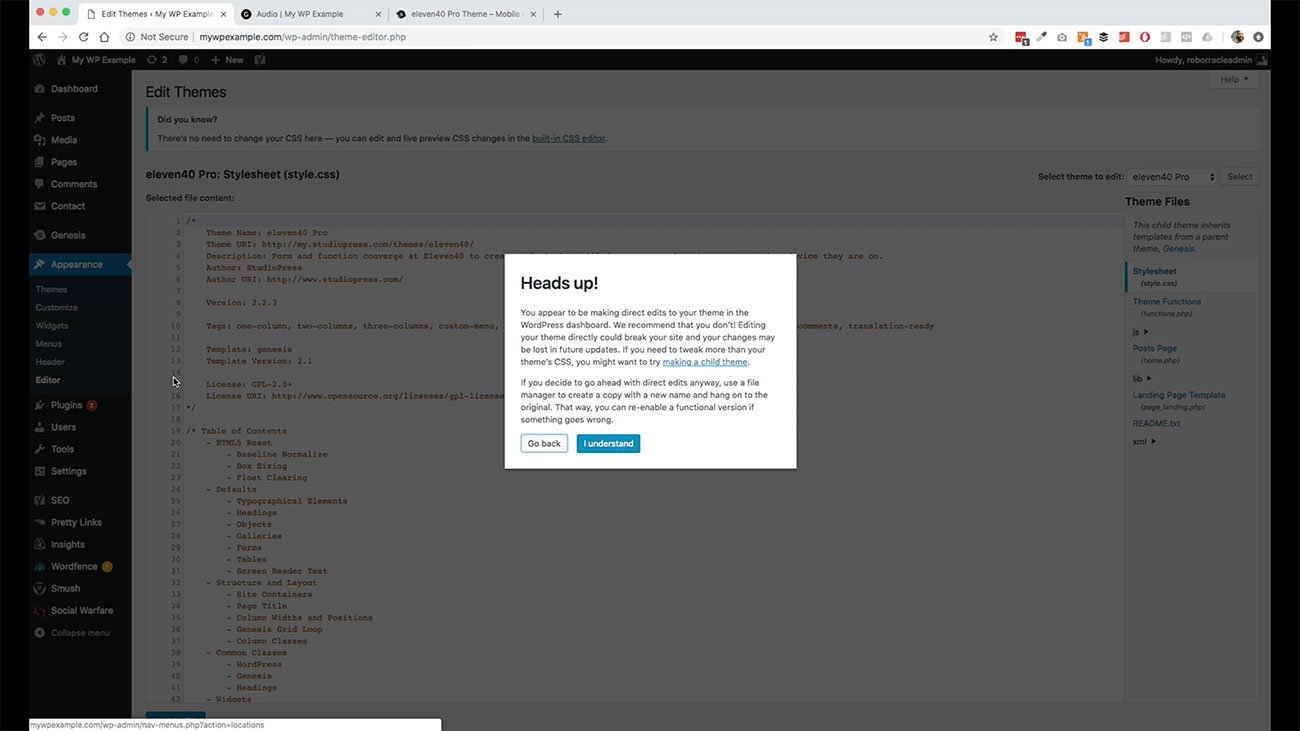 This is the under the hood, behind the scenes stuff that is available to you, if you want to do customization in the code of your theme. I like that you they give you this warning, because they’re saying, “Hey, just be really careful because if you get in here, and you don’t know what you’re doing, you can make a really big mess.”
You can either choose to go back or click I understand. Then you have available to you the various theme files that are associated with your child theme or your primary thing, whatever it may be, that your theme is providing for you.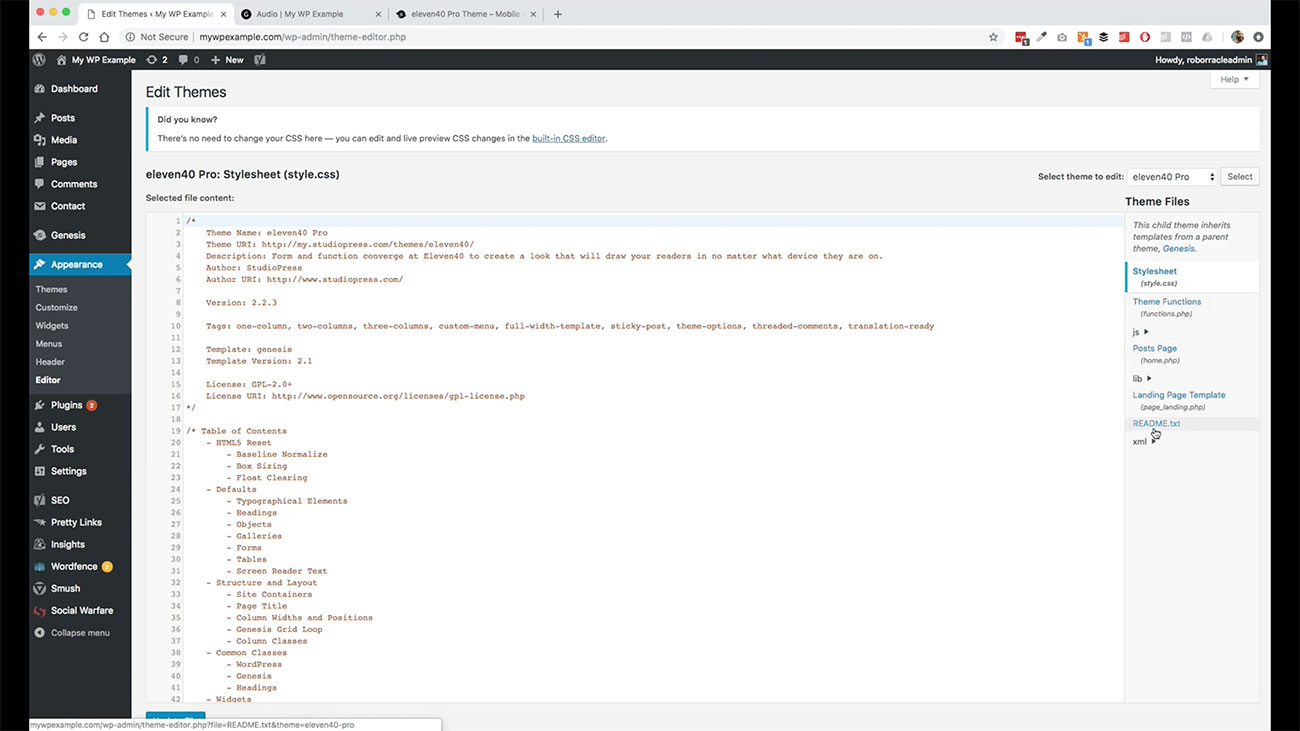
For instance, if you wanted to change something in your CSS, because sometimes you’ll see, maybe you’re googling trying to figure out how to do something in your theme. And it says, “Well, you need to make a change to your CSS.”
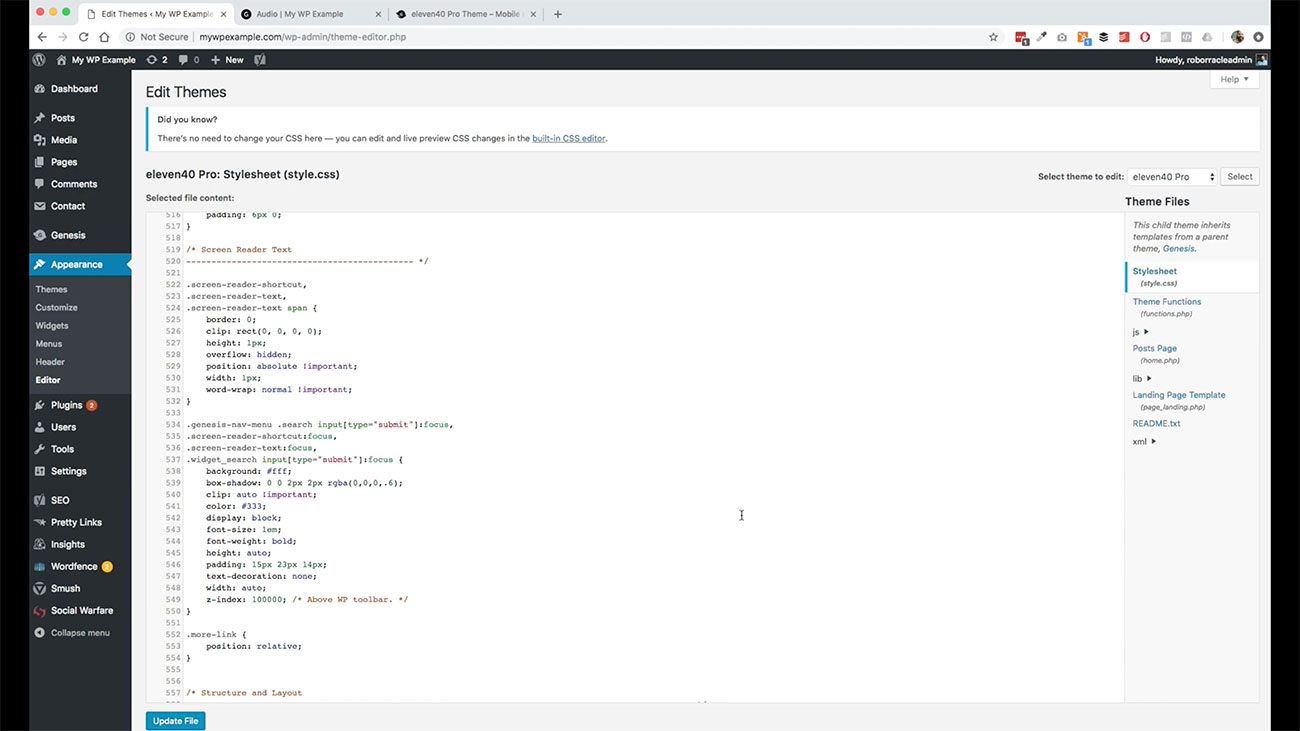 You can do that through here and then save out your changes from here as well by clicking that update file and it will save out those changes for you. I would recommend staying away from this unless it’s just absolutely crucial.
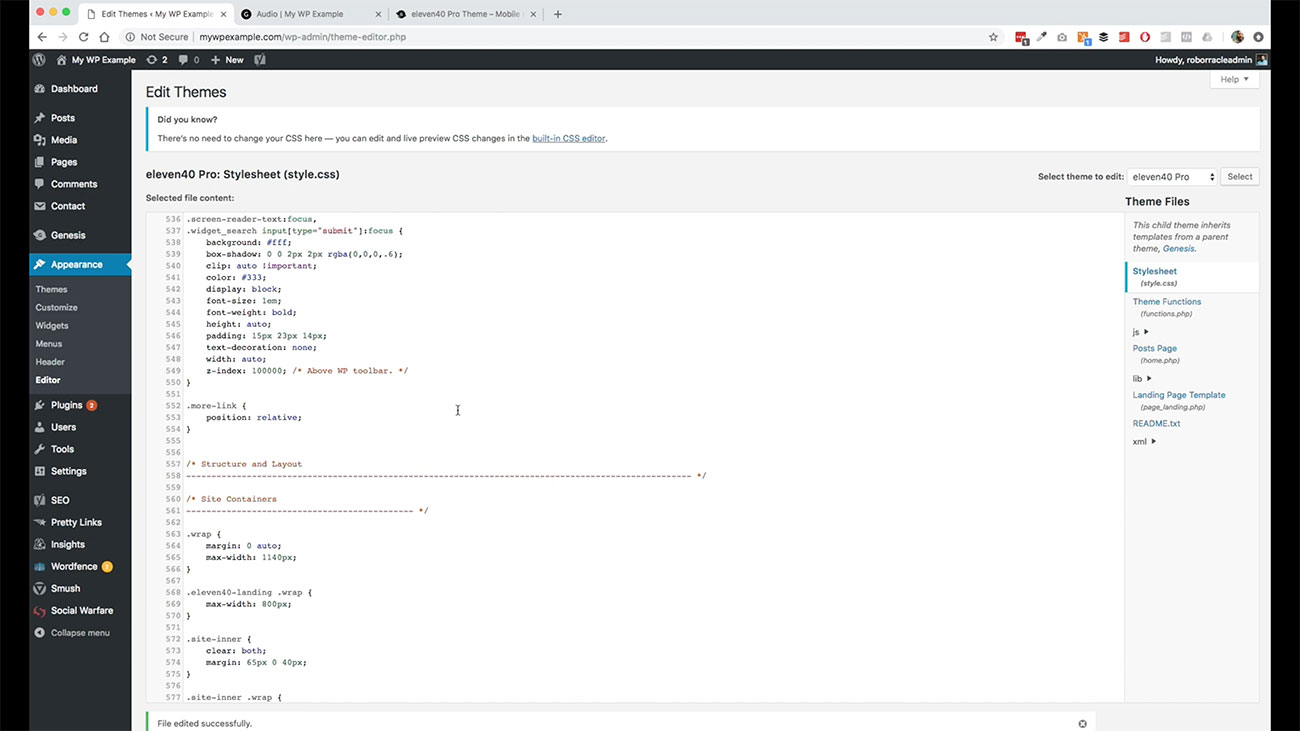
Going back to what we said, when we started this video, you don’t really need to be in this level of your theme because you want to pick a theme that you like that you can live with it. You think is going to do a great job of representing your online presence.
 If you’re in here, maybe you didn’t pick the right theme, I just wanted to show this to you so that you’ve got an idea of the tools that you have available to you through the WordPress dashboard.
They’ll even let you and edit your themes function file, which this is all PHP code. Once again, you don’t want to be messing with this unless you absolutely know what you’re doing. So stay out of this editor link here unless you are really comfortable with working with code in your WordPress theme settings.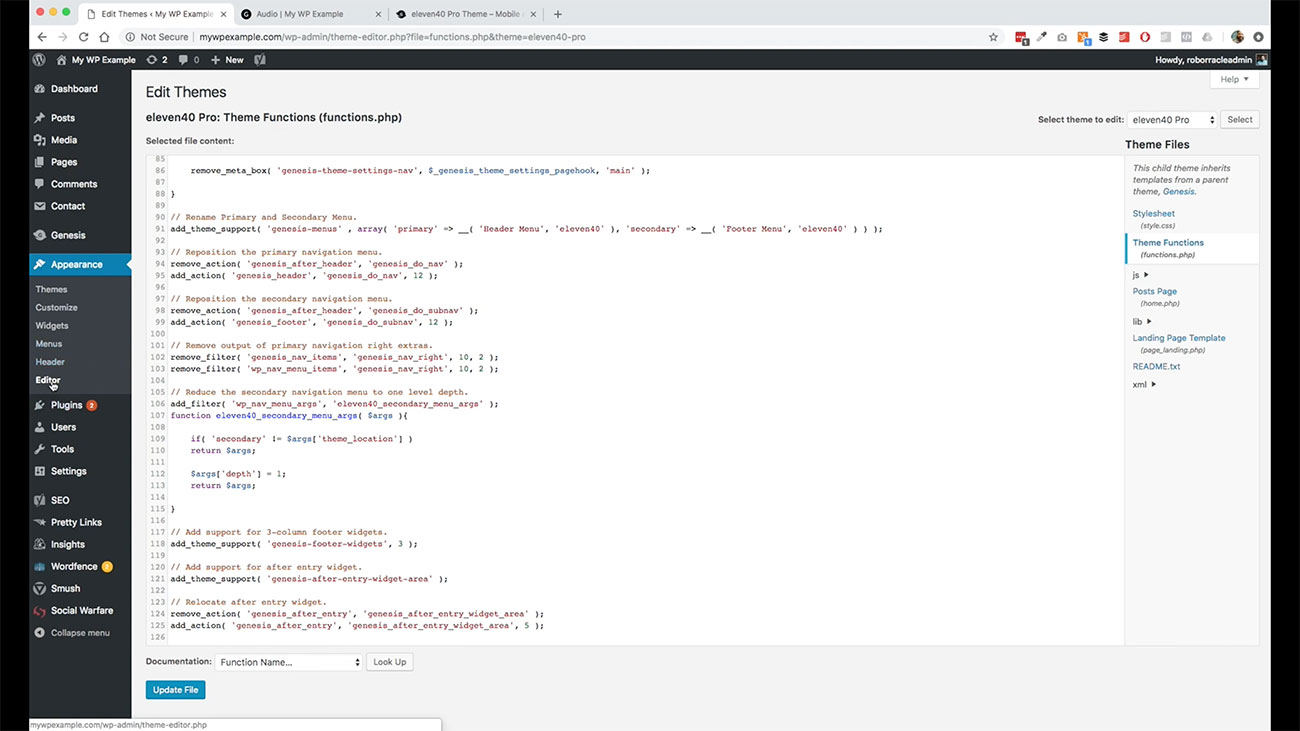
That covers that. We’ve got our theme set and we are ready to go to start creating content at this point. These are all the themes, the features and functions you’ve got available to you.
We’re now up. We’ve got our theme in place. We know what we’re doing with posts and pages and media and all that other kind of stuff.
We’ve got our theme in place and we are ready to start cranking out content.