In part 3 of my in-depth WordPress training series I’m taking you through a full tour of the WordPress dashboard and how all its various features and functions work in your self-hosted WordPress site!
When you login to your WordPress site you’ re going to see a lot of options available to you.
In this video tutorial I cover how to navigate through the WordPress dashboard and all its features and functions so you know what you’re looking at and how to make use of all this stuff when you log in!
Make sure to hit “SUBSCRIBE” and hit the bell so you get notified when new videos come out!
Please leave a comment below and don’t forget to join my new, FREE Facebook group where you can find connections with other creators, bloggers, and marketers, and get help for your digital marketing work!
You can join the FREE Digital Marketing Mastery Facebook group here: https://rbrr.co/dmm
In the Digital Marketing Mastery group we are focused on helping you excel in your online business!
WordPress Dashboard Tutorial
Welcome to the Mastering the Essentials of WordPress series where I walk you through the WordPress dashboard and show you some of the most important features and functions that you have in your new self-hosted WordPress site. This video is going to cover the dashboard so you know what you’re looking at every time you log into your WordPress site. Let’s jump in.
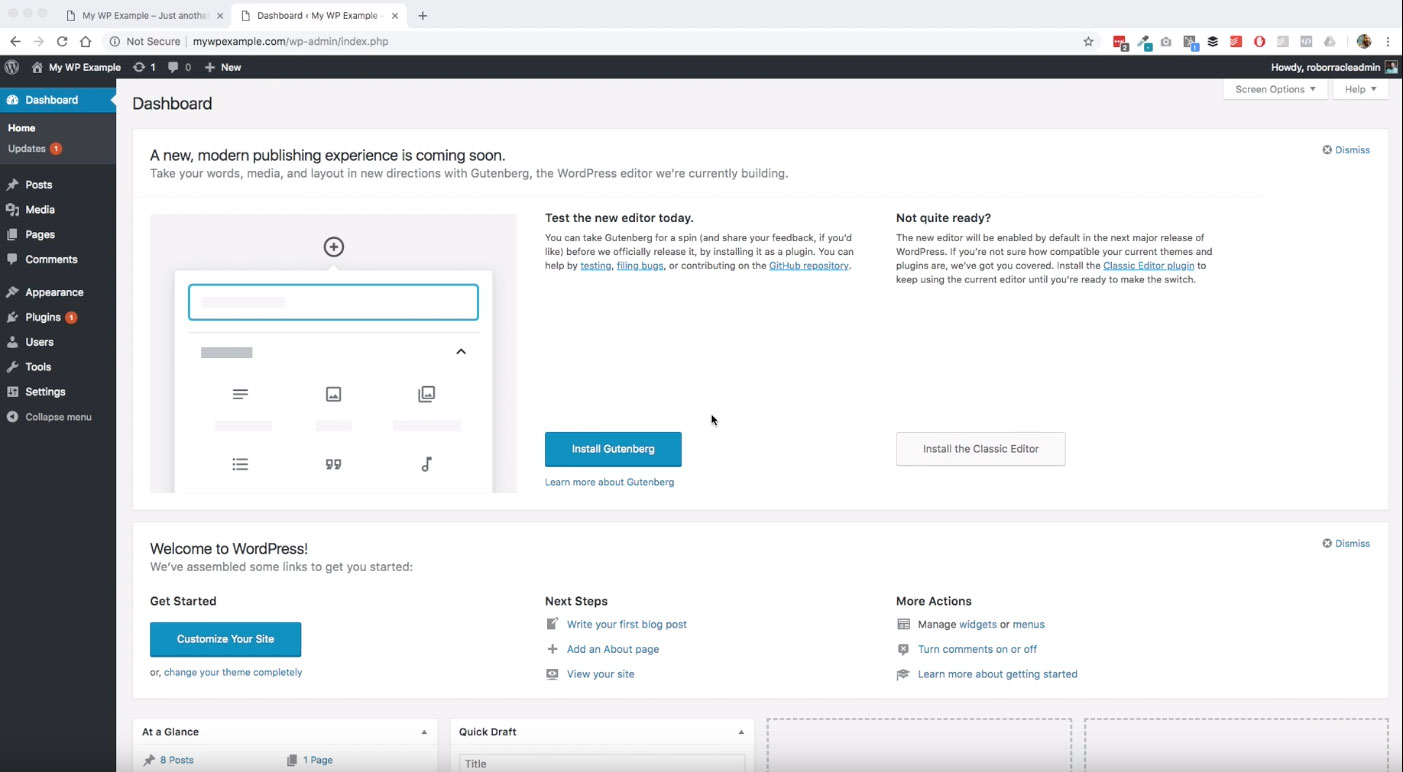
The dashboard, as I mentioned is the first screen that you’re going to see when you log into your new WordPress site. You’ve got four main things here that I want to draw your attention to. You’ve got a top menu up here which will change contextually as you move through your website.

You’ll see this more as we go through this series about how you have different options in different places. You also have this menu over here, which is kind of the main area to get to basically every feature and function that you have in your site as a whole.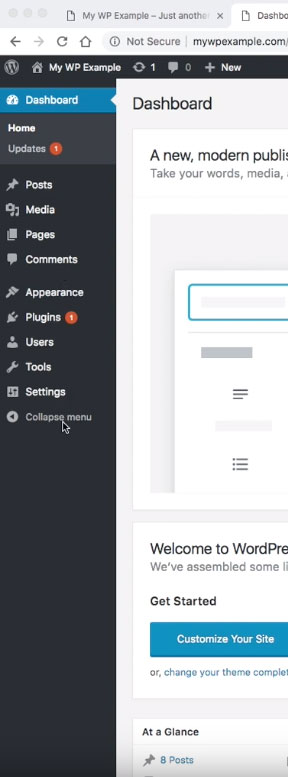
Then you have this main area here, which is the “dashboard”. This is where you’re going to see different announcements.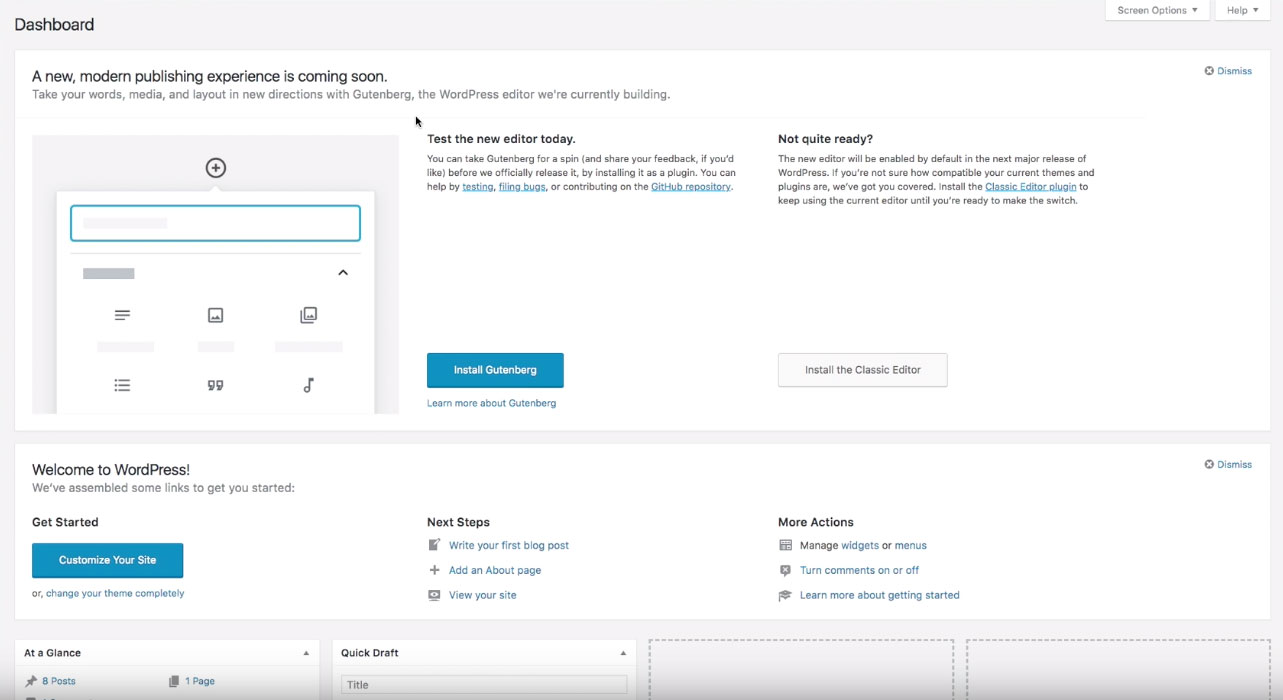
You’re going to see different updates and things like that.
For instance, in this instance, in the in the previous videos, we went through the steps to get our self-hosted WordPress site installed. Now we have logged in and we have some announcements here on the dashboard. We installed the latest version of WordPress in the previous modules.
Now we are looking at the announcements that are associated with that. One thing that’s coming in is this announcement about a new publishing experience that WordPress is going to be rolling out in future editions of WordPress and that new publishing experience is called Gutenberg.
That will have a module of its own, so that we can cover that by itself. For now, this is just an announcement saying, “Hey, be ready because in the core of WordPress, in a future update, you’re going to have this Gutenberg writing experience is going to be automatically installed.”
That’s what this announcement is about. Then you also have this announcement over here that if you don’t want to use Gutenberg, you can install the classic editor. One of the things that I think is great about the dashboard is you have this ability to manage the things that are available to you on this and this kind of brings us to the fourth thing that I wanted us to look in this dashboard video, which is a screen options.
The screen options tells you what is activated to be displayed in your dashboard. For instance, now that we’re aware of this new Gutenberg tool that WordPress is going to be rolling out in future additions, we don’t necessarily want to see that every time we log in. We can just uncheck this box here.
It goes away, or you can click this dismiss notice over here and it will go away, same thing these features execute the same kind of task. We can go ahead and dismiss that. Then you also have over here, now that that is gone.
You have this welcome box here,which is basically kind of a shortcut menu to various things that you may want to do when you first log into your new WordPress site. You could, for instance, go ahead and create your first blog post, or you can go ahead and create your about page or you can use this link to go and view the front-end of your website.
This is kind of like a quick short wizard type tool that will get you into some of the features and functionalities that are available. Again, this is an announcement on the dashboard. We don’t necessarily have to keep this if we don’t want it.
For the purposes of our site right now, we don’t need this. We’re going to go ahead and dismiss this so we can look at some of the other things.
Now, once your site has been up and running for a little bit, your dashboard is going to look a little bit more like this.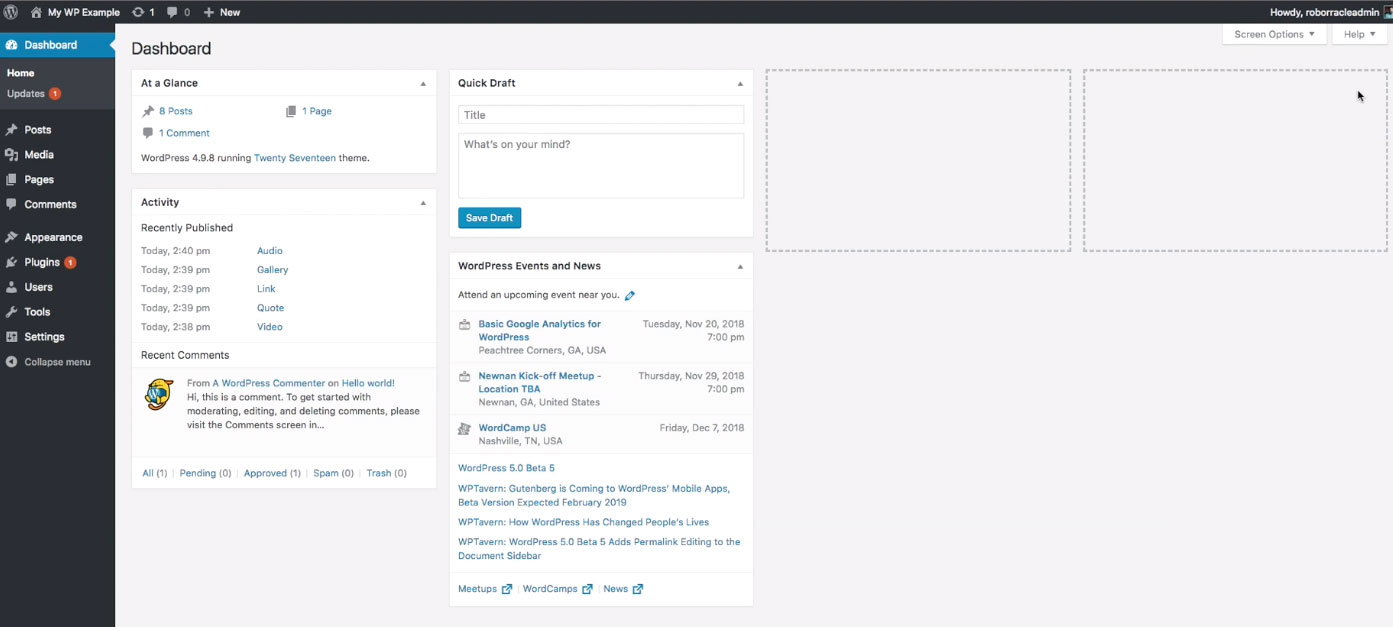 One of the things to note here is we have not yet installed any plug-ins. We are still using the default theme for WordPress.
Right now there’s really not a lot of options here on this dashboard, but the ones that are remaining here are kind of universal. You will almost always see these unless you deactivate them. Various different plug-ins and themes may use these widget spaces on this dashboard to display output about whatever the plug-in functionality provides.
For instance, one of the plug-ins that we’re going to look at is called Pretty Link Lite which is a link shortening tool. It’s going to provide a widget over here in your dashboard where you can create a quick short link if you want to do that. So, different plug-ins are going to use this dashboard to display some of the information and tools about what’s going on in the website.
You can rearrange this which I think is a great feature if you want to move these around. You can see these dashed boxes here will allow you to move these things around as you would like. You can rearrange this or again, you have under Screen Options, you can turn any and or all of these things off if you so desire.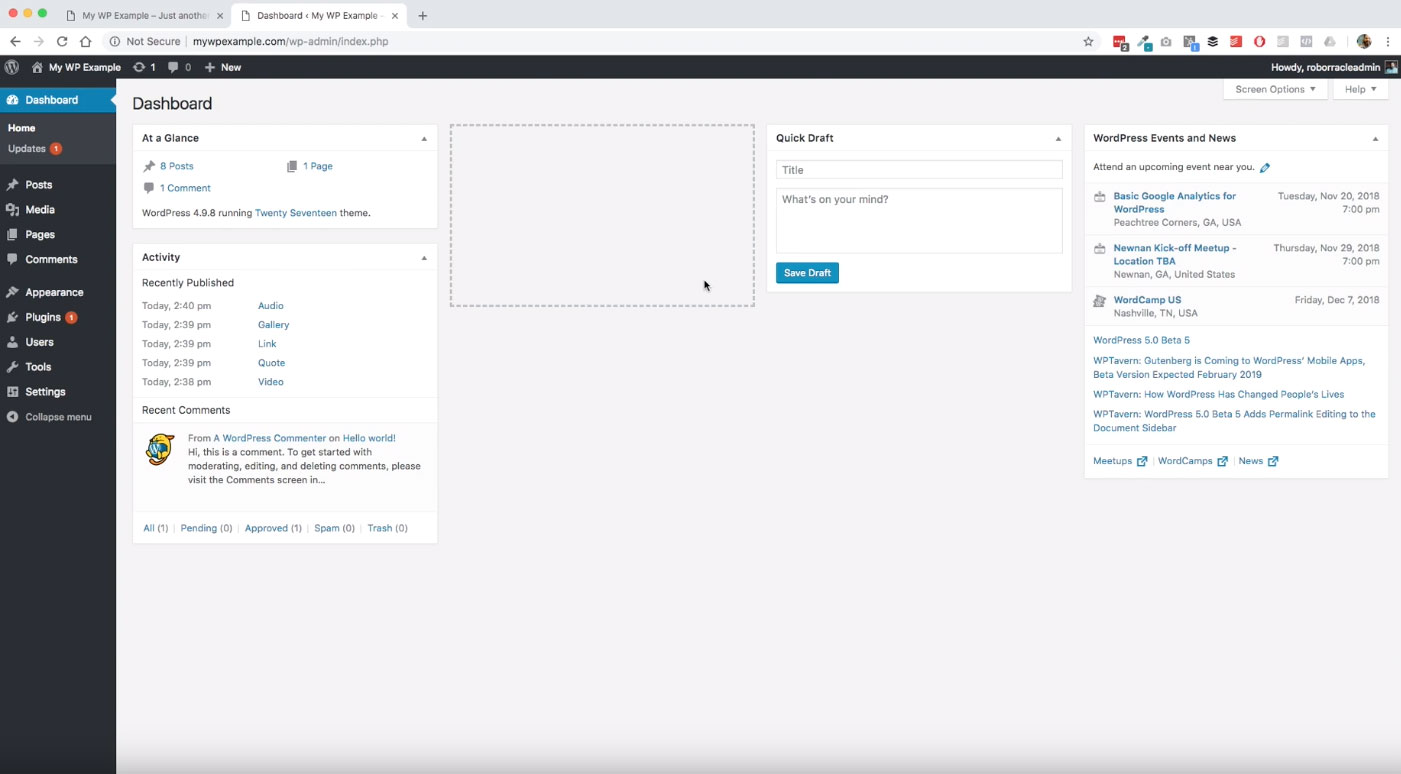
Usually when you come into WordPress, it just depends on what your workflow is going to be.You can do a lot of things right from this dashboard piece.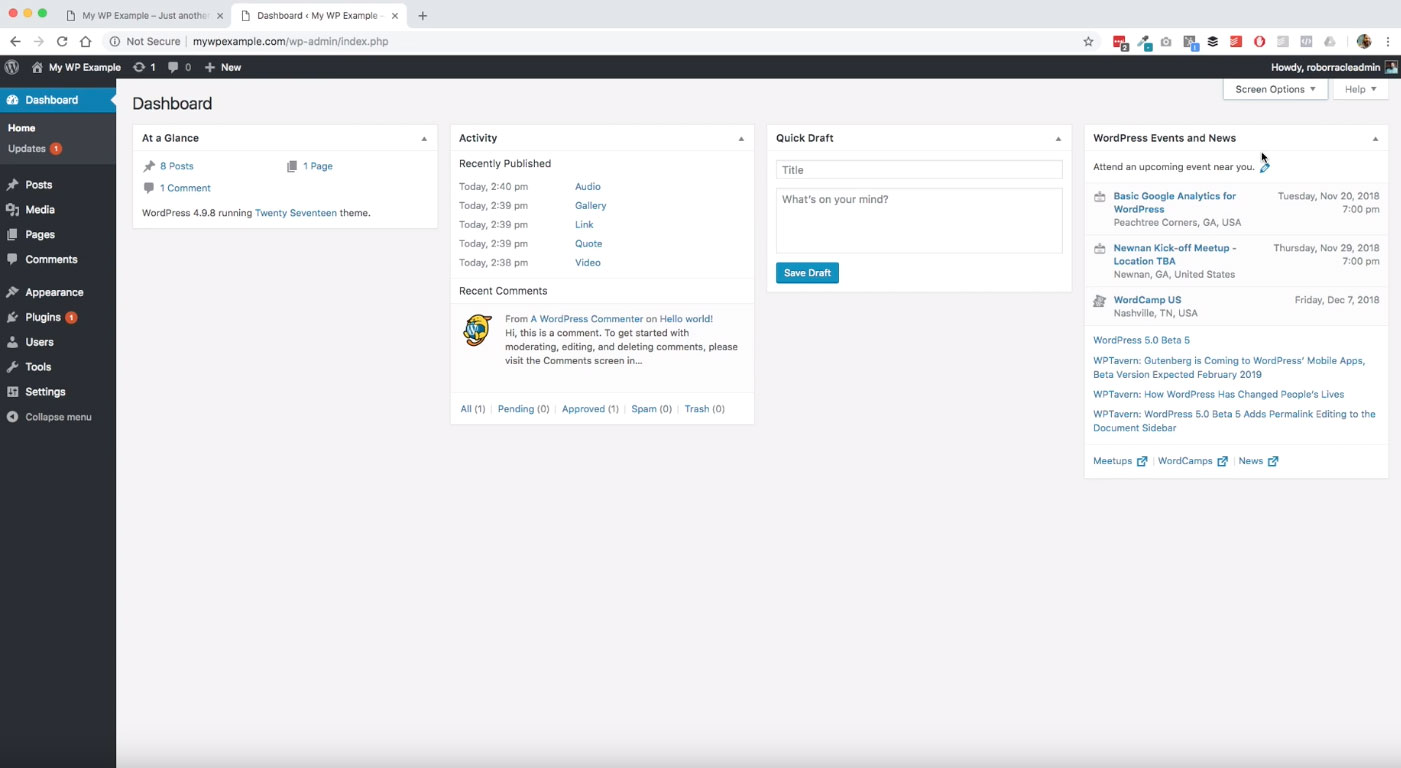 Going back to the menus, as I mentioned before, this menu up here is a kind of shortcut menu to some of the core features for content creation.
For instance, when you log in and you know what you want to do right off the bat, you can just come up here, hover over new, I’m creating a new post, you click that boom, it brings you right through to creating a new post.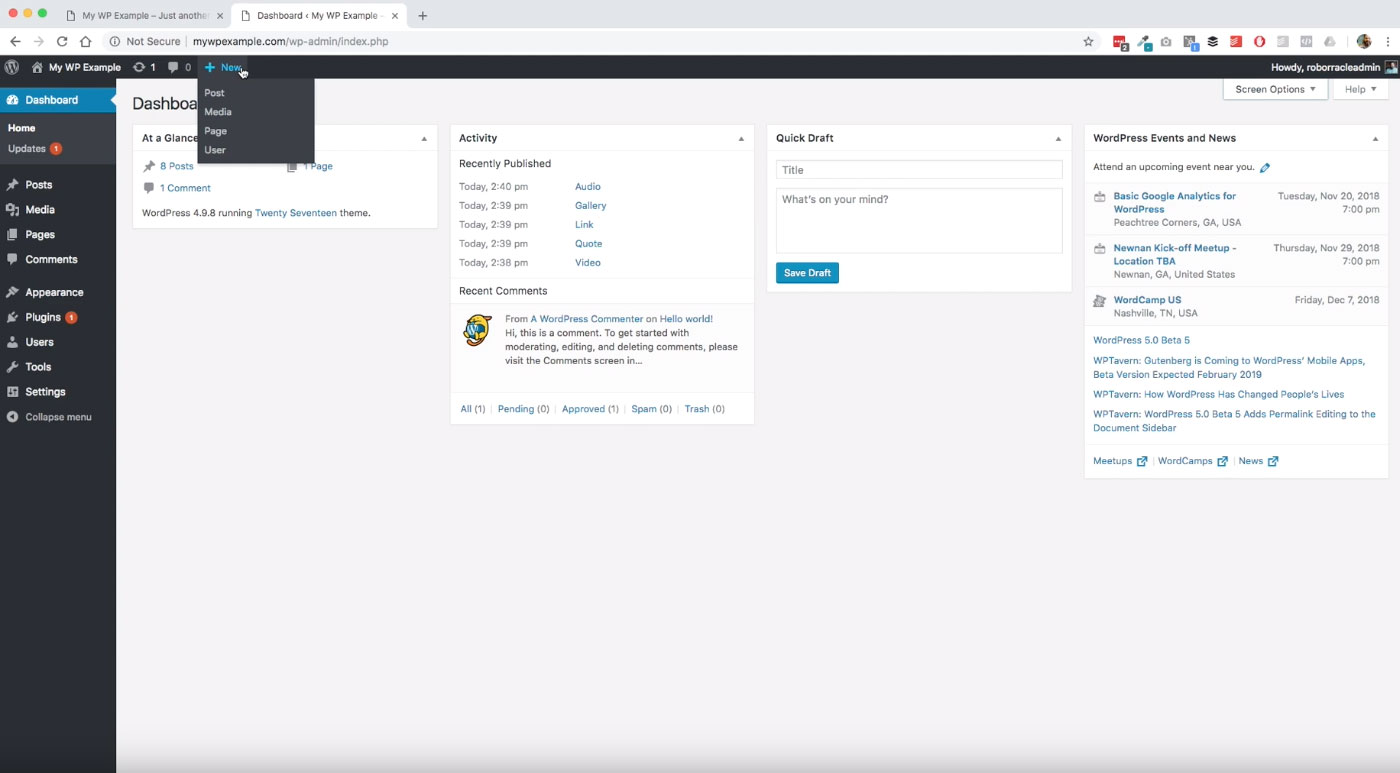
Same thing goes with pages, or if you want to work with your website’s users or you want to work with the media library. You’ve got all of these various things that are available to you here in this shortcut menu.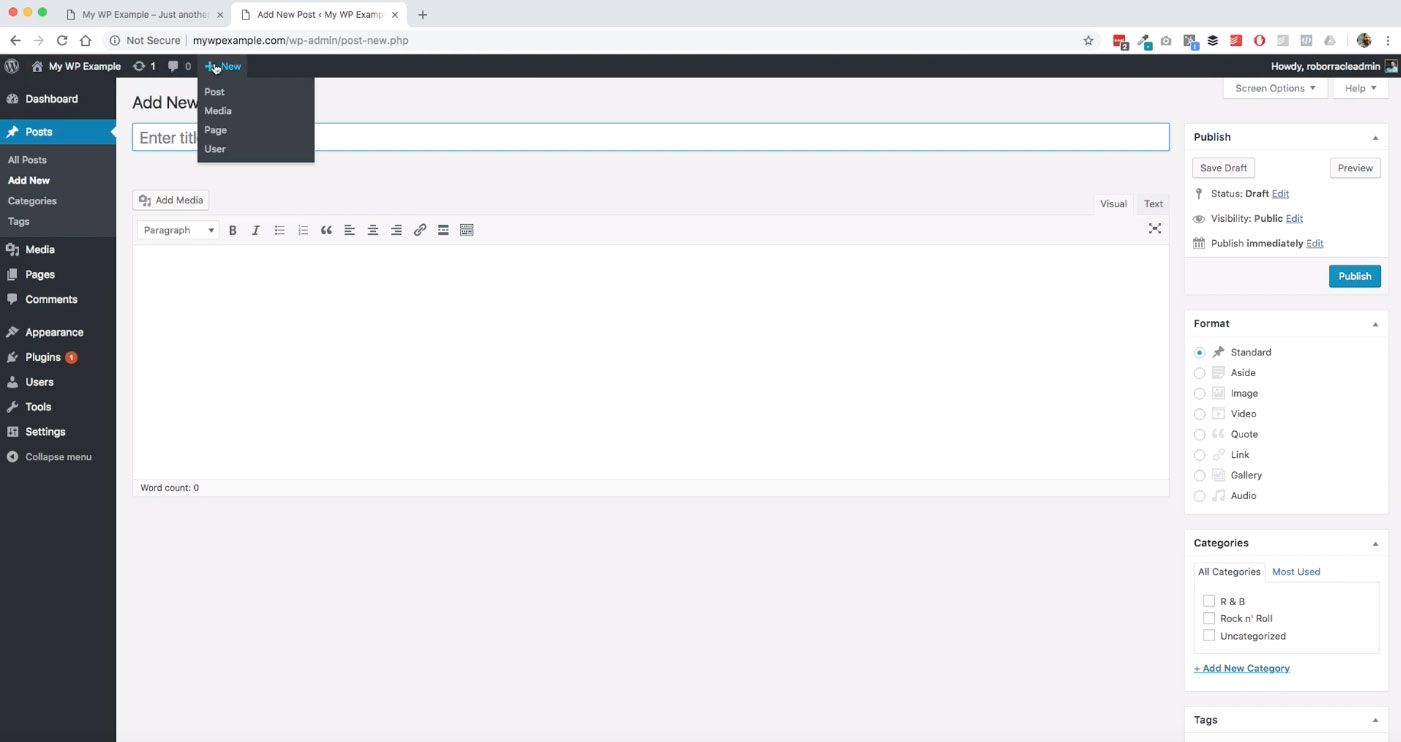 I think it’s nice because it’s a synced, and it’s to the point.
Once you get used to using it, you’ll find that it is going to be very useful. Now, what will happen with this shortcut menu as you go through the site is it will change contextually based on where you’re at and which screen you’re on.
For instance, if you’re on a setting’s screen for a plugin, there may be options available for that plugin that are in that toolbar. You’ll have some shortcut options that will be there and then just like the dashboard, where we’re talking about that before, where you’ve kind of got shortcuts or information about what’s going on.
Some of your features and functionality that will come from various different plugins will show up here too. You’ll notice once we get into talking about plugins that there will be some new items that are going to pop in up here up in this menu bar.
We’ll work with some of those shortcuts in this menu here. The main menu for administering your WordPress site as a whole is over here on this left hand side.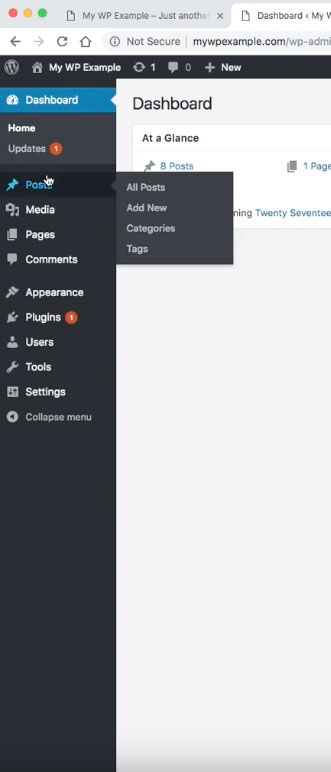 This main link to your dashboard is right here.
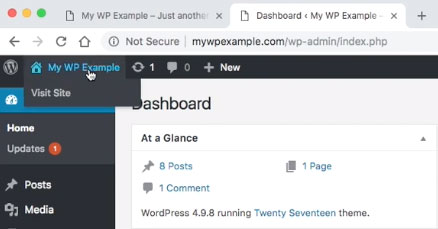
You can go through and see once you are at your dashboard. This little indicator here means that we have one plugin that needs an update. We’ll cover that in a separate module, but updates or something you want to keep up with. All of your other features and functionality is available to you here.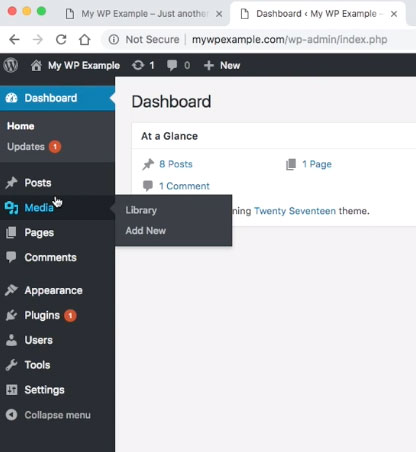
So when you’re coming into your website ready to create content, all of your information here is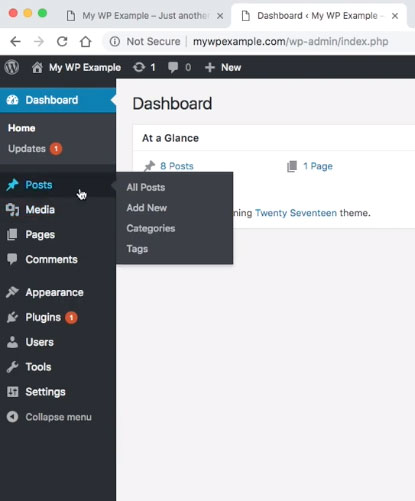 available to you over here on the side so you can create posts from here and manage all of the various pieces and parts of that. You can work with your media library from here.
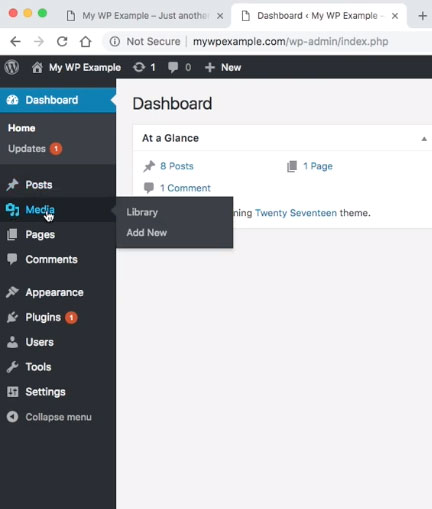 Create pages from here, manager comments, so on and so forth.
This is the shortcut to working with your theme. Underneath the appearance, some of these things may change based on the theme that you’re using. Here’s your link to go to manage your plugins and where you would go to install, activate or deactivate or update your plugins.
Again, we’ll talk about that in a separate module. Then you’ve got a link here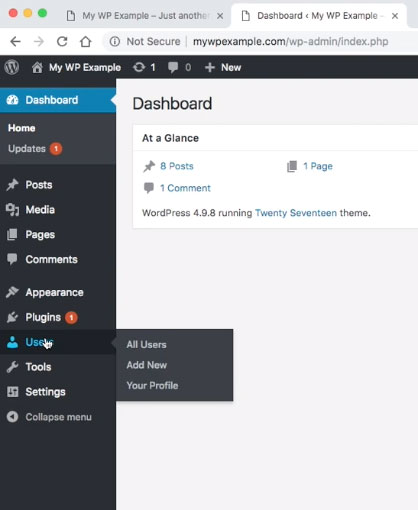 to work with users, if you have a site that uses or makes use of allowing different users to have different roles to do different things.
You would manage your users from here. This would be places like for instance, if you were going to reset a user’s password, or update their email address or those kinds of things you would find through there. Then you have these two administrative menus which are tools and settings.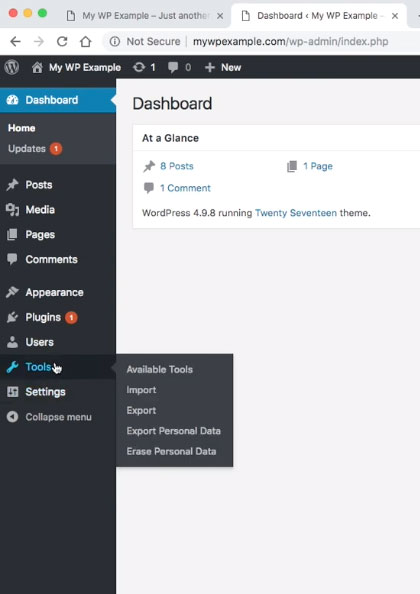
We’ll cover these a little bit more detail in other videos, but these are kind of the under the hood kinds of menus and or sections of your website where you would be able to dig in to getting some of those settings configured for various different features.
That covers what we want to touch base on for the dashboard. Really, what I wanted to do here is just get you familiar with what this looks like and what you can do here and what this means.
So when you log in, you’re not surprised by anything that you are able to easily understand everything that’s going on here because like I said, as we get into this, and we’re adding new plugins, and when we update our theme, this dashboard is going to change.
There are going to be additional features and functions so you can control what’s going on this dashboard by working with this menu over here under screen options. And then the various different functions and features you have over here are rearrange-able as you desire.
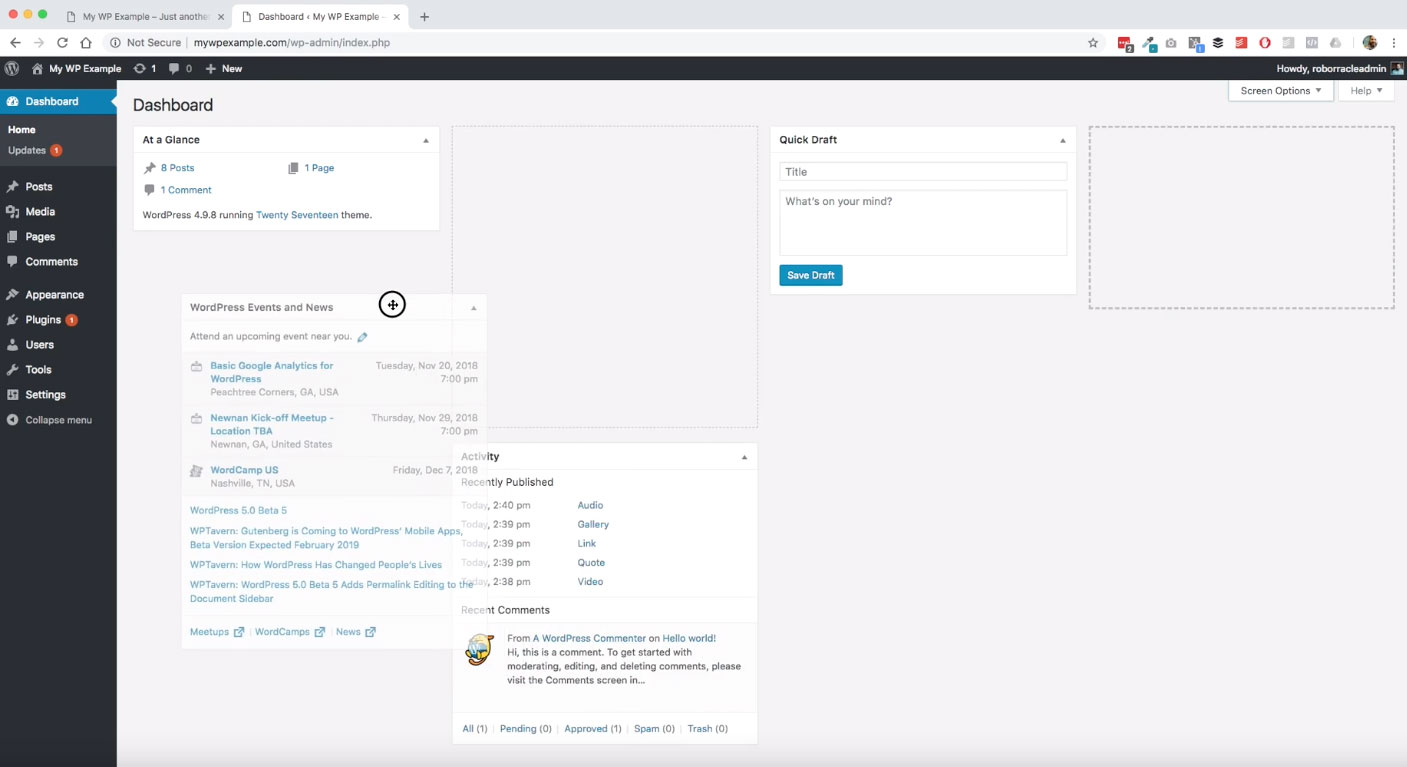 You can just move them around and if you have a specific order that you want to keep them in, you have that option available to you as well. That covers the dashboard. Now on to the next module!