Getting traffic to your website is something everyone worries about online.
The problem is that ranking for search traffic is really hard.
Seriously, I’ve been at this for a long time myself, and I still fight the battle to get my content seen above the all the noise online, so I totally get that the struggle is real.
You see, if you don’t get traffic to your site, then all the work you do creating content and building amazing offers isn’t going to do anything.
But several years ago I found this SEO plugin that has helped me a ton, and helped me help my clients to optimize their site for search traffic, and now it’s included on most new sites I create.
What I’m going to show you today is how you can install that plugin yourself so you can start climbing the rankings and start seriously competing search traffic.
Making your site visible and attractive to search engines is something you absolutely must do. And one of the best ways to do that is to use the Yoast SEO plugin.
This lesson covers getting it installed and getting your basic configuration in place.
WordPress SEO For Beginners
Welcome back to The Building your WordPress Framework series where we’re setting up your new self hosted WordPress site with essential features and functions that are going to help you get off the ground as quickly as possible and get your site going so you can start focusing on creating your content. We are going to be installing the Yoast SEO plugin and this video.
Let’s go ahead and jump in.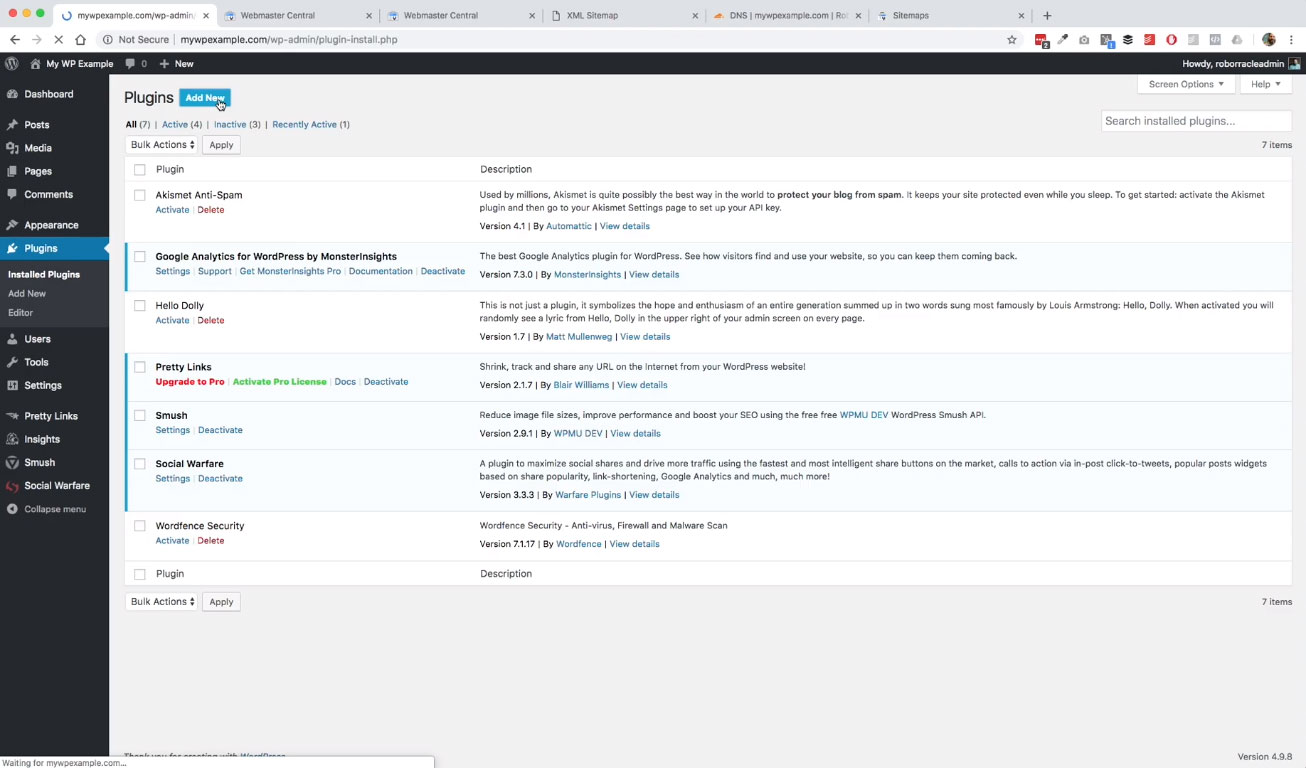 Over here, we’re just going to come up here again to our plugins over here on our admin menu, and then we’re going to click Add New. Then we’re going to come over here and search for Yoast SEO.
Here we got it returning as the first result here. We’re going to go ahead and get that installed. While this is getting set up, I want to just touch base on a couple things. There are a lot of things that you can do with this Yoast SEO plugin that we’re not going to cover in this video.
The point of what we’re trying to do here is to get you up and running with your WordPress site. We’re going to set a couple features up. We’re going to walk through the setup wizard that Yoast provides so that you can get the basics in place, and then again, go back in the future.
Once you’ve had some time to go do a bit of a deep dive on what you can actually do with the Yoast plugin, I would highly suggest doing that, by the way. But there are a lot of things that you want to pay attention to. We’re going to put the framework in place here so that we can be building on top of something that is going to scale with us and grow with this as we are always trying to do with this website.
Configuring Yoast SEO
We’re going to come over here. Now that we’ve got this plugin activated over on the side, you’ll see now you have this SEO option in your admin menu. We’re just going to go ahead and click on that. This is going to bring us to this setup for getting the Yoast SEO plugin installed and configured.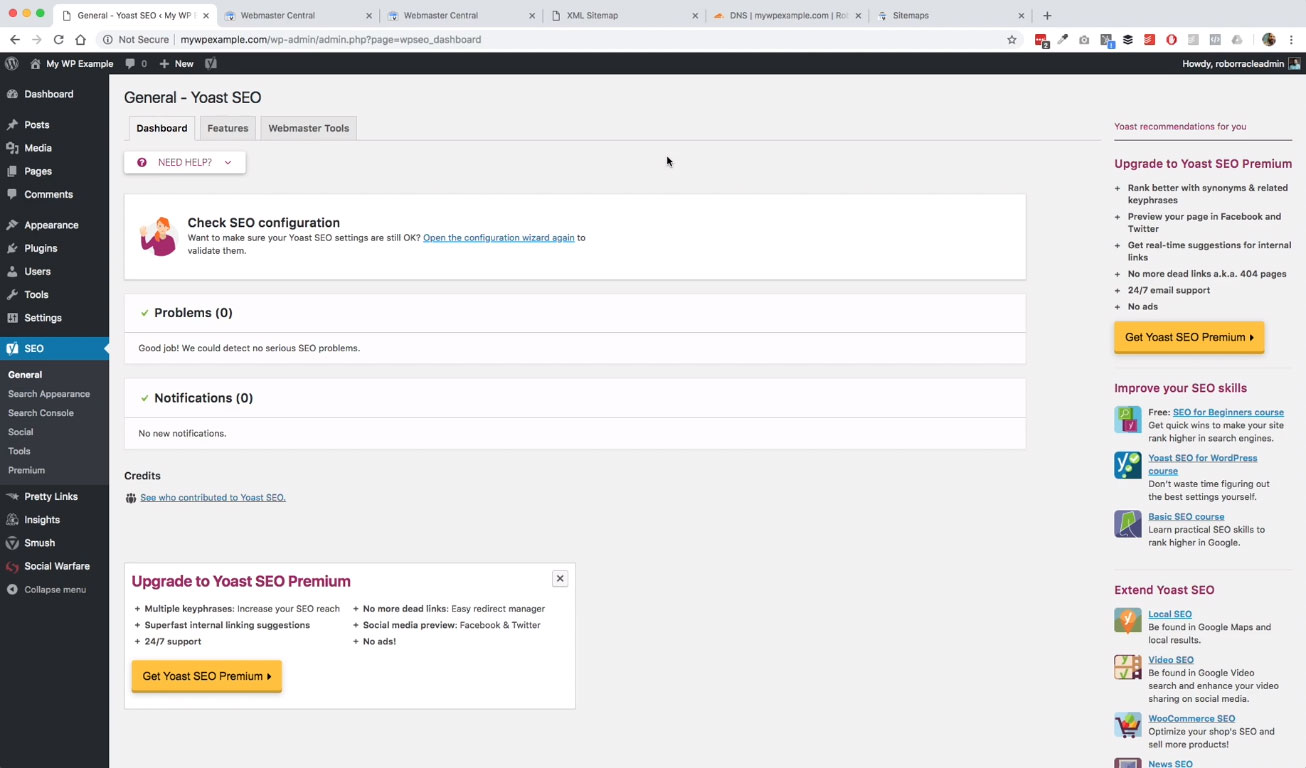
Like I said, there’s a lot of things that that you can do with this, but we’re going to go ahead and just walk through this configuration wizard. Then there are a couple other things that I want to show you so that we’ve got the basics in place, so we can make sure that we’re getting everything done.
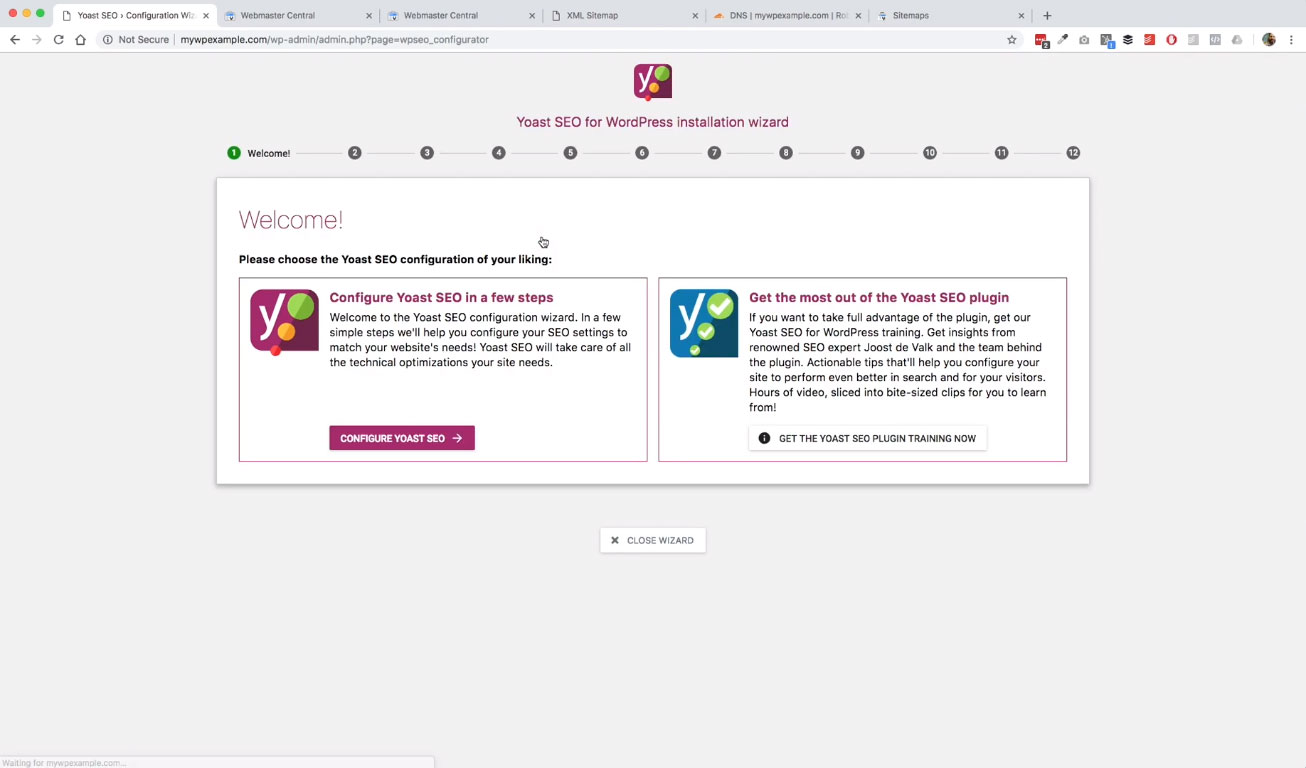 Here we go into the configuration wizard. This is going to walk us through several steps here to get some basics in place. We are going to click here to configure Yoast SEO.
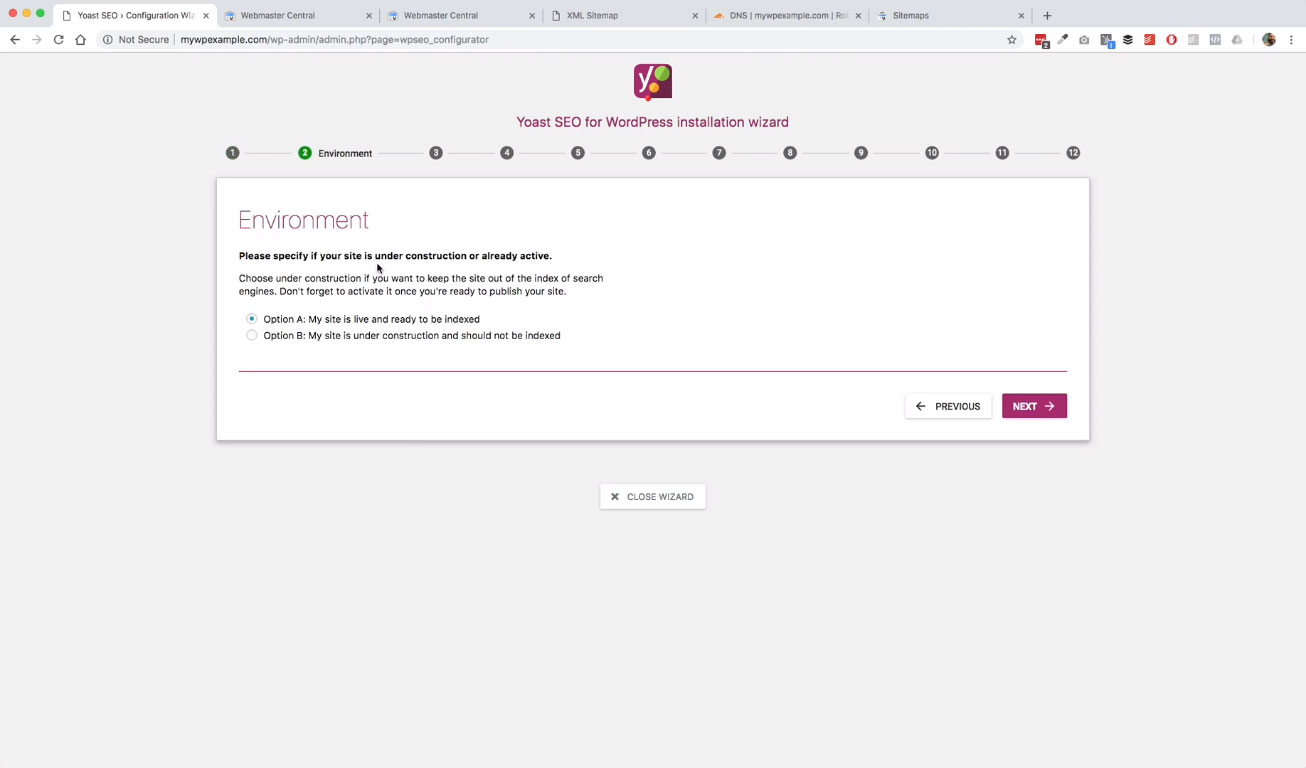
First question it’s asking here is if this site is already active or is under construction. We’re already live because we’re live on our domain. We’re going to go ahead and leave this as this is here.
WordPress Site Type
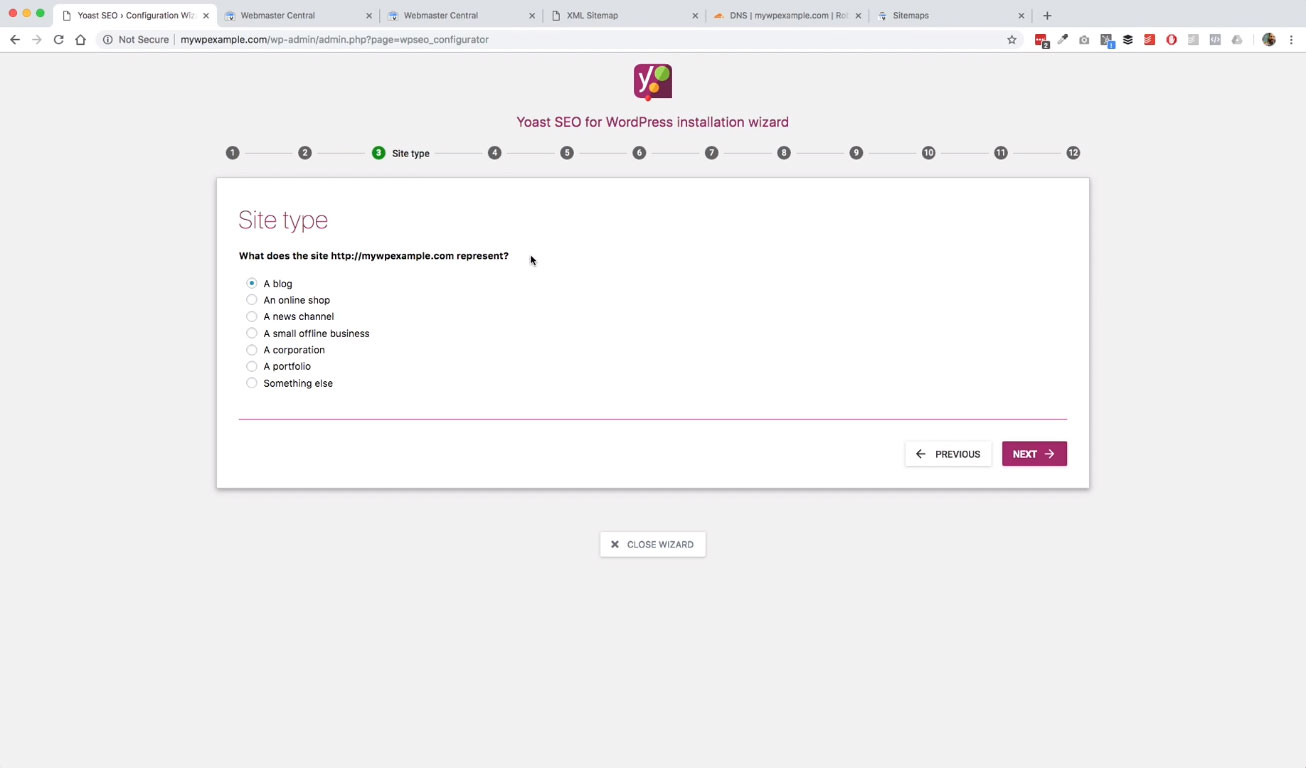 Then this is where you choose your site type It will provide some additional settings based on the kind of site that you’re using. For what we’re doing here on mywpexample, we’re going to go ahead and leave it as a blog. But if you’re setting up a shop, or a magazine site, which would be maybe the equivalent of a news channel, or a business site or something like that, you may want to go ahead and hit one of those selections there to get that part configured as well.
We’re going to go ahead and click on Next, because we’re just going to go with the blog.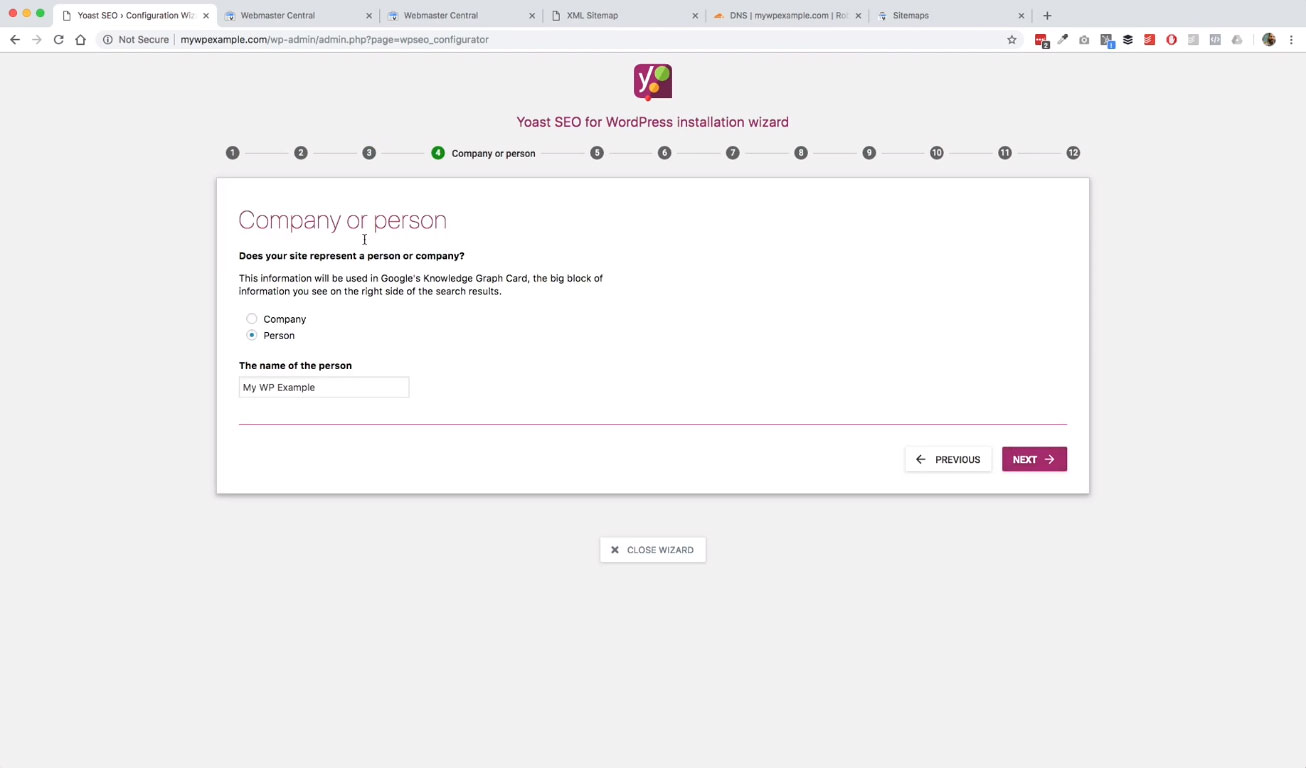 Then we’re going to answer. This one here is, we are representing an organization, or is this a personal site. For the purposes of our demonstration, we’re going to leave it as a person.
But if you are using this to set up a company site, there are a couple additional things here that you can do, put the name of your company in here, obviously, and then upload your logo.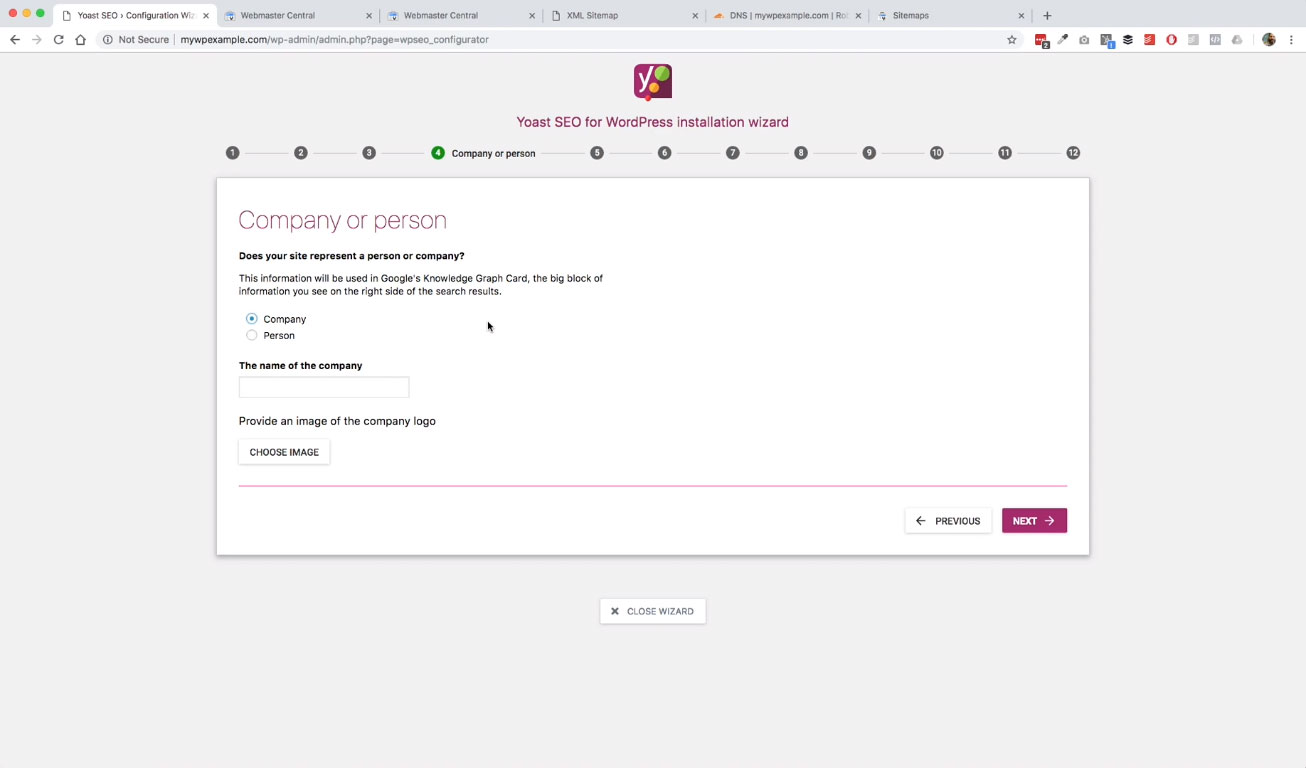 Then Yoast will put into place some things that will help you with your search engine results pages, and how your information is displayed on those.
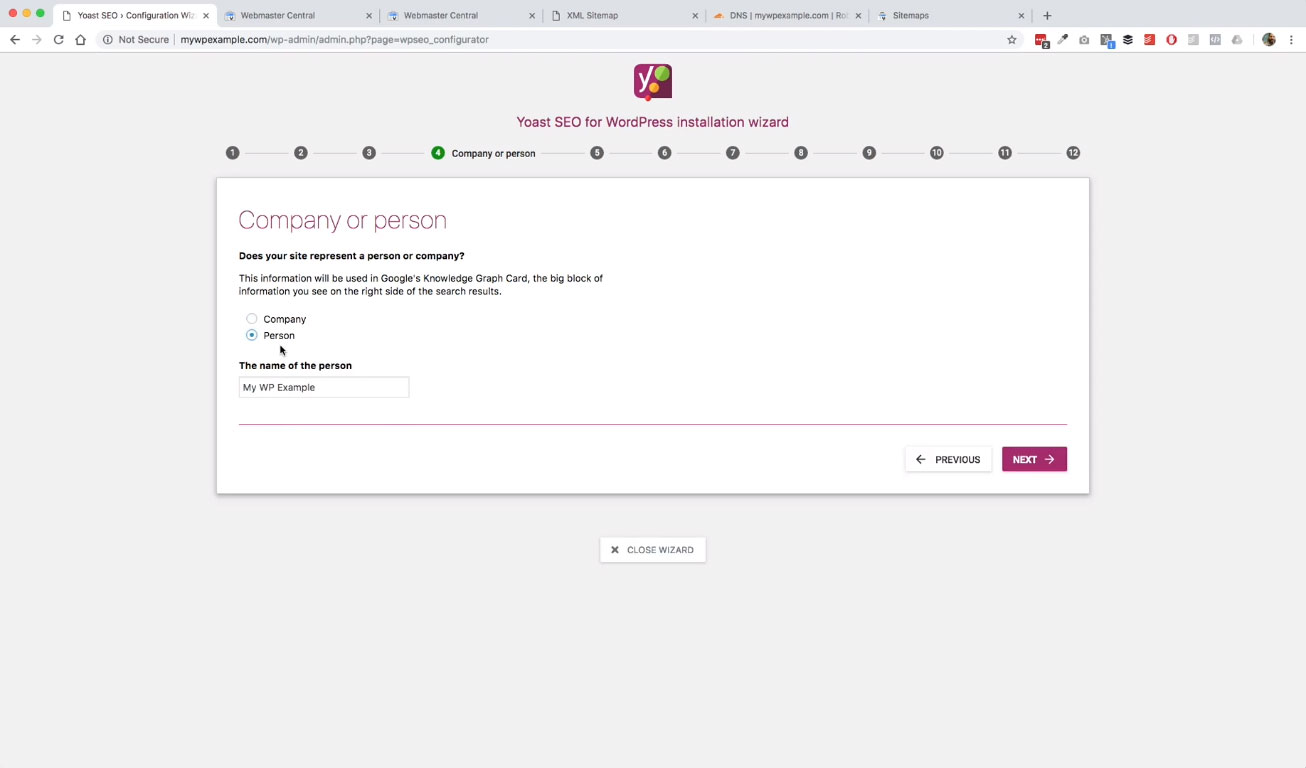 For our purposes here, we’re going to go ahead and click on person. We’re just going to leave the name as mywpexample, for now. Then on this page, you have the opportunity to set up any links to your social profiles, which I would definitely suggest that you do.
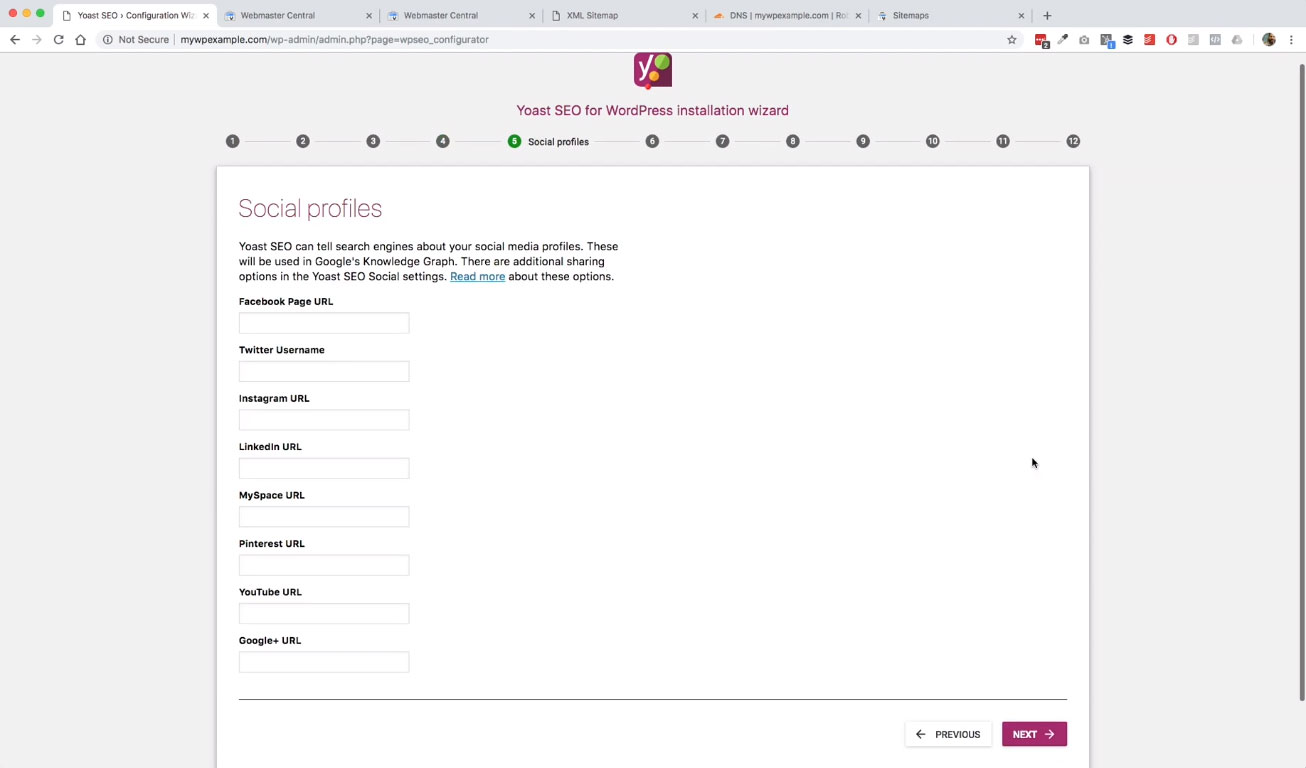 Go ahead and put your Twitter, your Facebook, your LinkedIn, your Instagram, so on and so forth in on this page.
Search Engine Visibility
Then this is talking about search engine visibility. We just want to make sure that we want to have these items on our site indexed and searchable by the various search engines. We want to make sure that we’ve got post to be displayed or pages are also going to be returned in any search results related to our website.
We’re going to go ahead and click Next on that, since both of those are already set to Yes. Now, our site here is only going to have one author, but if we had multiple authors, we would go ahead and select this.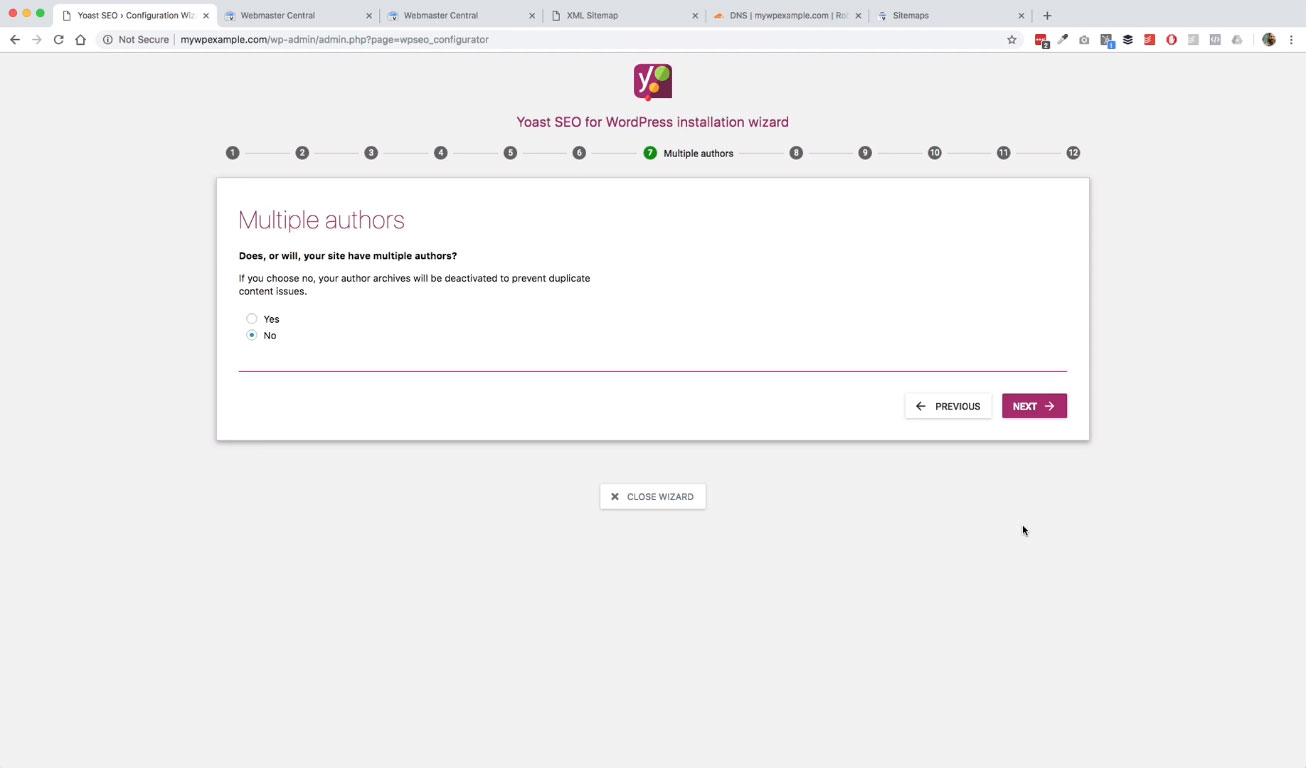
It would give us some additional options for things that we can do with that. For now, we’re just going to go ahead and leave this set to No. It’s just one site, one person, one author. Then here is one of the two main things that I want to cover as far as this setup is concerned.
Google Search Console
You’ll remember before that we created our site in Google Search Console. We want to go ahead and get that added here.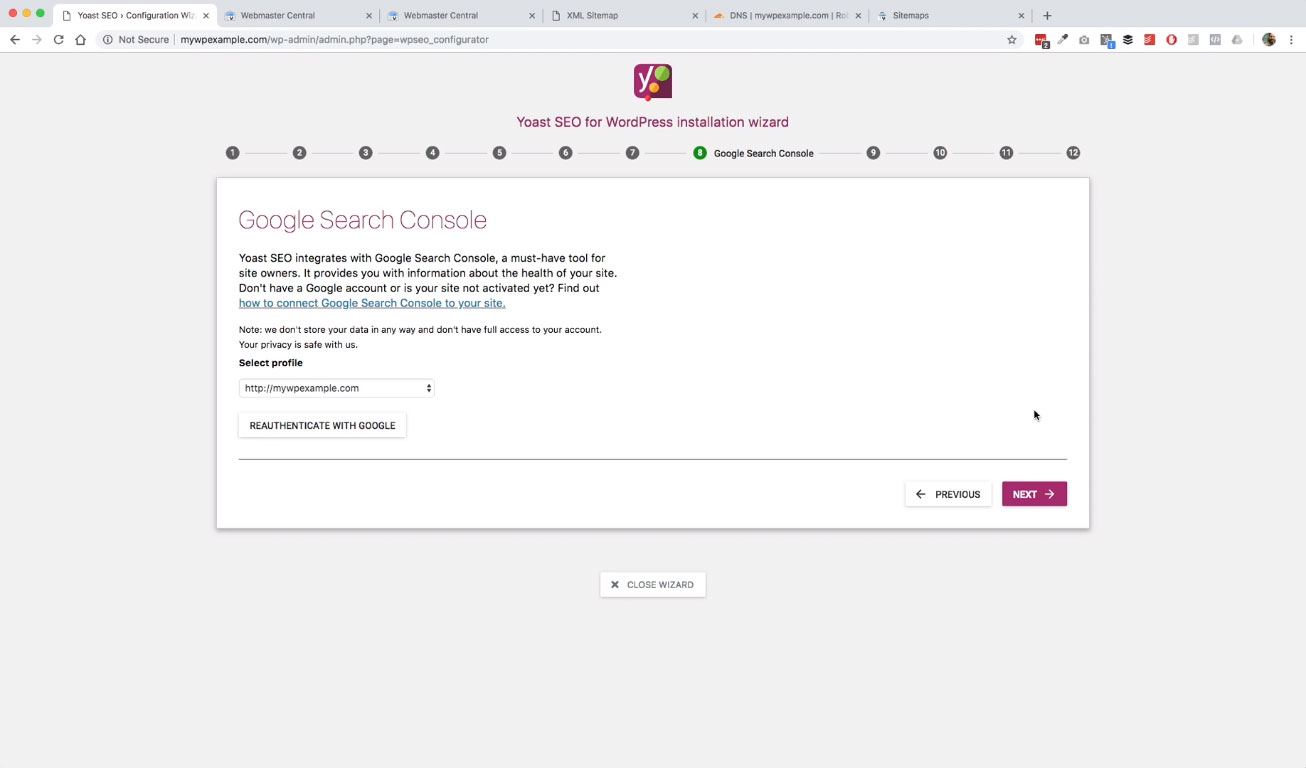 I’ve already done that in this step here. You want to go ahead and get connected to Google Search Console.
Then what this step will do is give you the option to select that profile once you’ve made that connection to get your XML sitemap in place. Here, we want to go ahead and get the Google authorization code.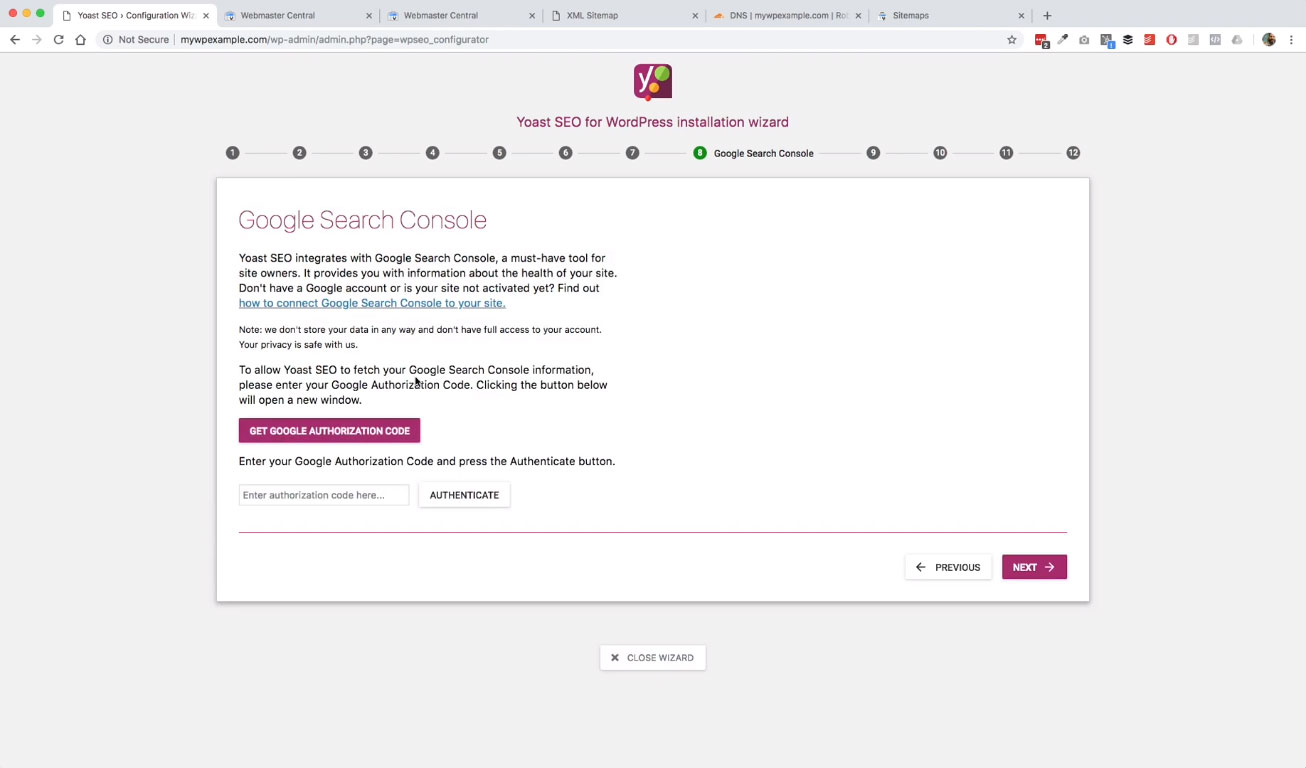
Here’s what that’s going to look like.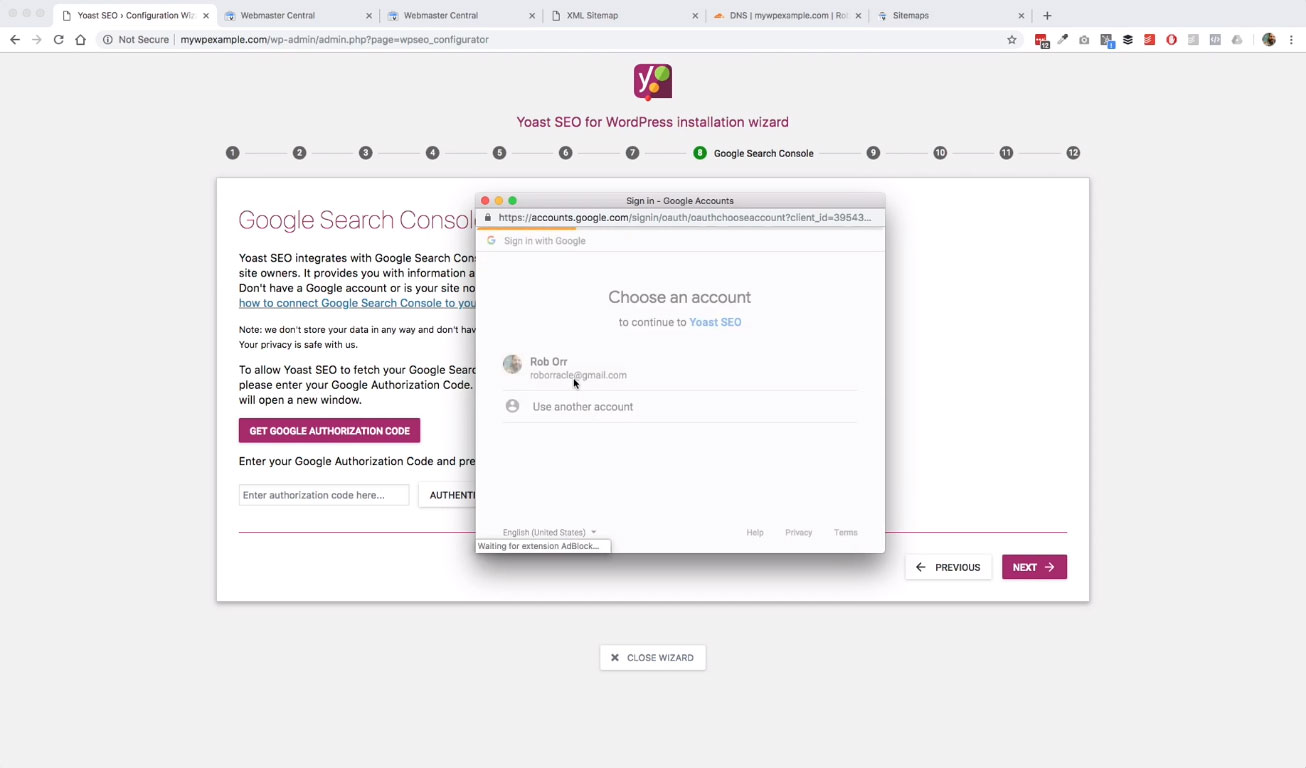 We’re going to go ahead and continue here. Here is that code just to walk through that so you can see.
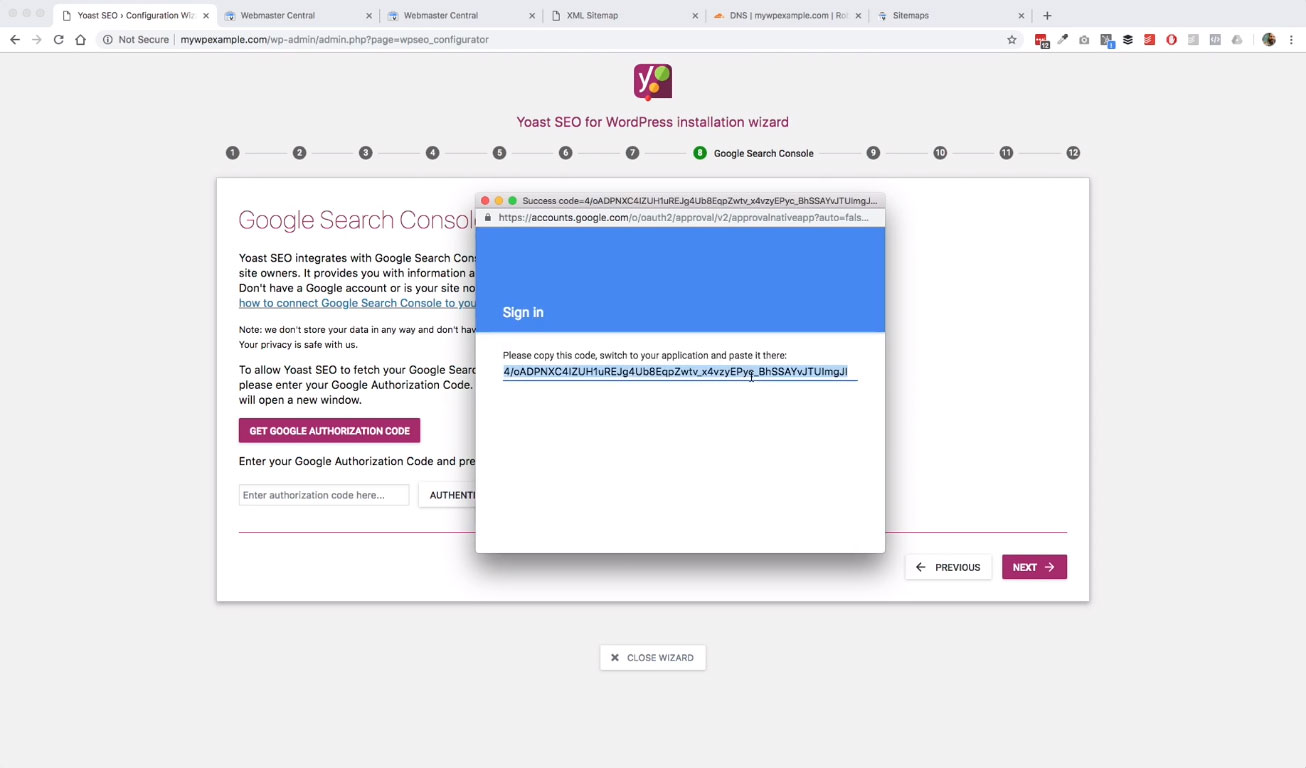 It’s just asking for an authorization code to make that connection with Google Search Console so that you can get those two connected.
That’s what that’s about. We copy that from there, paste it into there. Then it will give you this drop down here. We’re working with mywpexample.com and we’re good to go there.
That’s all that we need to do for that particular option there. This gives us some options in terms of what the items look like in terms of our page titles.
Configuration Wizard
If you look up here, at the top of my browser, you’ll see that we’ve got this Yoast SEO, and then we’ve got this arrow pointing right and then the configuration wizard. You can see that that little carrot is in there, that means that this particular character right here has been selected.
If you look over here, same thing, CloudFlare is doing something similar as well. They’ve got DNS, and then they’ve got a pipe symbol, and then they’ve got that website name, and then another pipe symbol, so on and so forth, which is equivalent to what I’ve got set right here.
Basically, what this does is you’re creating the separators between the different items that are returned in a page for how that information is displayed.
You can set it as a semi colon as a dot, as a star, as a dash, as an em dash, however you want that to be displayed. Up here in this page title is what this is going to return.
It’s really just a matter of preference, but as you can see these ones that are narrow, horizontally fit better, and you have more space of here in this tab to display additional information there. It’s a little bit easier to read instead of some of the wider ones. That’s really kind of a small thing, but it looks nice.
You want to pick one that you feel good with there. We’re going to click Next. We’re good on that.
Yoast Newsletter
Next, it’s going to ask us about signing up for a newsletter, which I’m already signed up to. I would recommend going ahead and checking that out because they’re going to send you some great information on search engine optimization as a whole.
Since I’m already signed up, I’m not going to hit that again. You just click this>to go through and sign up on that. Then there’s some additional content here some additional training. Like I said, the whole purpose of what we’re doing here is to get the basics in place so we can build on that.
I would definitely recommend going back and digging deeper into the capabilities of this plugin and looking at some of this additional training. They have some additional products that are really good that you could purchase as well.
There is a professional premium version of the Yoast SEO plugin that you may want to look at, at some point in the future as well. So far as we’re concerned, we’re good with this for now. We’re just going to go ahead and hit next. That’s it. We are good to go.
We’re going to go ahead and close out of this. We’ll go back to the dashboard we’ve walked through previously. We don’t have any configuration errors or any problems at this point. The basics for this Yoast SEO plugin are set up and ready to go. We made that connection between Google Search Console and in our website, so that part is taken care of so we’re good to go there.
On Page SEO With Yoast SEO
The only other thing that I want to show you here is what happens now on a post by post basis. We’ll go back to our example posts that we’re working with. Now that we’ve got this plugin activated, you’re going to get some additional options here on posts and pages for things that you will be able to configure for your website.
As you can see here, the title of this page is going to look like, “Hello, world!” and then it’s got the pipe symbol that I selected, and then it’s got my site name here.
Then I have the ability here and this is something that you’ll want to pay attention to on a post by post basis is to make sure that you’ve got a unique description associated with your post that contains your seed keyword or your primary keyword for that particular post.
You want to keep this description short and succinct round to 150 or so characters, because this is what’s going to be displayed in your search results when you’re ranking for these particular things.
You can see it says, “Please provide a meta description by editing the snippet below”, so on and so forth. Here’s where we would incorporate that so it could be something like, “Here is my first post on my new self hosted WordPress site.”
Again, as you can see, this is what’s going to be the description here that is associated with your link in your search results. You want to make sure that you’ve got that part taken care of, and then you can go through some of these additional factors like readability, those kinds of things.
I wouldn’t get too in the weeds on this, but you want to learn what these things are so you can build good habits into your content creation schedule, so that you can make sure that you’re working on getting your site and your article or your post optimized for search engines.
That’s it for this one. Make sure you dig deeper into this one so that you see all of the features and options you have available to you but this is going to get you squared away with getting the basics in place for what you want to do here with this Yoast SEO plugin.