No website is complete without images, photos and other media-related objects and the good news is that WordPress makes working with media on your website very easy and intuitive. This lesson covers how to work with the WordPress media center.
Get the full FREE WordPress training course sent straight to your inbox: https://rbrr.co/free-wp-training-yt
In the sixth part of my in-depth WordPress training, I’m covering everything you need to know about how to use the WordPress Media Library.
How To Use The WordPress Media Library
Welcome back to the Mastering Essentials of WordPress series where we’re walking through the WordPress dashboard and showing you all of the different features and functions that you’ve got available to you in your new self-hosted WordPress site. We’re doing this so that you’ve got all the tools that you need, and you are 100% up to speed on everything you need to know to start cranking out your content on your new self hosted WordPress site.
Getting to the Know the WordPress Media Library
This video we’re going to cover the media library. Let’s go ahead and jump into this. Over here in your dashboard, once again you can see over here on the sidebar, you’ve got several different options.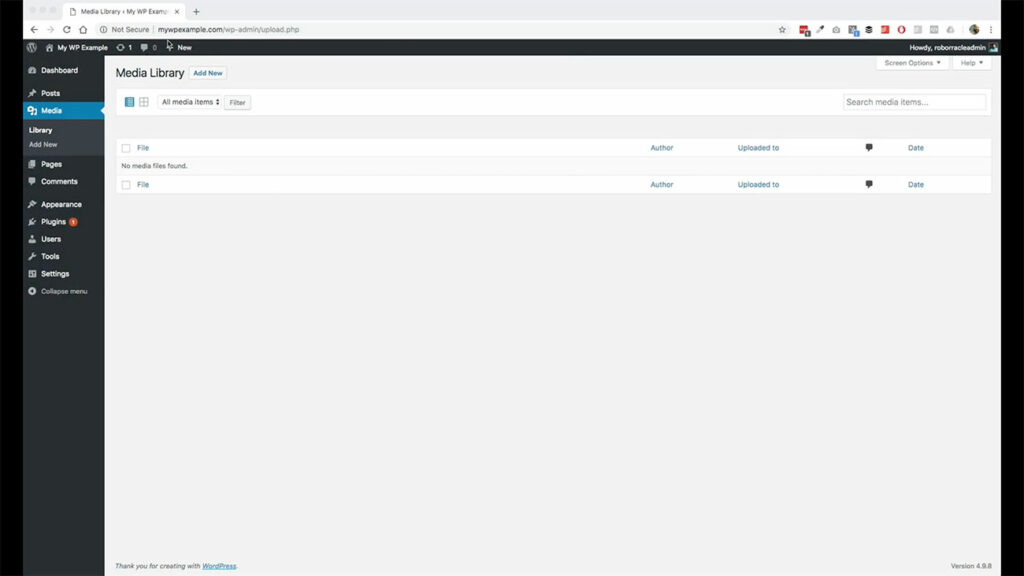
This time we are now in the media section. We’re actually going to be looking at the stuff associated with posts and pages in this one, as well, so to show you how media works and interacts with both of those things there. What we’re going to do here is upload some images and some materials so that you have some stuff to work with, from a visual perspective when it comes to your posts and pages in your WordPress site.
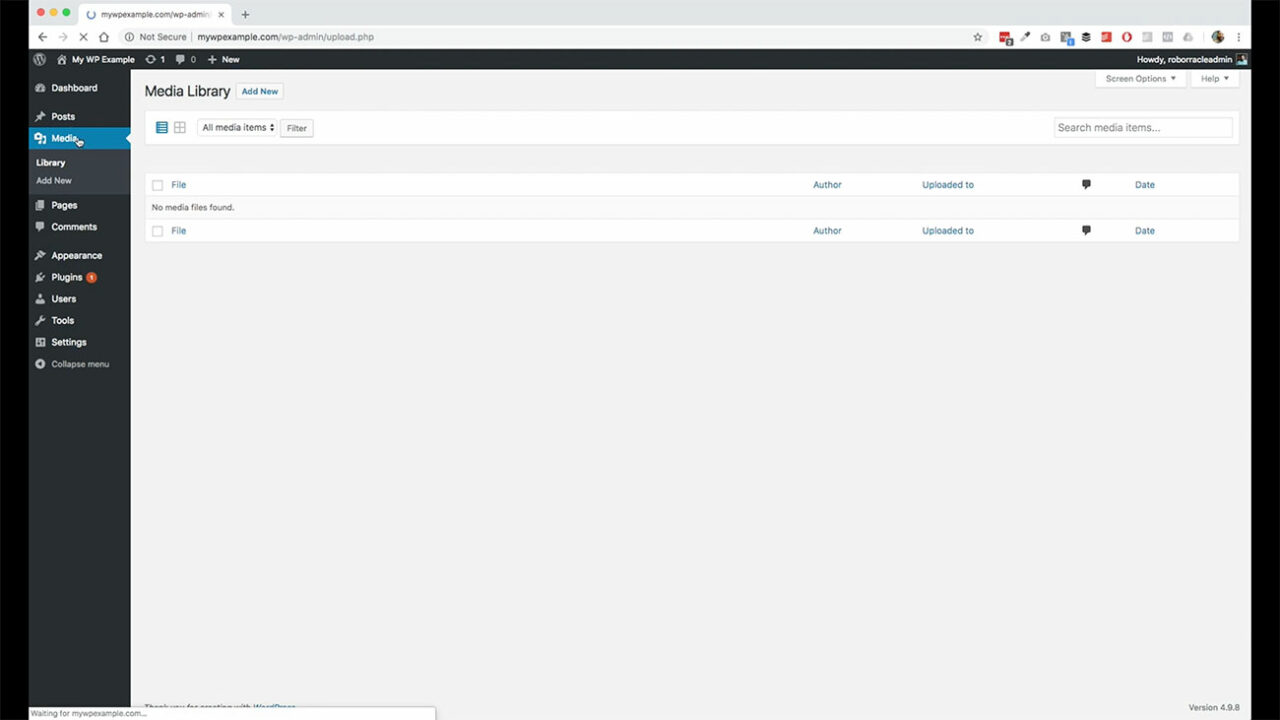 All you need to do is go over here and click on Media and that will bring you through here to this page. We’re going to go ahead and just click Add New. One of the cool things about WordPress among many cool things that WordPress has is this very easy to use drag and drop feature. You can drag stuff right off your desktop and drop them right into your WordPress dashboard right here.
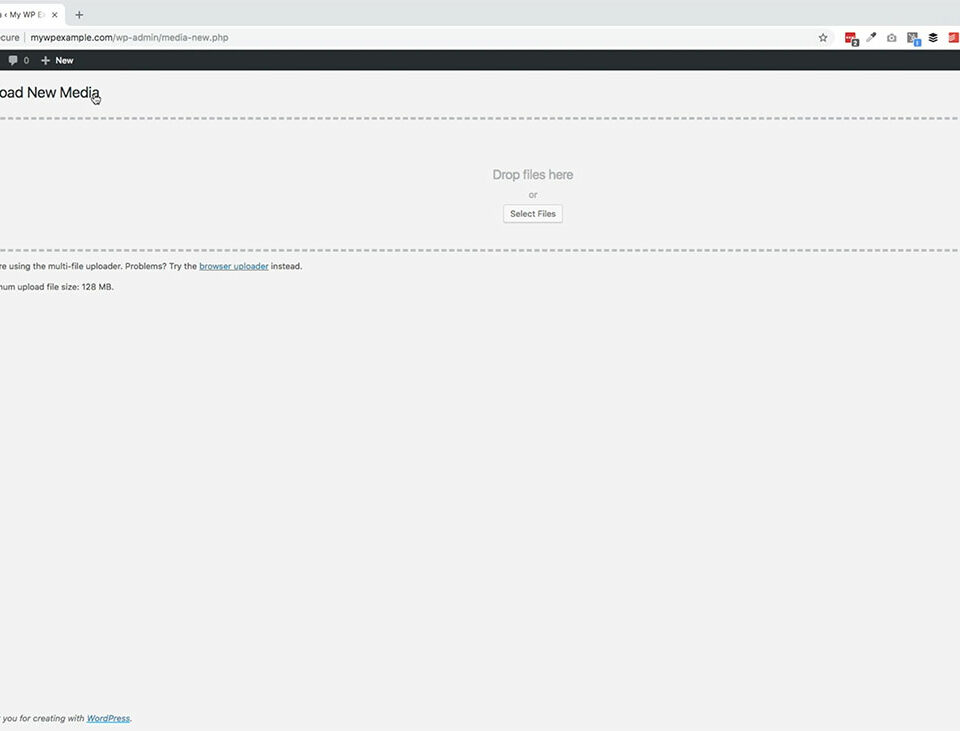
It’s really easy to use. We’re just going to go ahead and drag a couple images since we’re using rock and roll is our theme. We’re going to go ahead and I’m going to drag one off of my desktop here and drop it into the media uploader here. That’s really all there is to it.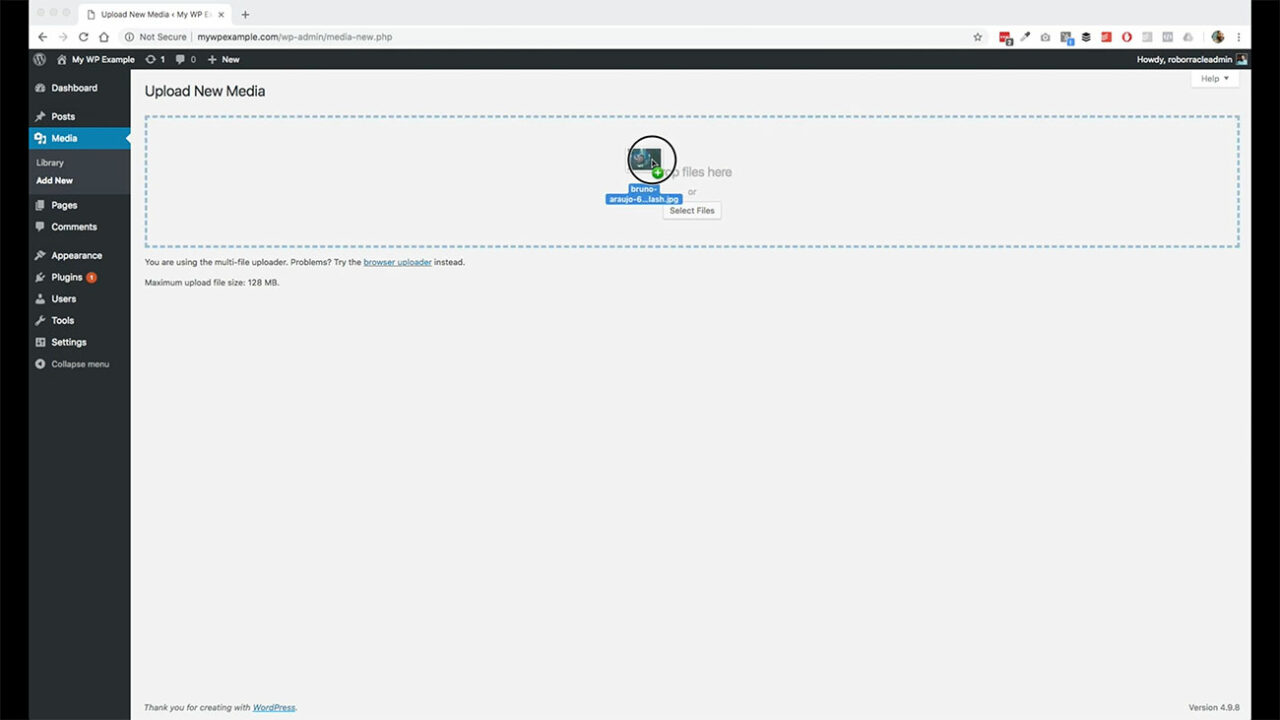
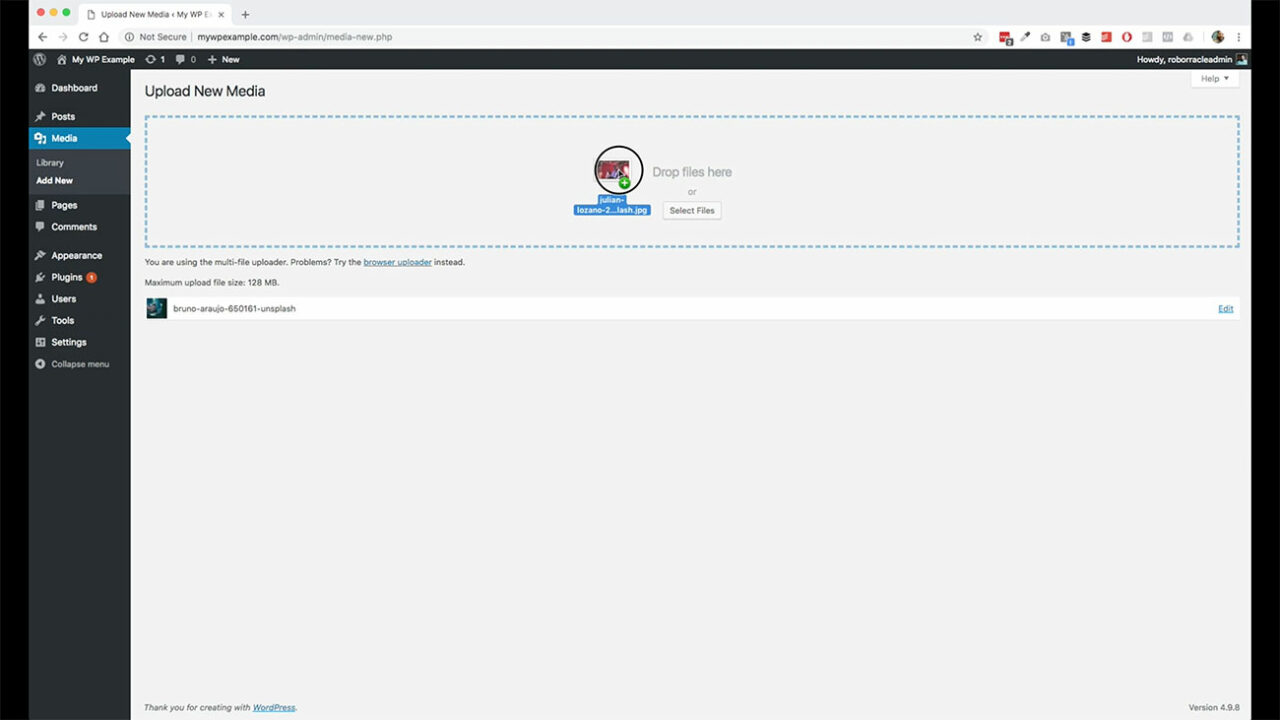 As you can see it, it gives you this green plus sign. It shows you that everything is good to go. All you have to do is drop it to add it. Let go of the click, and it automatically starts to upload that image.
Linking a document in your Post
It works not only for images, but it also works for like documents. For instance, you want to link to a document or a PDF document in your post or something like that.
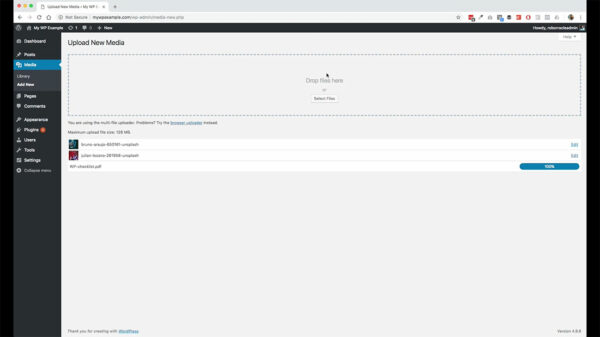 Here is my WordPress startup checklist. I’m just bringing that in here and dropping that in and it does the same thing as well. In addition to that, you don’t have to do it one by one. You can do multiple files here at the same time. Here are four different images and as you can see, it just cues them all up so that you have them available to you.
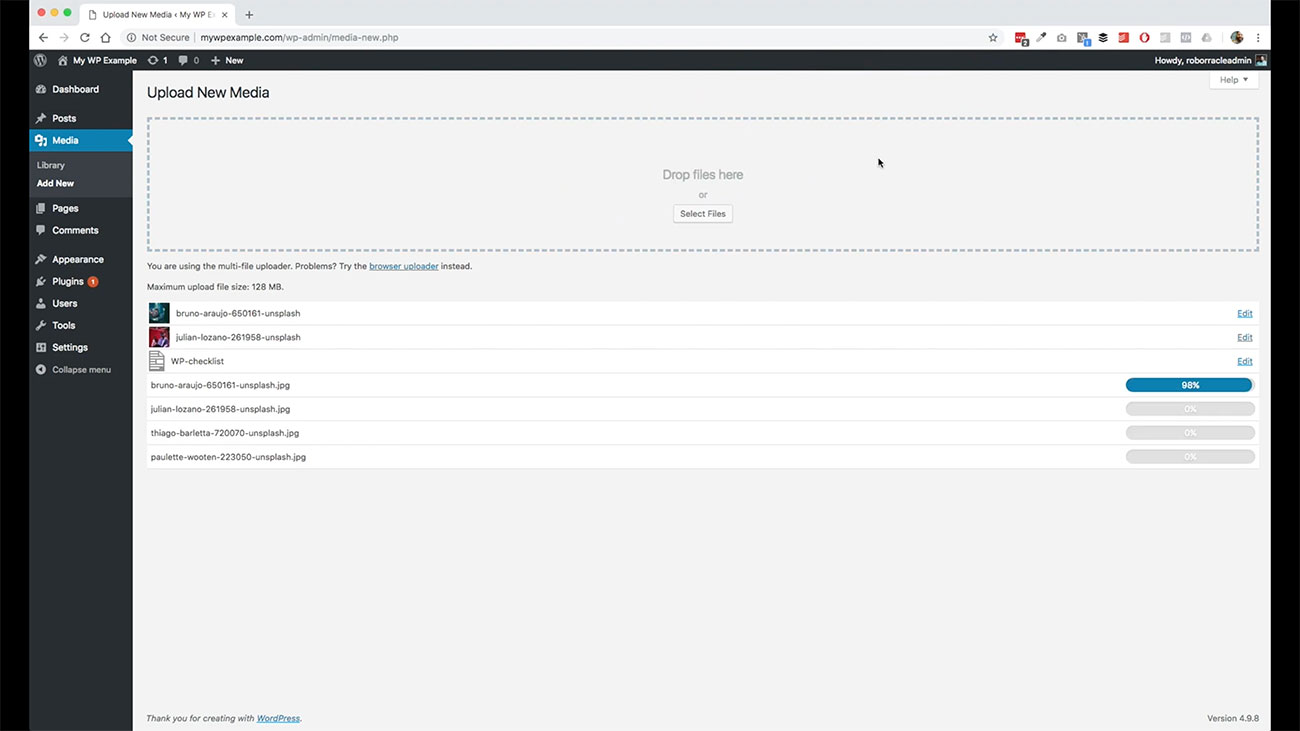
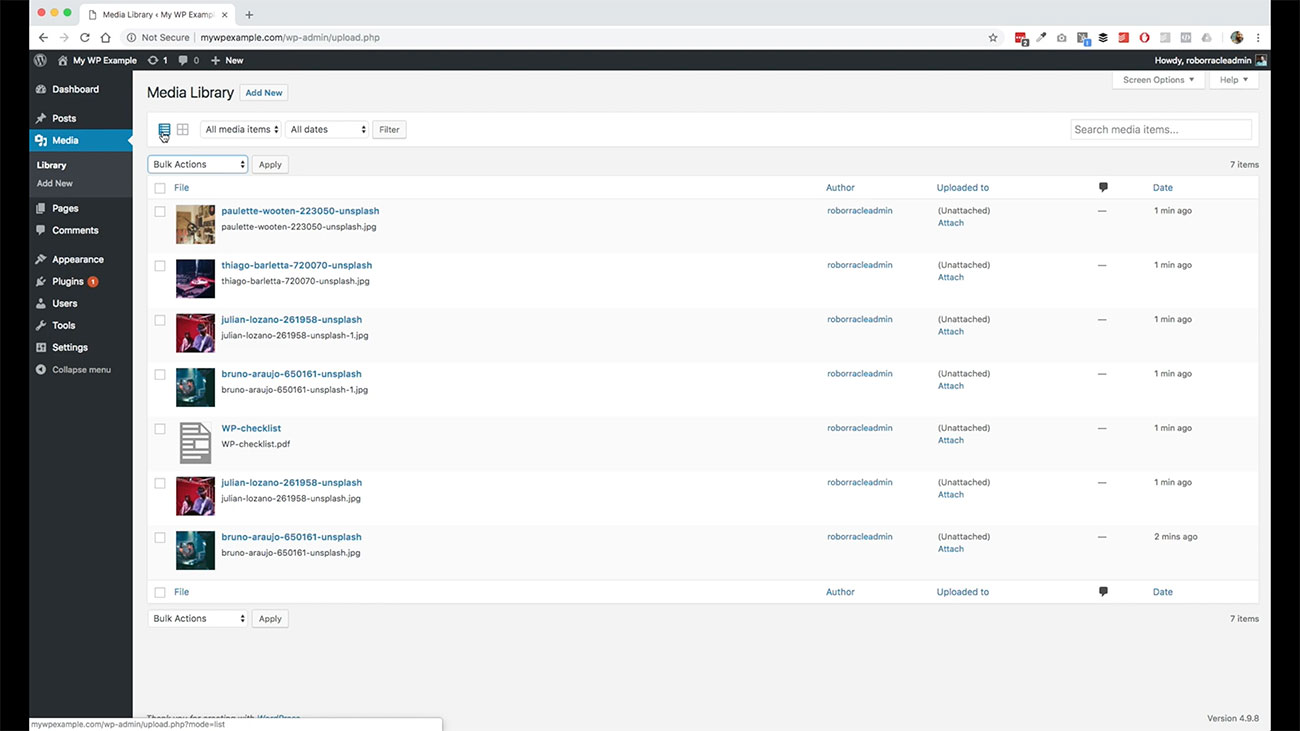
Once these finished uploading, we’ll go back to the media library index page and I’ll show you how each of these various things work and how you can work with media throughout your site. We’ve got all those uploaded now. We go back over here, and click on the library link over here.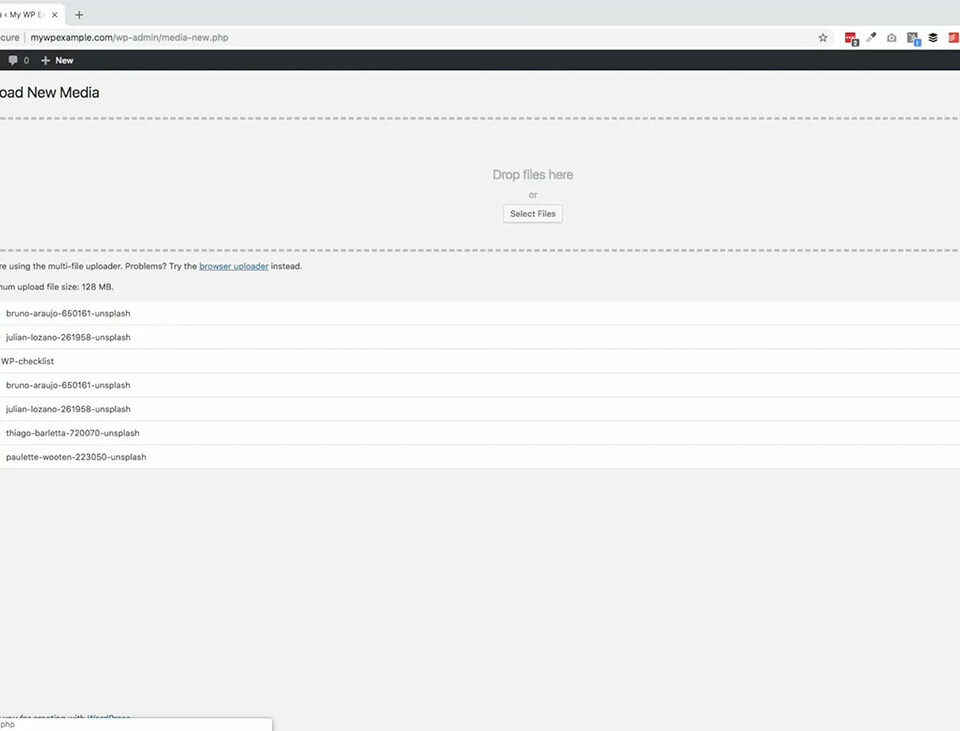
That will show us what we’ve got. Again, this looks similar to what we’ve had for posting pages on our index page. It shows us what we’ve got in here and then it gives us options to edit and to work with each one of them individually.
We can perform bulk actions on these. We can search pretty standard fare for what we’ve got for WordPress as a whole. Then you’ve got your filters up here that you can work with as well depending on how you want to filter these things.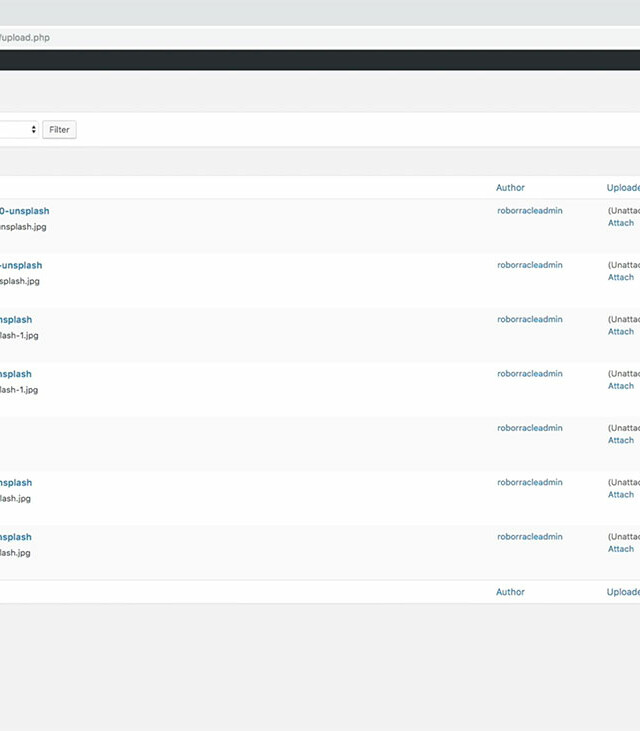
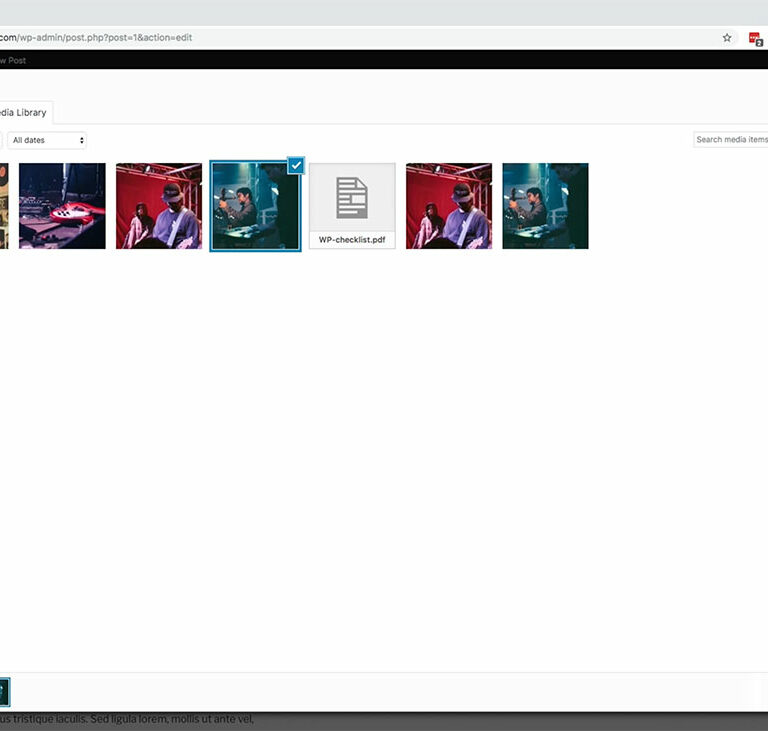
 One thing that I do want to call attention to is these two little icons right here. This just means that we’ve got them listed out in a list format this way, if we switch to this one here, it will show them as thumbnails. It’s just a matter of preference.
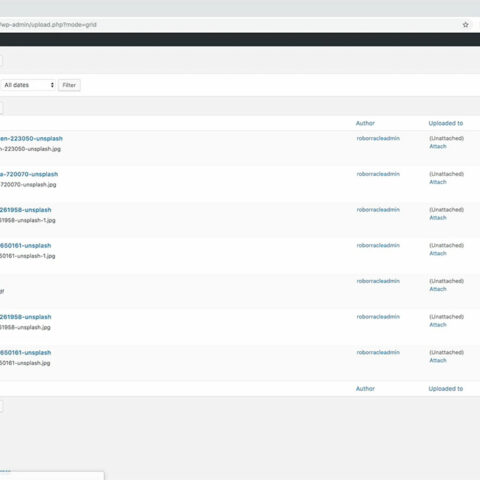
Do you want to see large thumbnails when you’re working with your images? Or would you rather have them listed out with the details? It doesn’t really matter.
There’s no right or wrong way to do this.
It’s just how you want to be able to work with these images in your website. With the media library, you can do this with all kinds of different files. 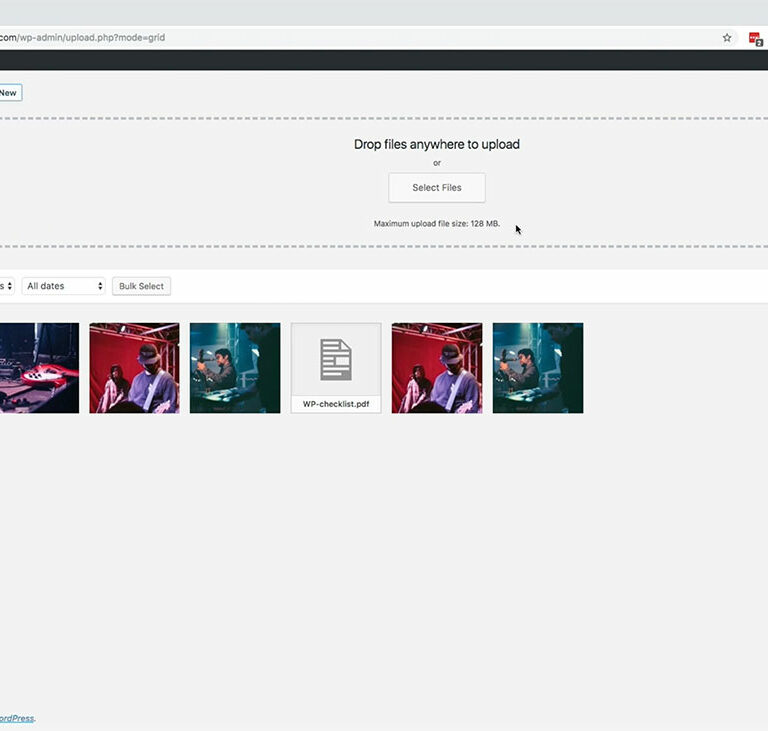 Here when you click on Add New, there will be some limitations depending on your web host for the size of the file that you can use to upload.
Image files usually get pretty big pretty quickly depending on the resolution of those files. If you run into an issue with that, you can always reduce the file size before you upload them. 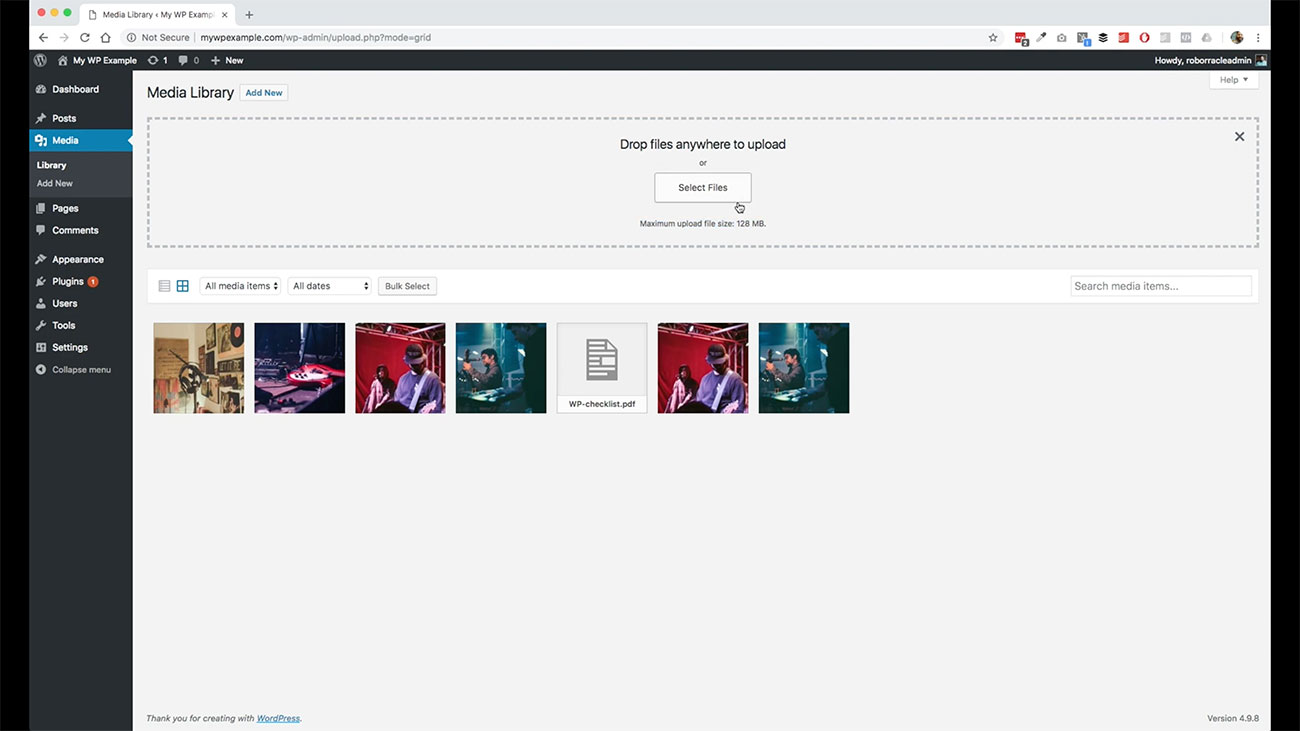 One more thing while we’re in this screen, so you don’t for whatever reason want to drag and drop, you can click this Select Files button here and it will go into your finder on a Mac or your Windows so that you can go through your file browser and find different images that you want to add an upload those kinds of things there.
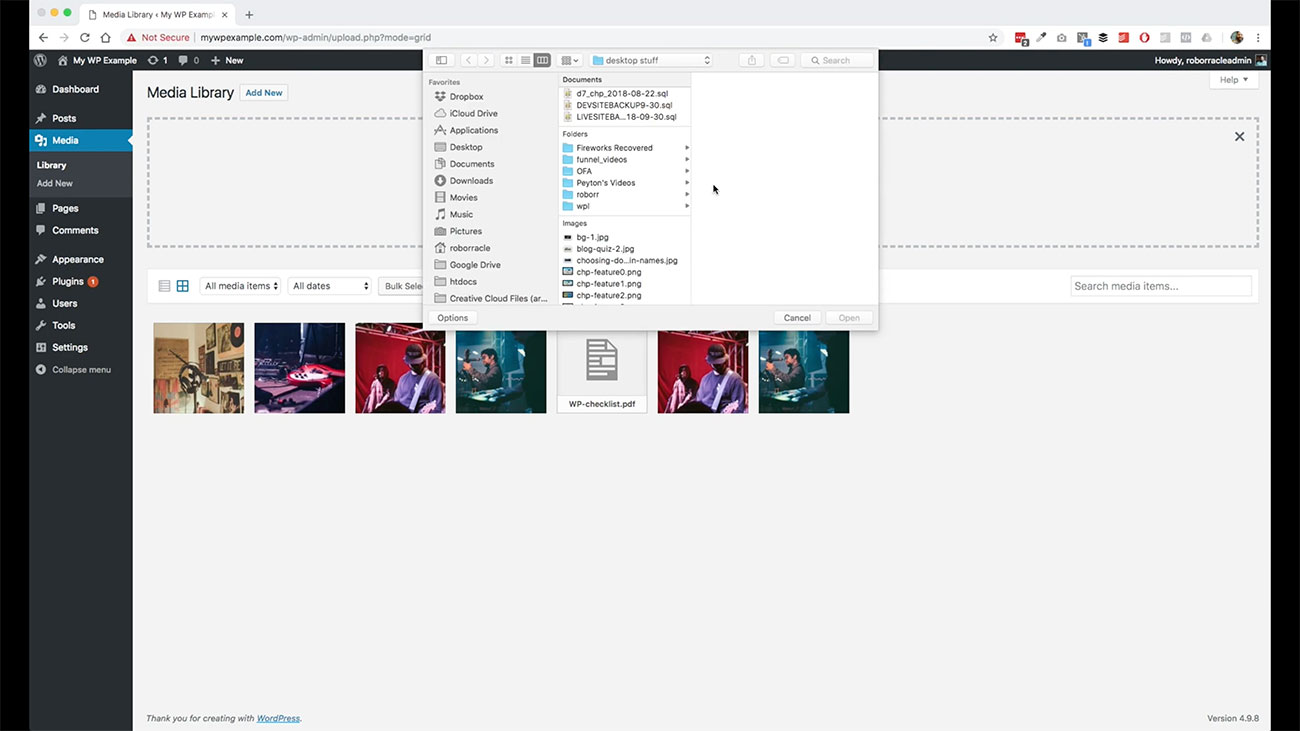
You can do it either way. You can drag and drop or select files to upload. It’s really simple, really easy to do.
 You also have over here this shortcut in the menu where you can go straight from your sidebar to this add new option here if you want to do it through there. That’s the media library.
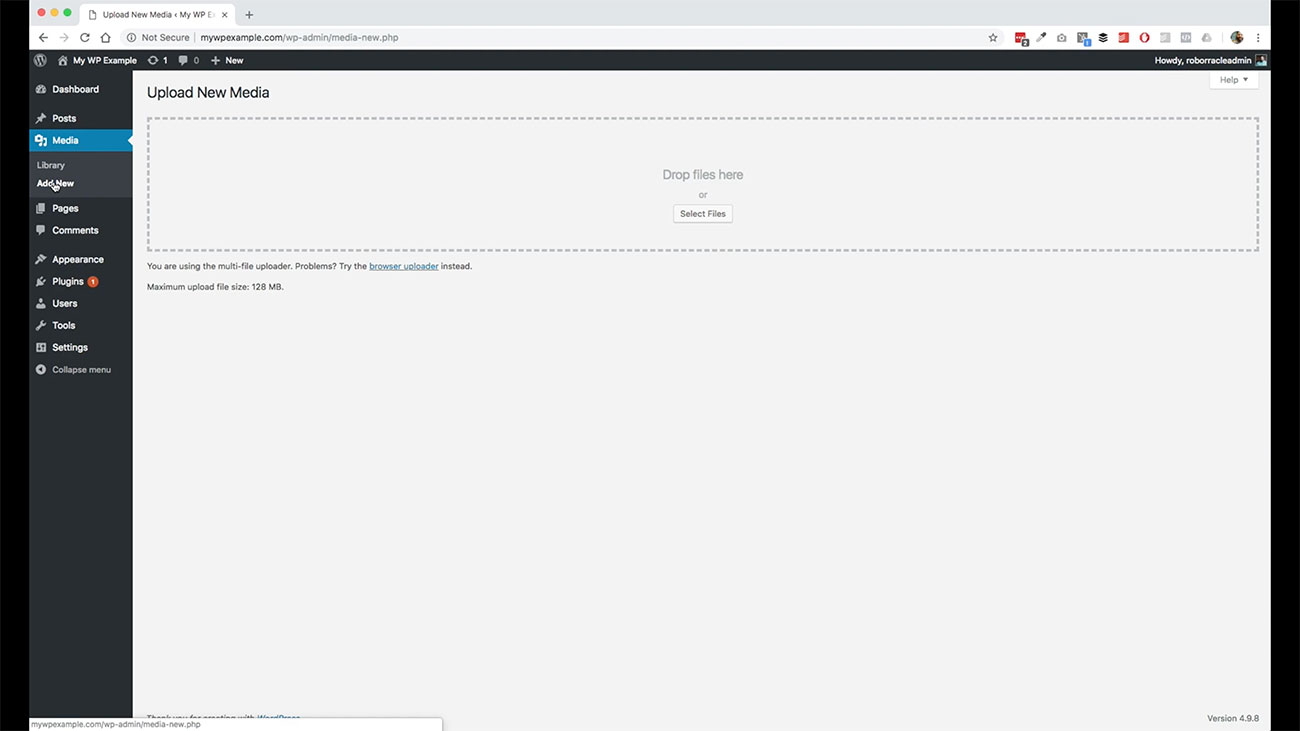
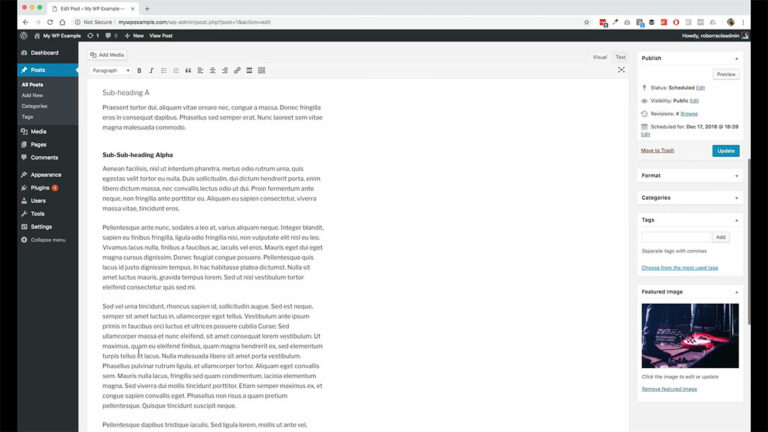
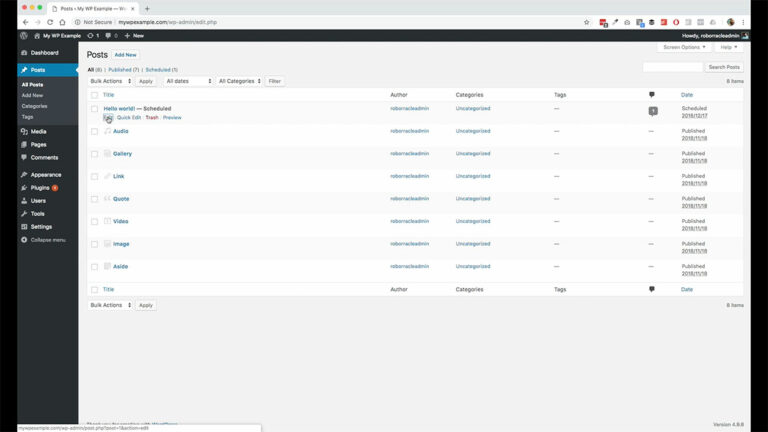 We’re going to go back over here into our post and work with some media over here. We’re going to go back in here and edit this.
Remember, we didn’t really spend a lot of time getting into too much detail about featured images and adding media here. That’s because I wanted to wait till we got into this media section to do this.
Setting Up Your Featured Image
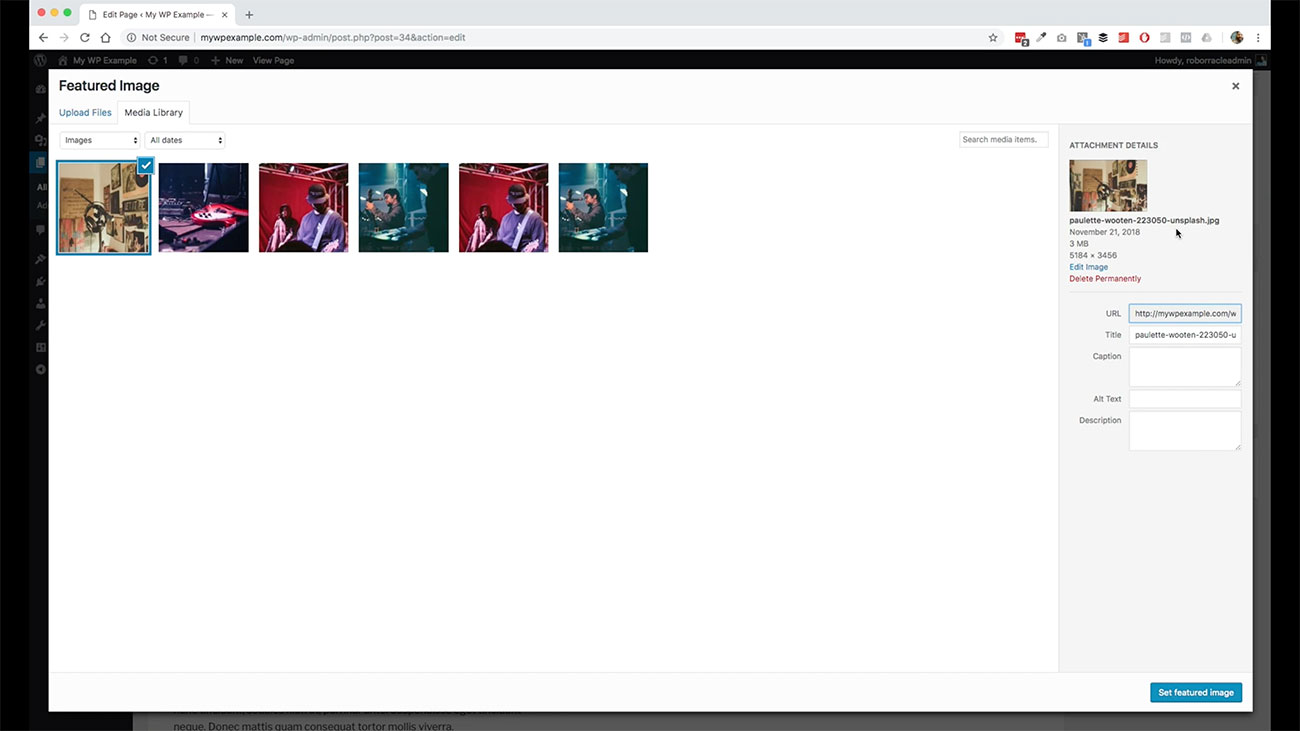
Let’s go ahead and do a couple different things here. We’re going to go ahead and set our featured image. We’re going to go over here.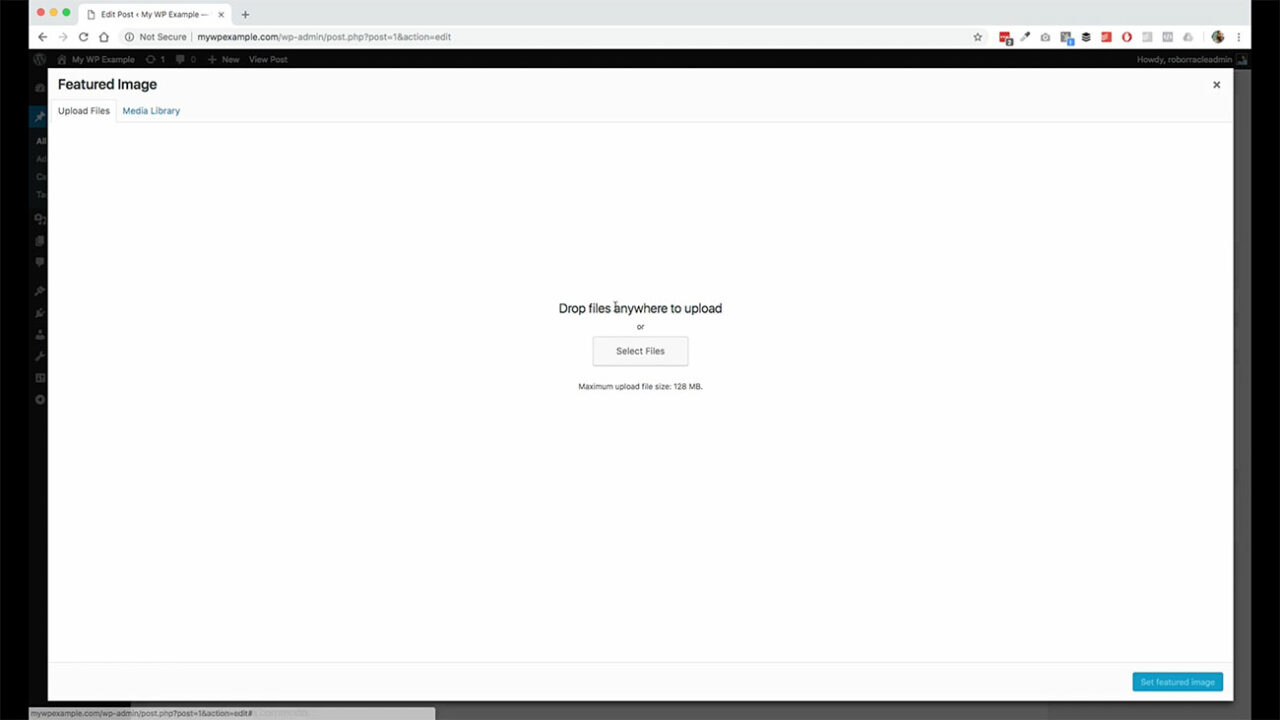
Again, we’ve got the option if we want to upload an individual image for our posts, we can do that right here. Or we can go into our media library and find an image here that we want to use.
We’re just going to go ahead and grab this one of this guitar and set this as our featured image. Then you can see now the featured image is set and then once again depending on what theme that you’re using. It will affect how the image is displayed on the front-end of the website.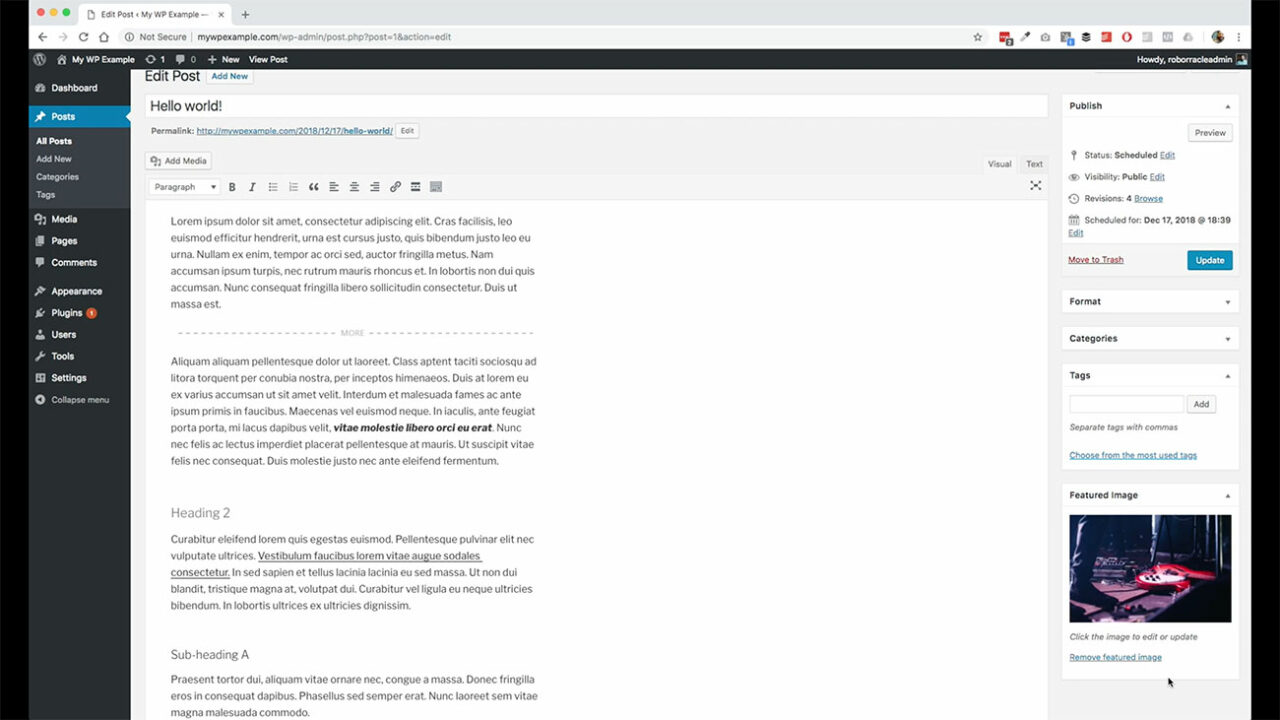
Your theme dictates how this featured image is used. What we’re going to do now though, is go ahead and Add Media from this section.
If you remember, we talked a little bit about adding an inline image. An inline image just means that it’s something that’s added to the body of your posts.
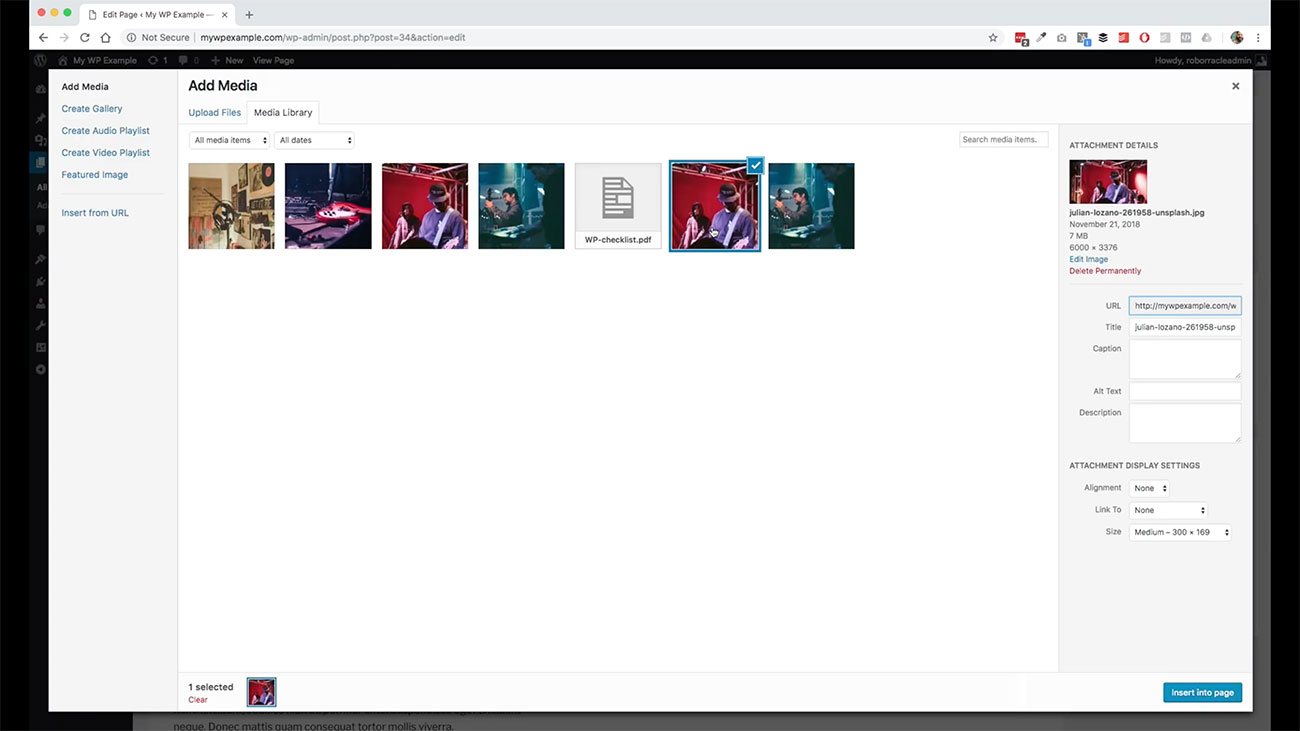
 Let’s pick a subsection here. We’re going to come down here to this subsection, and we’re going to click Add Media. This time, we are going to select this guy right here.
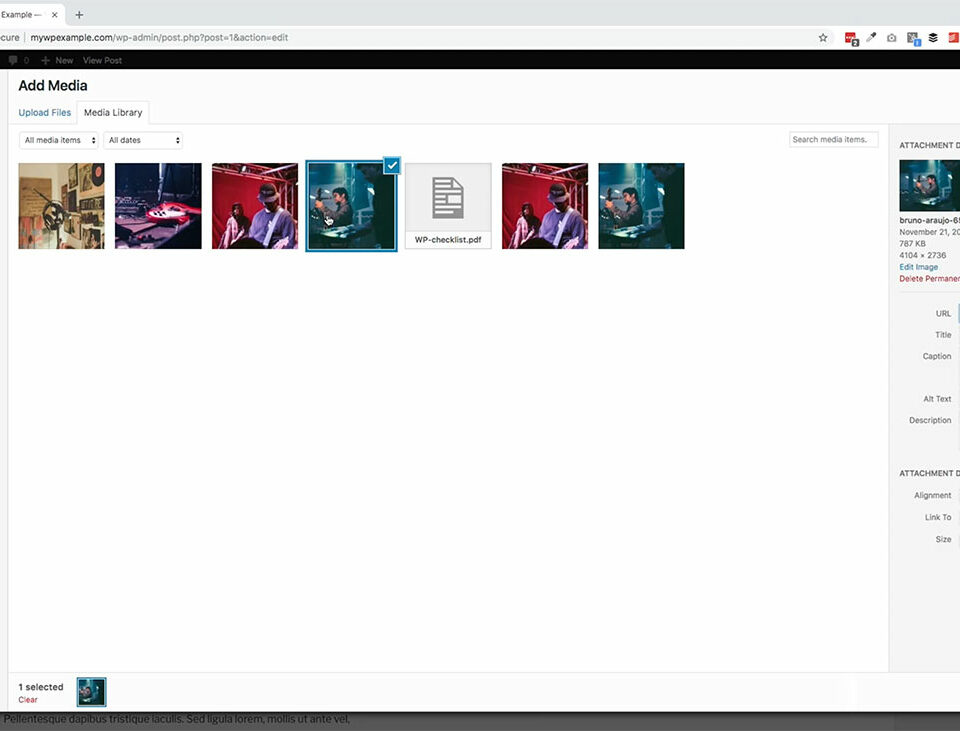
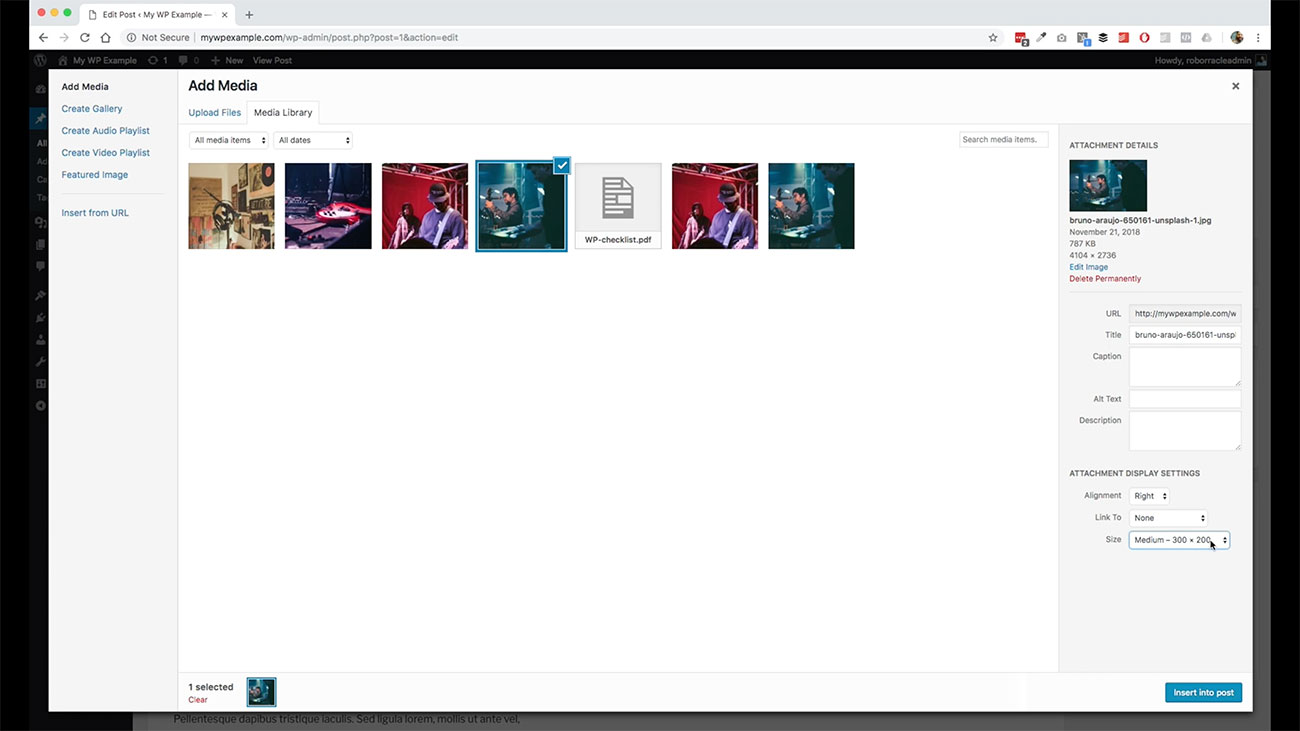
 You have some options that you see available to you over here on the right side once you’ve selected that image.
 Over here, you got some of the information about your file that tells you how big it is, what the file sizes so on and so forth. What the direct URL path to that image.
 Then some of the things here that you’re going to probably want to use when you’re creating your content are: the title, the caption, the all text and the description. This is really a matter of preference for how you want to use this. Your title is a description of what the image title is, right now is just bringing in the title of the image.
You could make it a little bit cleaner. You could say guitarist at bar or something like that. Then you could include a caption of whatever that was, whatever the event was, as an example.
This all text field is used by accessibility devices to describe to people who are using assistive technologies to browse a website, what is actually going on in the image. You can be more descriptive here with what’s going on in this all text and then obviously you can use a description as well.  These things give you the ability to add some text formatting to the image that makes it easier for users to consume on the front-end of your website.
Attaching an Inline Image
Now, when you are attaching an image inline here, you have the ability in WordPress to choose your alignment. We’re going to go ahead and set right alignment on that. We’re not going to link it to anything.
For instance, if you wanted to link it to an external source, or if you wanted to link it to another page, or if you wanted to link it to the media file, the media file would link it over to this particular link here if you wanted to, but by default, WordPress now sets this to none.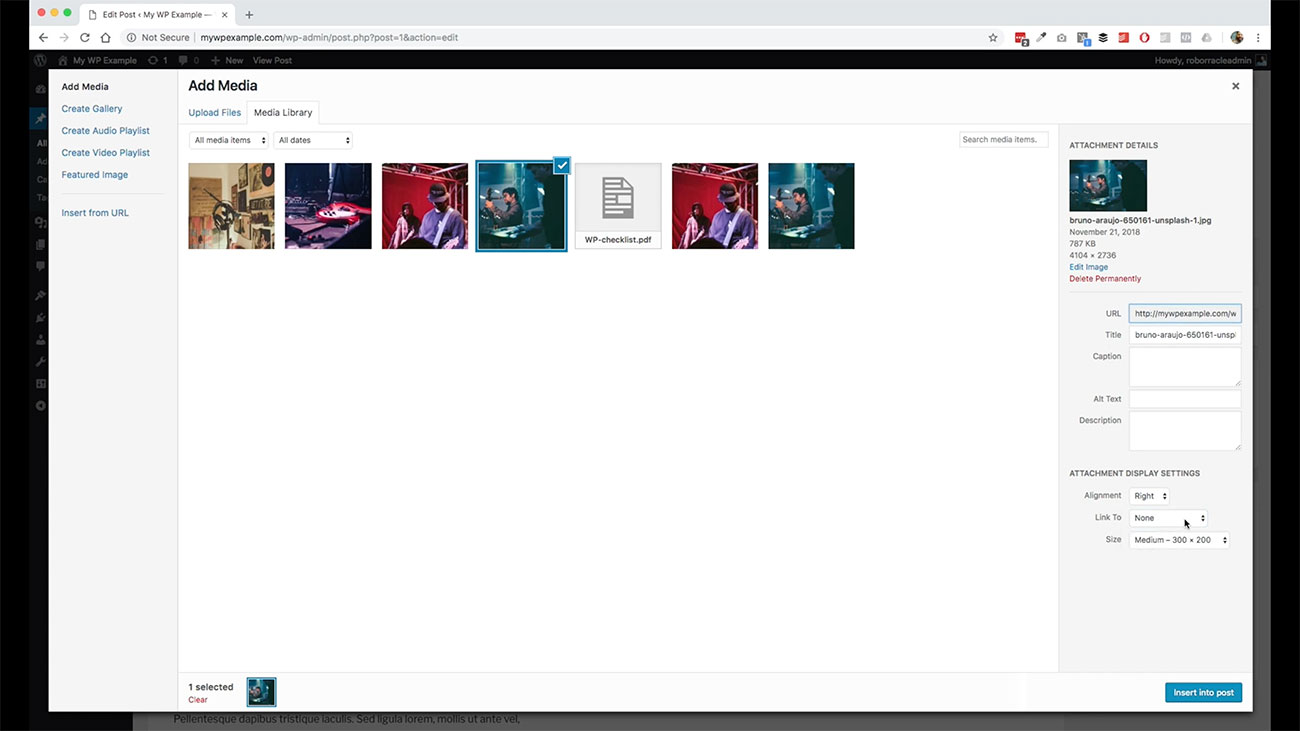
Most of the time, you don’t really need to link to this image. You have nothing to worry about there unless you have something very specific in mind for how you want to link this image. Then you also have the ability which is the great thing to select the size.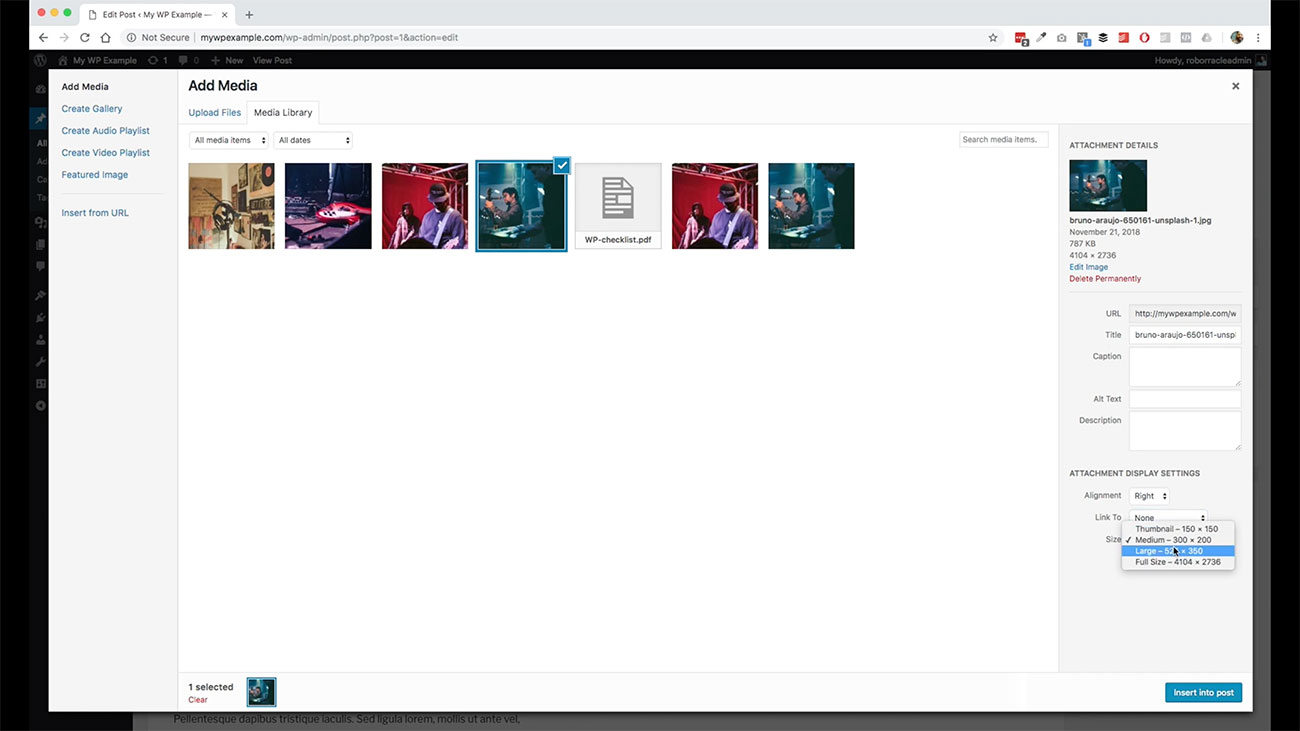
Our full size on this image is 4104 by 2736 pixels. It’s really, really big. We don’t want anything near that big.
 We’re going to go ahead and take this default option of 300 by 200. WordPress actually does this for you so when you upload the image, it will crop and resize these images down to something that is more reasonable and give you options for what you want to or what you have available to you.
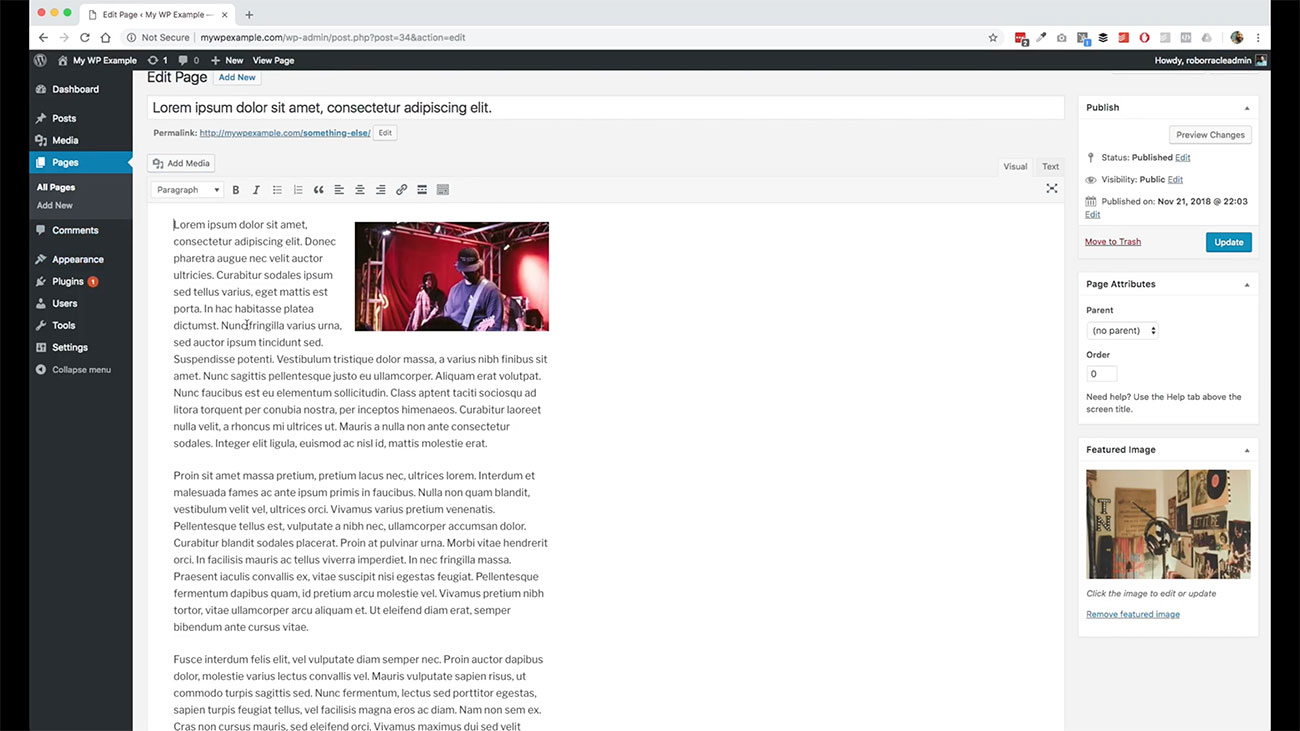
If you want to do something big, you want to do something medium, something small. We’re going to leave it like that for now. 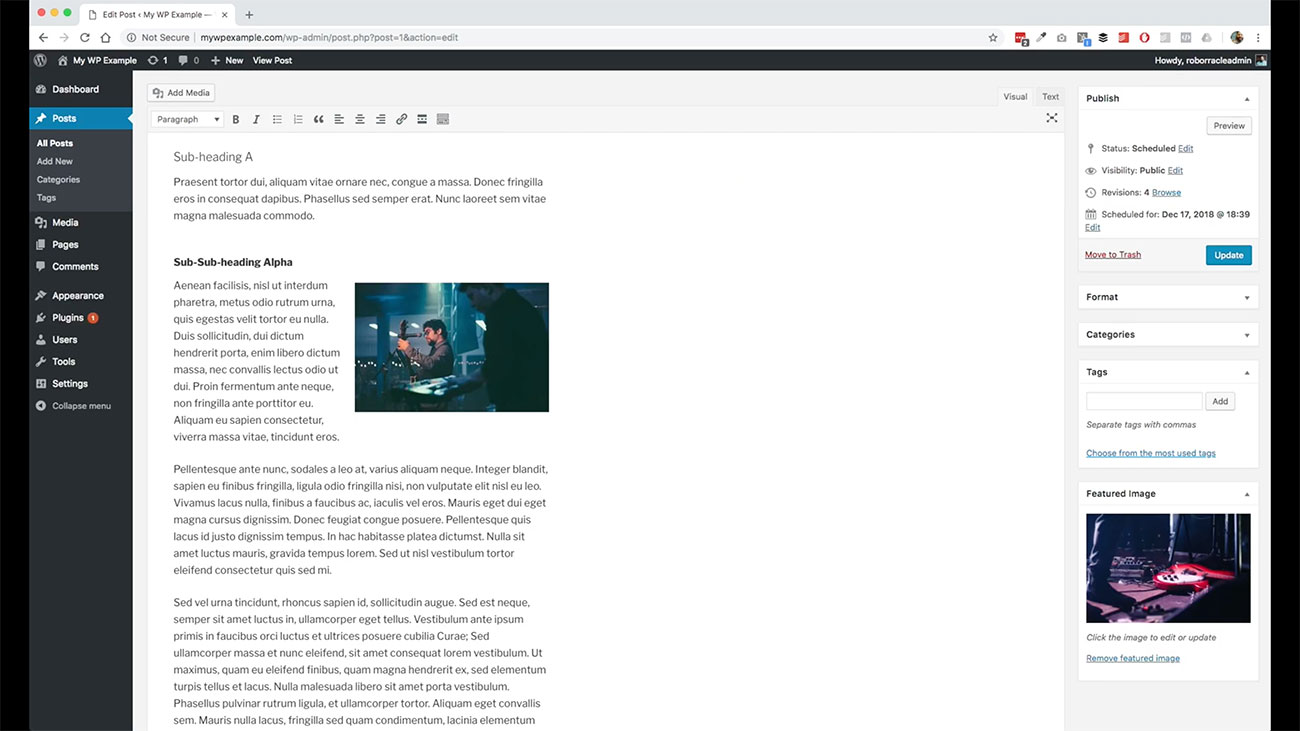 Go ahead and insert it into our post so you can see that the image is floated over to the right, the text wraps around here to the left.
We’re going to leave this as it is right now. Go ahead and click Update, and then we’re going to go take a look at our post.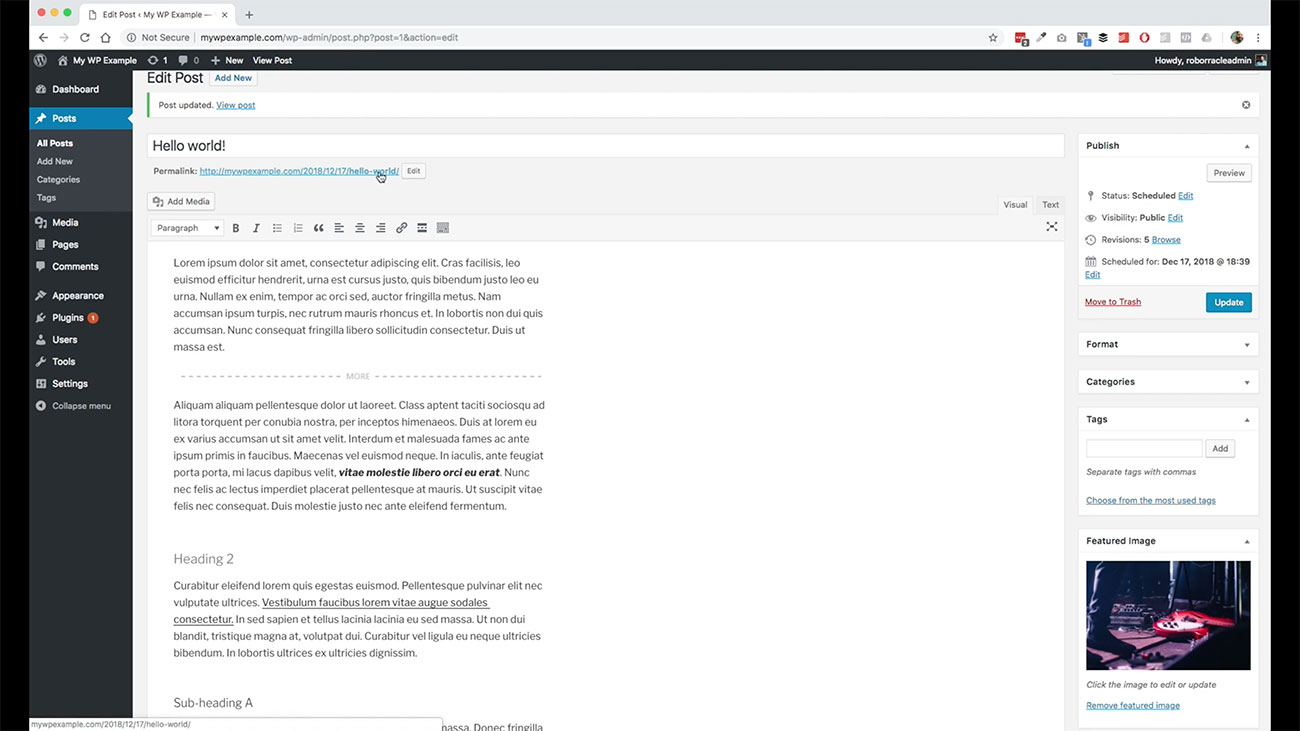
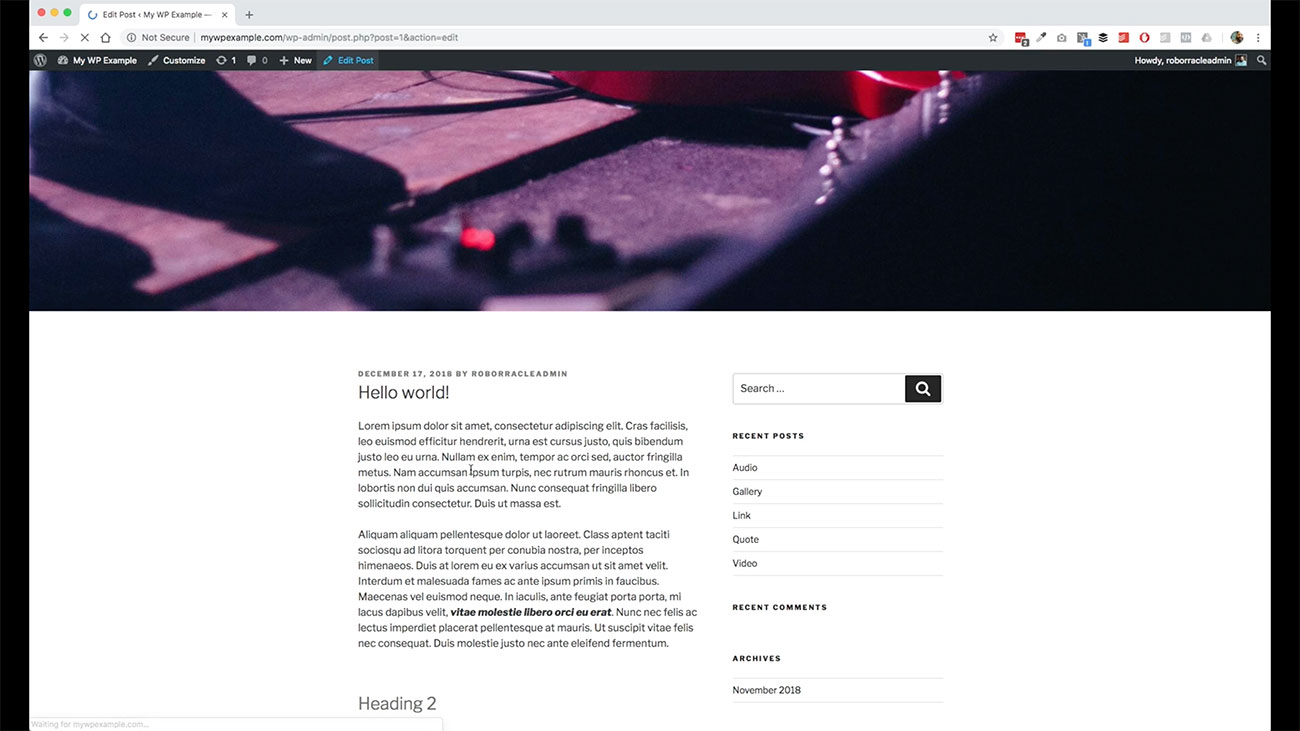
Here is our post and what this particular one is doing, this default theme is taking the featured image that we set and putting it here as the top of the page. 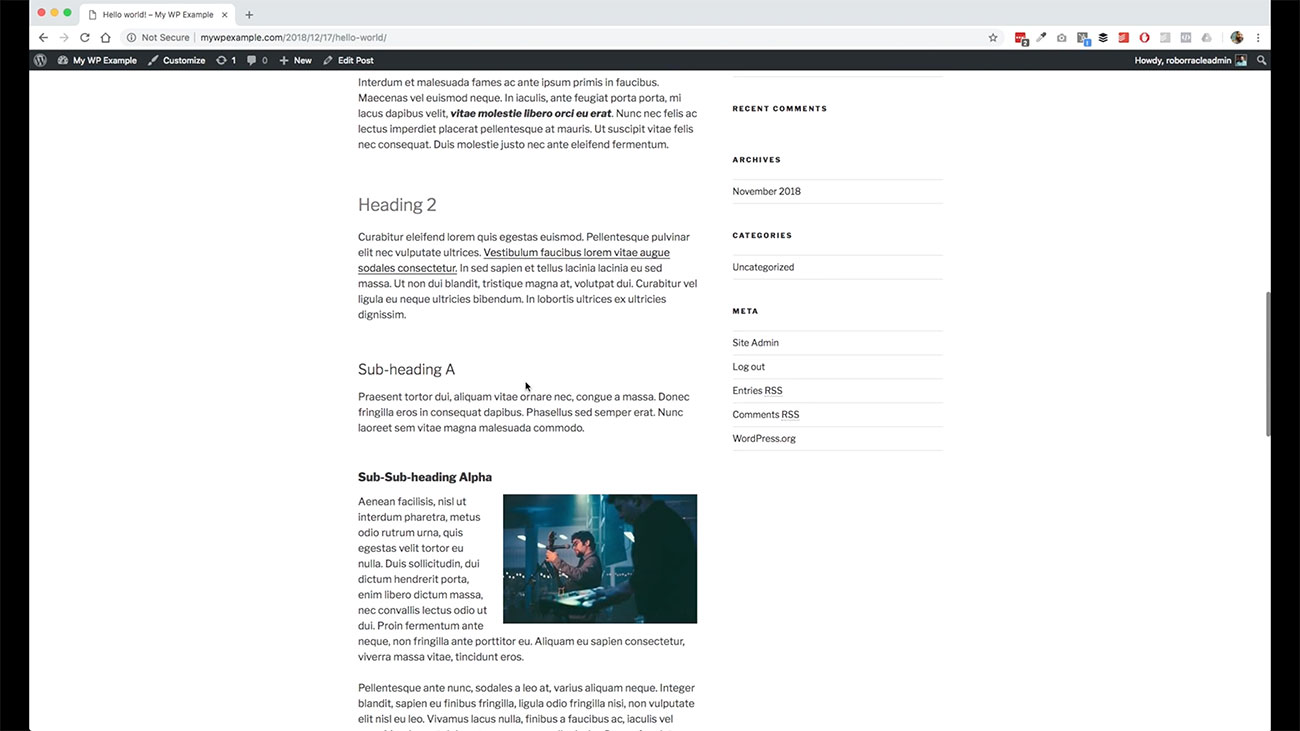 Then here is our inline images, we come down to this section. That’s a little bit about how these things work.
Again, featured image is dependent on how your theme is using that particular field. Some themes don’t use it. You may see featured image as an option in your WordPress editor for your posts, but it may not even be output into the front-end to your of your theme side. Just keep that in mind as you’re working with this.
Editing your Post
 Let’s go back over here through to edit posts. I want to show you something else. When you’re working with this, you have the ability to work with it a little bit more when it’s in line. You can once again work with the alignment however you want to but this one here, you click Edit, and then you’ve got one more option that has shown up here which is the custom size.
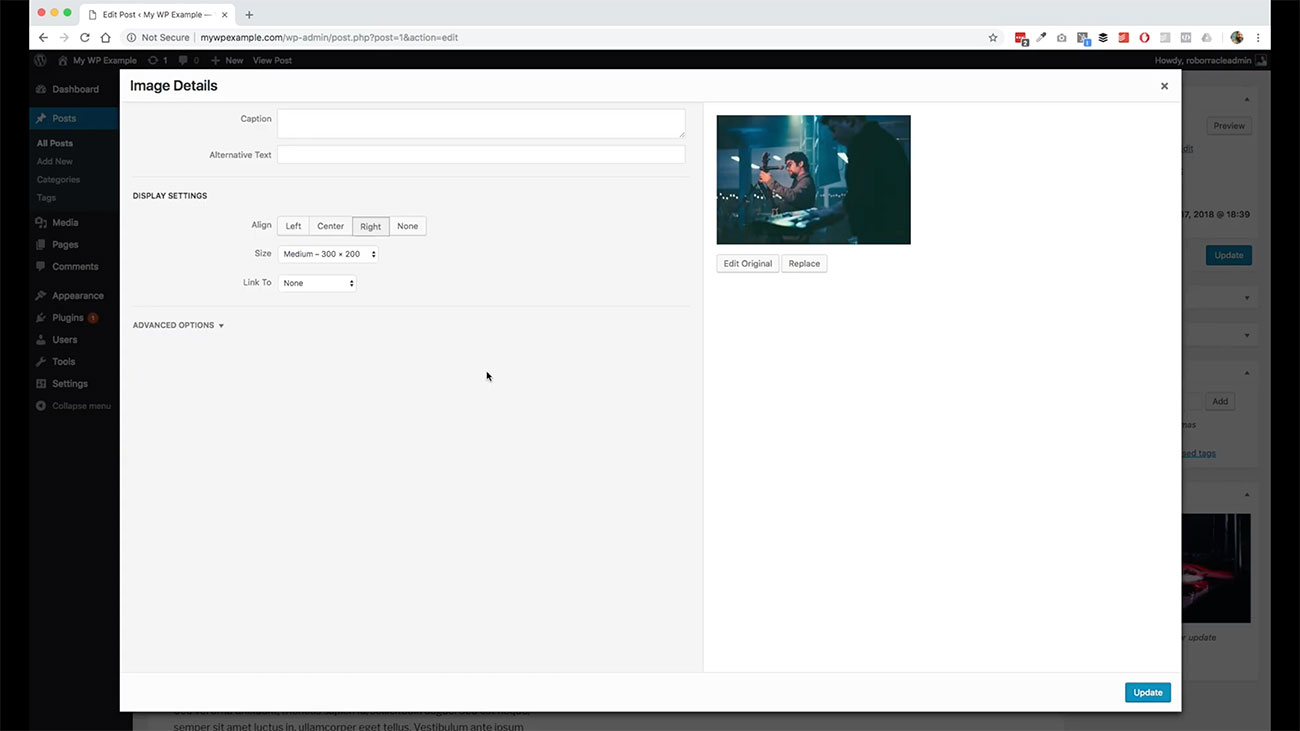
Adjusting the Size
Maybe you wanted to do something that’s just a little bit bigger, or just a little bit smaller than whatever that size is, you can set these fields to whatever you want. Let’s go ahead and change this to 400. You’ll notice that WordPress maintains for you the aspect ratio so it doesn’t get distorted.
Then again, you can attach this or link this to something else through this particular screen as well. Then just hit Update, it will update that thing for you and then hit Update for your post and you’re done. 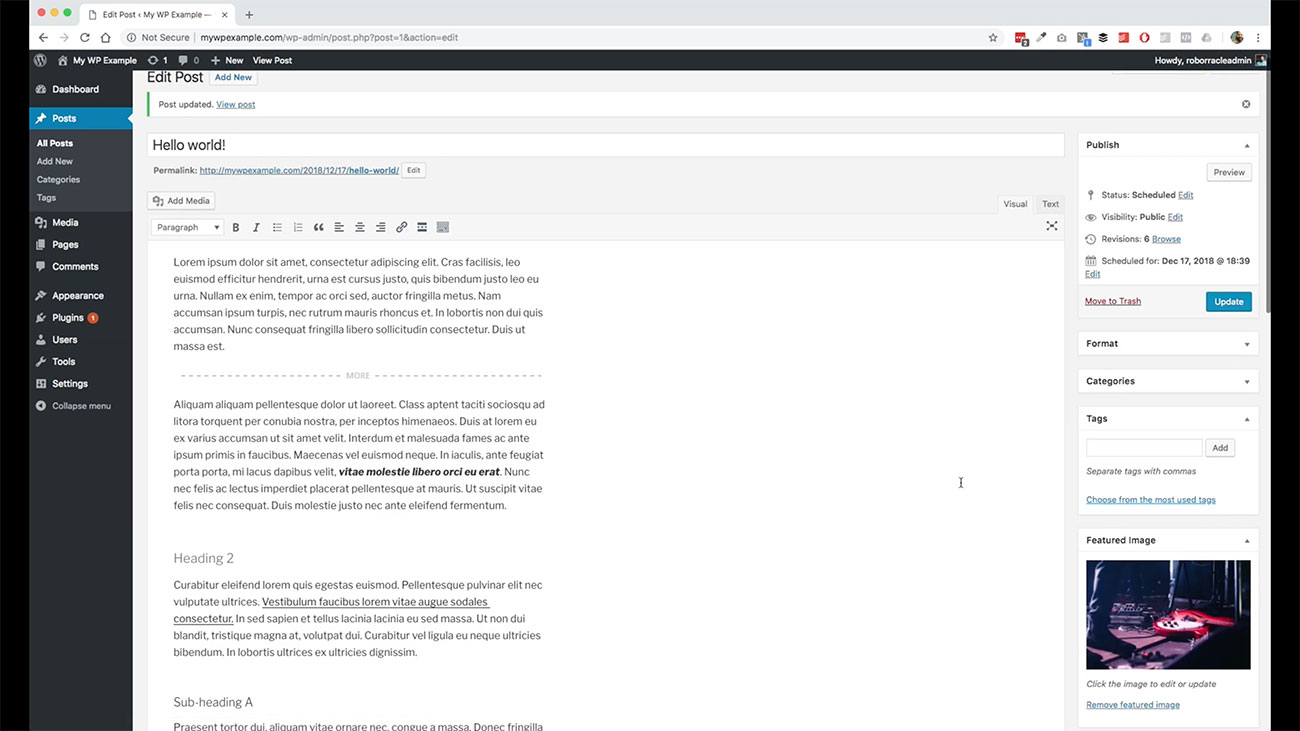 Use images in your posts. Use them in line. People love images, users love to see images. Make sure that you’ve got good image sources to use. This is really the nuts and bolts of how the media library works. It’s really super simple to work with, and will go a long way to making your posts and your pages on your site look awesome.
 Let’s go check over on the page real quick and do the same thing. For this particular page, this is our test page. We’re going to go back over to our media library.
 We’ll grab this image. Leave it as it is as our featured image. Now we’ve got this one as our featured image in this the same process, add media.
 We will grab this guy for our in line posts. There’s nothing that we’re going to change. We’ll set the alignment to write once again.
 Go ahead and insert that in. This time, we’re right here at the beginning of the page. Then now that we’re done, we’re going to go ahead and hit Update and we’re good.
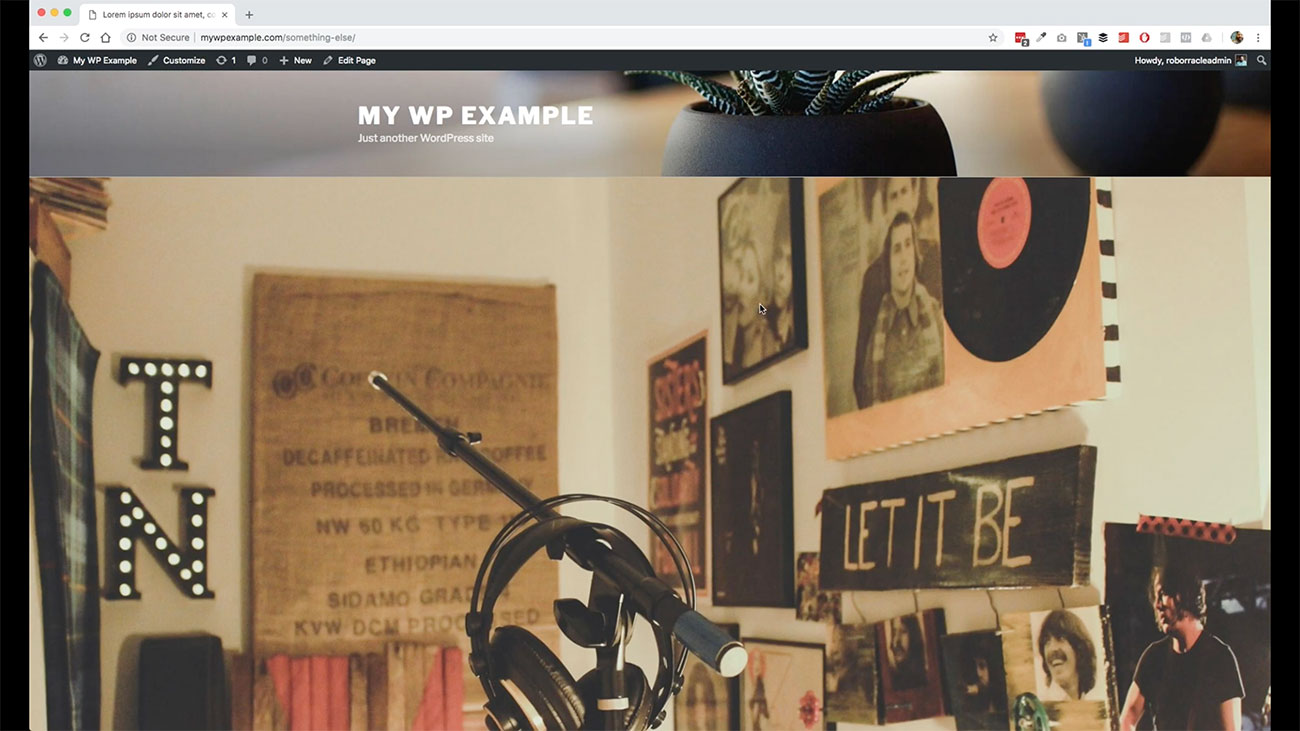 Here is the page. Here, there’s our featured image. Here is our in line post on this particular page with this particular theme. That’s how it works. It’s really super simple and easy to work with and a great way to enhance and give some visual appeal to your blog.
So that’s it! That’s the basics for what you need to know for how to use the WordPress Media Library. Got questions? Leave a comment below, or on the video on the YouTube page.