Today, we’re going to talk about how to set up and configure your Mailchimp plugin in your new self-hosted WordPress site.
The idea goes a little like this:
You want to start building your email list.
It’s probably the single most important marketing task you can do.
Russell Brunson has talked about how vital his list is to him and how, if he had to start over from scratch with nothing but his list, he’d be ok.
Pat Flynn has mentioned that the one thing he wished he’d started doing sooner was building his list.
So it should come as no surprise that building your list is a vital part of your overall online strategy.
So this lesson covers the basics on what you need to do to get Mailchimp integrated in to your site so you can start building your list from day one.
How To Set Up and Configure Your MailChimp Plugin
Welcome back to the Email List Building Module where we’re getting your email marketing service connected to your new self hosted WordPress site. Previously, we covered the things we need to do to get our domain setup and get our Mailchimp account basics in place. Now what we’re going to do is go ahead and get this connected to our website.
What we want to do is go back over to our dashboard in our WordPress site, and then we want to come back over to the plugins that you can see here over in the left hand side. Select plugins, and then we are going to search for, we’re going to click add new, and then search for what was just there a second ago, which is Mailchimp.
We’re going to use this first plugin here to get our stuff connected, which is this Mailchimp for WordPress plugin, and we’re getting that activated.
Now we’re going to come over here to MailChimp for WordPress.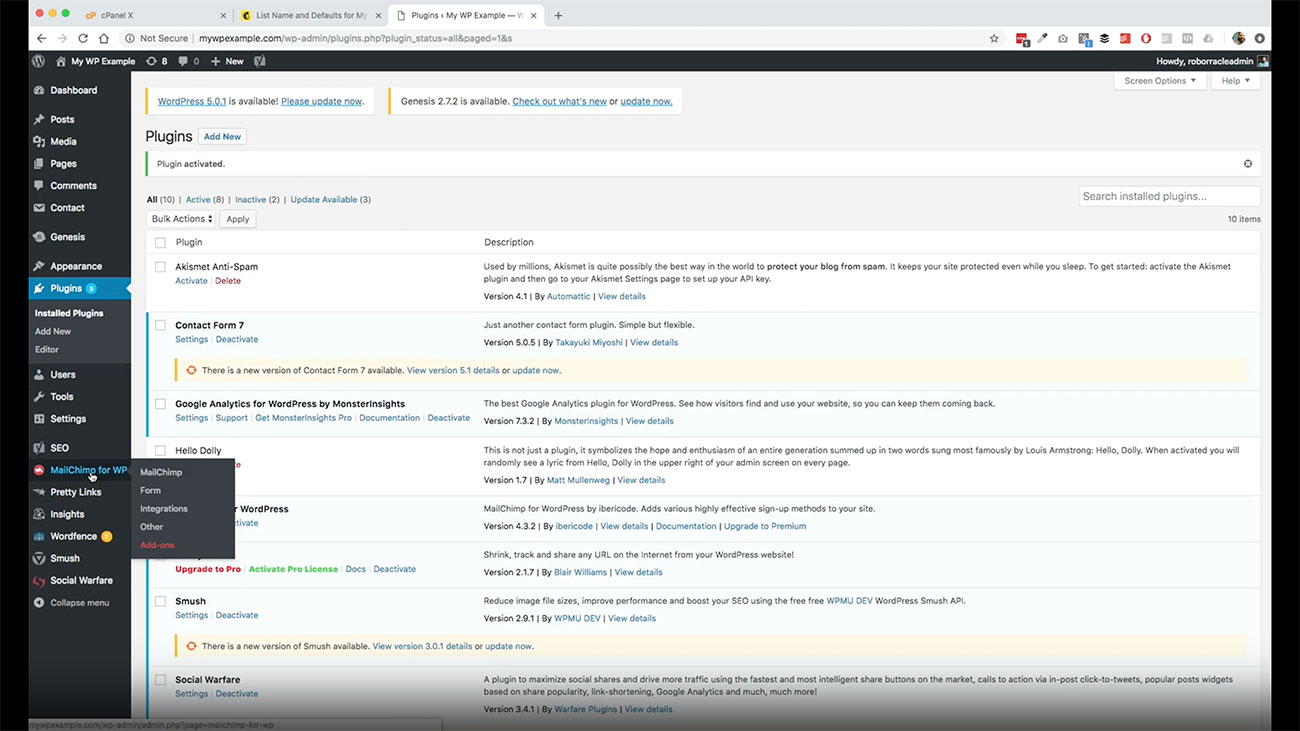 Click on the first option there so we can get into the settings. I’ve already gone ahead and connected this, but let me show. I’m go ahead and take this out so you can see.
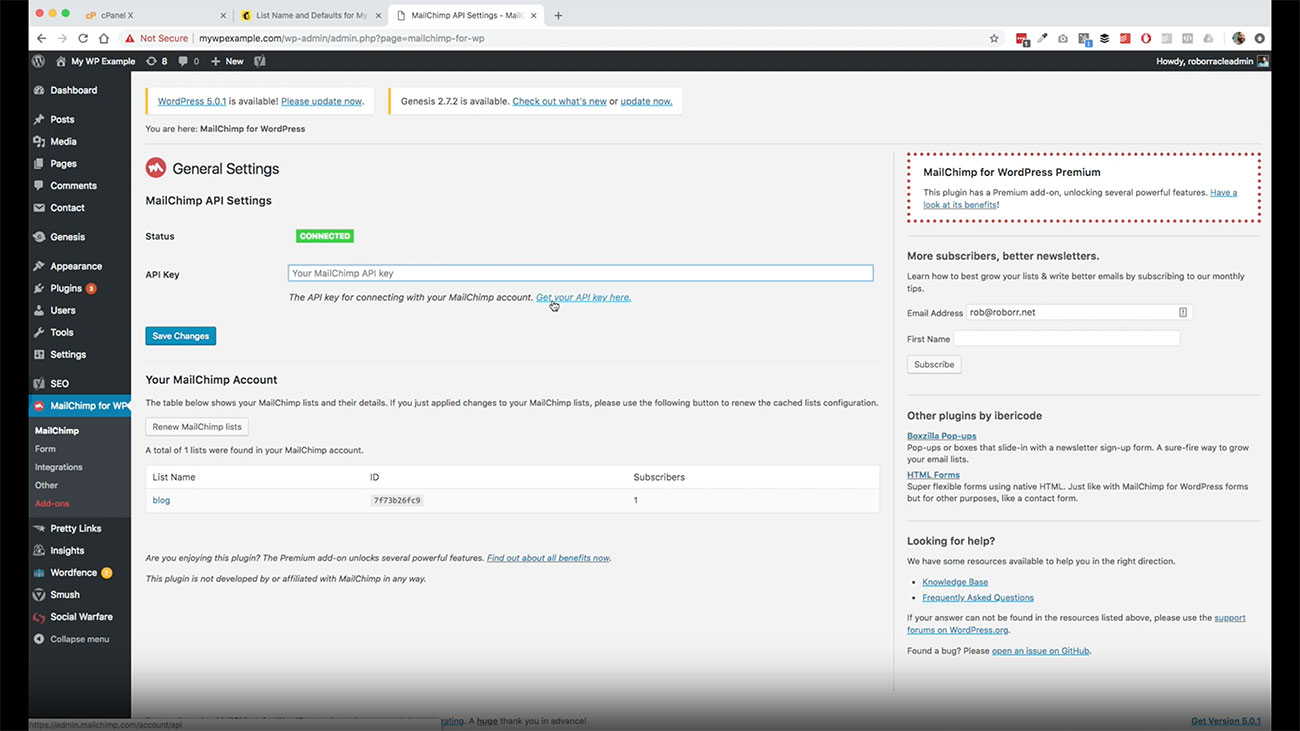 We’re going to go here, because one of the things that you need to do is get the API connection between Mailchimp and your website connected. I believe I mentioned it before that an API connection is basically a means by which your website is able to talk to Mailchimp, or any variety of other services that are out there in a protected and secure manner.
What we’re going to do is get this API key. We’re going to click here, to get the API key.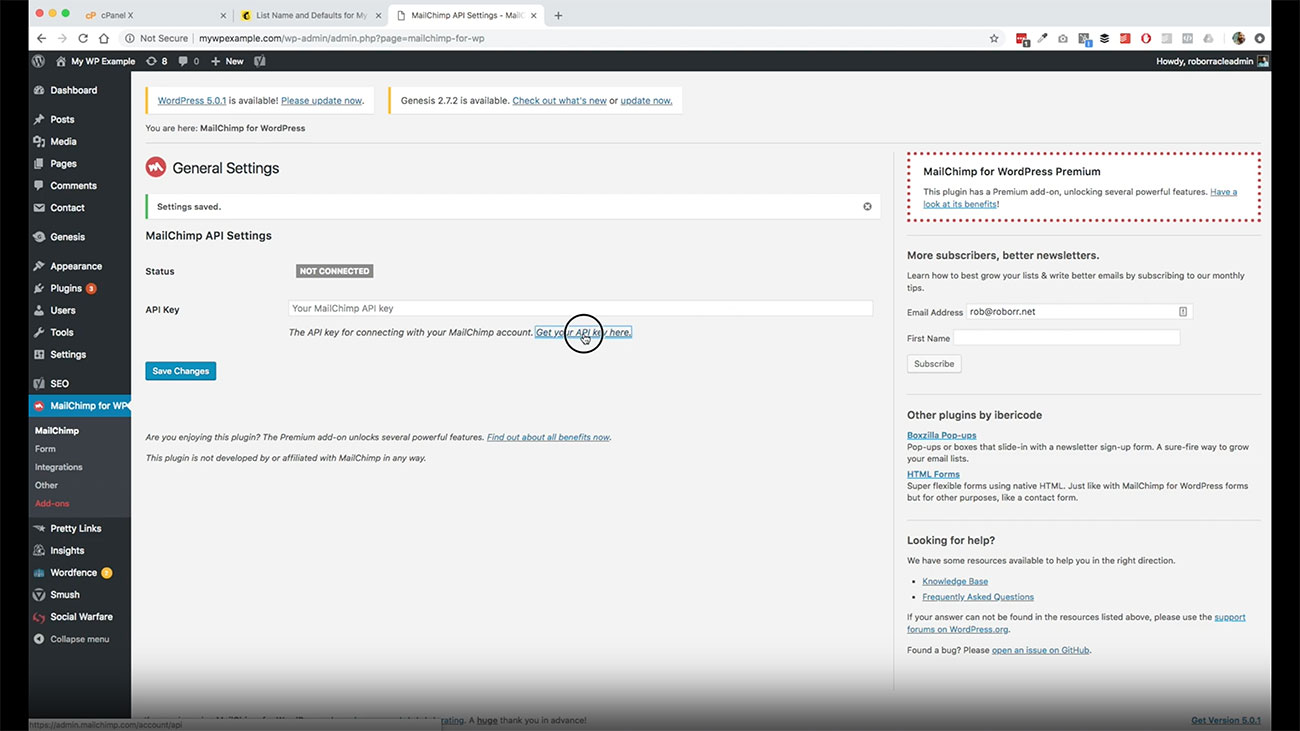 It’s going to take us over to our Mailchimp account and under the extras. Let’s see here. We need to get an API going here. We are going to go ahead and click on Create a key because we don’t have any that are active.
Let’s go ahead and then copy this.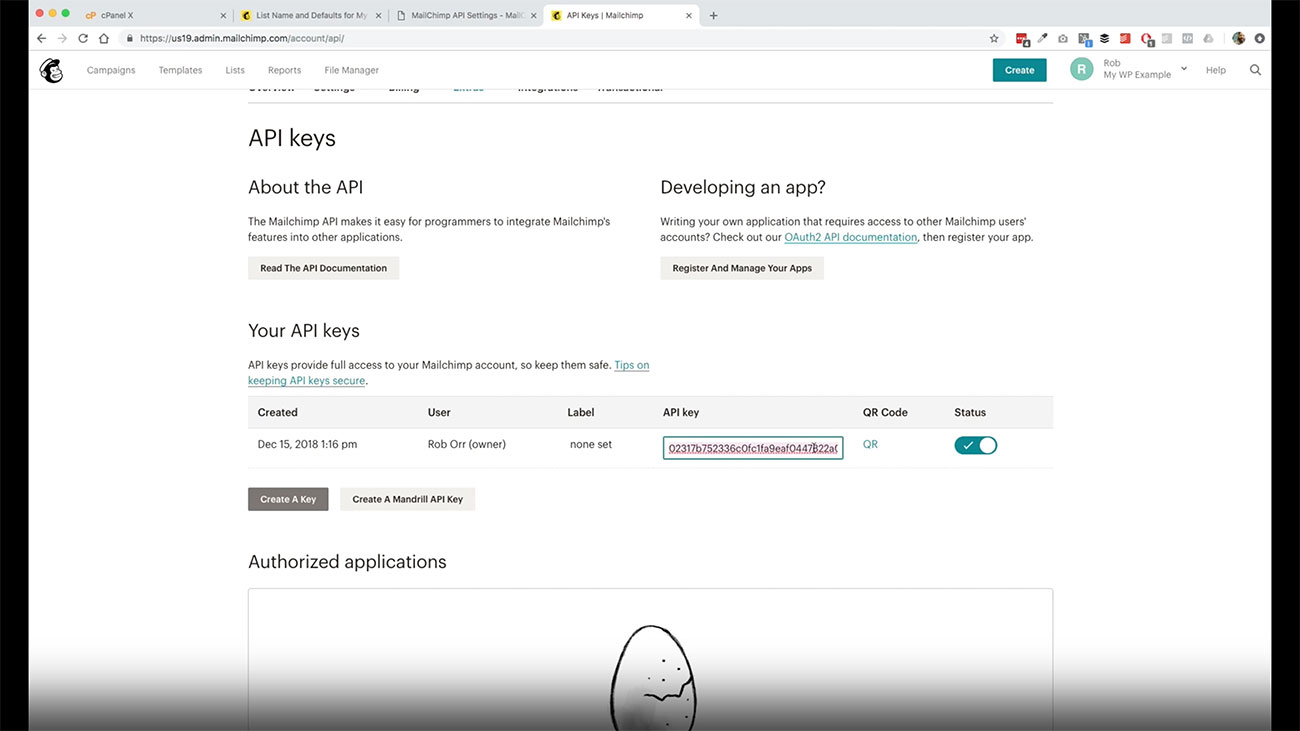 This is your key and you copy it. Then let’s go back over here to this field right here, and we’ll paste it in there.
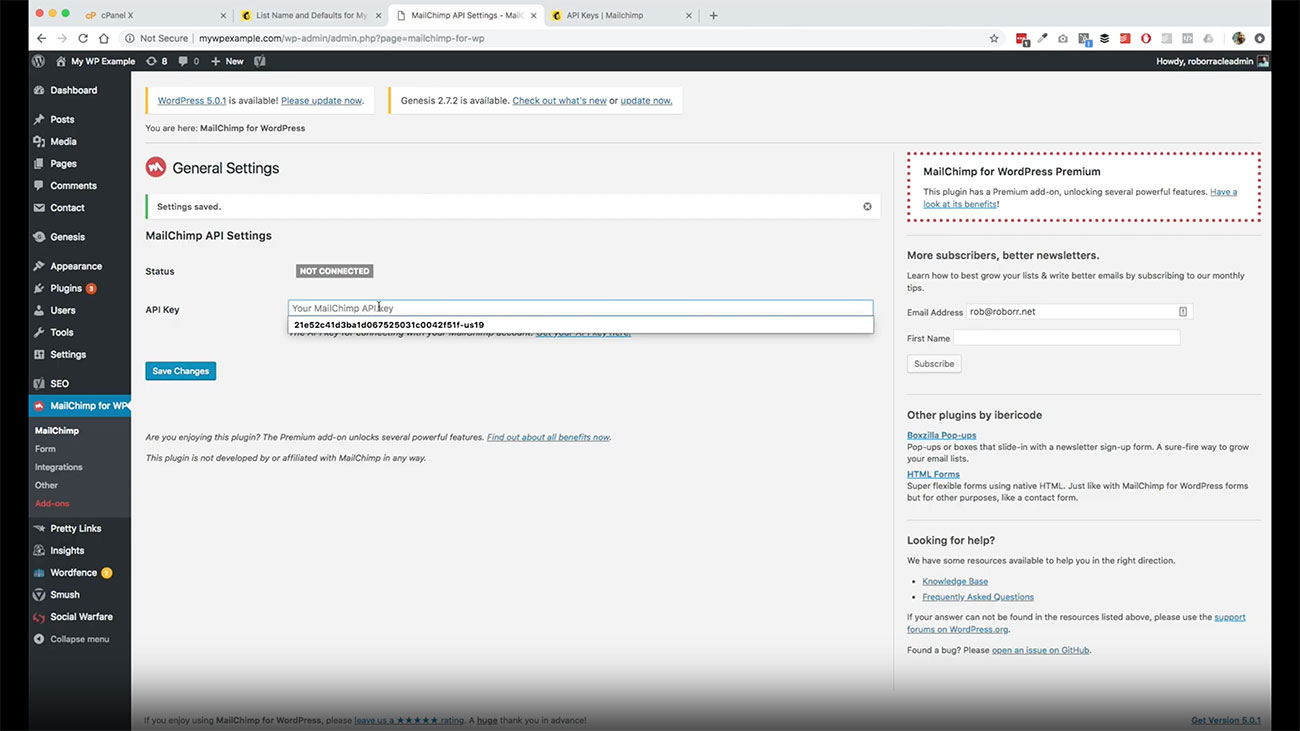 That’s all it is. Again, what you’re trying to do here is make this connection between Mailchimp and your website. It’s not really all that important that you understand how API keys work or anything other than that, because the plugin here is going to send you to the page that you need to go to when you’re logged into your Mailchimp account. Then as you can see, we did not have an API key and all we did was create, click that create button that gave us this key that is generated here.
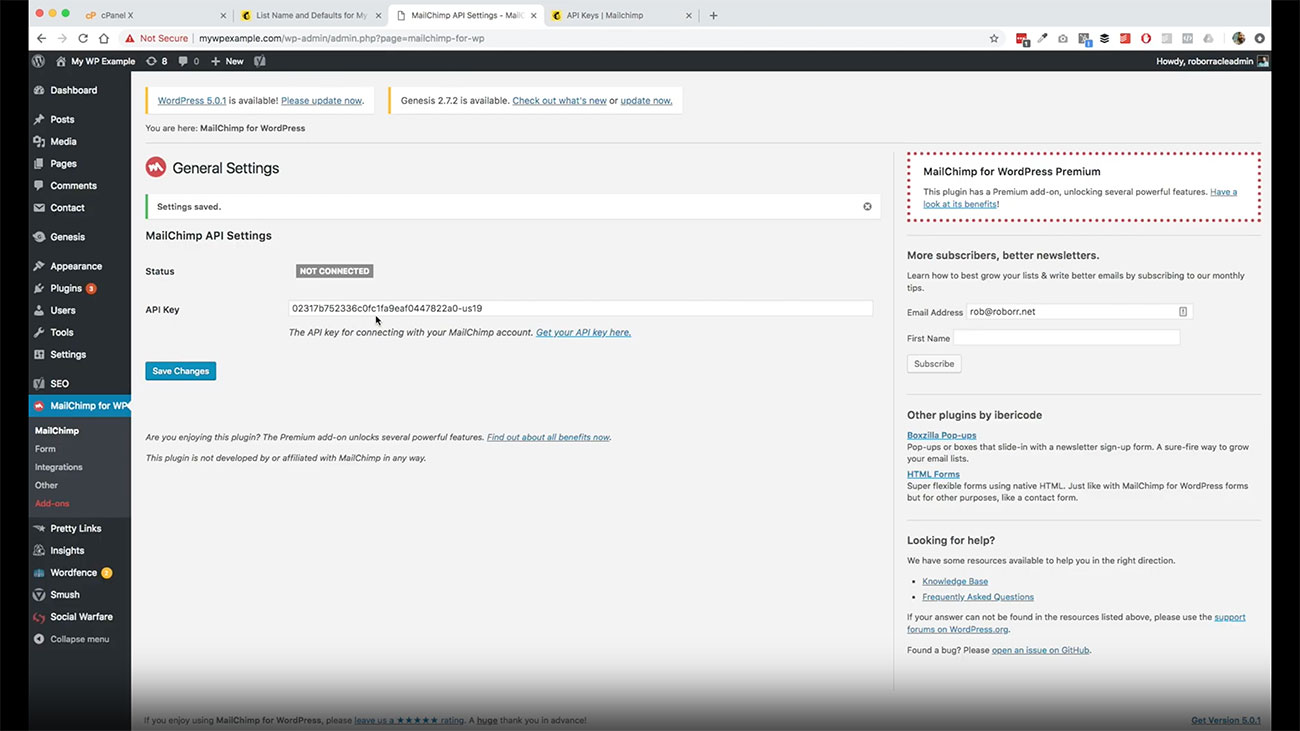
We copy that, paste that into the field here.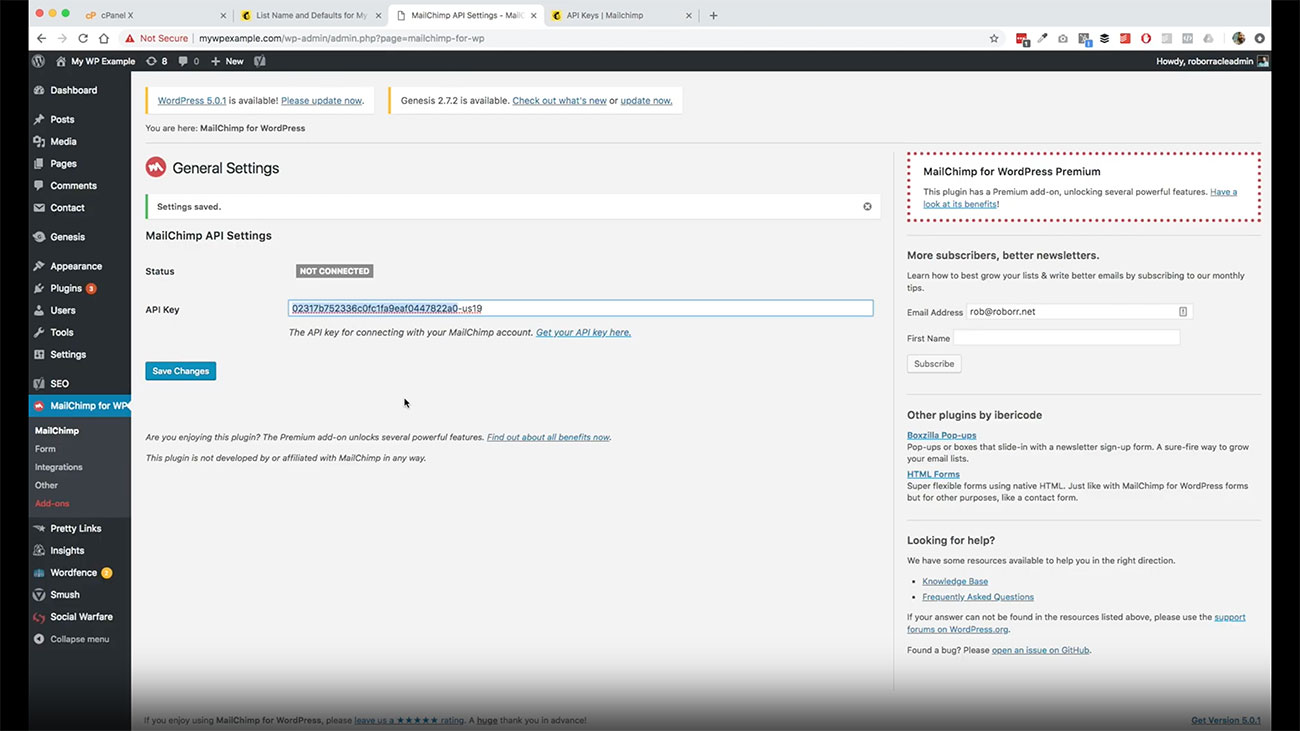 We’re good to go. Click save changes. We’re good to go. Now, we are connected between Mailchimp, and our WordPress site.
 You can see now that we have this connection, and our list is showing here, which is this My WP Example default starter list, which is the one that we just edited in the last video.
What we want to do now come over here and create a form.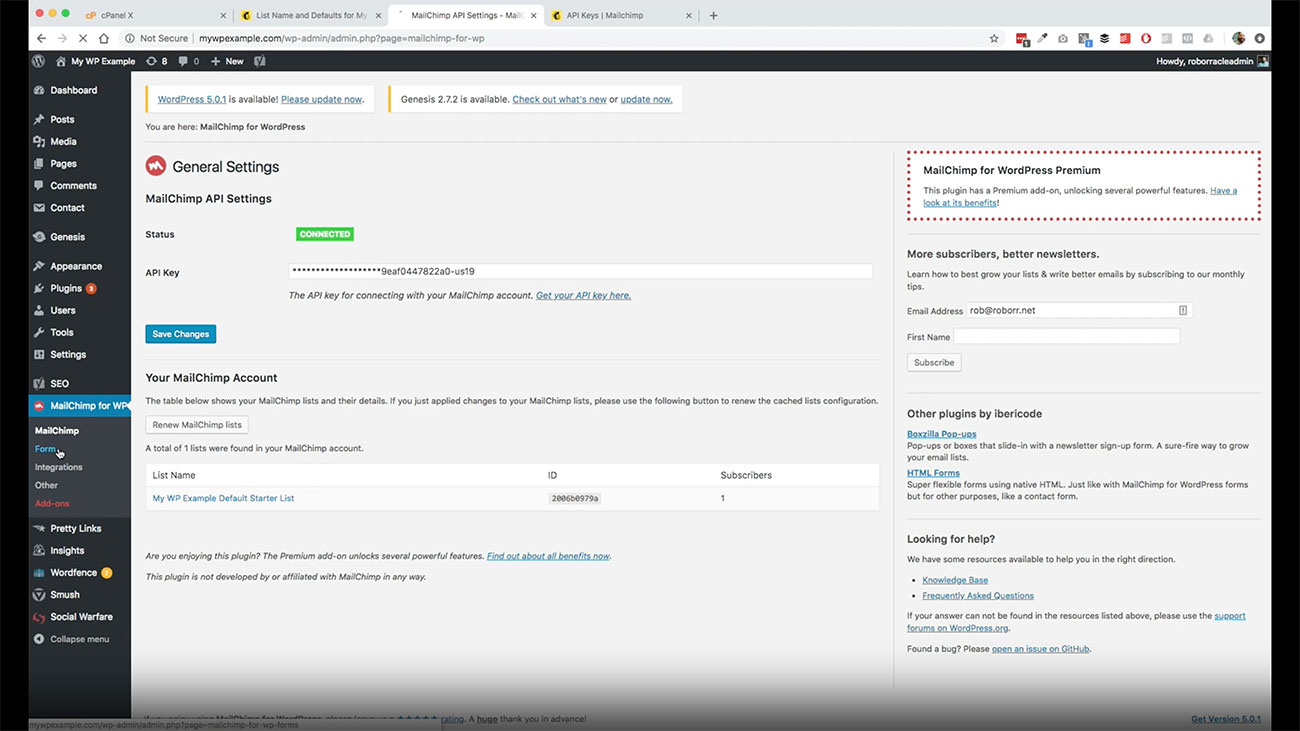 We’re just going to do the basics here. You have the ability to make all this stuff happen right here. This is stuff that used to have to do just in Mailchimp.
This is much easier to work with, I think just by having it all here in your website.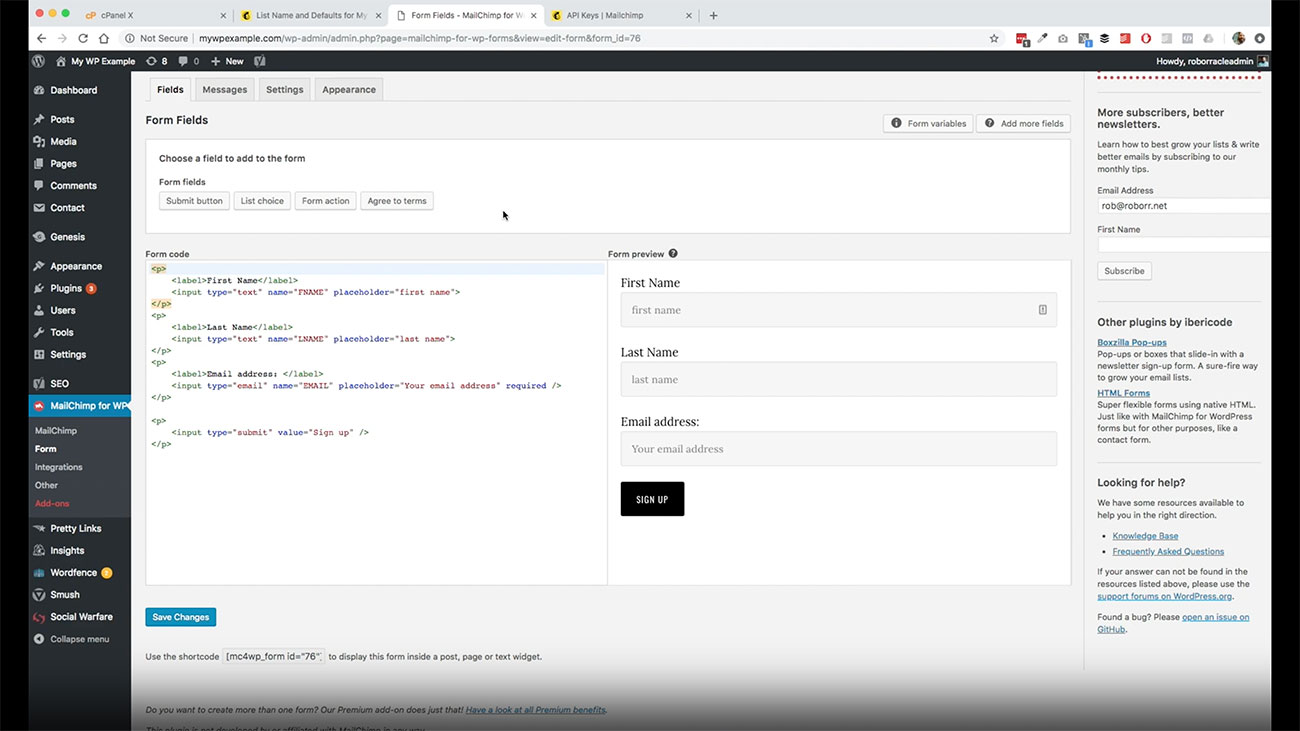 If you wanted to remove some of the so for instance, say you just want to have the first name field, you just take this out. Then as you can see it removes it from over here.
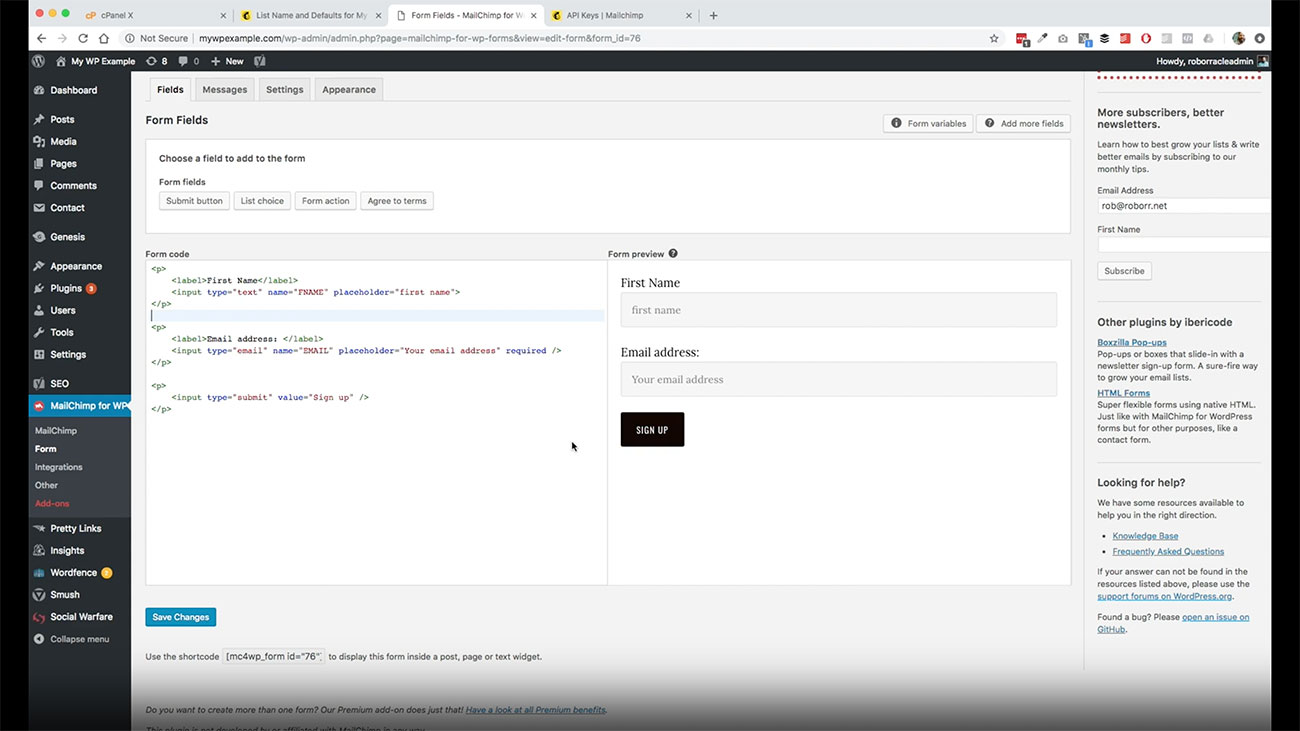
We’re just going to leave that as the default here. Let’s see, we only have one list, there’s only one form action. We’ll go ahead and add in the agreed to terms button.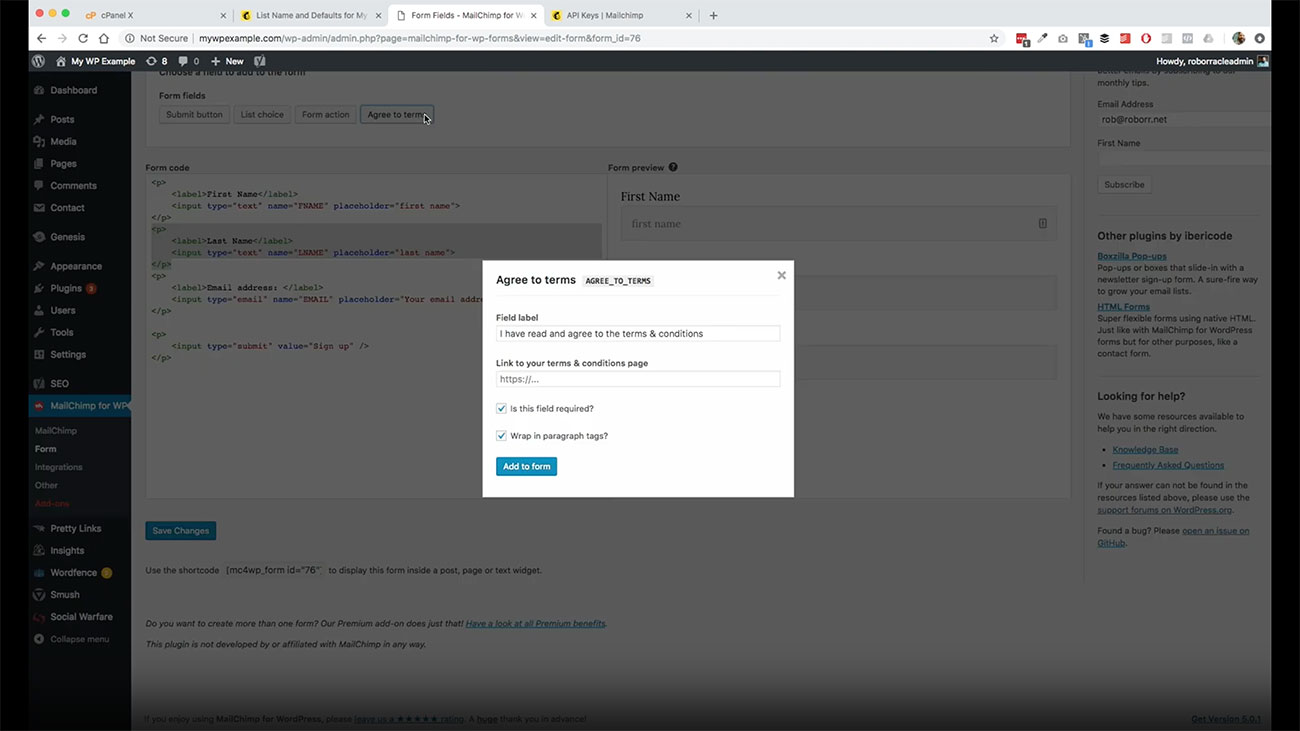 If you have created this, this is when you would create that Terms and Conditions page. Then you click Add to form. Then it’s going to add it and I should have mentioned that it’s going to add it where you had placed your cursor previously.
I had removed that field before. It inserted it there.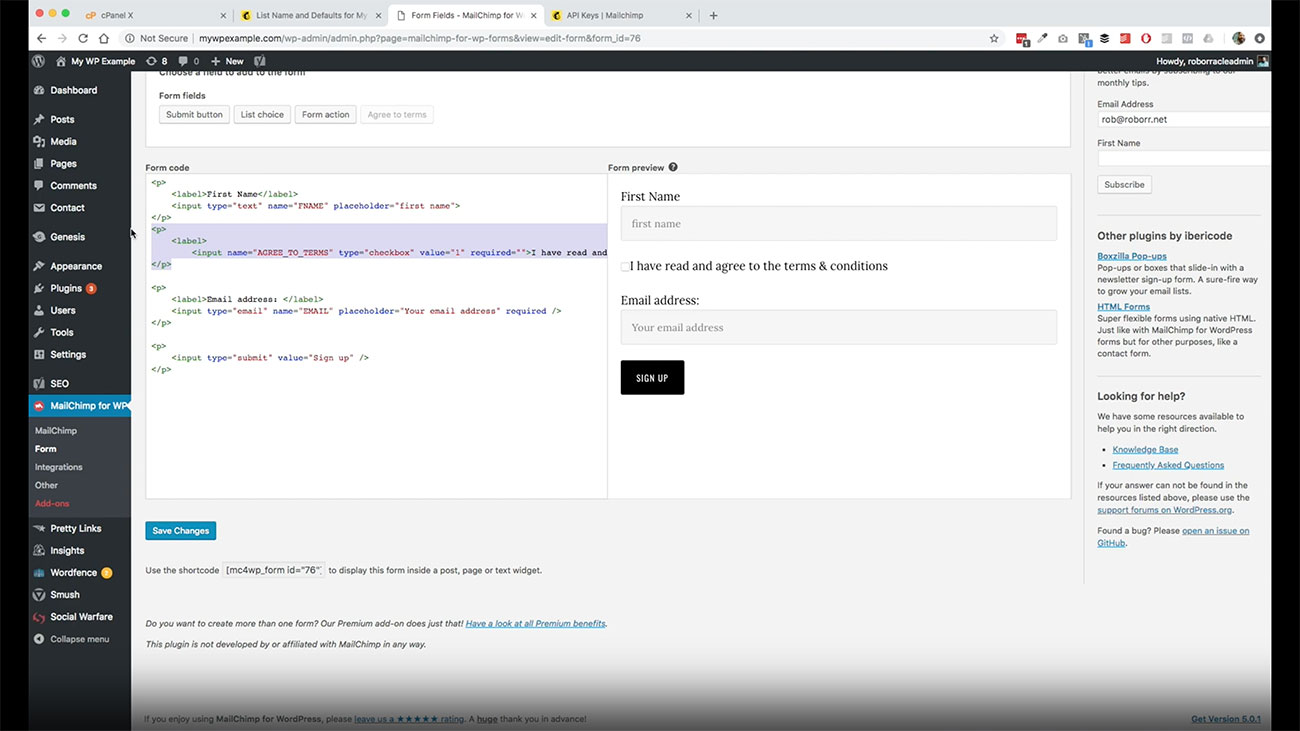 Let’s go ahead and take that out from there. We’re going to go and move it down here. Let’s just undo what we had done here. That way we get the last name field.
There, now we’ve got I have read and agreed to the terms and conditions.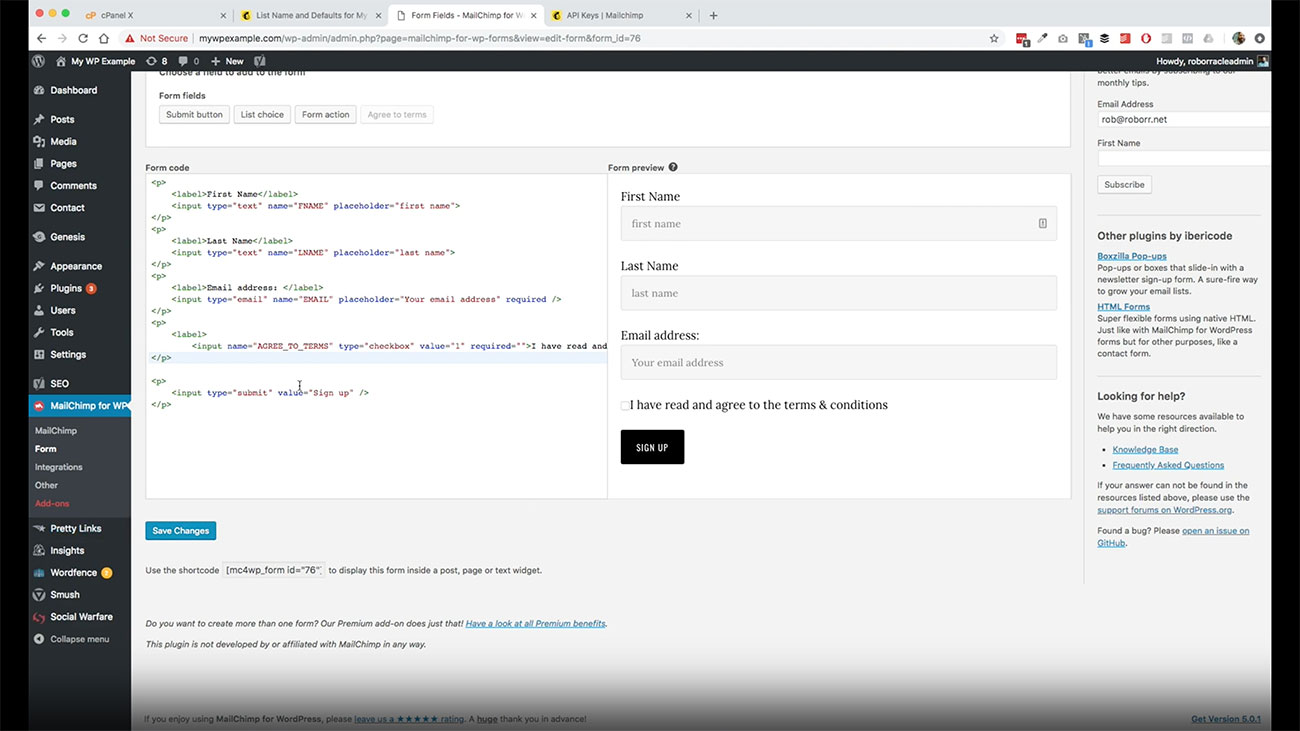 You can change the text here. For instance, you can see this sign up value is what is populated into the button here.
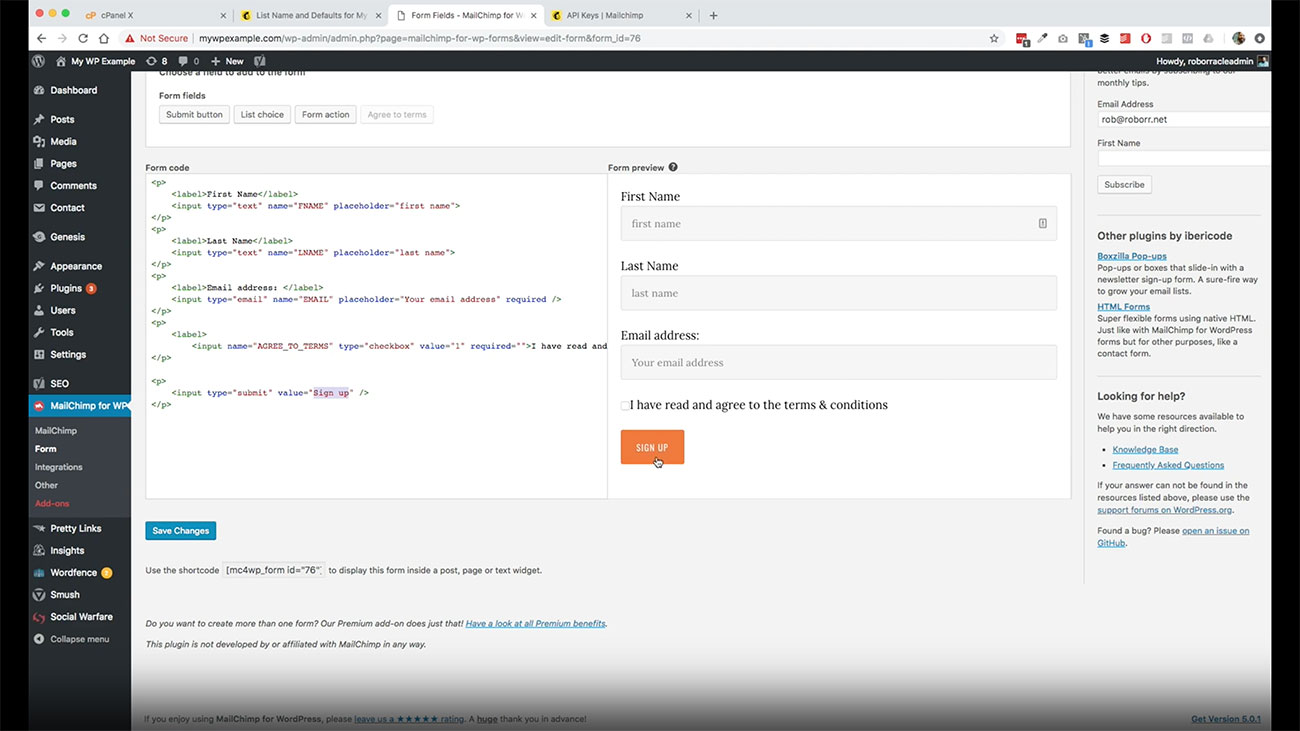
You could do subscribe now or something like that, something easy to work with there.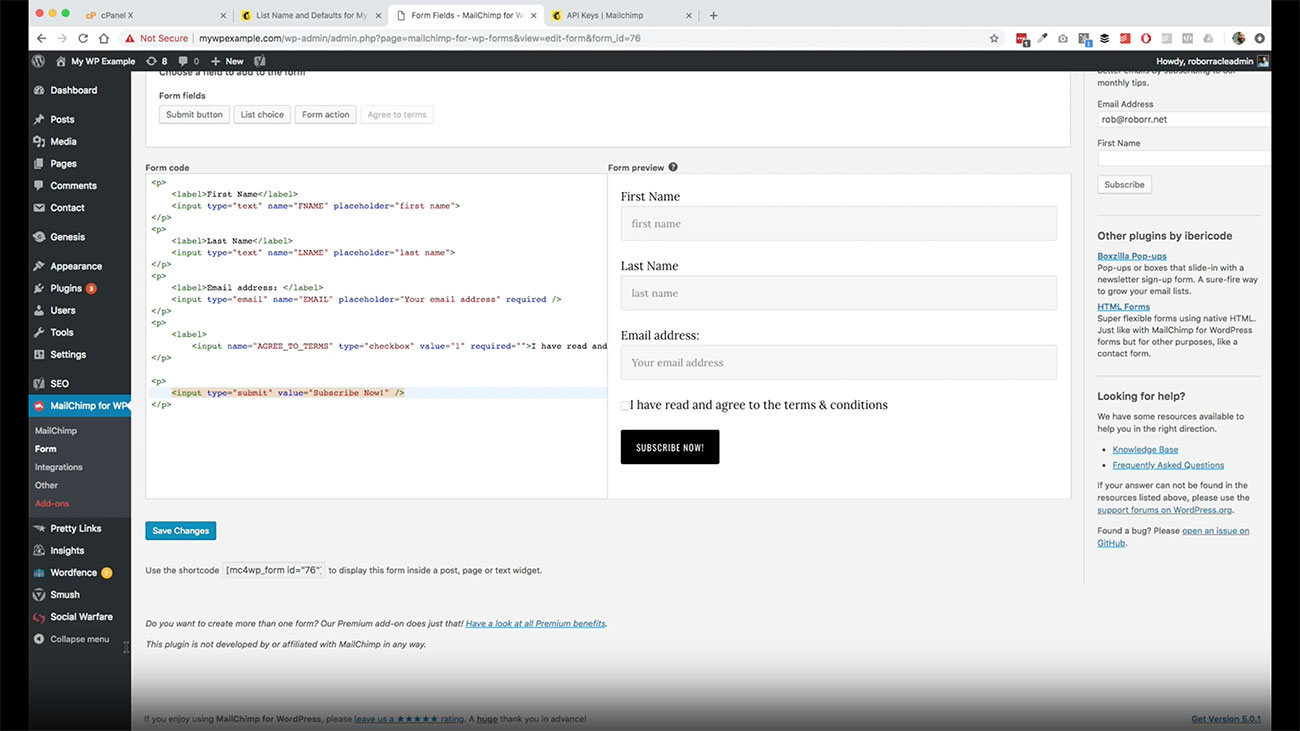 Then when you’re done, hit Save changes, and your form is ready to go.
Now that we’ve got our form create, we get all the fields added that we want to have, a couple things are going to happen.
We have this short code here that we can add if we want to add this form to any post or page just kind of anywhere we want.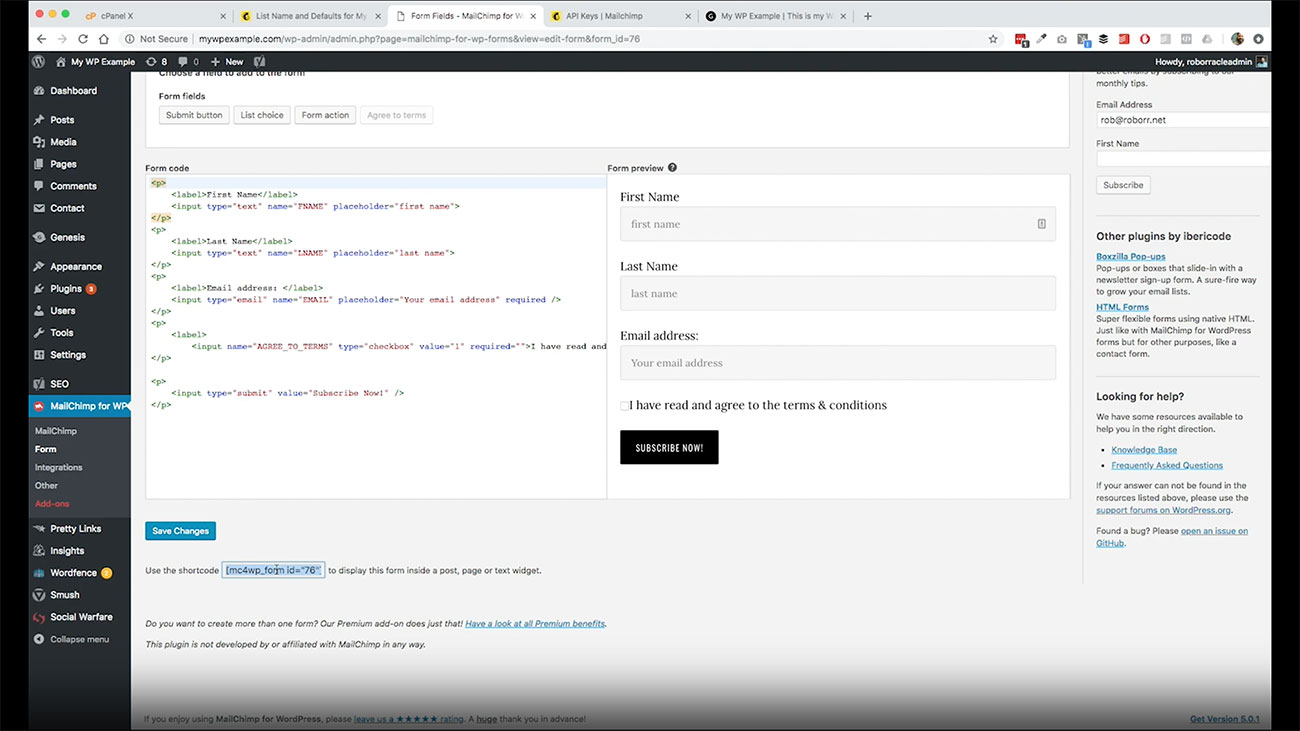 We’re going to go ahead and copy that because we’re going to use that here in a minute and an example by placing that into the posts.
We also want to be able to add that form to our sidebar. 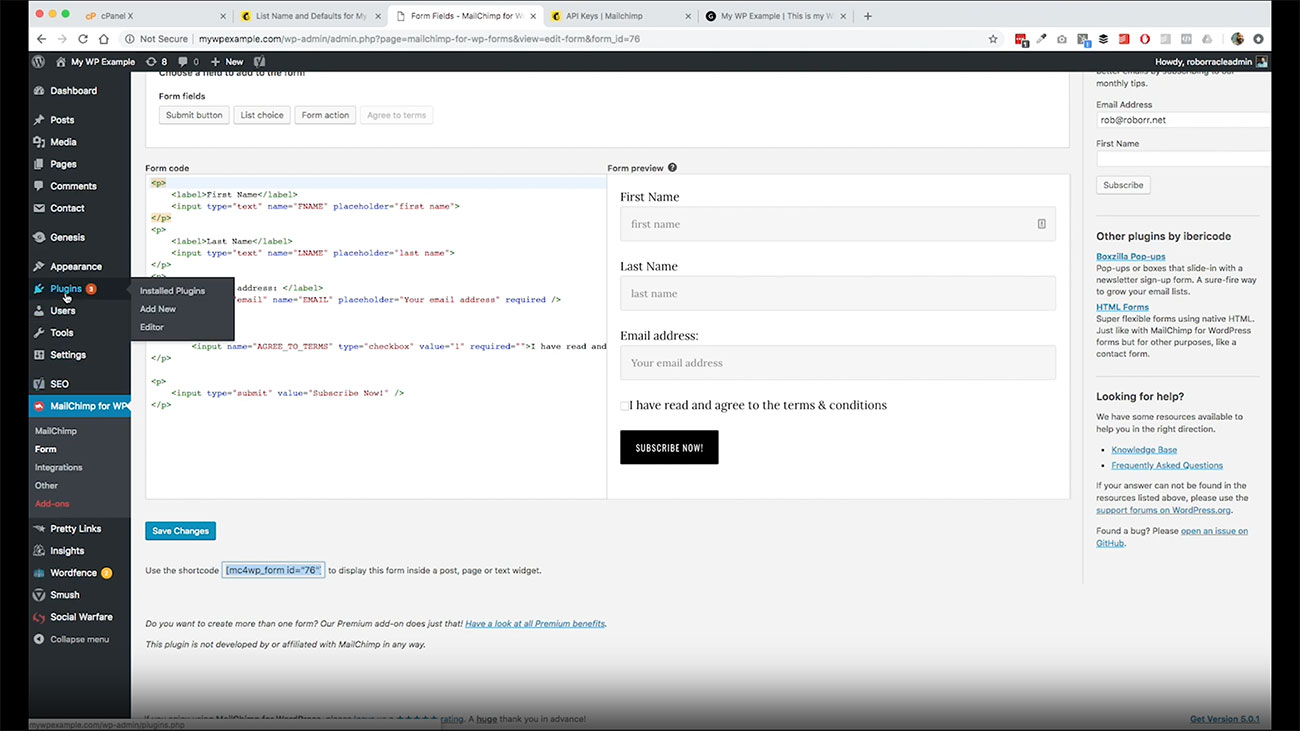 Let’s go take a look over here at appearance and then widgets and see what we have available to us as far as what that plugin is providing for us for Mailchimp.
Once you come over here, you’ll see, you’ll have this new option here for a Mailchimp signup form. We’ll go ahead and drag this and drop this over here to add a new section to our WordPress site for Mailchimp form.
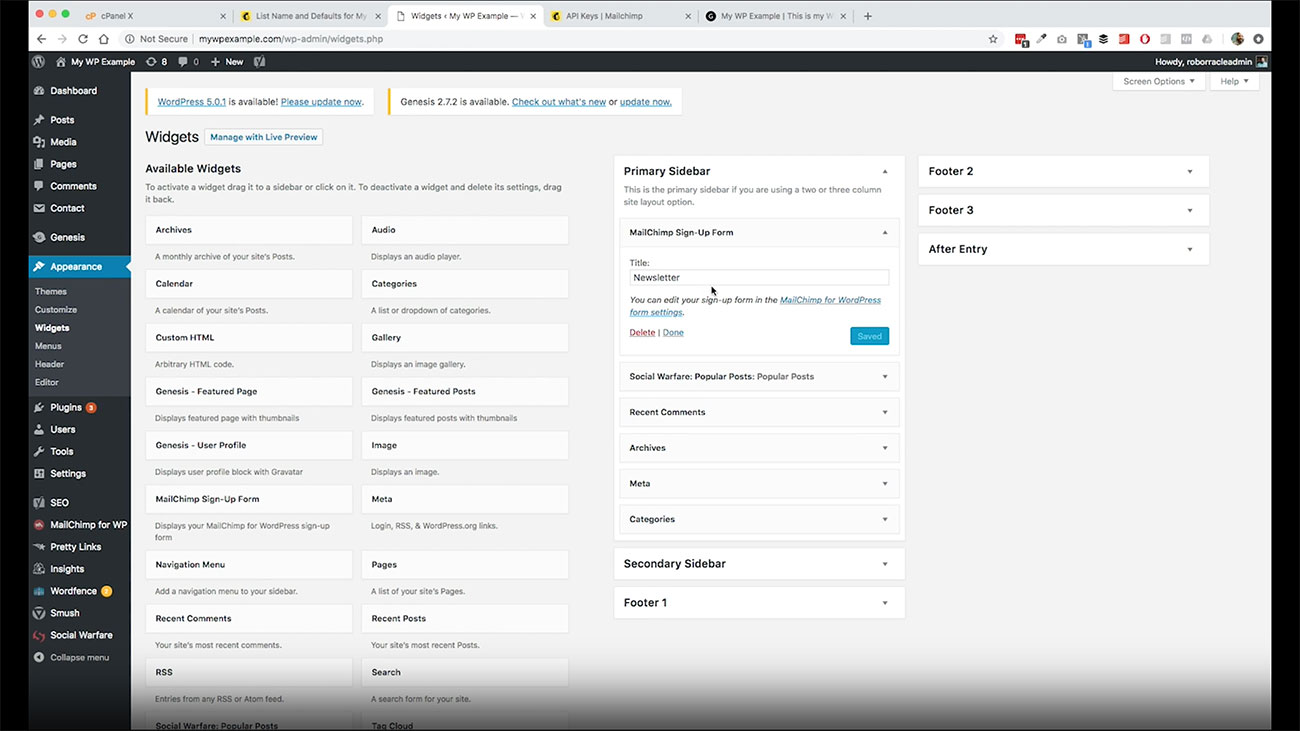
We’re just going to change the title to get the latest actually subscribe to get the latest. That’s just a widget title. Then the rest is taken care of for us.
We’ve already got the form set in the plugin itself. All we need to do is hit save. And to show you what this looks like we can come over here.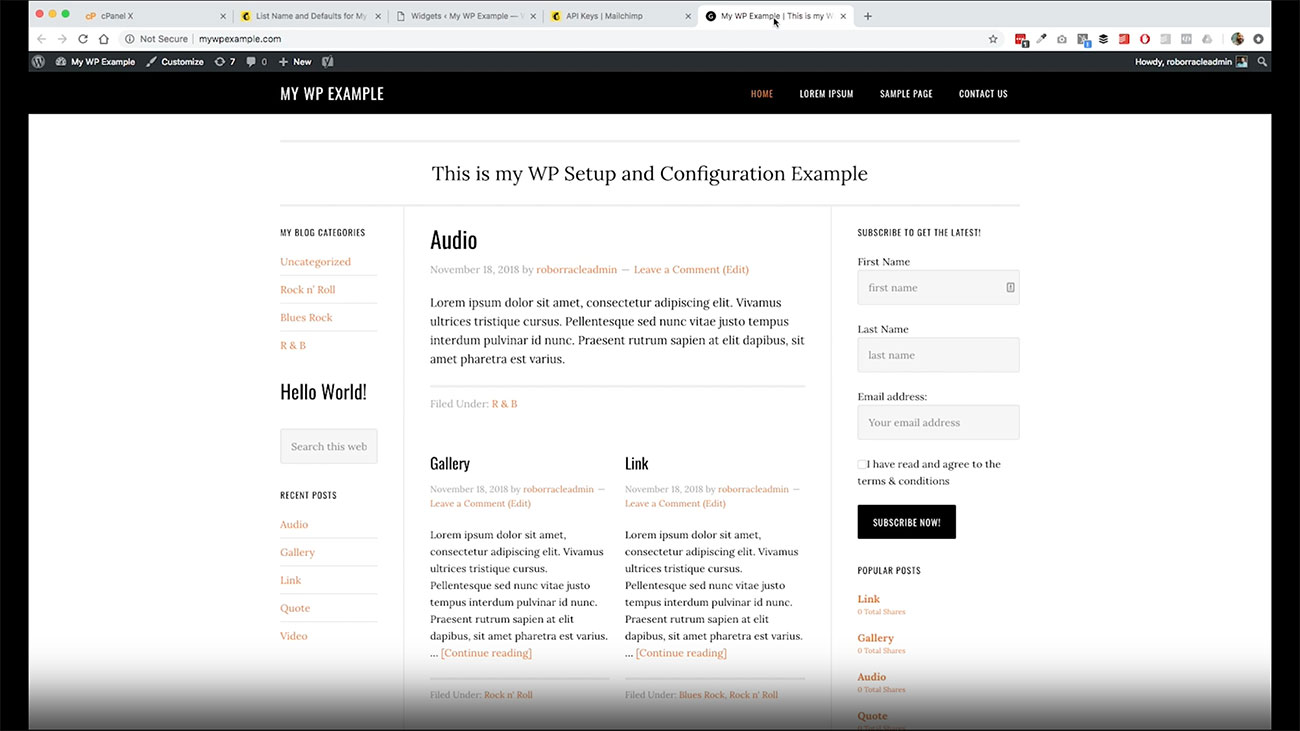 Here is what your form is going to look like in our sidebar. We’ve got the first name, last name, email address the terms and conditions, everything there.
We are good to go there. But, if we want to add this to a post or page, so let’s go here. Say to this generic page here. Say we wanted to add this form in between these two paragraphs.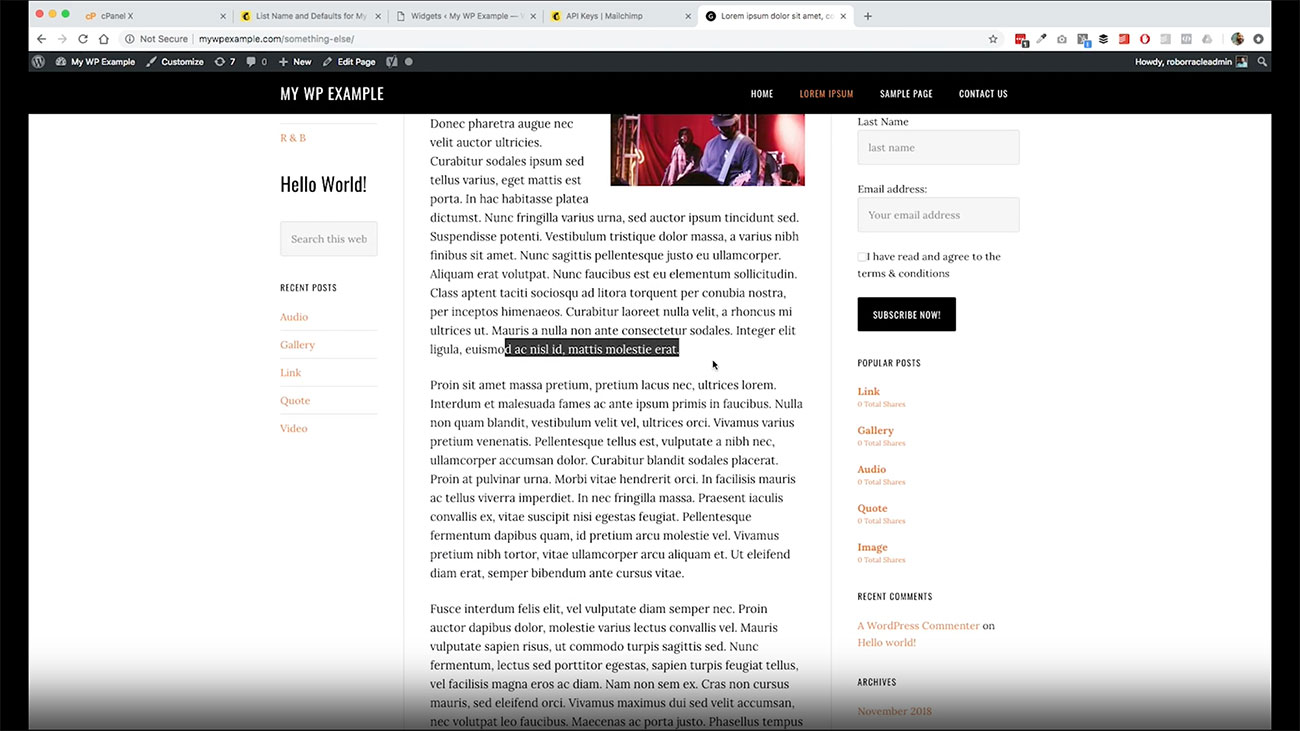
All we need to do it with our short code that we copied from the forum page is come into the post, and then right here, paste it in. That’s it. That’s all we need to do there.
Then over here, just click Update. Then we go back to view the page. There’s our form right there.
So very easy, very simple to do, you can do that with posts. You can do that with pages. Basically any field that is going to take that WordPress short code, you’ll be good to go there sp we’re good.
We’ve got our opt-in set. We are now fully connected to Mailchimp. When people subscribe to our list, there will be some additional things that you want to do to finish setting up in Mailchimp itself which is your thank you page.
If you are doing a lead magnet of any kind, those kinds of things, but right now, like I said for the purposes of our video, in our series, we’re getting things set up and configured so that you can start collecting email addresses so we’ve got that covered. You are good to go.