Ready to start creating your posts in WordPress? Want to learn all the features you’ve got available to you in your posts screen?
In the fourth part of my in-depth WordPress training series I’m covering everything you need to know about working with posts in your new self-hosted WordPress website.
Since this is the tool you will likely be using most with your new WordPress site is its post feature I’m going deep to show you how to use all these great features!
How To Work With Blogs Posts in WordPress
Welcome to the Mastering the Essentials of WordPress series where we’re walking through the WordPress administrative back in. I’m showing you some of the most important features and functions that you have in your new self hosted WordPress site.
This video covers going over posts. We’re going to dig into this. There are a lot of things to cover. This is probably the place where you’re going to be spending the most time on your new WordPress site.
This is where you’ll primarily be generating content and these features and the functionality that you encounter here is going to be the stuff that you’re running into most of the time. Let’s jump in.
The WordPress Dashboard & its Functions
When you log in, as I mentioned in the previous module, you land on the WordPress dashboard. 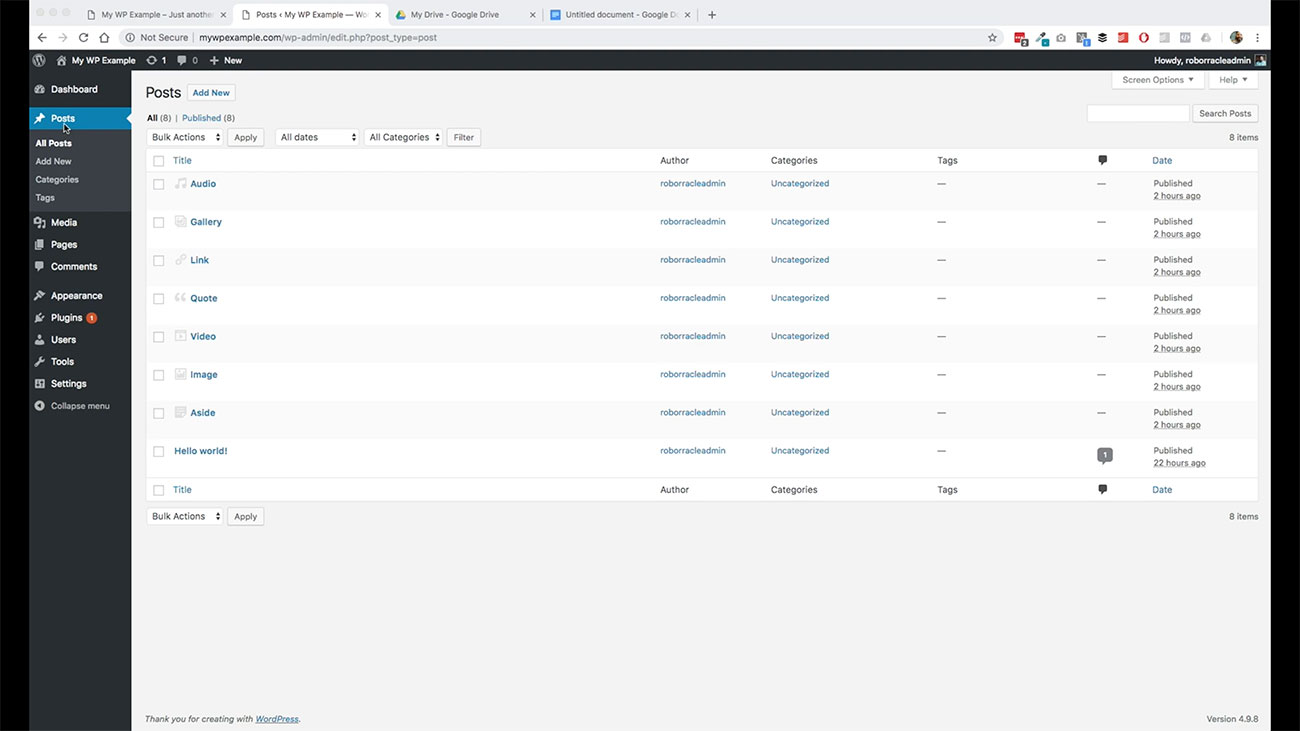 Over here in this menu, you have over here on this side the posts link. If you click on this, it will bring you to your post dashboard.
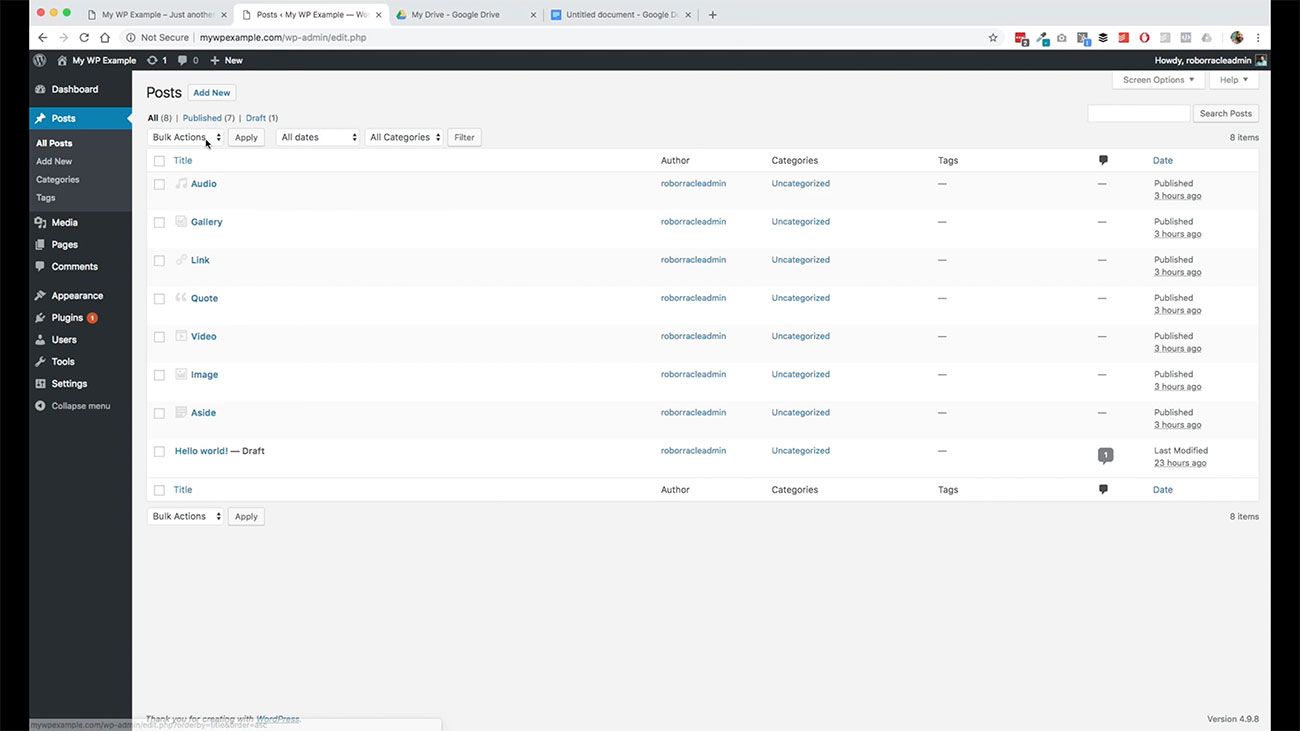
This is the display where all of your posts are kept. Everything that you create is going to show here in this menu and then it will also show in various different statuses. For instance, if you’ve got something that’s in draft status, or whatnot, it will show you what that status is here.
For right now everything’s published. I’ll show you more about what the different statuses look like here. These are all of the demo posts that I’ve created so far, really just for demonstration purposes.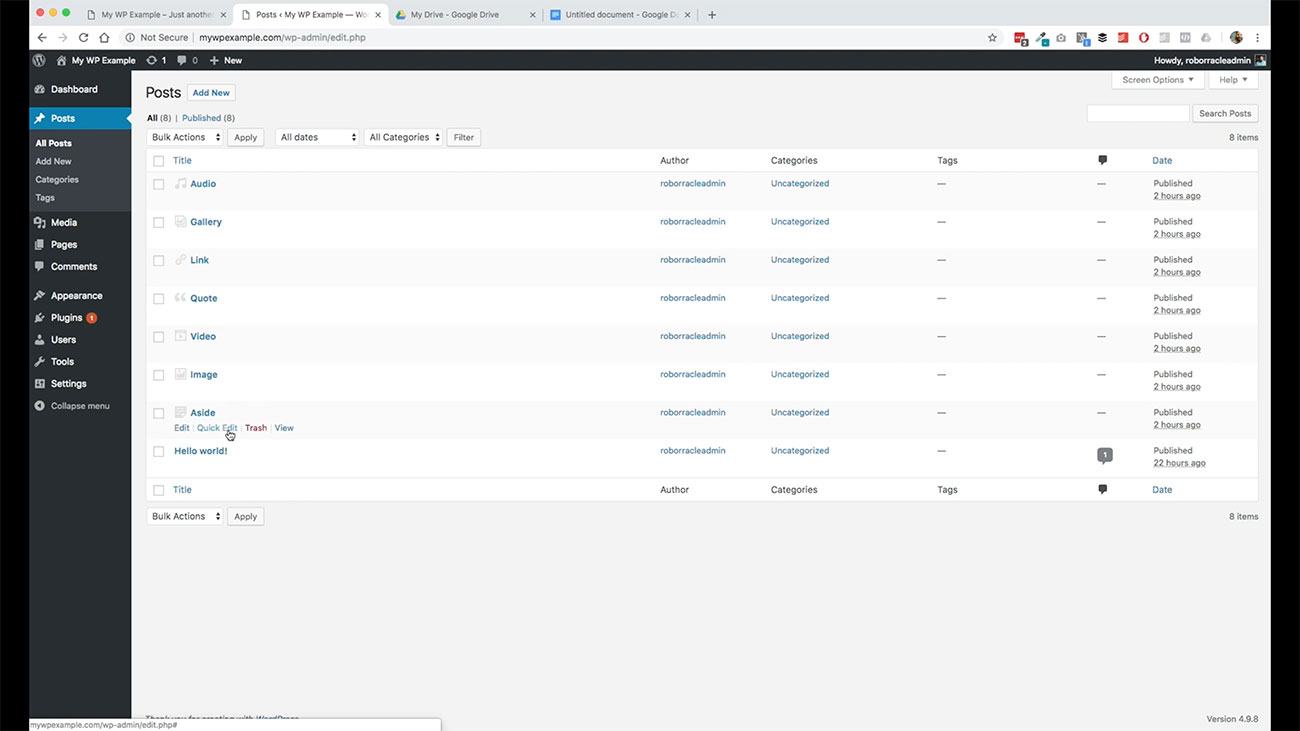
I’ll go through each one of these in just a little bit of detail so you can understand what these post formats are about if you encounter them in your theme. As you may notice, for each one these when you hover over them, you get a sub-menu.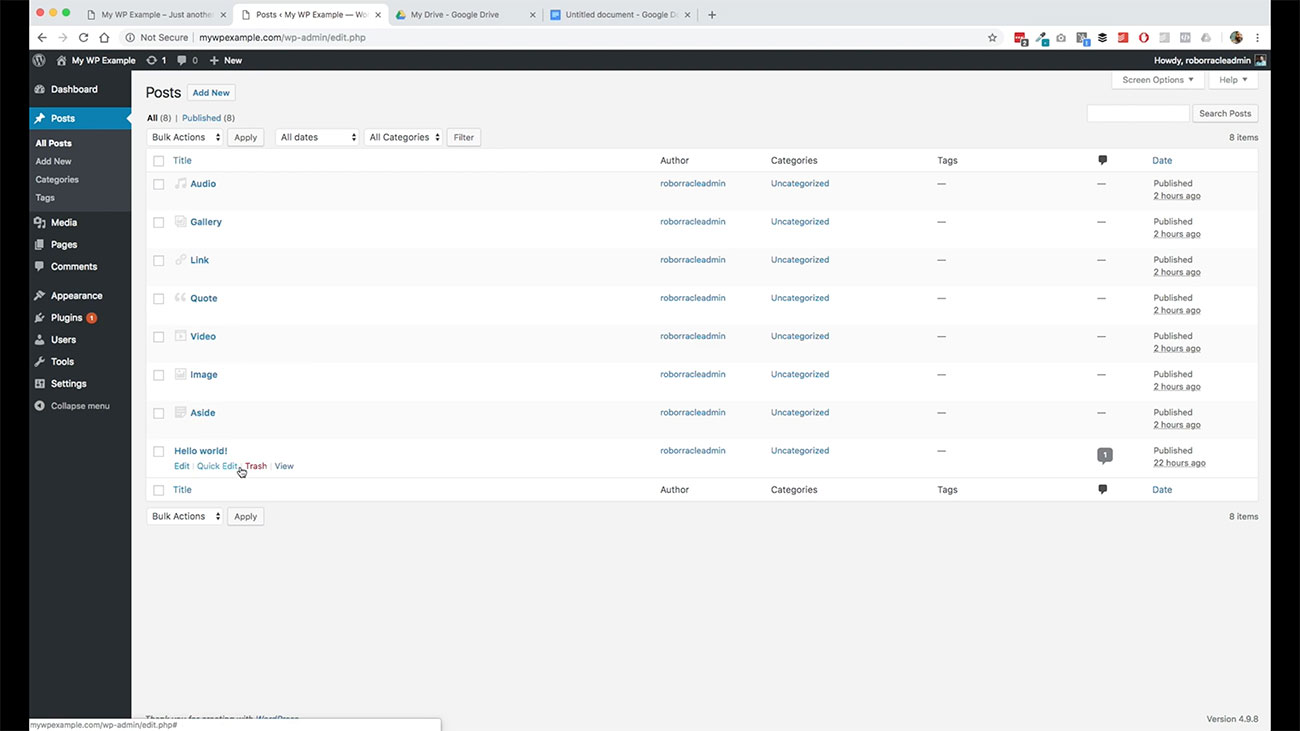
You see here, this “Hello, world!” post which was created automatically by WordPress when we did our installation. You see you have these quick options here to do various different tasks with them. You can edit it, which is going to take you to the Edit screen and we’ll come back to that.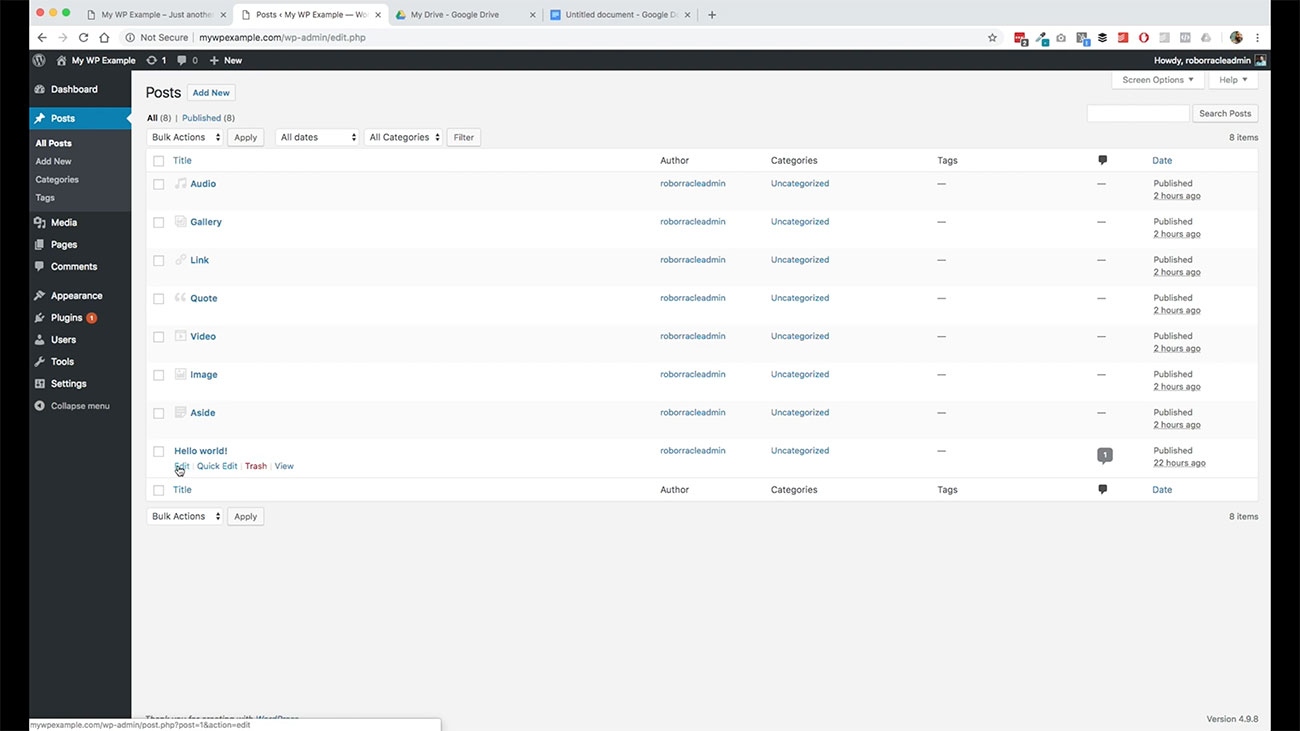
You can do a quick edit. You can move it to the trash, or you can view it which is going to take you to the front end view of what that post looks like on the public side of your website. 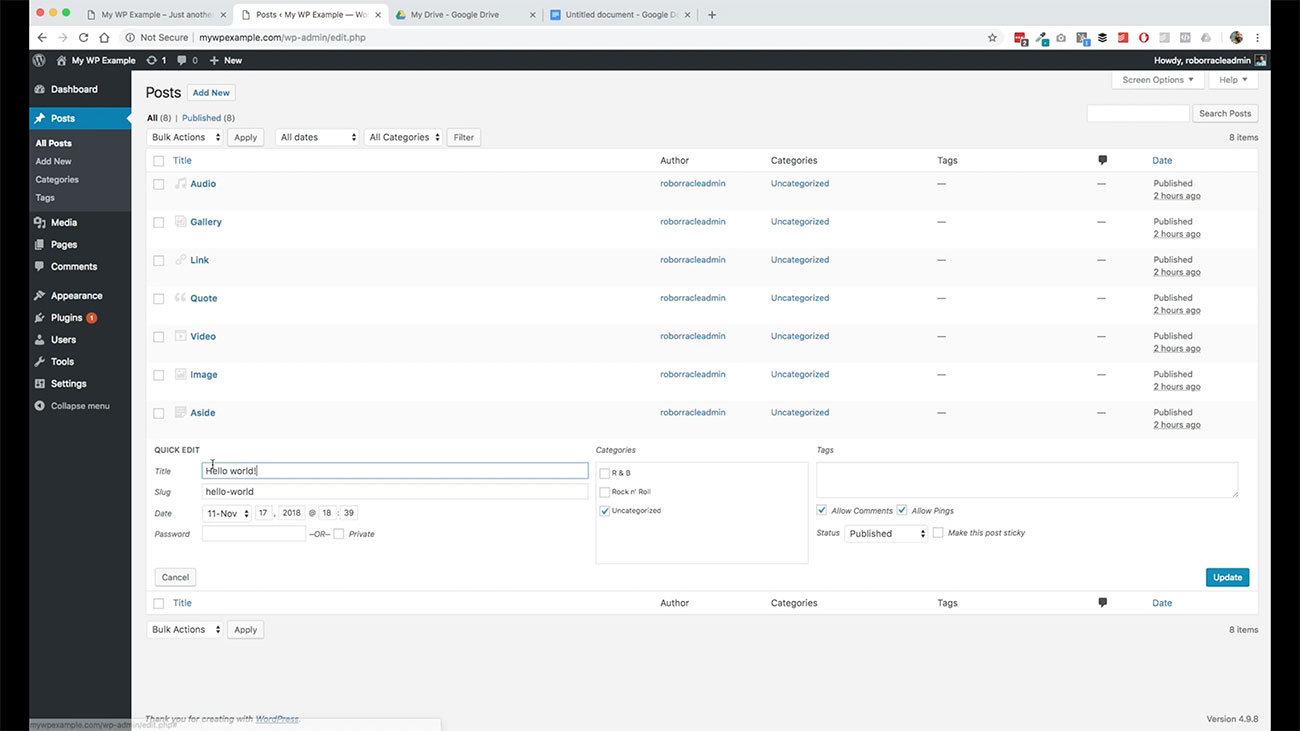 But if you want to do a quick edit here, the Quick Edit gives you some features where like if you want to change your post title or the slug, and the slug is really just the machine name or think of it as like the URL link for your given post.
I’ll show you more about what the permalink looks like here in a minute. That’s really what that is. If you wanted to update that, you could do that here, your publication date, so on and so forth.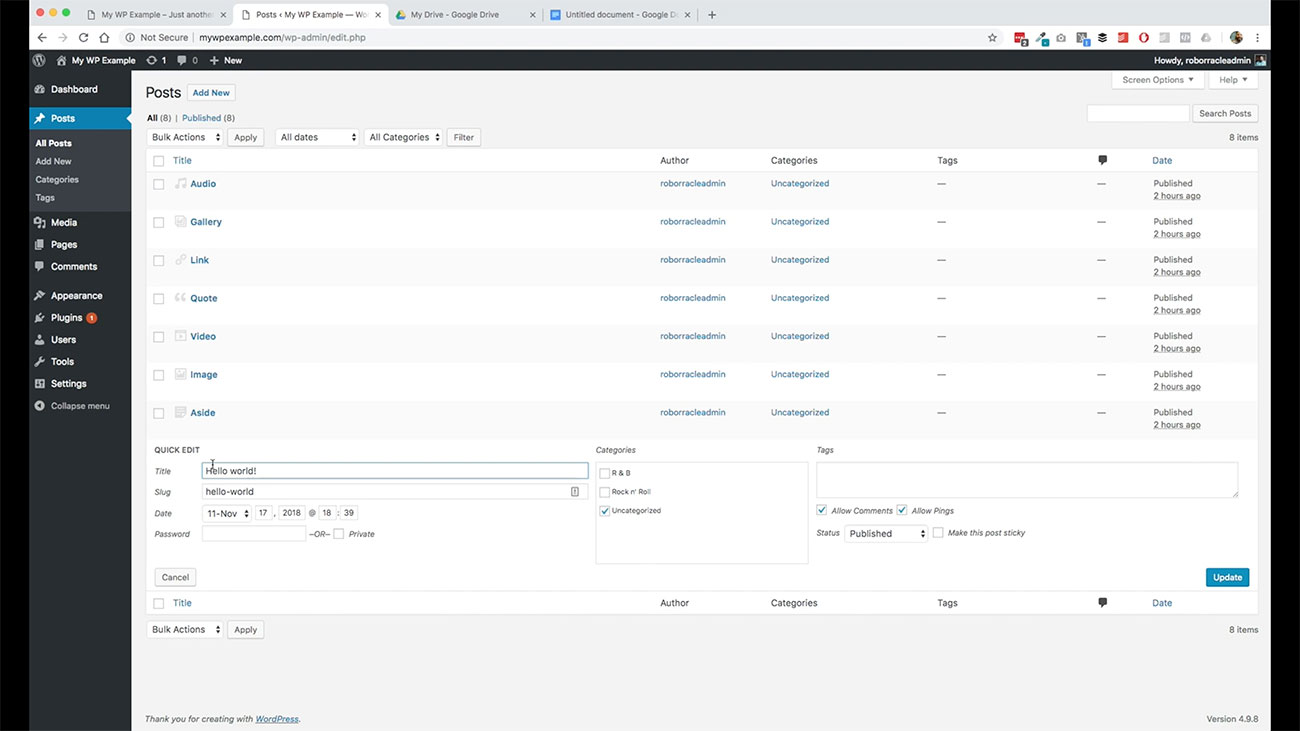
You can update your categories from here. You want to assign it to multiple categories, just one category, you have that ability. Then if you’re using tags, you can set those here.
You can on a post by post basis, dictate whether or not you want to allow comments and or allow pings on these individual posts all through this Quick Edit menu here. Obviously say for instance, if we wanted to change this into draft status, you can do that here. It’s a quick menu to do something quickly with.
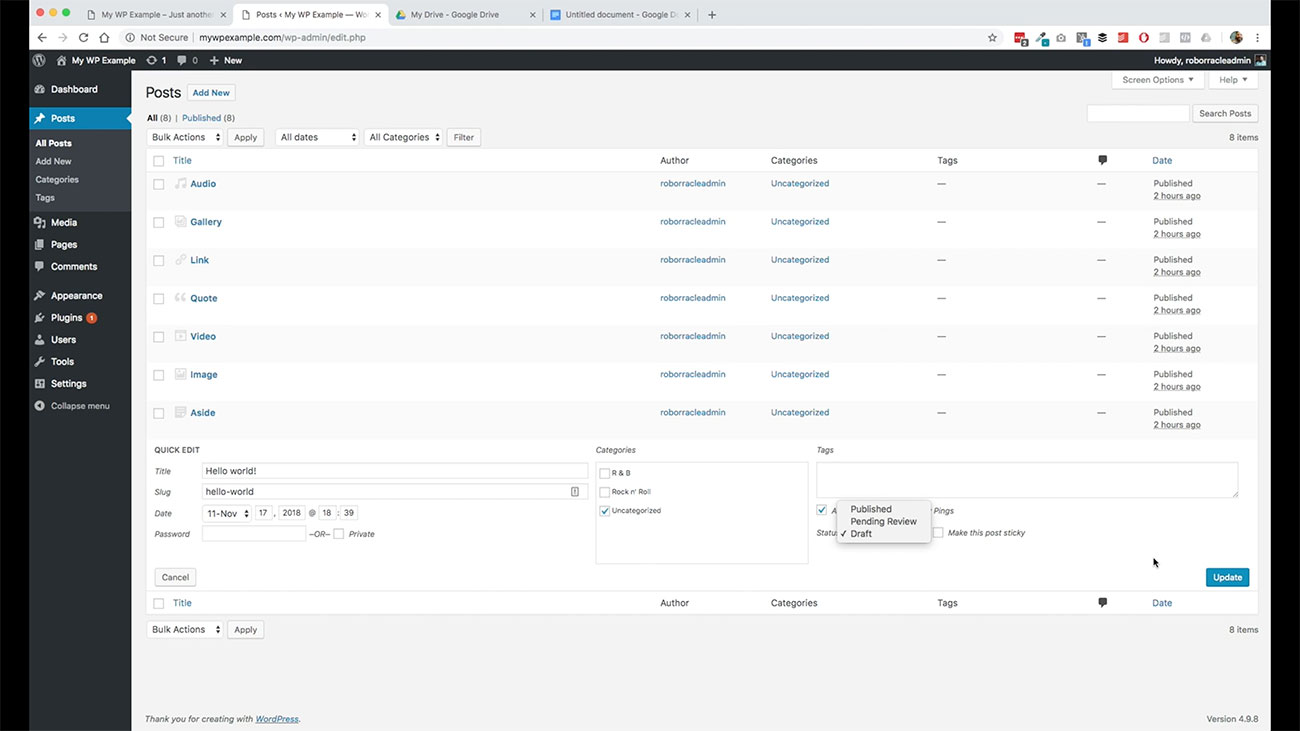
If you wanted to make a quick edit, that’s precisely what that’s for so you don’t have to go into the full edit screen which we’ll look at in just a second. You’ll notice that I changed our status on this post from publish to draft.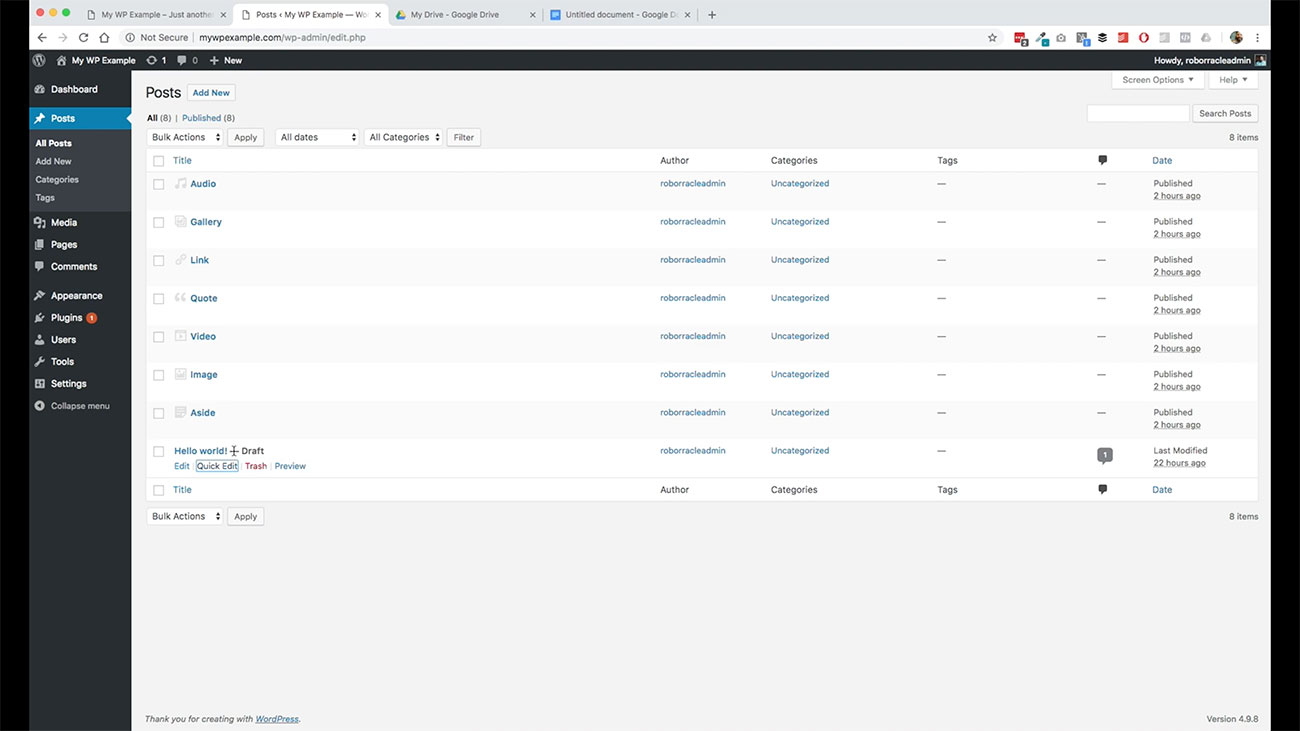
Moving your post to Trash
You see here, now that it is in draft status there. This is what those quick menu items will do for you on your post dashboard here. Then if you want to move it to the trash, you just click this button and then it will automatically move it into your trash and then you’ll see that you’ve got one item in your trash up here.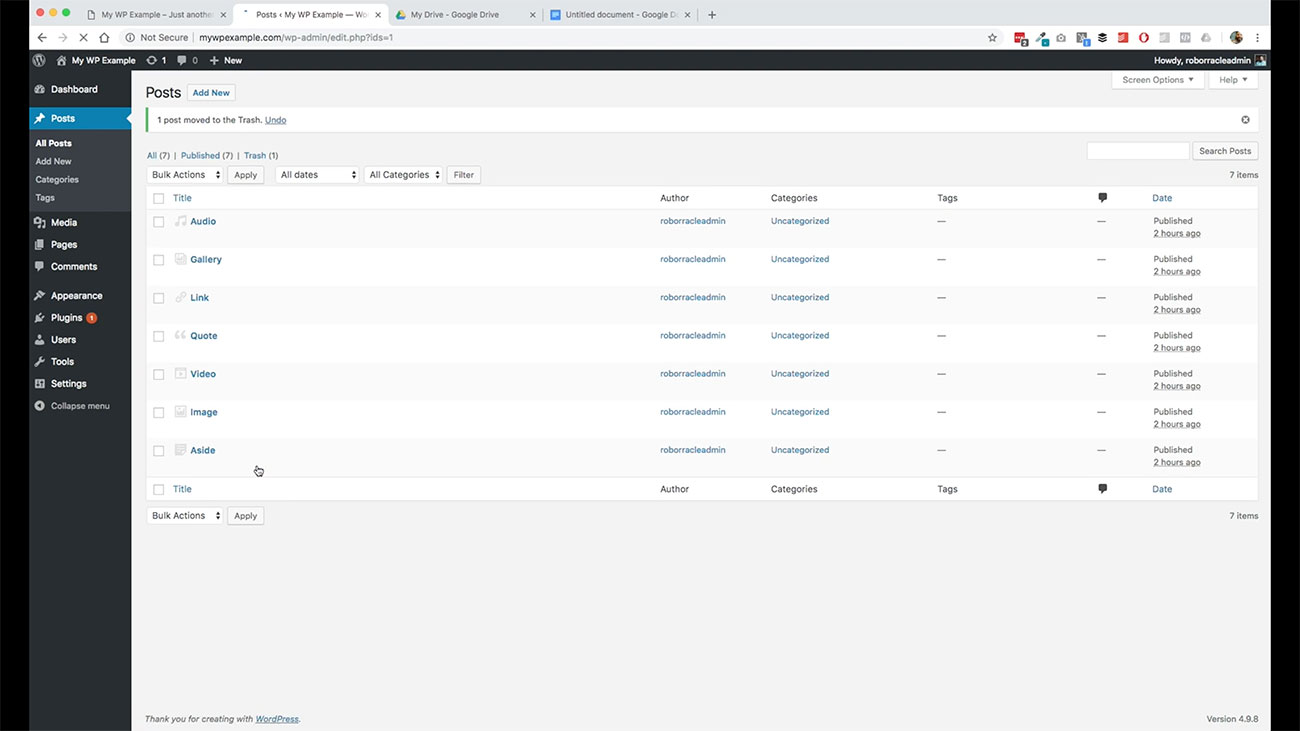
Restoring your Post
Then you can restore it from here, so on and so forth. It’s pretty self-explanatory stuff. We come back over here.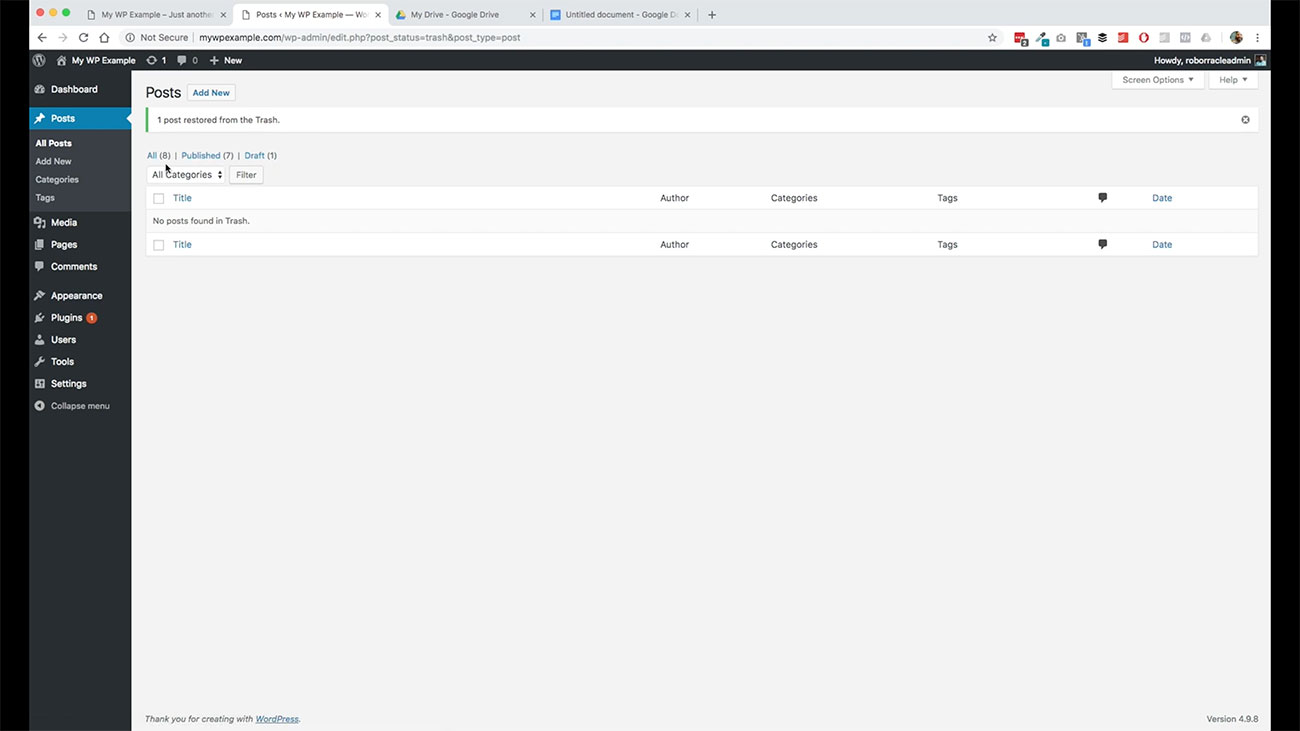 We can click on ALL which is going to give us every post. To elaborate a little bit more about these menus, obviously, all is going to give us every post that we’ve got.
When you get into the hundreds of posts, you may have posts in various different statuses. This piece right here will give you the count for what those various different statuses are.
Editing in Bulk
For instance, if you got a bunch of trash and the trash would appear and show you that you’ve got, however many in the trash and so on and so forth for each one of these. Then you also have the ability to perform bulk functions.
 If you select this box right here, it will select all of your posts that are on that page. Then you can for instance edit. Let’s click that. Hit, edit, and then apply. Then what it does is kind of gives us something similar to what we were just looking at in the Quick Edit menu that is under each one of these.
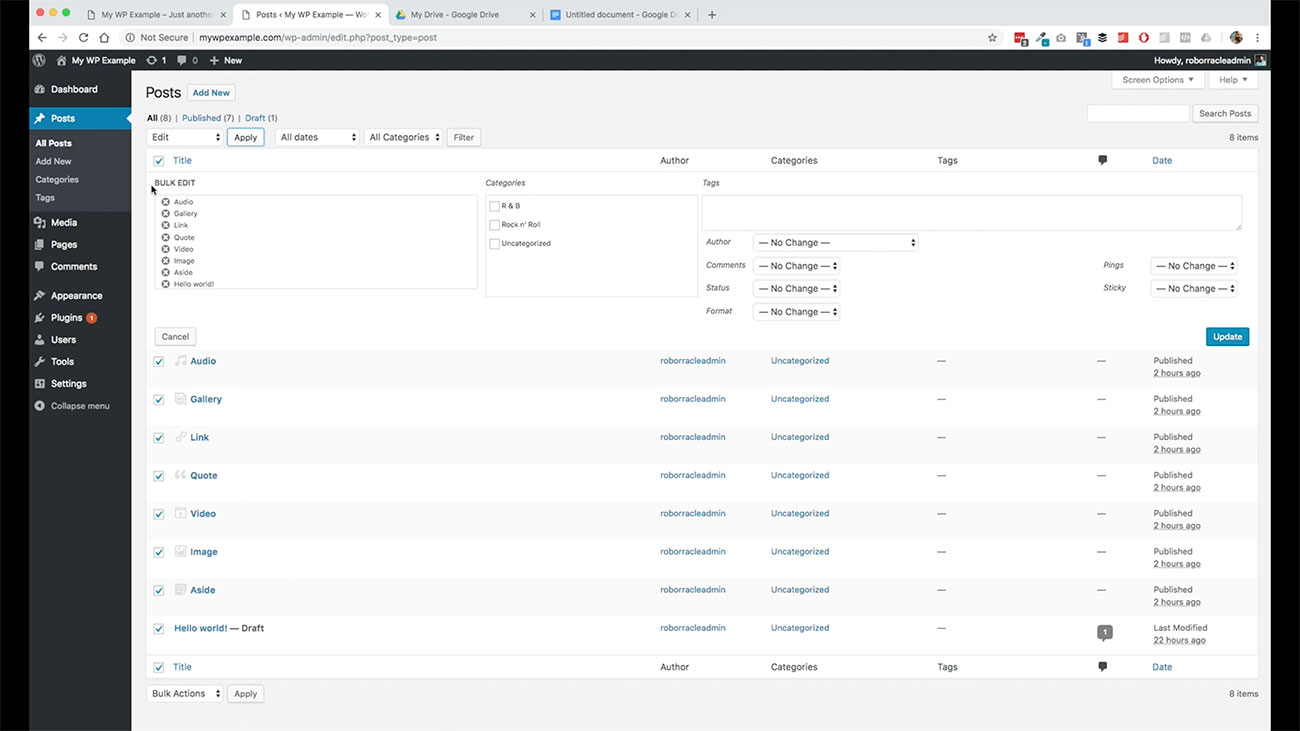
It tells us which posts that we are trying to edit, and then gives us a couple options for what we may be able to do with these in a bulk capacity.
Assigning a Post to a Specific Category

For instance, we want to assign them all to a specific category. We want to assign them to a specific author. You have these options available to you on each one, comments, if you want to make everything private, or you want to make everything in draft status or pending review.
You have these various different publication statuses that are available to you— just a quick note about publication status. Primarily, you’re going to probably be working with posts that are either as draft or published. Draft just means that it saves a draft of what you’re working on.
Publish means that it’s out there for the world. The draft status basically gives you the ability to put everything that you want in there and test it and look at it and work on the content and or the display layout. However, you want to work with that without it being out there public for everyone to see.
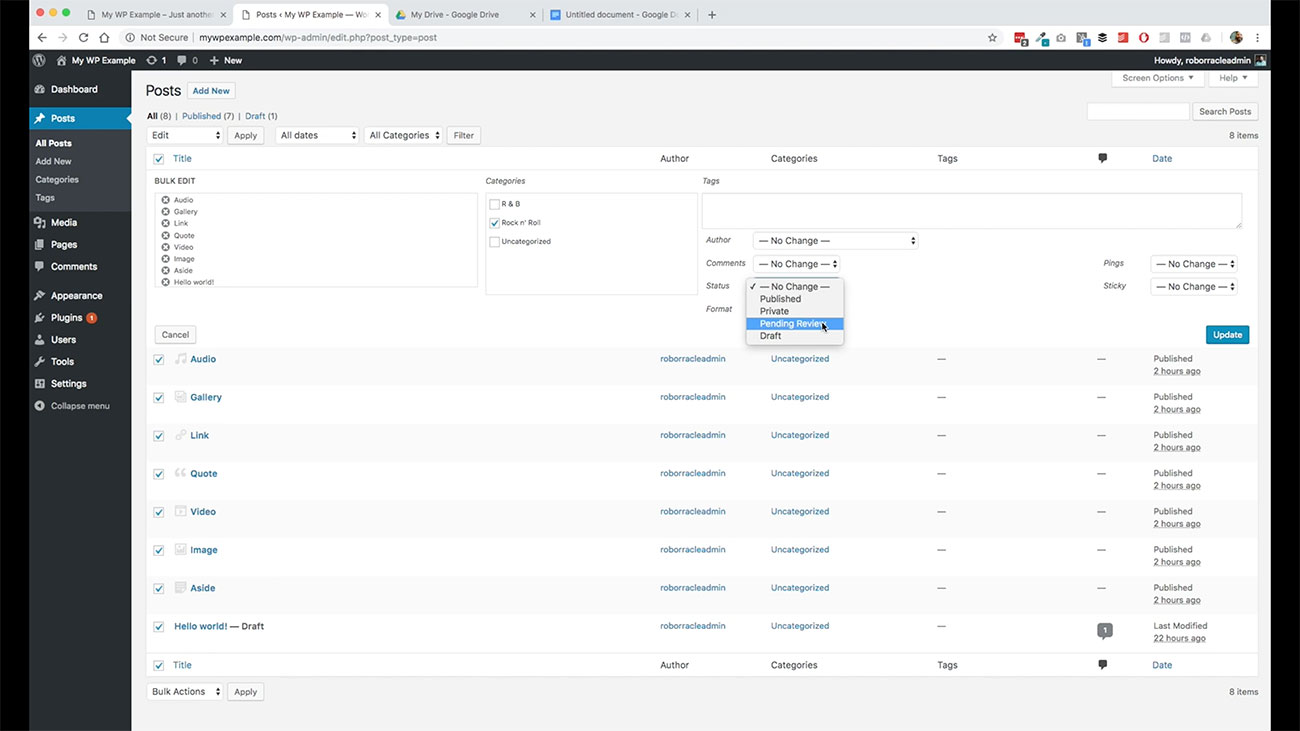 There are a couple other statuses. For instance, if you needed somebody else to look at it, you can set it to pending review. This is associated with the user roles section which we are not going to get into right now.
Then if you wanted it to be private and or password-protected, then you can do that here as well. There may be some scenarios when we’re wanting to do that. This is WordPress essentials. This is not advanced WordPress.
For now, I think the most important thing for us to pay attention to is our status is either going to be published or draft. I don’t really see a whole lot of need for when you’re just getting started for worrying about those other two statuses.
For now, let’s stick with published or draft. Then you have this format, type in, if you notice these correspond over here with all of the posts that I’ve got. We’ll talk about that more in just a second.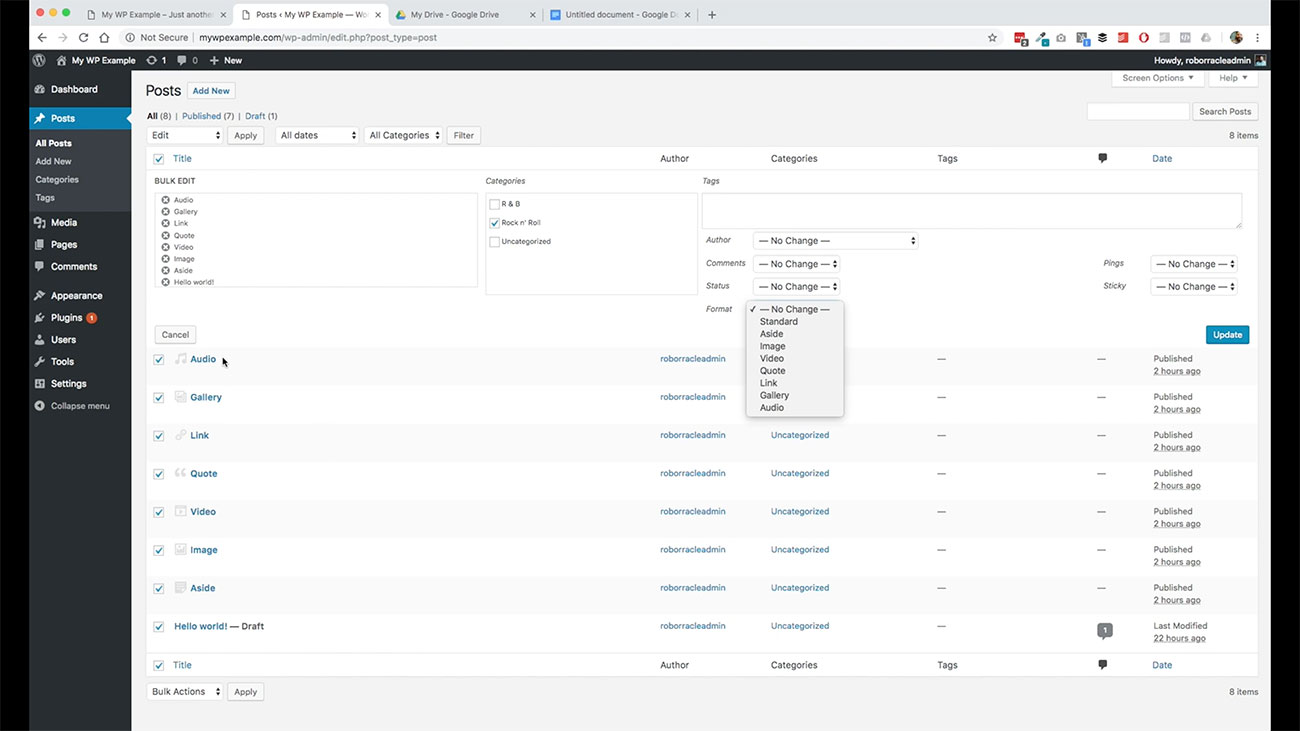
And then a couple other options here. Allowing pingbacks, which we will cover once we get into the tools and settings and then the sticky which will also be covered when we are talking about your theme and whatnot.
I don’t think that you’ll spend a lot of time in this bulk editorial piece of things, but just know that you’ve got it available to you. Again, if you want to just select some things that you want to edit in bulk. Say maybe you wanted to just edit these you can x off of the ones that you don’t want to edit in that particular scenario.
Filtering Posts
There are a couple last things here to look at on this page. When you have lots of different posts that you have accumulated over time, you may want to filter when you’re in here viewing. Maybe you’re looking for a specific post or something like that.
 You can filter the posts that are displayed here using a couple options that you have here at the top. You can select for instance, if you want to look at the posts that you created in a specific month and year. Obviously, right now, I only have these from November 2018, but for older blogs, you would have a listing of months and years here that you can filter by.
You could look at just the subset of posts for that particular time. Or you can come over here to all categories and select and just look at the posts by that specific category or some combination of both.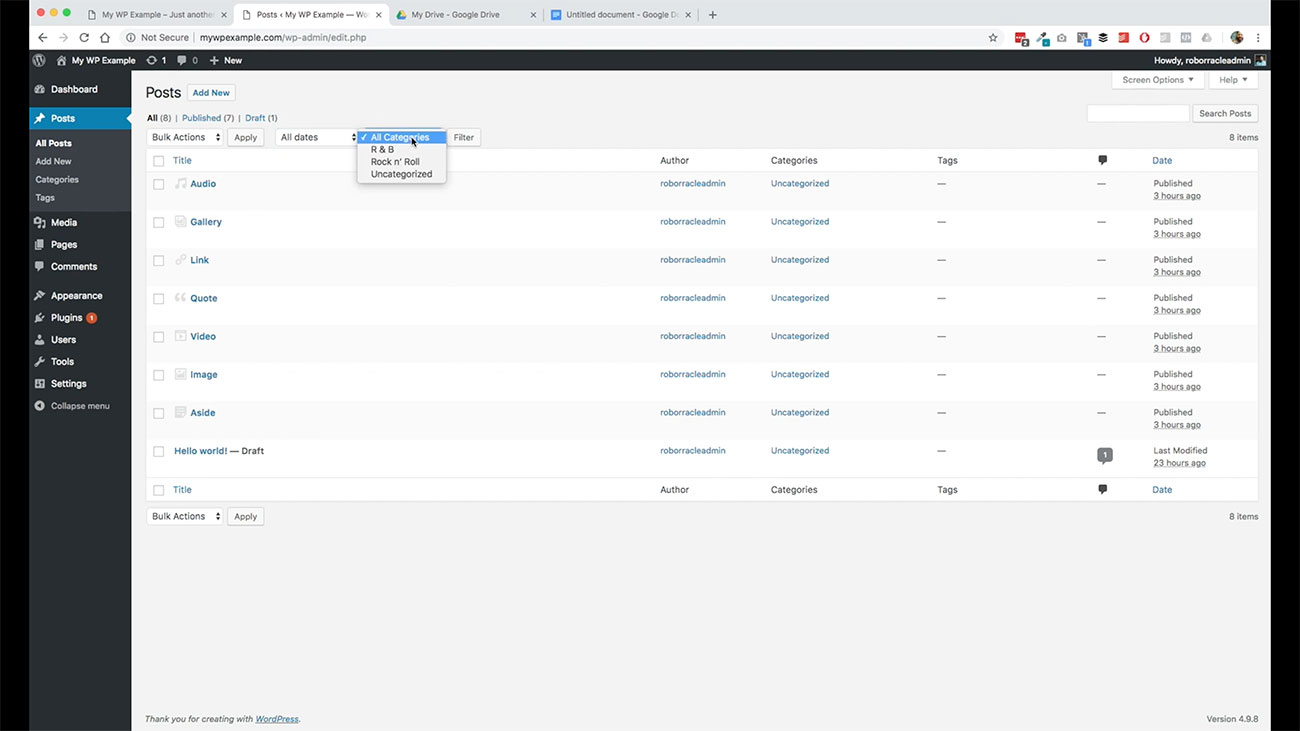
For instance, if you wanted only the post from November 2018 that are uncategorized and then you selected the filter. It would show you these posts in November of 2018 that are uncategorized as you can see here.
All of our posts right now are just in this uncategorized category. You would be able to narrow down what’s displayed using these filters here. Then finally, one last feature to look at here on this post dashboard is this search posts option.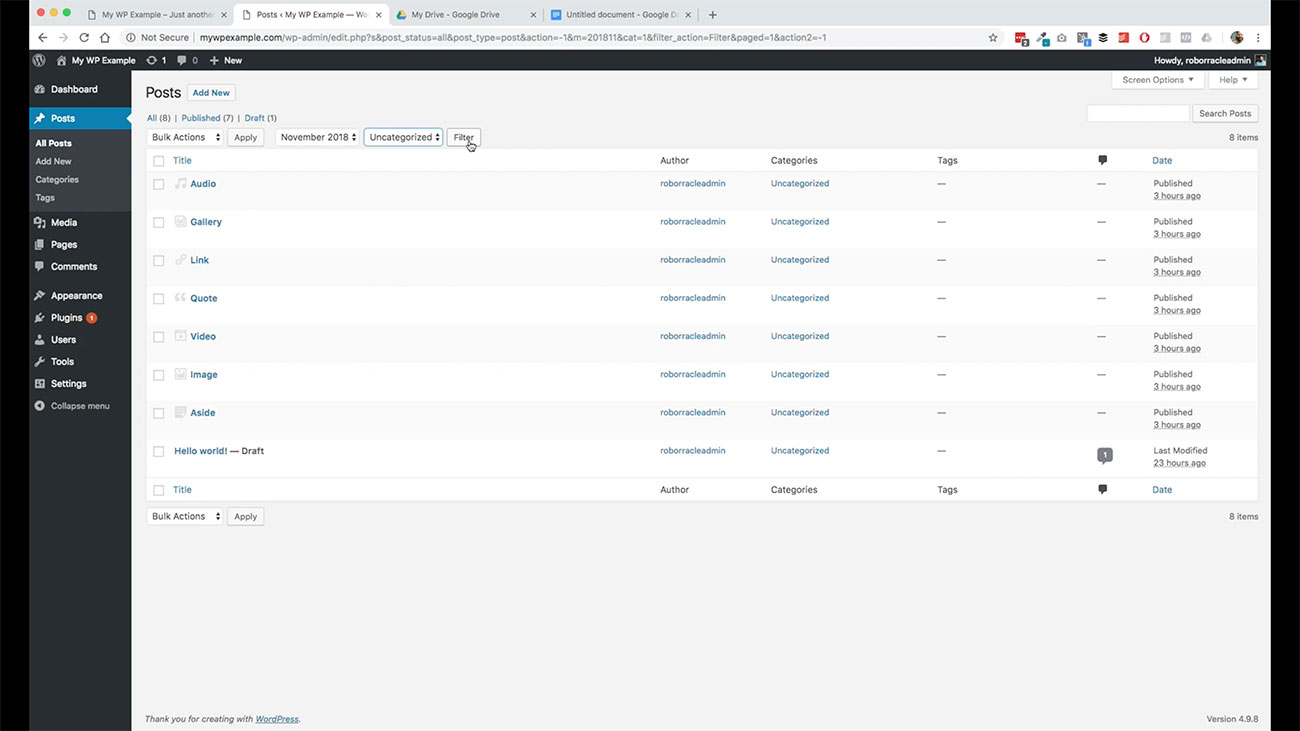
For instance, if you wanted to search by a post title, for instance, again, when you got more than eight or 10 posts, and you’re trying to find a specific one, using a keyword here in this field to search for that particular post, you will be able to do that here. Click the search button and here we are.
Editing a Post
Now that we found the post that we were looking for in our search there, we’re going to go ahead and use this one as our example. We can look at the different fields that we have available to us when we are creating posts. The easiest way to do this is just go ahead and hover over this and click Edit.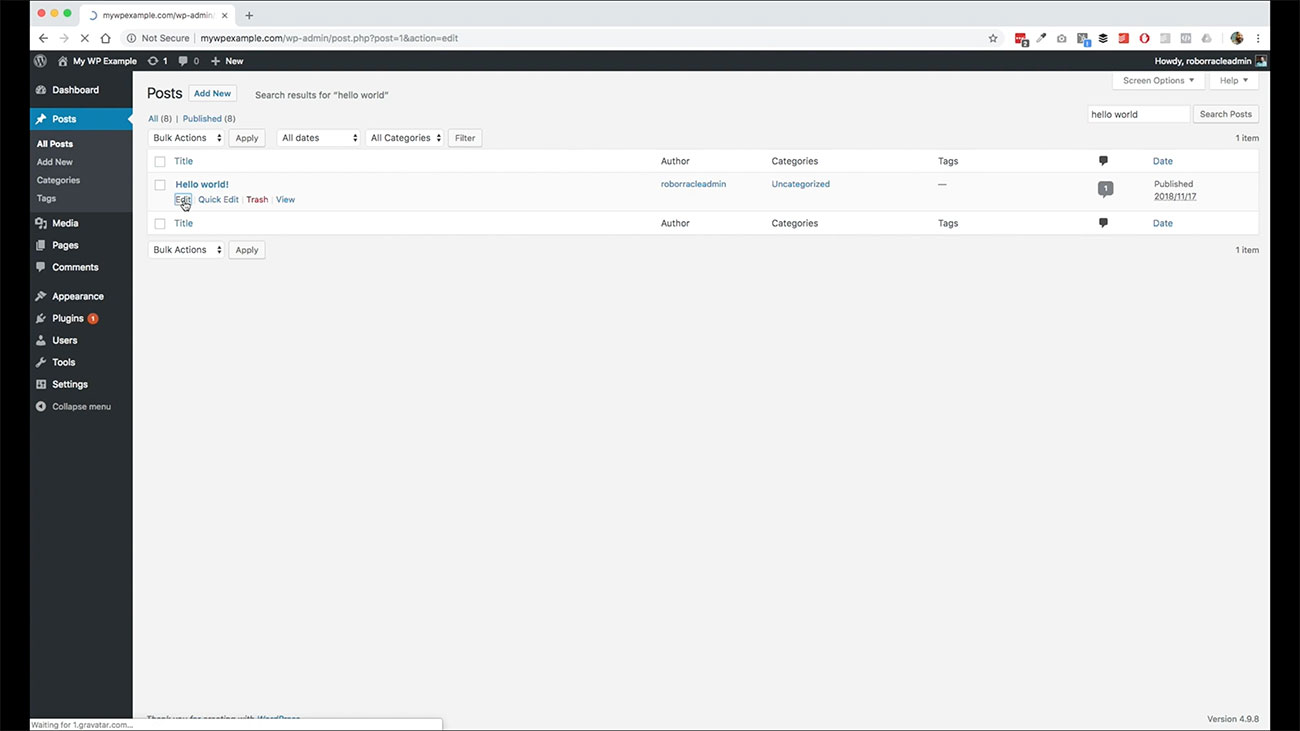
That’s going to bring us into the post editing screen. Most of this stuff should be pretty straightforward. We’re going to walk through several of these so you’ve got a good idea about what’s available to you here.
First one here is the title field. The title here is going to be the title of your post, obviously. One neat thing that WordPress does for you automatically is it takes the title of your post, and it will automatically create your website URL from that. And that’s what you see right here as this permalink.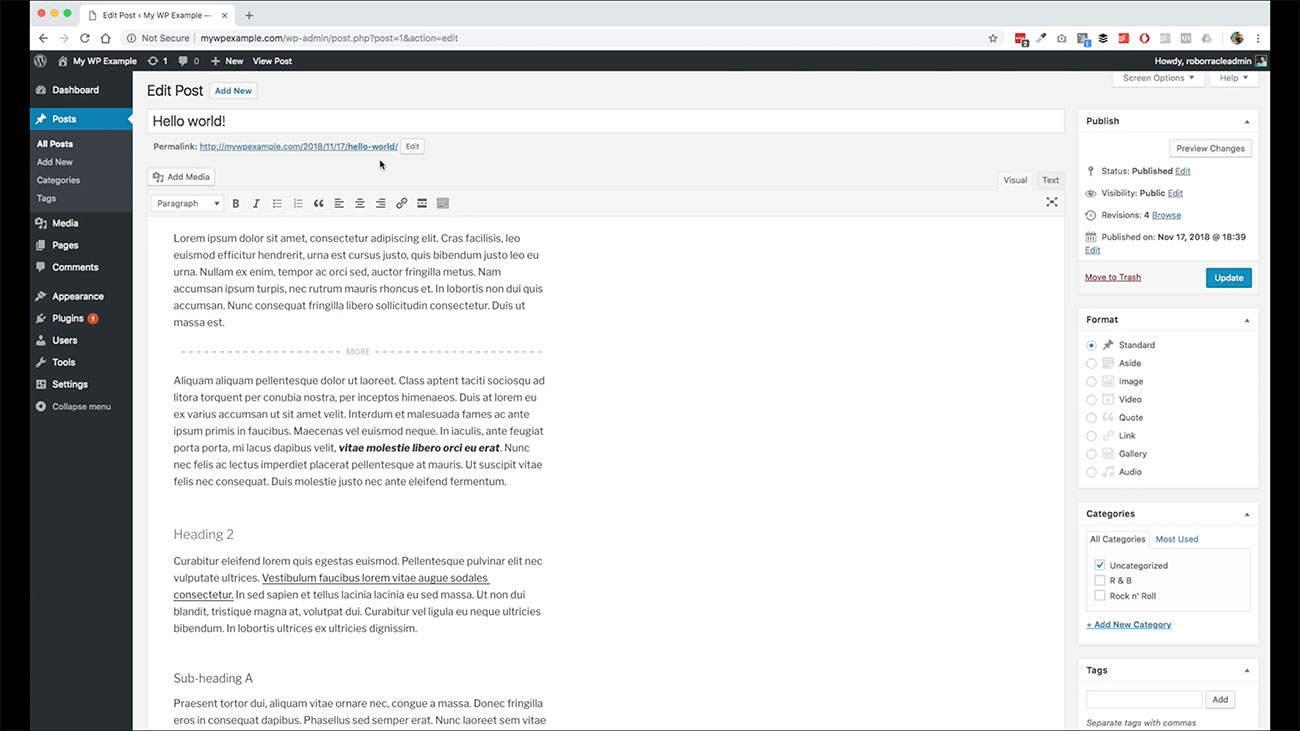
If you want to change this, all you have to do is click this edit button here and you can call it whatever you want.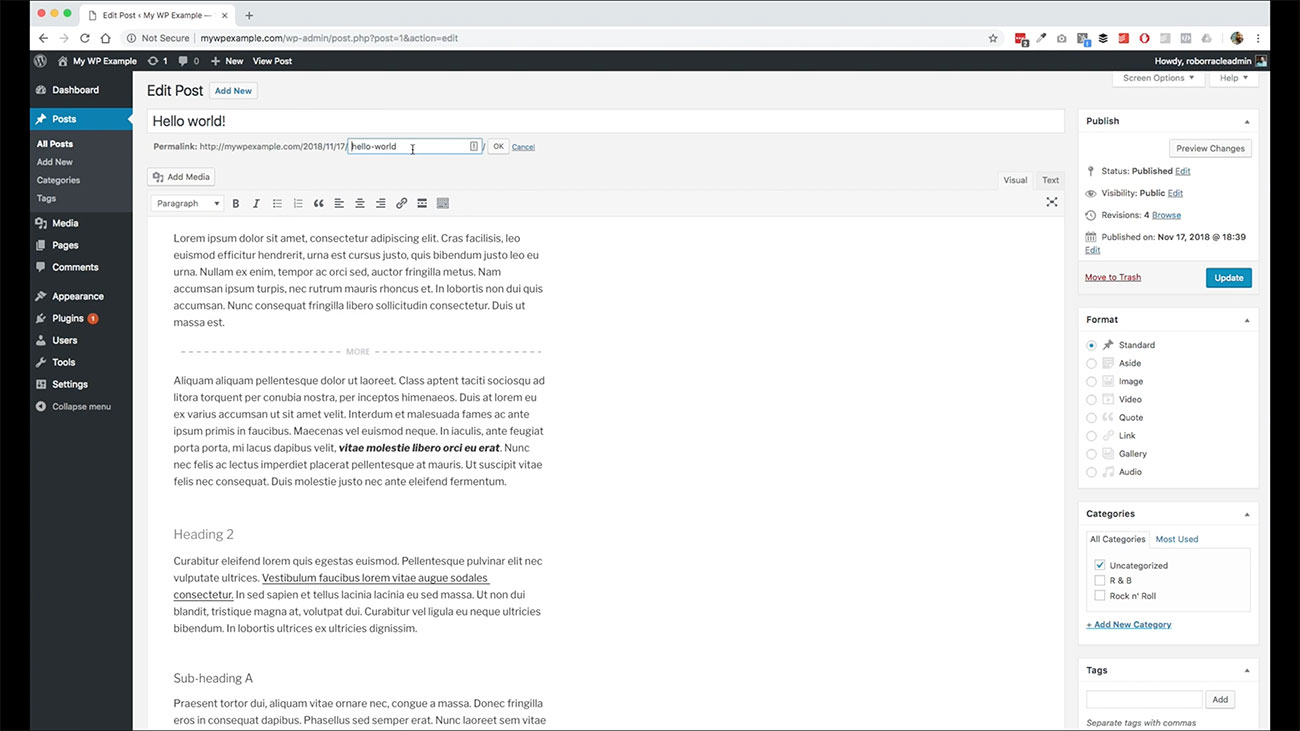 WordPress is going to go ahead and put spaces in there or put the dashes in for you if you inadvertently leave a space in there, because we can’t have any spaces and URLs that it’s just not going to work real well.
Then when you’re done, just hit okay. The major thing that you’re going to be paying attention to here, when you’re in editing any individual post is going to be this section here, which is your text editor.
Here’s where you’re going to input all of your content, do all of your writing, put all of this stuff that you are trying to publish out onto the front side of your website. Here you have a couple different fields and some of these may look familiar if you’ve ever done any work with any kind of Microsoft Word or something like that.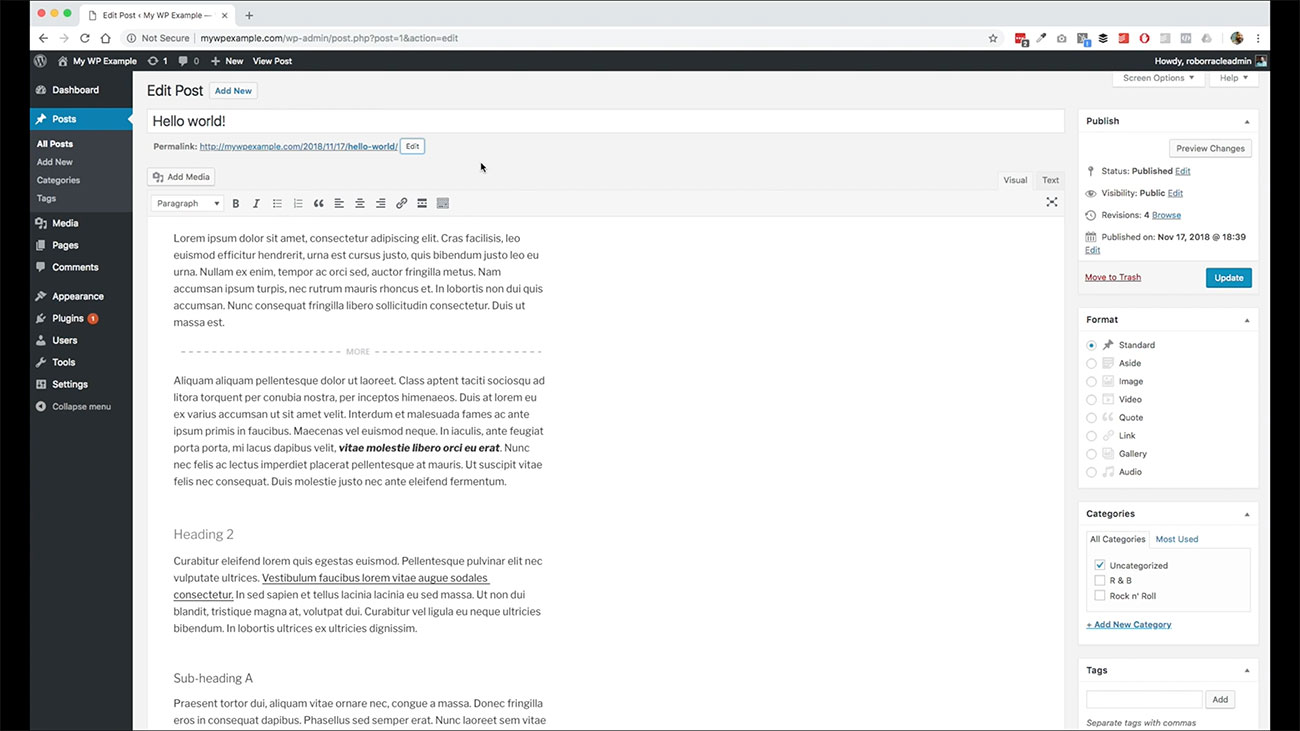
These icons are going to be pretty similar to what you’ve seen in other text editing kinds of formats. You’ve got these basic controls over here that control these things. Just real quick, this piece right here controls the formatting of your text.
Breaking up Your Post into Different Sections
Basically, what you want to use this for is to break up your post into its different sections. You’ve got these heading options available to you here that you can use.  You can see I’ve input a couple of them here like this is a heading two, this one is a heading three, even though you can see up here because it changes to that when you click on it so you can see what kind of formatting it is.
This one I believe is a heading four so on and so forth. You use these heading types to break your content up into its different sections. If you want to break up your content, if you get a longer post that say maybe longer than 500 words or so you’ll want to break it up so that it reads easily and flows naturally.
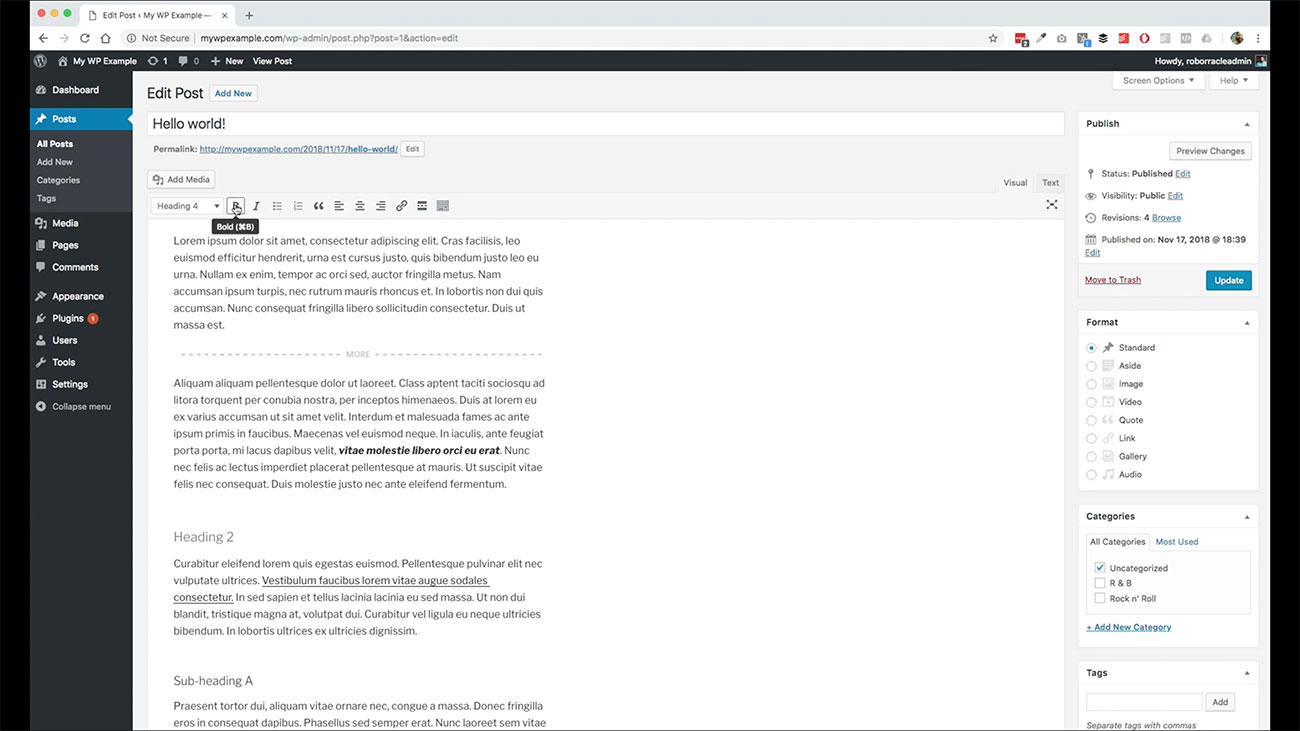 You use these headings to create your section titles for each different section. Then the rest of these things are pretty much straightforward. This is going to bold your text, this is going to italicize it. You’ve got a bulleted list here and numbered list here.
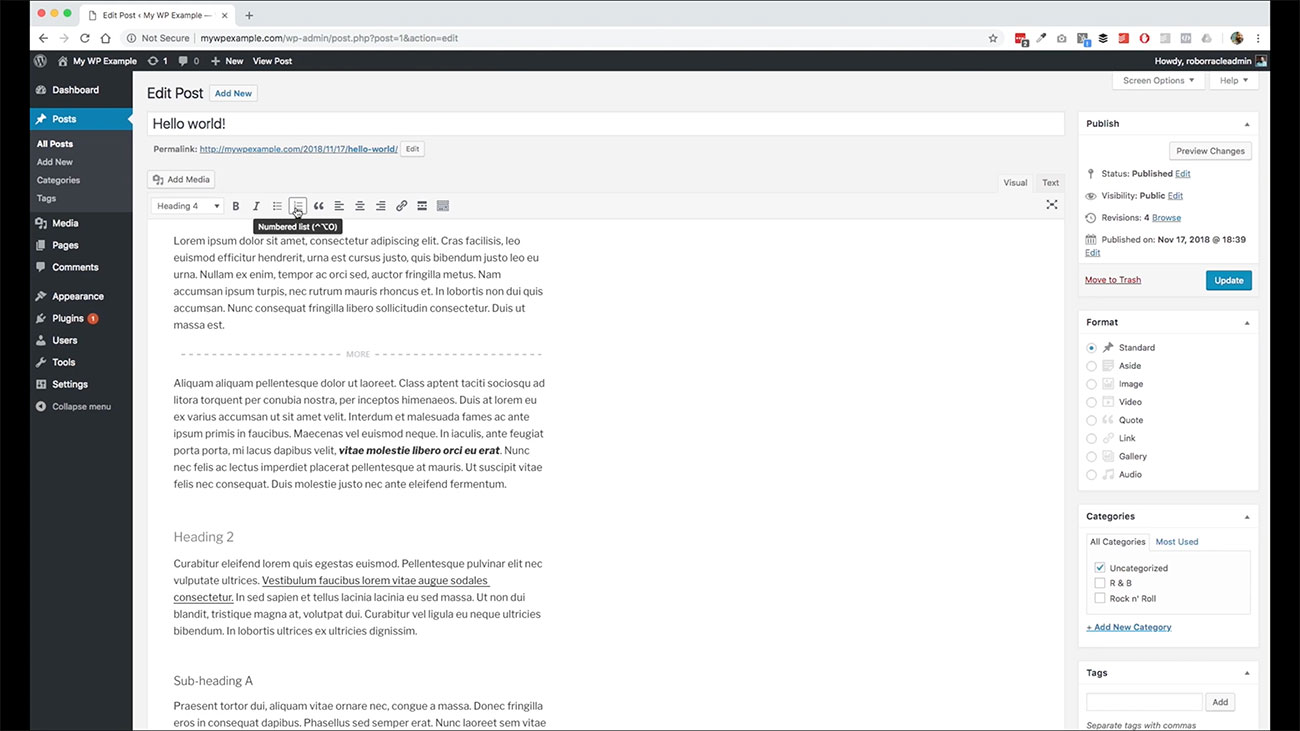
If you want to insert a quotation mark, then you can see this, use this piece right here. These cover your text alignments. This will create a link for you.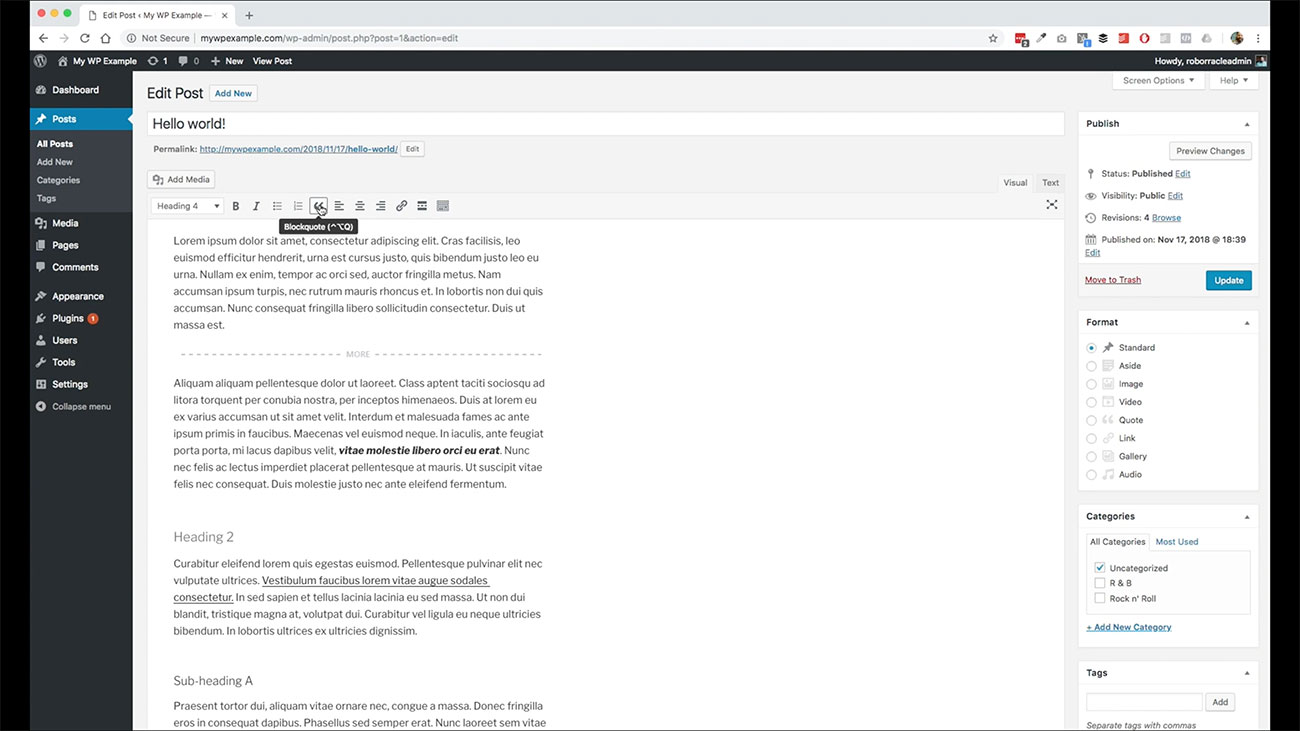
Inserting a link to your post
 Let me just show you right here, I’ve got one created for you as an example. All you need to do to insert a link into your text is highlight the text. Then you would click this button and that will open up this particular dialogue right here where you can see. This is where you would put your link to.
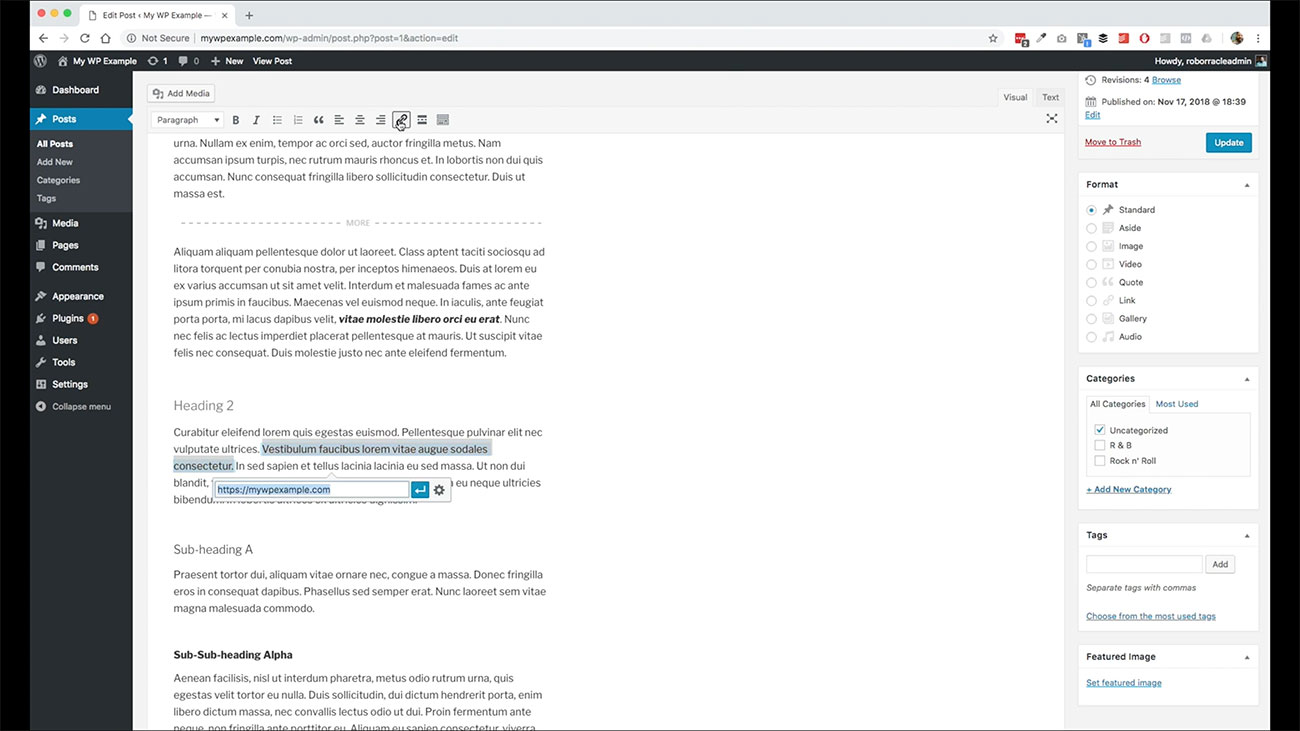
If you’re linking to another website or another one of your posts or something like that, this is where you would actually insert that link right here and apply it by hitting this blue button and you’re done.
It’s really super easy to work with there. This one here, this insert read more tag really is dependent on the kind of theme that you’re using. Some themes will automatically trim the text for you, some of them do not.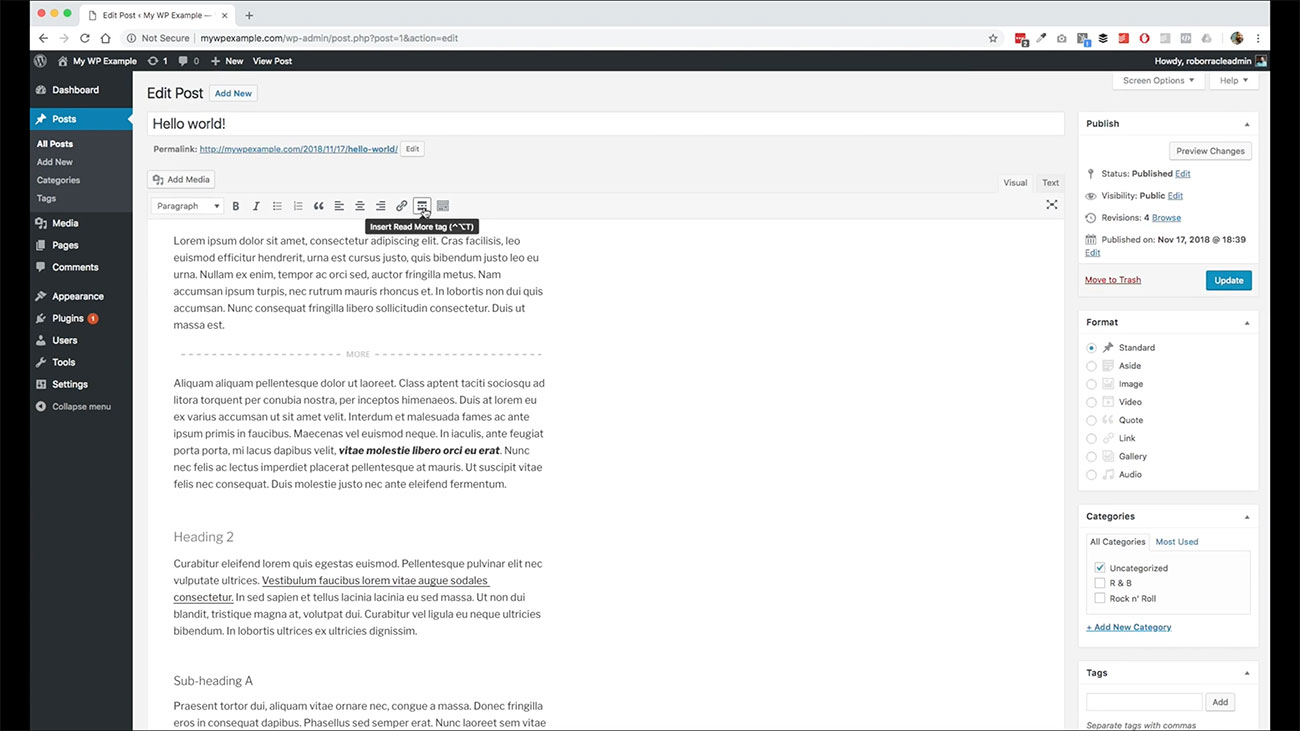
Inserting a Teaser Break
If you want to insert what is called the teaser break, all you have to do is place your cursor wherever you want it, and hit that button and it’s going to go ahead and get that inserted for you into the body of your text.
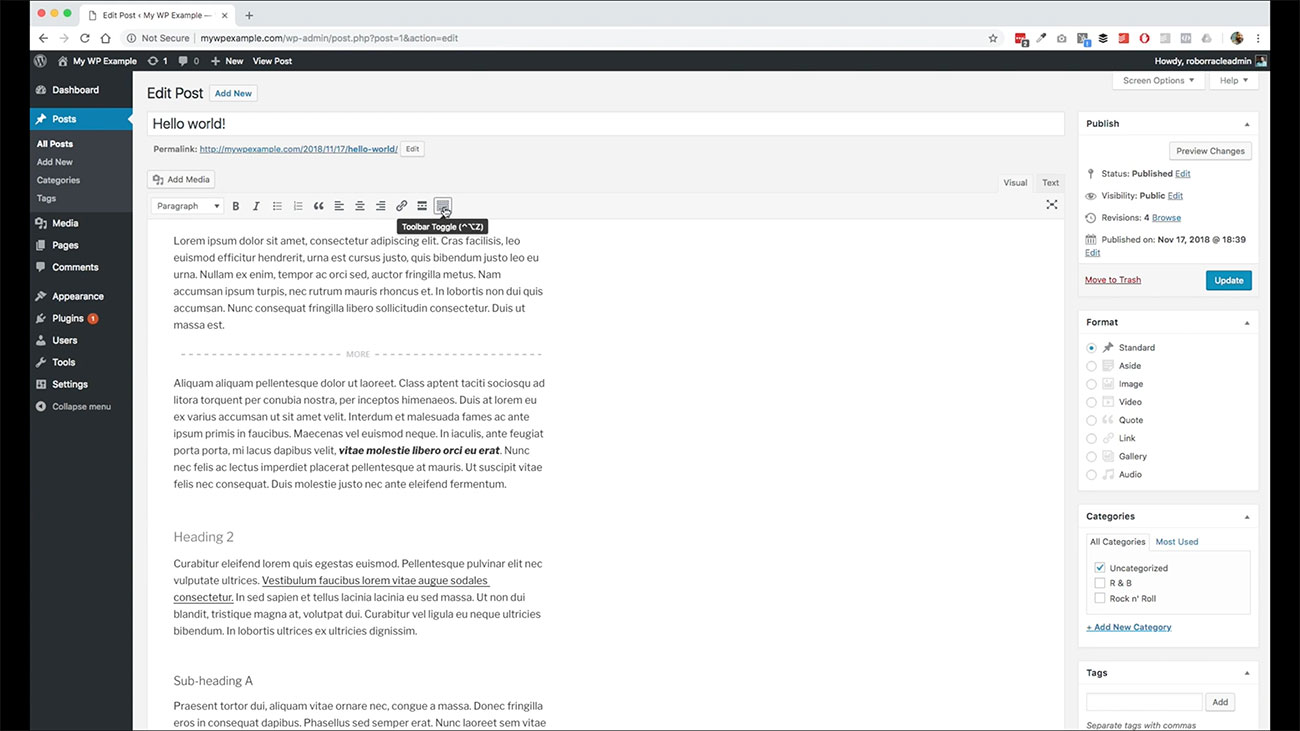
You are probably using this visual field more than anything else. But if you are so inclined and you like to work with the raw text, you can click this button over here. This text button will show you how to or it will switch the view from the regular visual way of editing text to a HTML formatting option where you can actually write your code in here if you so desire.
Sometimes you may need to do that. Like for instance, if you’re inserting something that it requires a script or JavaScript piece, you’ll usually want to insert that through the text side, because it’s going to interpret that text appropriately because if you don’t do it, it’s not going to function right.
Those are rare occurrences where you’re going to be doing scripts in the flow of your posts. But sometimes there are so for instance, like if you’re using lead pages, or you’re using something else that is causing some sort of trigger to open some sort of lead box or something like that, when somebody clicks on a link.
Those require some JavaScript resources and you’ll want to insert those using this text view as opposed to the visual view.
Using text editor
 The last button here, this toggles some additional controls. For your text editor here, I don’t ever usually use these. These are some of the less commonly used. But if you have needed these, you’ve got some options here, if you want to use some of these buttons, all you got to do is toggle this switch on or off.
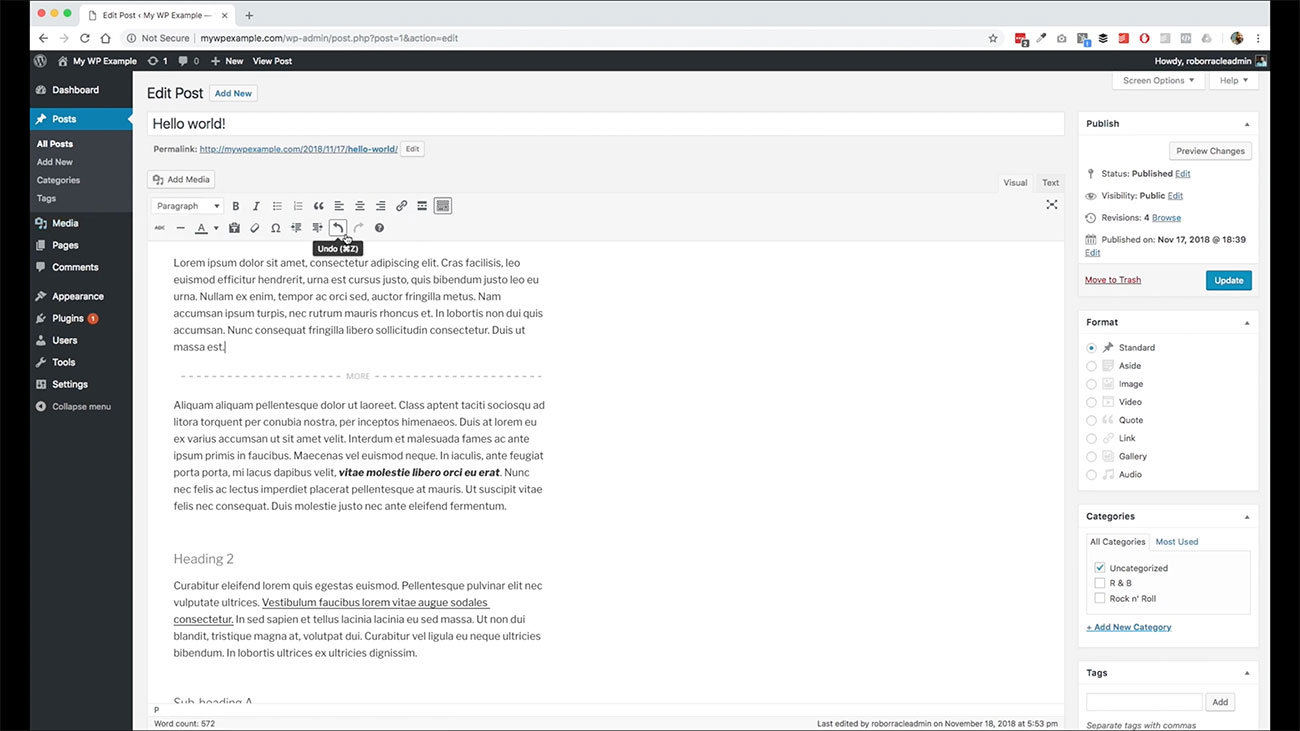
Publishing a Post
The next section here that I want to pay attention to is this publishing section. When we’re getting started with our WordPress blog, like I told you in one of the previous sections is that we’re really only concerned at this point with what our public publication status is. That means is it in draft format, or is it actually published.
This is where you would set that if you want to. I’ll show you here in a second. We’ll go ahead and create a new post and I’ll show you a little bit about that in a second.
The only thing that we’re doing here is, for instance, we’ve got this post here and we’ve published it, but we want to change it so it’s not available for online viewing, all we’d need to do is change it to a draft status, hit OK, and then hit update that would remove it from public view, but still allows you to have the ability to edit it and work on it through the back-end of your website.
The same thing goes in the opposite direction. We’re ready to go ahead and publish it. We don’t necessarily need to go come back up here to this section. All we do is hit the publish button and that pushes it out. And we are once again live with that post.
It’s really super easy stuff to do there. The only other main thing that we want to look at for this publication box is this one last section.
Publishing Posts in the Future
 This allows us to schedule posts to be published in the future. For instance, if you click on this edit box right here. It’s going to give you this calendar tool. For instance, I wanted this one to publish next month on December 17th. I can go ahead and create the post, put everything in it, do everything that I want to do with it, and then hit OK.
Then it will stay in draft status until that date in December. You see our status up here changes to scheduled rather than public.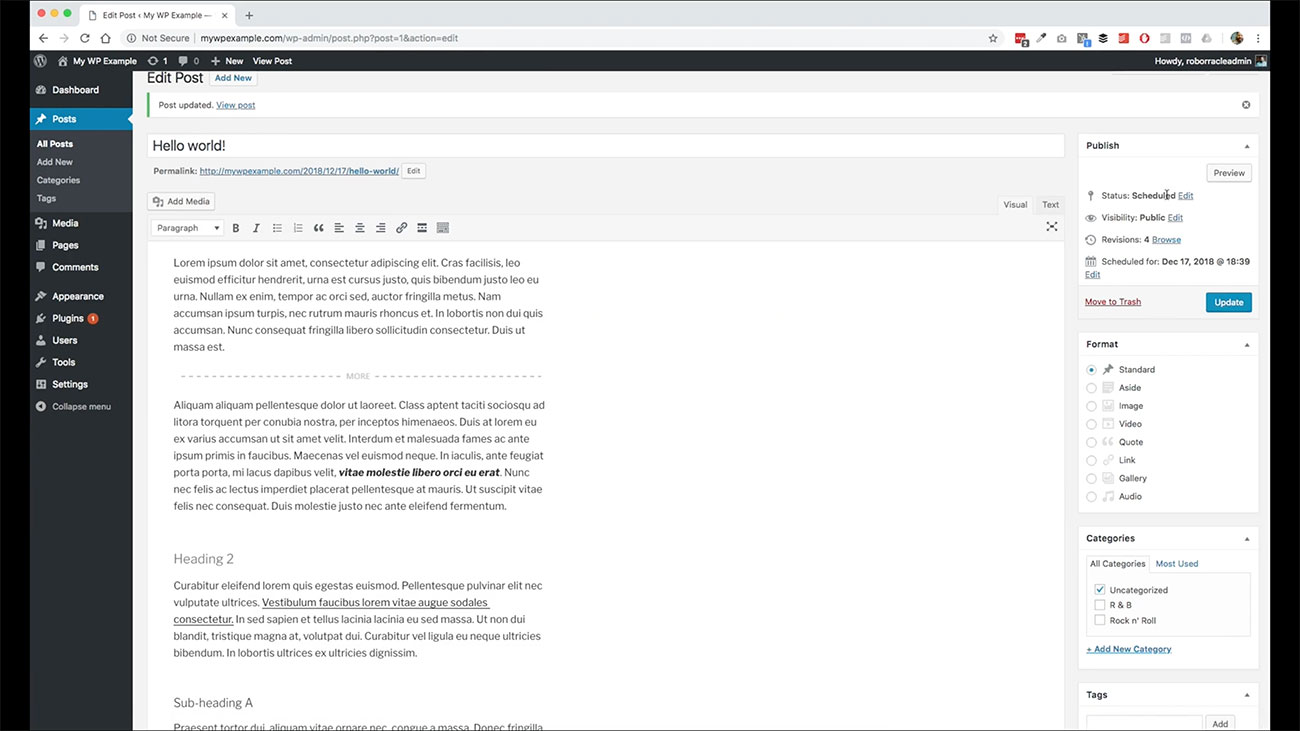
It’s a great thing to do if you’re starting to crank out content, and you don’t want to interrupt the flow of your creative process, but you want to get a bunch of stuff into your editorial calendar and get it created. You can schedule these things out as far out as you want to go.
If you want to schedule like for instance, if you got one post that goes out a week, you can be scheduling them once at a time, those kinds of things. It’s a great feature here that’s built right into WordPress for you. Real quick here, just on a couple other things here in the post editorial screen.
 This post format here is entirely themed dependent. We’re not really going to spend a lot time here. But if your theme supports these kinds of formats, then you will have this available to you. Otherwise, it’s not something that you really need to be worried about at this point for our purposes of getting started with the website.
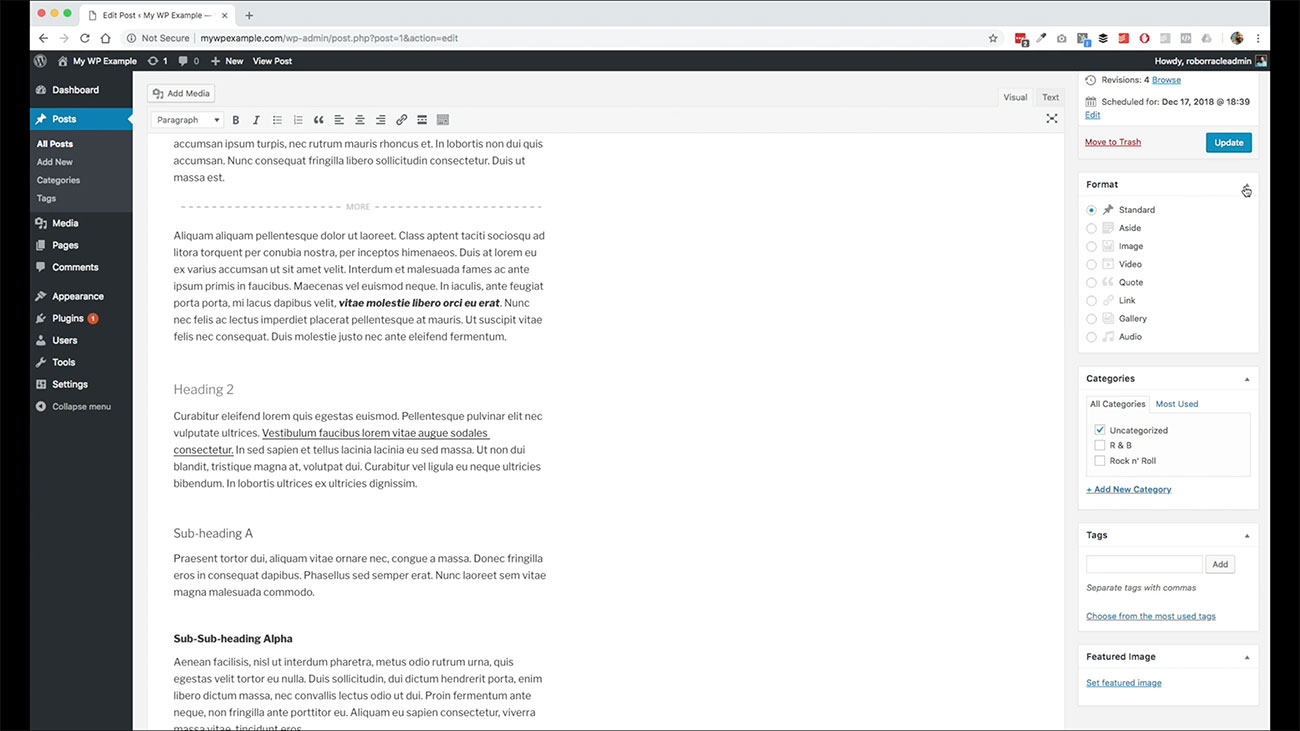
  We’re just going ahead and close that. Then you have your ability to over here to create, or to work with your category. Say you’ve gone ahead. You’ve created your post. You’re ready to go. You want to make sure your categories are all good to go here. You can even add a new category right here if you want to and set its hierarchy and however you want it to be displayed.
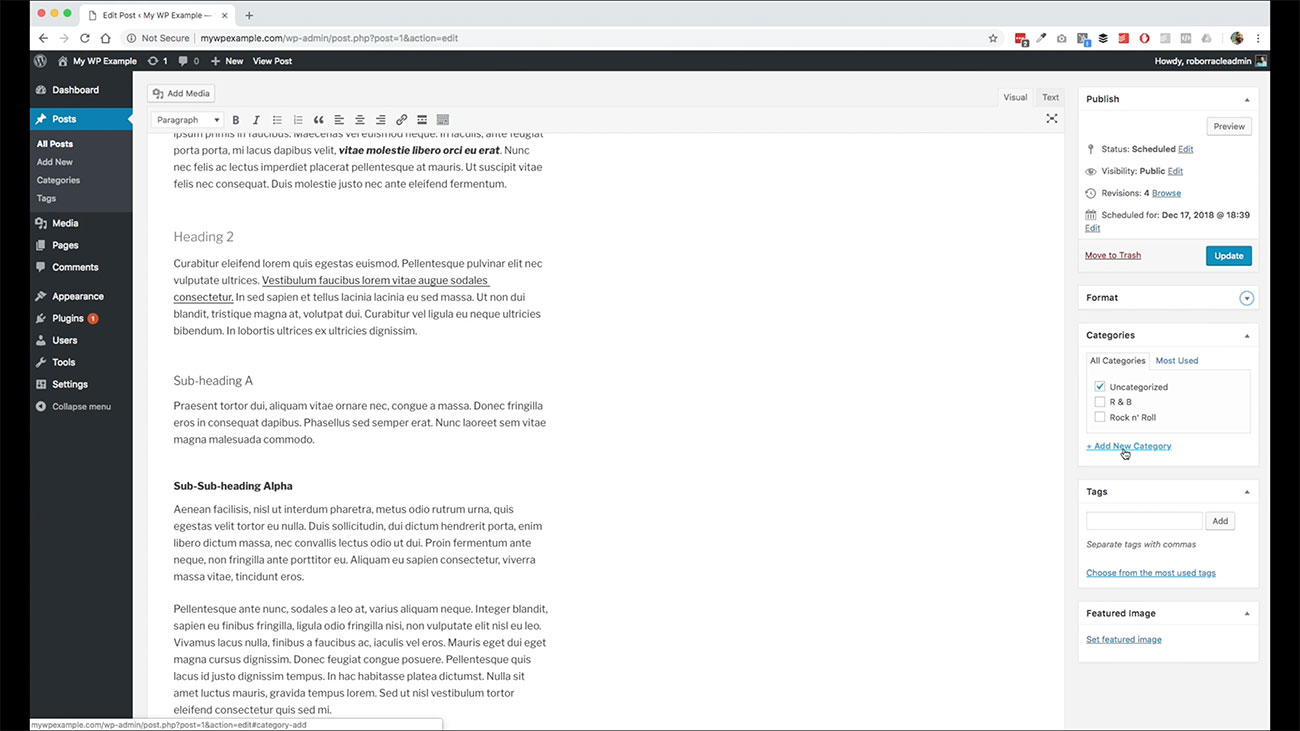
Creating a sub-category
For instance, say we want to create a new subcategory under rock and roll. We’ll just call it blues rock. All we do is just we type in the name of the category that we want. We set the parent category here, hit add new, and it will automatically go ahead and get that added for us.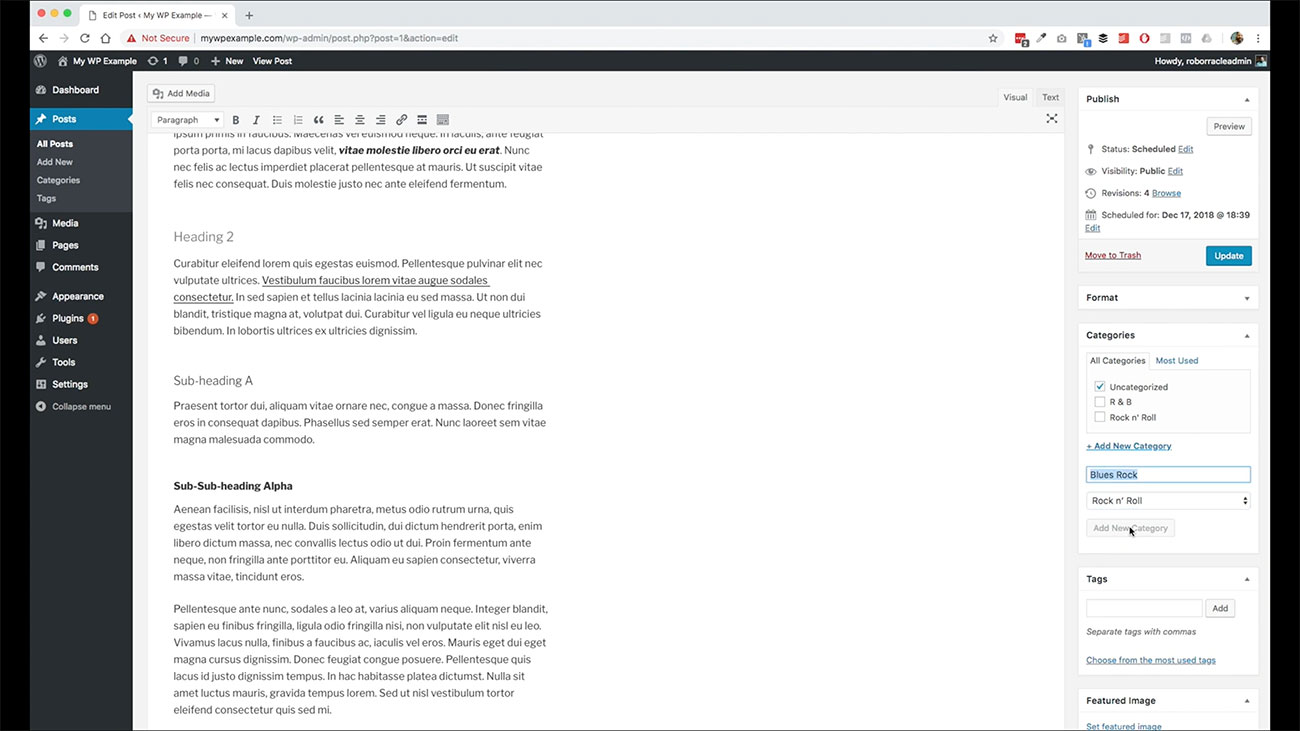
Tags we talked about before. We’re not really interested too much in working with tags. So we’re not going to worry about that one here. And then the last thing that you do want to pay attention to is, again, this is theme dependent.
Setting Featured Images
We’ll see this more when we get to the theming module. You have the ability to set featured images on some of your posts. It just depends on what your theme is and how that featured image is going to display.
But for each individual post, depending on how your theme uses it, you can set a featured image and you can upload or drag and drop. We’ll talk about this a little bit more when we get to the media library module, but you can set these for each one.
And this featured image is a separate thing than what you would do over here with this media button, which we did not talk about before. This media button is going to allow you to put images in line in your post.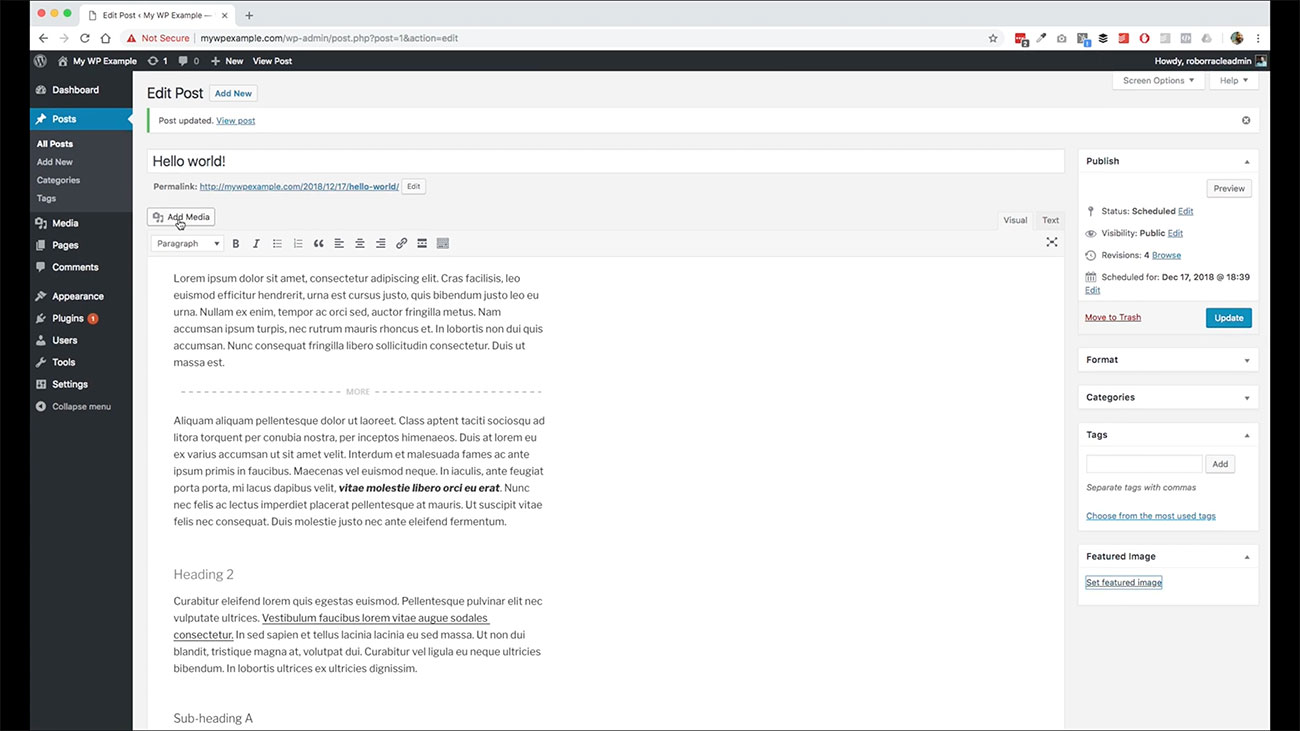
Adding Image on your Post
 For instance, say you wanted to have an image that’s sitting right here at the top of your post. You would just click Add Media. Select the file and add it there. It adds it directly in line in here with this particular post.
If you do it over here, it’s added to the post page depending on what your theme is, it will it will show you that featured image depending on what the design of your theme is.
That’s going to probably not be real clear at this point. But when we get to the theming module, we’ll talk a little bit more about that. I just wanted you to know what these controls are so when we do go over media in the media module, you’ll understand because I’ll refer back to these things so that we can get that part covered there.
Other than that, that covers it. This is what we want to be focused on for our post. One last thing here is as I mentioned before, the screen option tab changes contextually with wherever you are.
Using the Revision Feature
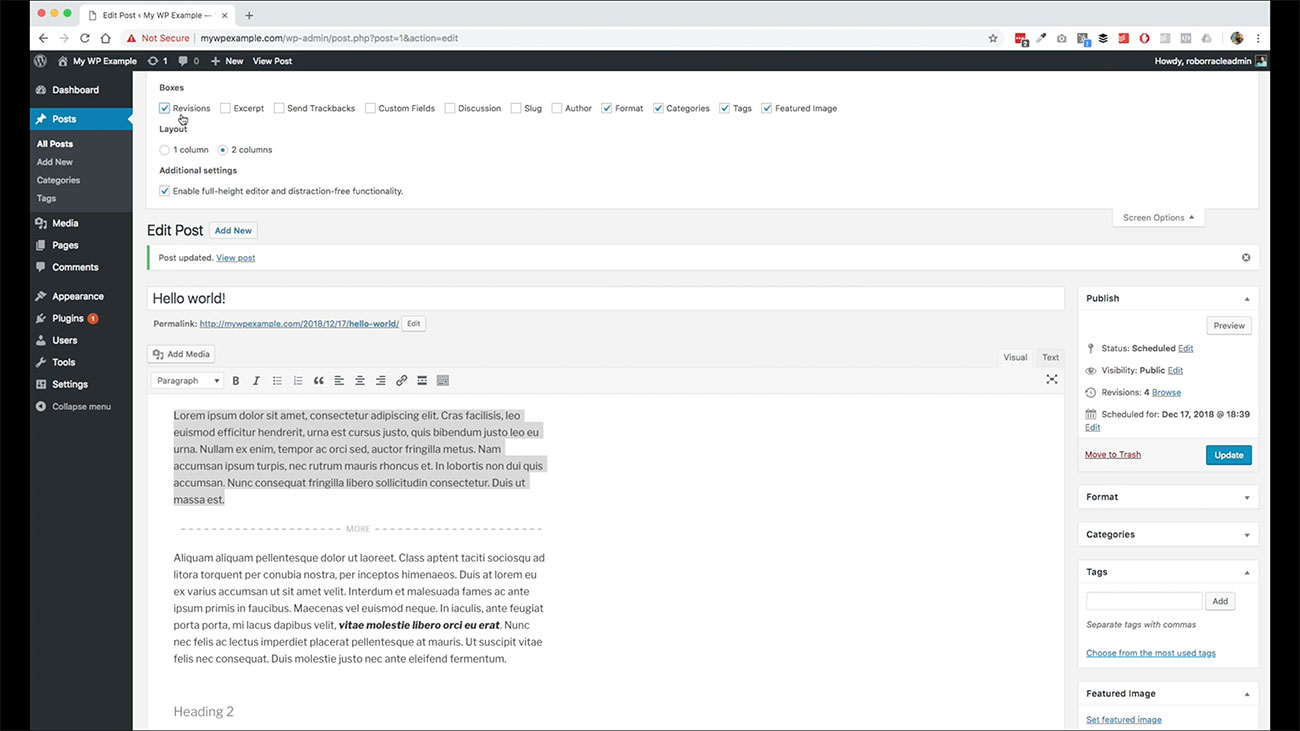 There are some additional fields here that you may want to take a look at. One of them here is a revisions box, you can add. What this does is add a section down here that shows you where you have saved these posts in the past.
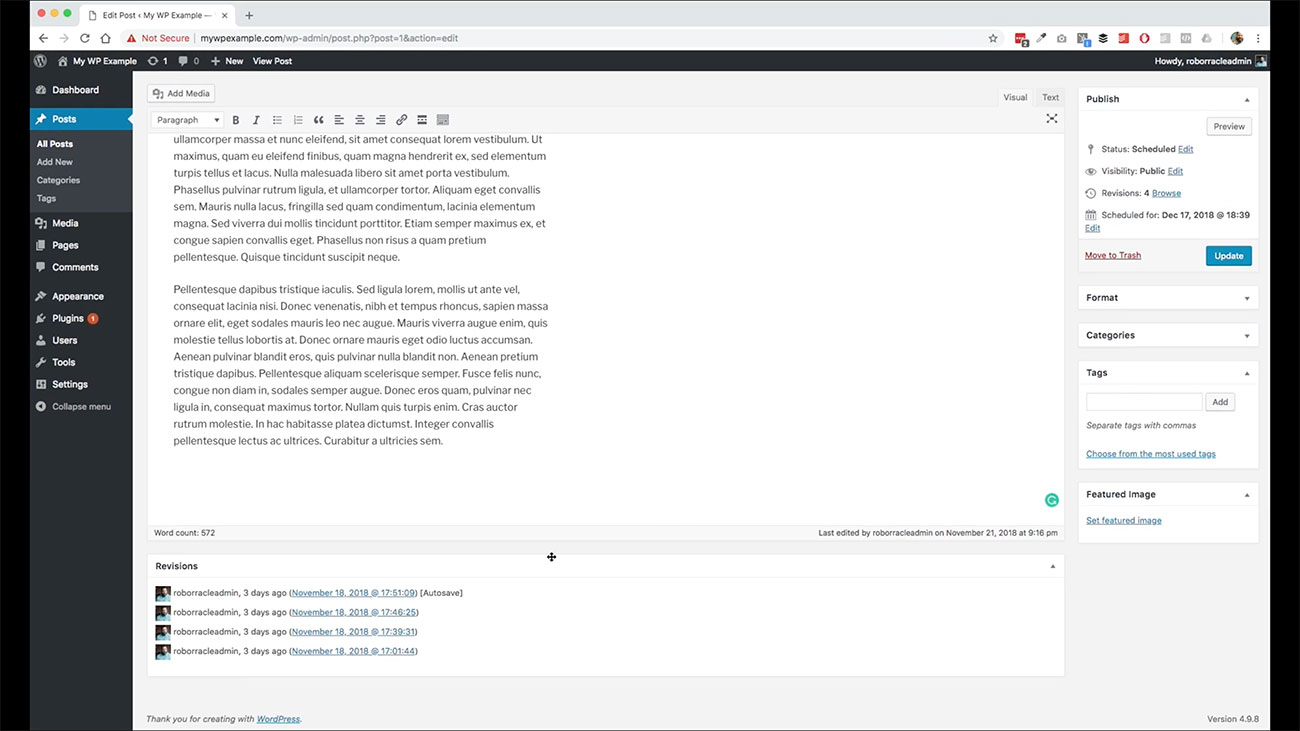
If you wanted to roll back to a previous version, if you took out something you forgot what it was, but you wanted to make sure that you still had it in there. You can use the revisions feature here to roll back to a previous version of this post. That I think up here is pretty much all we want to worry about at this point.
Again, we’re getting the nuts and bolts covered so you can get up and running and get your content created. This is going to get you there. This is going to give you everything you need to go ahead and start writing and start publishing your posts.
We are good to go here and then next up we will be taking a look at some of the other features. Like I said we’re going to be getting into media and pages, the page content type in the future modules.