WPSmush image compression is a fantastic plugin that will help you speed up the pages on your website and optimize your storage space on your hosting service.
Images eat up an enormous amount of hosting resources and when they’re too large they can make for a really awful experience for your user, who has to wait forever for your page to load.
What ends up happening is they just bound off your site and go somewhere else.
You lose the opportunity to win the attention of the user and lose the sale.
Instead of making things miserable for your visitors, make their experience as good as it can be with fast-loading pages that are using fast-loading images!
This kind of experience is common and critical for any professional website – fast loading images and media are the difference between an amateurish site and one that’s firing on all cylinders and WPSmush helps us get there. WPSmush will help you reduce the file size of your images so that they load fast and keep your disk space usage down.
Get the full FREE WordPress training course sent straight to your inbox: https://rbrr.co/free-wp-training-yt
Would you rather skip all this and have your WordPress blog built and launched *for* you?
I got you covered – check this out: https://rbrr.co/wordpress-done-for-you
How To Set Up WPSmush Image Compression
Welcome back to the Building your WordPress Framework series where we’re getting some additional features and additional functionality into your website by adding some plugins. In this video, we are going to add in a plugin called WP Smush that is going to help us optimize the images that we’re using on our website.
The reason why this is important is because a lot of times especially with new website owners, they don’t understand what happens when you add large file size images to your website. When you have images that are large in terms of their file size, it’s a really big performance problem which means that your site can be really slow to load, and makes for terrible user experience.
Ultimately, people will click off of your website while they’re waiting for your image to load. We want to make sure that we’re giving users the best possible experience. We’re going to go ahead and get WP Smush installed in our plugins.
Once again, we’re here in our plugins menu. We’re going to go ahead and click Add New.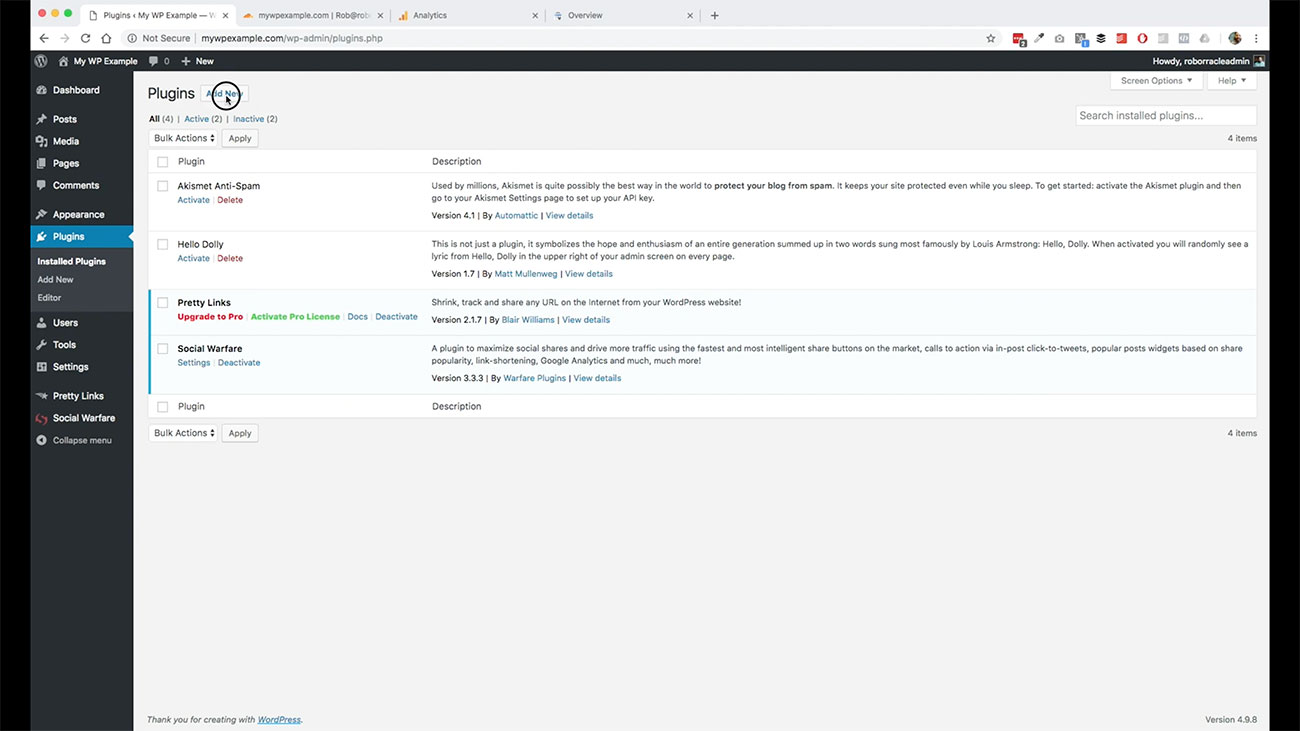 Over here in our search, we’re going to go to WP Smush and search for that. It’s this first one right here which is Smush Image Compression and Optimization.
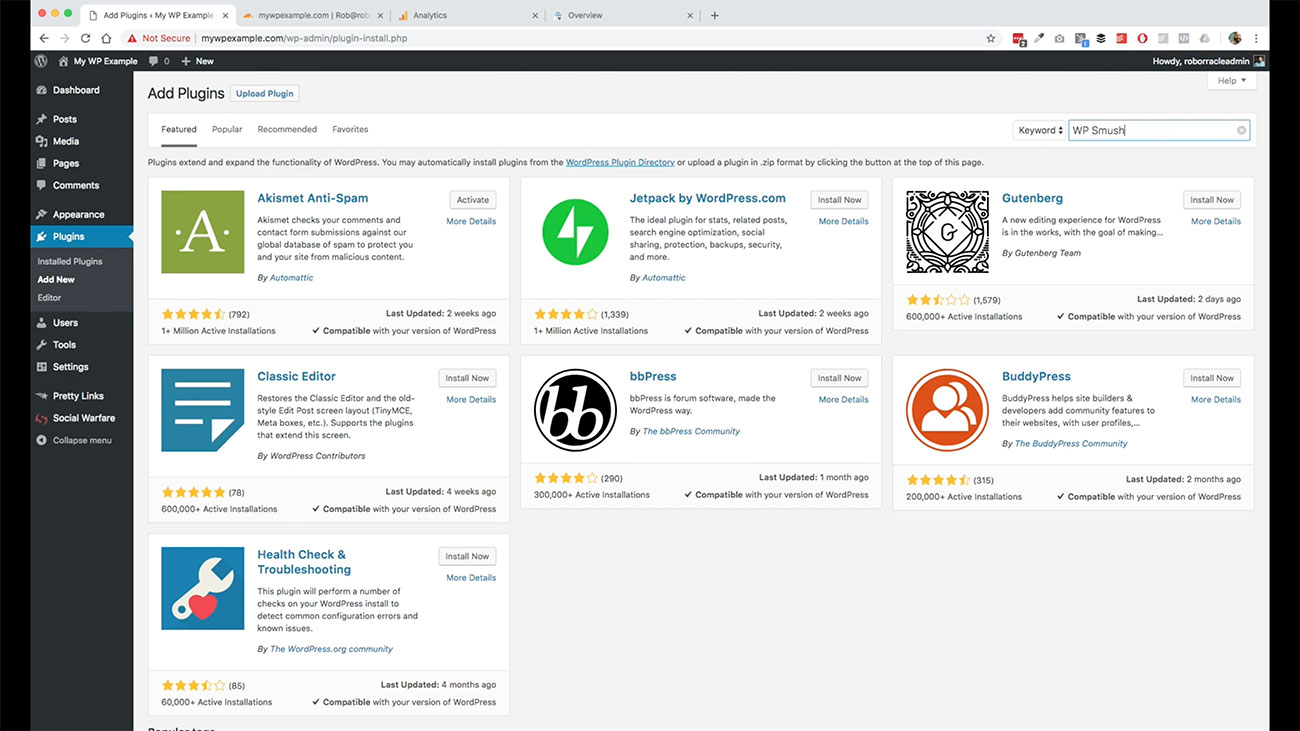
We’re going to go ahead and click this.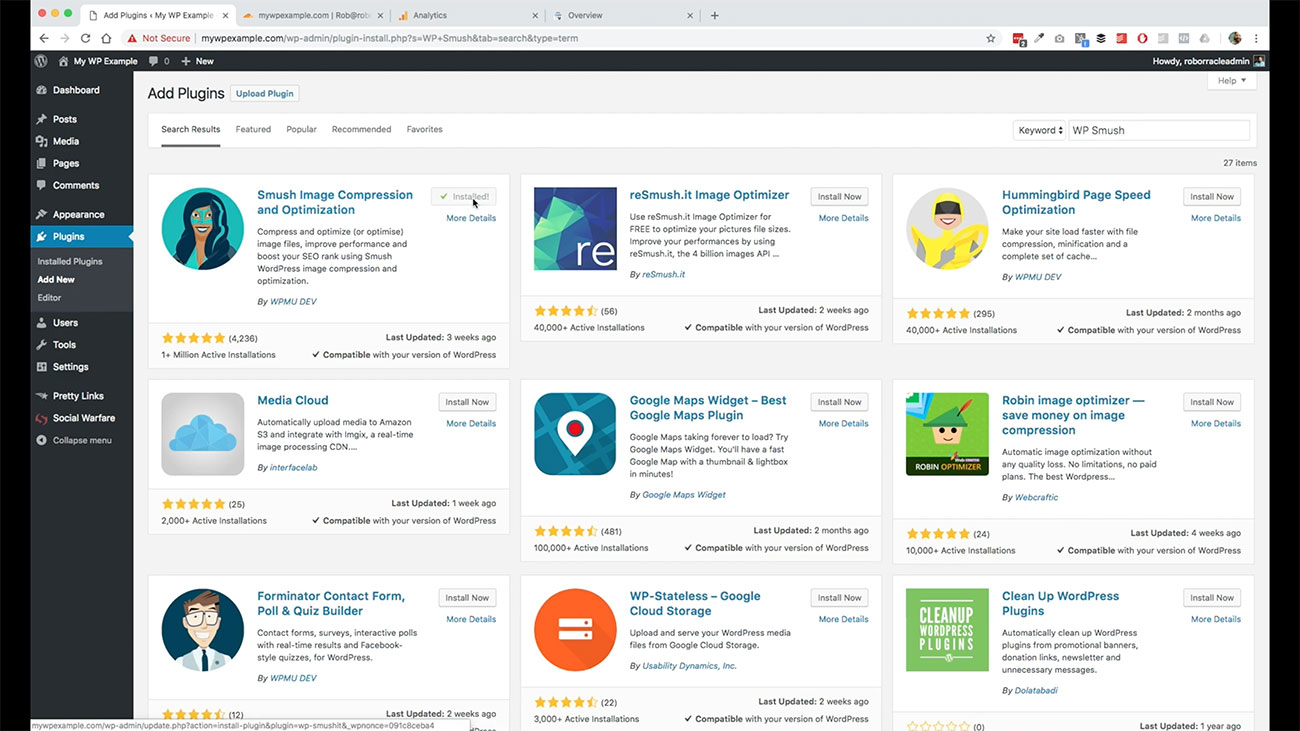 Got it installed. Now we’re going to go ahead and activate it. If you remember from previous video, when we were walking through the dashboard and demonstrating how we did different things with posts and pages and adding featured images and whatnot, you’ll notice that some of those images were kind of big in terms of their file size.
Now that we’ve got this though, this is an automated way for us to be able to optimize those images. Let’s go over here and click on Smush. This is going to give us some basic options here for quickly getting our site up to date with optimized images.
We are going to take a quick look here. We’re going to leave this setting to automatically smush my image sizes, when you’re uploading them that means that this plugin is going to grab those images when they’re coming in, and go ahead and get the image updated.
If your images containing any image metadata, you have the option here if you want to remove that. Then you have the option here to detect unnecessarily large images on your page and reduce their file size to decrease load times.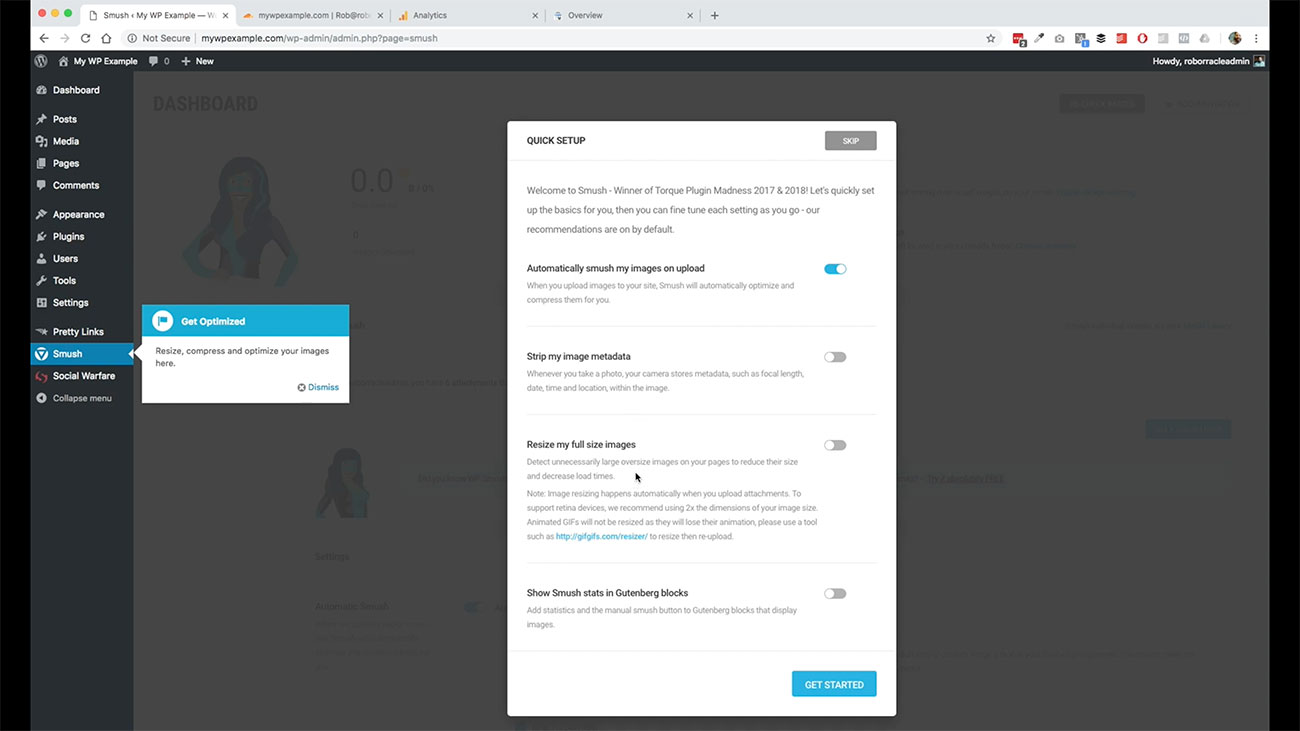
Let’s go ahead and enable that.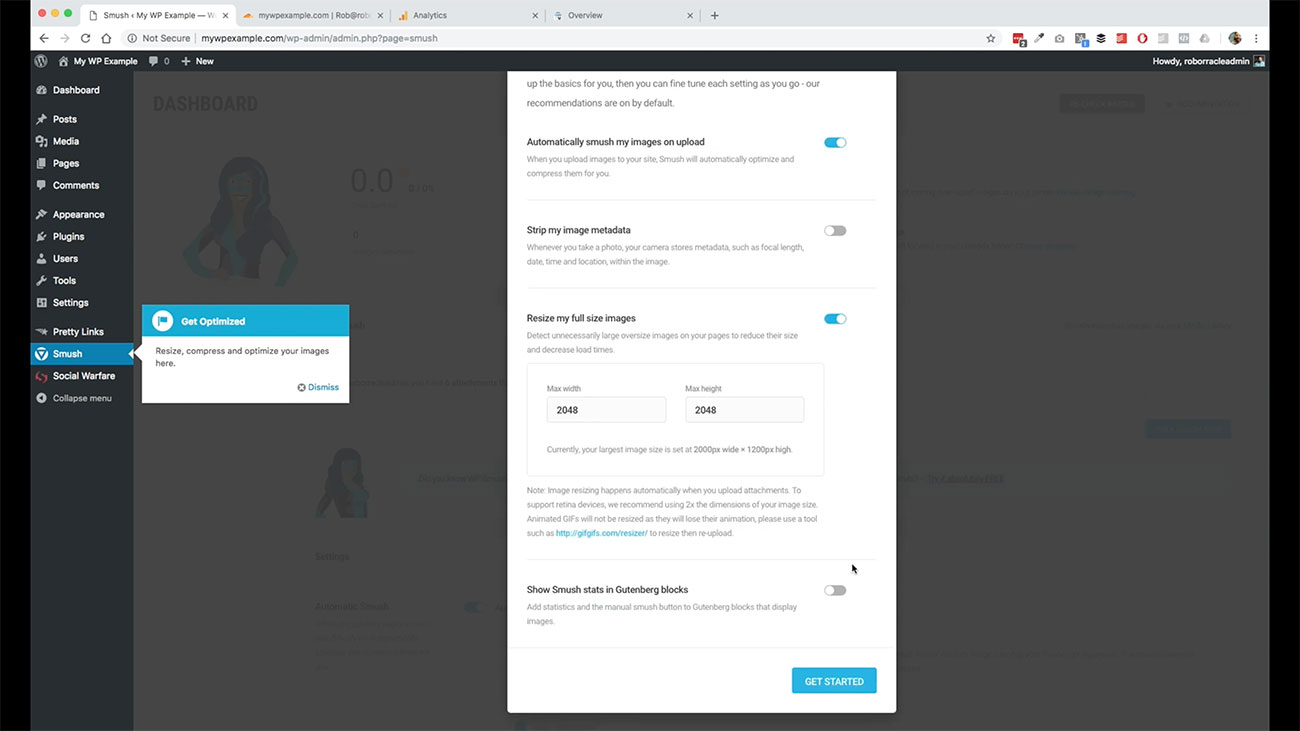 Then we’re not using Gutenberg so we’re going to leave that as it is there.
Let’s go ahead and click Get Started. Now, we are into this main menu here.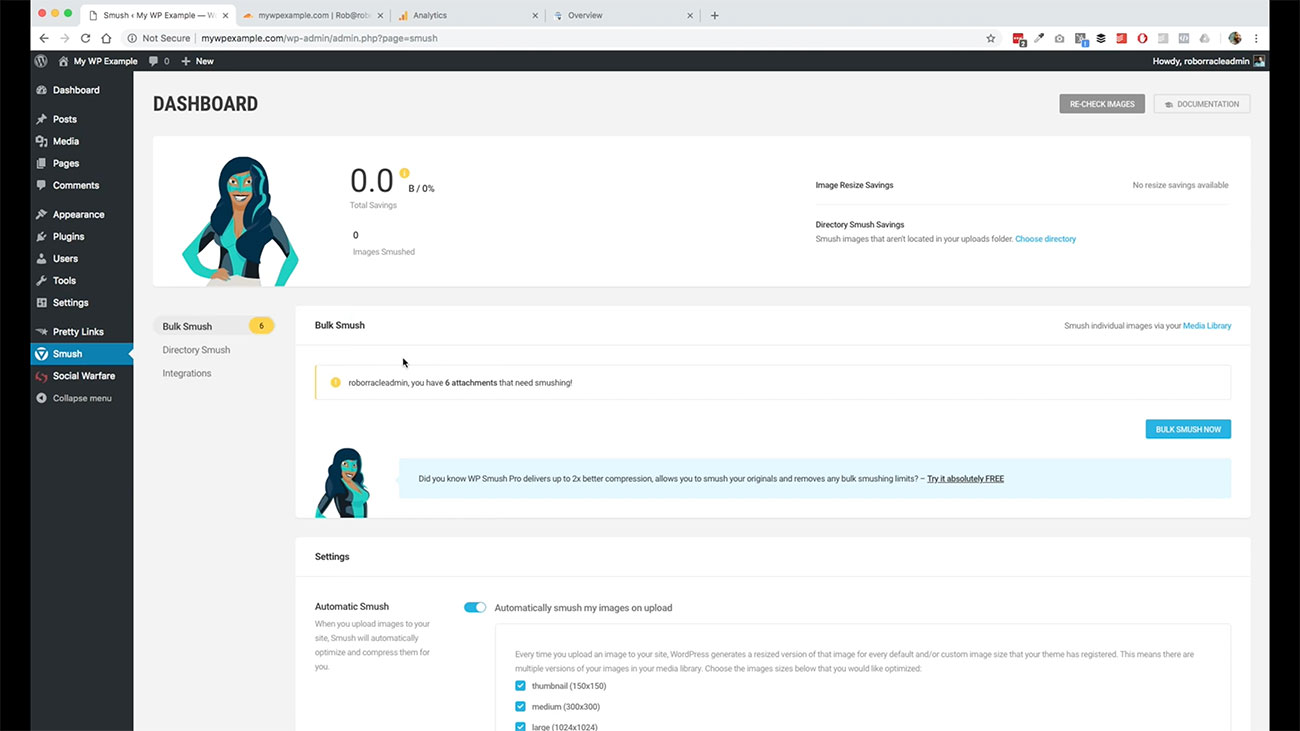 We have six attachments here that need to be reduced in file size.
Let’s go ahead. And what we’re going to do here, this is great to have in place when you are starting a new website because you can keep track of managing these images from the beginning instead of having to go back and do this after the fact.
Going back and doing this after the fact really makes for a big piece of work in terms of the time that you would need to invest in doing that if you got hundreds of images, and you’re trying to use the free version of this WP Smush plugin.
Right now we’ve only got six so let’s just go ahead and bulk process these images now.
Alright, so all of our image sizes have been compressed.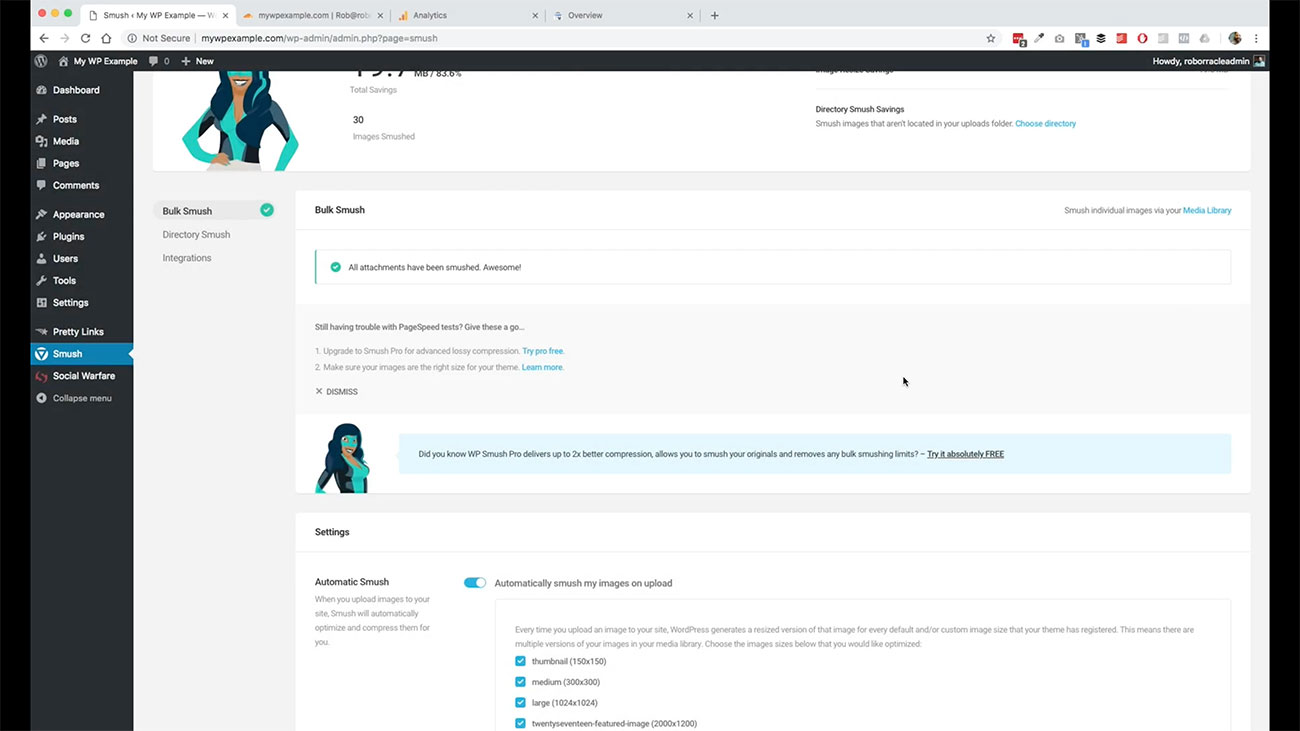 Again, this is a great option here for the free version to process your images so that the image size is optimized for performance on your blog.
There are some additional features that are available to you in the pro version. To get started, I don’t know that we need that right off the bat, but for the purposes of our blog, we’re going to go ahead and use the free version here.
You want to have this in place for managing your images on your website.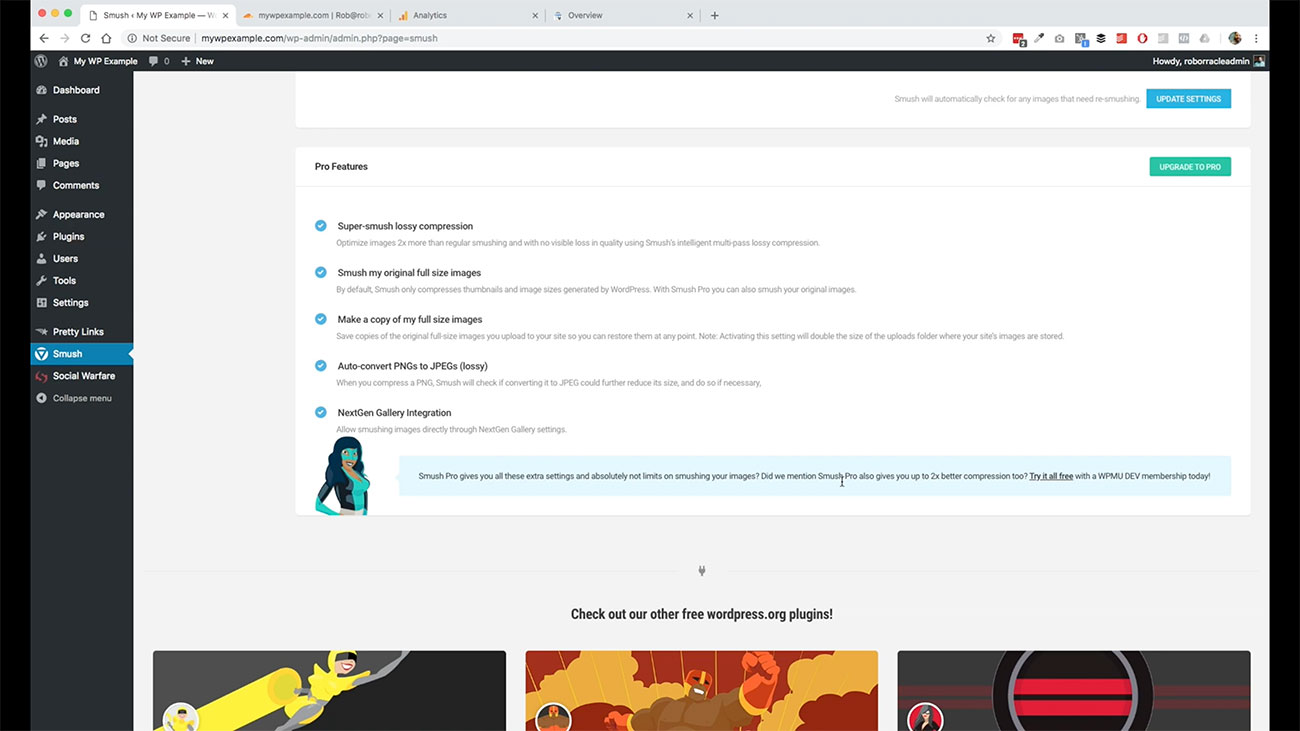 It just makes everything much easier and much faster to make sure that your WordPress site is performing at its peak in terms of how fast it’s going to load and what kind of experience your visitor is going to have.